


How to Fix an E21 Error Code on an Electrolux Washer
If you see an E21 error code on your Electrolux washer, this means that the water is not pumping out of the machine fast enough. This drainage issue could be something as simple as a kinked drain hose, or a problem with the drain pump or control board. In this article, we’ll walk through how to clear the code from your washer, and the troubleshooting steps to inspect and replace any necessary parts.
What Causes the E21 Error Code on an Electrolux Washer?
On an Electrolux washer (both top load and front load), the E21 error code means that the machine isn’t pumping the water out fast enough and is taking too long to empty. The most common cause of this is a kinked drain hose, which restricts the water flow. If the washer can’t drain properly, this can impact the washer from moving along to the next cycle.
While less commonly used, your machine may also display either E20 or C2 as an error code, which also indicates that there is a clog within either the drain hose, pump, or filter. For this article, we’ll just reference the E21 code, but the same troubleshooting tips apply for all three.
How to Reset an Electrolux Washer to Clear the Error Code
Resetting your Electrolux washer is as simple as disconnecting the power (either by unplugging the cord or at the breaker), waiting at least one minute, and then plugging the washer back in again.
Note that resetting the machine to clear the error code does not necessarily solve the issue; it just removes the code from displaying on your machine's console. Follow the troubleshooting steps below to find out the source of the drainage problem and how to resolve it to prevent the error code from reappearing.
Initial Troubleshooting Steps to Fix an E21 Error Code on an Electrolux Washer
- Begin by ensuring that your washer is stable and level. Push down on each corner of the machine to ensure that it doesn’t rock and confirm with a bubble level that the machine is level. Adjust any of the leveling legs if needed.
- Then visually inspect the drain hose for any bends or kinks, which will limit the water flow and not allow your washer to drain quickly. If the hose is bent, pull your washer away from the wall and adjust the hose to resolve this issue.
- Next, ensure that the drain hose is in the correct position. To prevent your washer from siphoning (this is where it drains the water as the tub is trying to fill), the drain hose should be inserted no more than 10 cm (about 4 inches) down the drainpipe. Having the drain hose at the correct height is also important. Electrolux recommends it be at least 60 cm (around 2 feet) and no higher than 100 cm (around 3.3 feet).
- Finish up by running a hot water cycle without any soap. Excess suds may have blocked sensors from reading properly, which would prevent the machine from draining.
Parts to Inspect on an Electrolux Washer to Fix an E21 Error Code
The following parts will be the most common causes of a drainage issue leading to an E21 error code on your Electrolux washer. Please note that the instructional videos provided are done on a Frigidaire washer (which are manufactured by Electrolux), so the exact repair process may differ slightly on your model. However, the steps and videos below will provide a thorough overview of the process to inspect and replace these different parts.
How to Inspect and Replace the Drain Hose on an Electrolux Washer
If your drain hose wasn’t kinked and is in the proper location, you’ll then want to disconnect it from the washer to check for any clogs in the hose.
- Start by disconnecting the power and water supply to the washer, then pull it out away from the wall so you can access the back of the machine.
- Remove the access panel by unscrewing and removing the lower front (or rear, depending on your model) access panel so you can reach the drain hose and pump area.
- Identify where the drain hose connects to the drain pump and where it exits the machine. We suggest taking a photo of the set up before disconnecting the parts, to ensure you reinstall the hose the same way.
- Place a towel under the hose connection to catch any water left in the parts. Loosen the hose clamps with pliers just enough to slide them back, then carefully pull the hose off the connection.
- Move to the other end of the hose and disconnect it the same way by removing any retaining clips or clamps holding the hose in place.
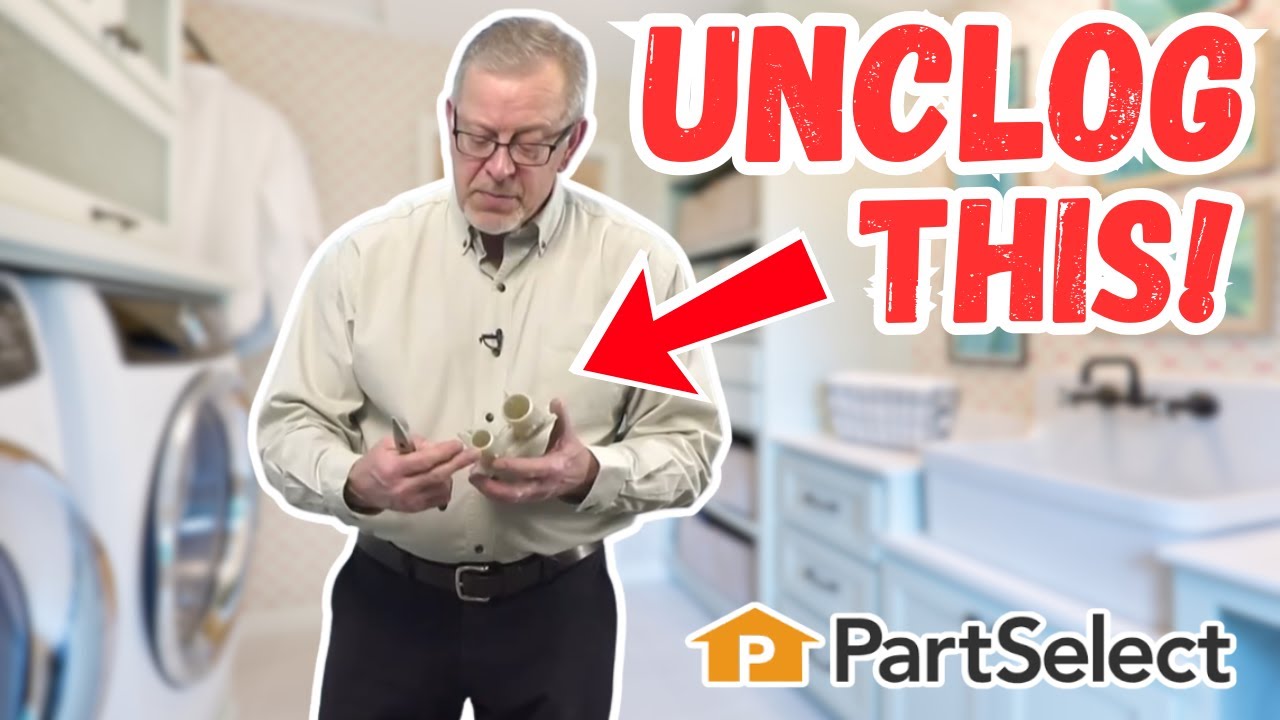
- Remove the old hose completely by pulling it out of the washer and inspect it for any blockages. You can use a shop vac, plumber snake, or flush it out with water to remove any debris that is blocking the hose.
- Reconnect the hose and run a drain cycle on your washer. If the E21 code still remains, move on to inspect the drain pump.
- If the drain hose has holes, cracks, or other physical damage, it will need to be replaced. Installing a new one is simple, as you just reverse the steps above to remove it from the machine.
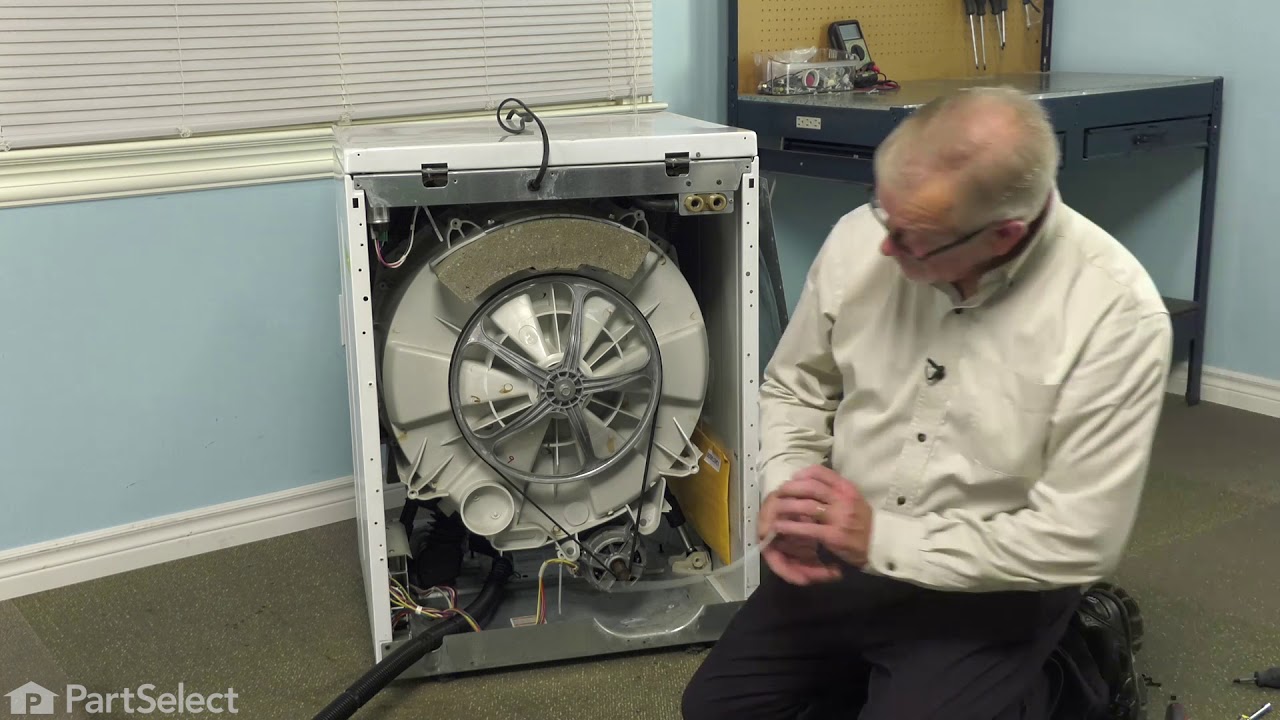
How to Inspect and Unclog the Drain Pump on an Electrolux Washer
If the drain hose was clear, there may be a blockage in the drain pump itself which is causing the E21 error code. If this is the case, you will likely hear a vibrating or buzzing sound coming from the pump during a drain cycle if there is a blockage.
- Before you begin, be sure to disconnect the water and power from the washer.
- Depending on your model, the pump will either be at the lower front or lower back of the machine. If necessary, pull the machine out from the wall so you can access the back panel.
- Remove the access panel (usually the lower front panel or rear panel) by undoing the screws. Set the panel and screws aside.
- Locate the drain pump, place old towels underneath, then disconnect the hoses. There should be two, one coming from the wash tub, and the other being the drain hose.
- Unplug the wiring connector from the pump by compressing the locking tab and pulling it off the pump.
- Remove the mounting screws that are securing the pump to the base of the washer.
- Pull out the pump and inspect it for blockages. Items will most likely be found stuck in the inlet port, but it is also possible that they’ve worked their way through the pump and got stuck in the outlet port. A pair of needle nose pliers can be used to remove any blockages.
- So long as the blockage didn’t damage the pump or its impeller, the drain pump can be reinstalled by reversing the above steps, and your washer should now drain normally.
- If damage was caused, you should replace the pump to prevent any further drainage issues from occurring.
How to Replace the Control Board on an Electrolux Washer
If a reset didn’t work, there were no problems with the levelling, power, or hose installation on the washer, and there were no blockages found in the drain hoses or pumps, the last possible cause of this code is a failing control board. If this part fails, it won’t be able to communicate properly with the drain pump, which will result in an error code appearing. While diagnosing and testing a control board can be a difficult task, as it requires reading and understanding wiring diagrams, replacing one is a straightforward repair. If none of the other troubleshooting steps have worked, you can make an educated choice that the control board is faulty without going through the testing process, as the process of elimination means that it is likely to solve the issue. Otherwise, to be extra sure, an appliance repair tech may be necessary to diagnose that the control board is the issue, and you can then replace the board yourself using the following steps.
- Begin by disconnecting the power and water supply from the washer, then move it away from the wall so that you can easily access the back of the machine.
- Remove the screws securing the top panel or control console (the exact location will vary by model).
- Lift the top off the washer and set it aside.
- Depending on your model, you may also need to remove the detergent dispenser by pulling it out of the housing and unscrewing the screws holding the housing to the front console.
- Next, remove the screws holding the front console in place. Gently pull or use a putty knife to help disengage the front console and pull it away from the washer frame. You will now have access to the control board.
- With the control board exposed, we suggest taking a photo of the wiring so that you connect the harness back to the appropriate terminals when installing the new board.
- Disconnect the various wire harnesses by pushing in on the locking tabs.
- With the wires removed, unscrew any screws holding the control board to the housing and then carefully remove the old control board. There may also be locking tabs, which can be compressed with a putty knife.
- The new control board can be installed, and the washer reassembled by reversing the above steps. Reconnect the water and power and then run a test cycle to ensure the washer and drain cycle are functioning normally again.

Seeing an E21 error code on your Electrolux washer can be frustrating, but in most cases, it’s caused by a blockage that you can fix yourself. By following the troubleshooting and repair steps outlined above, you can often clear the error and get your washer running smoothly again. Some further tips to follow to prevent an E21 code from returning again include ensuring that your washer is level, regularly checking that the drain hose hasn’t become kinked, and using the appropriate quantity of detergent in your machine. If you need further help with a washer that isn’t draining, you can find more advice on our washer repair page.


Learn how to find, remove, and clean the parts of your washer like the drai...
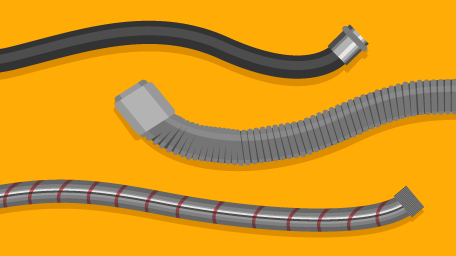
Need to swap out your washing machine hose but unsure of which to buy? They...
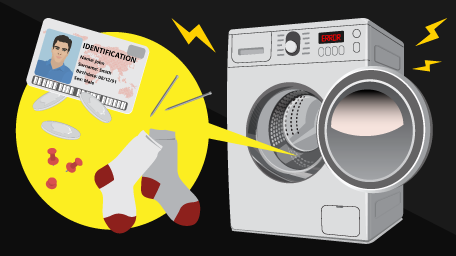
Find your mysteriously missing coins, socks and bank cards by taking a quic...