Sharp Parts
- Search your model number to find:
- Genuine OEM parts guaranteed to fit
- Free manuals and guides
- Repair instructions and videos

Popular Sharp Parts
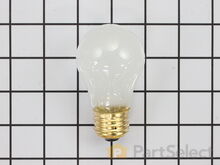
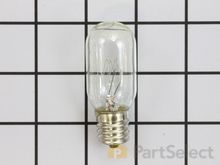
- Light not working
- See more...
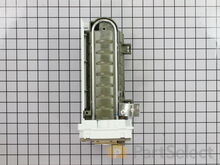
- Ice maker not making ice
- Ice maker won’t dispense ice
- Light not working
- See more...
- Clicking sound
- Doesn’t stop running
- Ice maker dispenses too little ice
- See more...
Unplug appliance.
Remove timer cover by hand pressure @ edge.
Remove single attachment screw & bracket at lower front of icemaker.
Disconnect wiring harness from socket @ rear of compartment.
Tricky part was determining what type of connection held the other two attachment points along the long edge of the icemaker. I did not have repair manual or useful drawing but looked @ PartsDirect pic of side brackets & used a small mirror to confirm that mine were also some sort of "snap in" attachment.
Remove icemaker unit by pushing upward and outward on the unit. I takes a good bit of pressure and will pop loose, but be careful not to break attachment bracket from freezer wall.
Scavenge shut off bar and wiring harness from old icemaker once you have it out & attach to new one before installing it back in freezer.
Again, you might find a mirror useful to align those pesky snap-in brackets with the new unit.
Since you probably kept your freezer running while waiting for the part, the plastic snap-ins will be cold and brittle. I warmed them up first by applying a dampened cloth heated in the microwave to make them a little more pliable.
A good push of the new unit towards the snap-ins along with some upward force will get it stable.
Reattach the metal screw in bracket & connect the wiring harness to rear plug... and don't forget to plug the whole thing back in.
It will take awhile for the first batch of cubes dump as the timer may need to cycle completely around to get to the fill cycle... be patient.
Dump the first couple of batches of cubes just to make sure you're free of any residue. Read more...
- No heat
- Noisy
- See more...
- Freezer section too warm
- Fridge and Freezer are too warm
- Fridge runs too long
- See more...
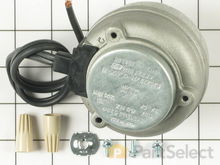
Removed the screws holding the back panel.
Removed the fan blade.
removed 3 screws holding the condenser fan.
Remove the 3 metal brackets attached to the fan.
(First note which studs the brackets are attached to. Attach the 3 metal brackets to the new fan. (New screws were supplied)
Cut and strip the wire about two inches from the fan.
Cut and strip the new wire. I cut the new wire in half (about 6 inches.) Connect the two wires, twist and used 2 wire nuts. Tie wrap the wire to the wire harness. Mount the new fan (three screws)
Screw the back panel back on.
Mount the new Read more...
- Ice maker dispenses too much ice
- Ice maker not making ice
- See more...
- Clicking sound
- Freezer section too warm
- Fridge and Freezer are too warm
- See more...
Sharp Appliance Types
Popular Sharp Models
Below are the most popular Sharp models we have. Enter your model number in the search box to find your model.
- HMG651580 Sharp Refrigerator Model HMG651580 Parts
- R1480 Sharp Microwave Model R1480 Parts
- R120DB Sharp Microwave Model R120DB Parts
- R303CW Sharp Microwave Model R303CW Parts
- R530ES Sharp Microwave Model R530ES Parts
- R1472A Sharp Microwave Model R1472A Parts
- R1502 Sharp Microwave Model R1502 Parts
- R209HK Sharp Microwave Model R209HK Parts
- R1501 Sharp Microwave Model R1501 Parts
- R530EK Sharp Microwave Model R530EK Parts
- R510HK Sharp Microwave Model R510HK Parts
- R1511 Sharp Microwave Model R1511 Parts
- R930AW Sharp Microwave Model R930AW Parts
- R1380 Sharp Microwave Model R1380 Parts
- R1505 Sharp Microwave Model R1505 Parts
- R7A82 Sharp Microwave Model R7A82 Parts
- R7A85 Sharp Microwave Model R7A85 Parts
- R1481 Sharp Microwave Model R1481 Parts
- R209KK Sharp Microwave Model R209KK Parts
- R930CS Sharp Microwave Model R930CS Parts


