


How to Prevent Ice Buildup in a Freezer
If you have ice or frost buildup in your freezer, there is typically either an issue with the airflow or with the defrost systems. In this article we’ll break down the differences between frost and ice buildup, and how the location of the buildup can indicate which part of your freezer is causing the issue. We’ll show you the steps to repair the faulty parts, along with some tips to prevent frost buildup from becoming a recurring problem in your freezer.
To begin our repair, we’re going to start by completely defrosting the freezer. Please note that any of the repair guides and videos below are general information based on a fridge with freezer on top. The steps will vary based on your appliance model and location of the freezer (such as side-by-side or on the bottom). To find the instructions for your specific freezer, please search for the model number on our YouTube channel.
How to Remove Ice or Frost Buildup from Your Freezer
- The first step is to unplug the appliance.
- Remove all food from the freezer and place it into a cooler or a spare freezer. You may want to remove food from the fridge as well. However, if you place frozen blocks inside and keep the fridge door shut the entire time, your fridge content may be fine during the repair.
- Note the location of the ice or frost buildup in your freezer, then leave the freezer door open to allow it to melt.
- As the ice softens, gently remove it with a plastic spatula or cloth. Don’t use sharp or metal tools, which can damage the inner surfaces of your freezer.
- Based on where the buildup was located, follow the recommended inspections below to determine the issue and begin your repair.
- Once your repair is complete, you can thoroughly clean and then plug the appliance back in. Wait until the freezer comes down to temperature before replacing your food items.
Frost on the Freezer Walls or Door
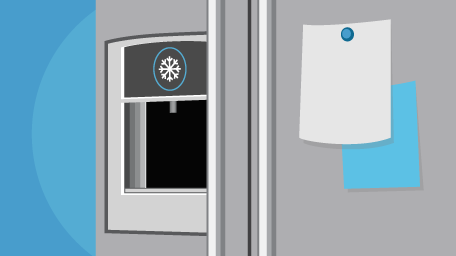
If you have frost throughout the freezer, such as along the walls and even on the door, this is due to warm, humid air entering the freezer. Simple things like opening the freezer door too frequently, placing hot food in the freezer, or leaving the door ajar can cause frost to form in these locations. Another cause may be a faulty door gasket. If the freezer door gasket is dirty or damaged, it can prevent the door from tightly sealing, which causes the room temperature air to leak into the freezer. This issue is easy to fix by either cleaning or replacing the gasket.
How to Fix a Freezer Door Gasket
- The first step is to visually inspect the door gasket and surrounding door area for crumbs, spills, or items that may prevent the door from sealing properly. When inspecting the gasket, check to see if it is torn, warped, or otherwise damaged.
- If the area is dirty, use a soft, damp cloth to clean up any spills or debris. If the gasket wasn’t damaged, your freezer door should now close properly, preventing any further frost buildup.
- If the freezer door gasket is cracked or split, it will need to be replaced. The method may vary depending on your freezer model, but it typically requires few or no tools to complete.

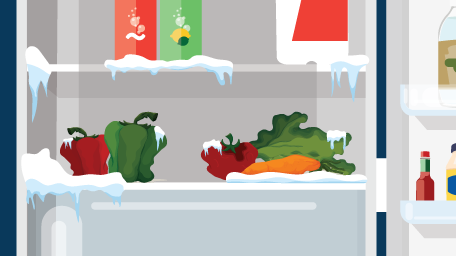
Frost (or Ice) on the Back Walls
The evaporator coils are located behind the back wall of the freezer, and this is typically the coldest spot where frost will form first. Modern fridges have a defrost mode that cycles on, which heats up the evaporator coils to remove any frost buildup. If a component of the defrost cycle is faulty, it can lead to build-up along the back of the freezer walls. The parts that may be causing this issue are the temperature sensor or thermostat, the heater, or the timer. To see if one of these components has failed, you can use a multimeter to test the part. While the exact location and steps to replace each of these components will vary by make and model, the videos below will provide an overview of the procedure.
How to Replace a Defrost Timer
The tools you will likely need for this repair may include a Phillips screwdriver, a flathead screwdriver, or a quarter-inch nut driver.
- If your fridge is not already unplugged from defrosting the freezer, begin your repair by disconnecting the power from the appliance.
- The defrost timer will be found within the control assembly inside the refrigerator. To remove the control assembly, you may need to remove shelving from the fridge, along with the lightbulb for easier access. You will then need to remove any bolts or screws holding the control housing in place and remove it from the fridge.
- Place the control assembly on a work surface in order to remove the defrost timer from the housing. To remove the defrost timer, you will need to disconnect the wire harness, and you may need to remove bolts or screws if the timer is secured to the control housing. A flathead screwdriver can be used to remove the wire harness if it is not easy to pull off.
- The old defrost timer can be discarded, and the new one can be installed by reversing the above steps.
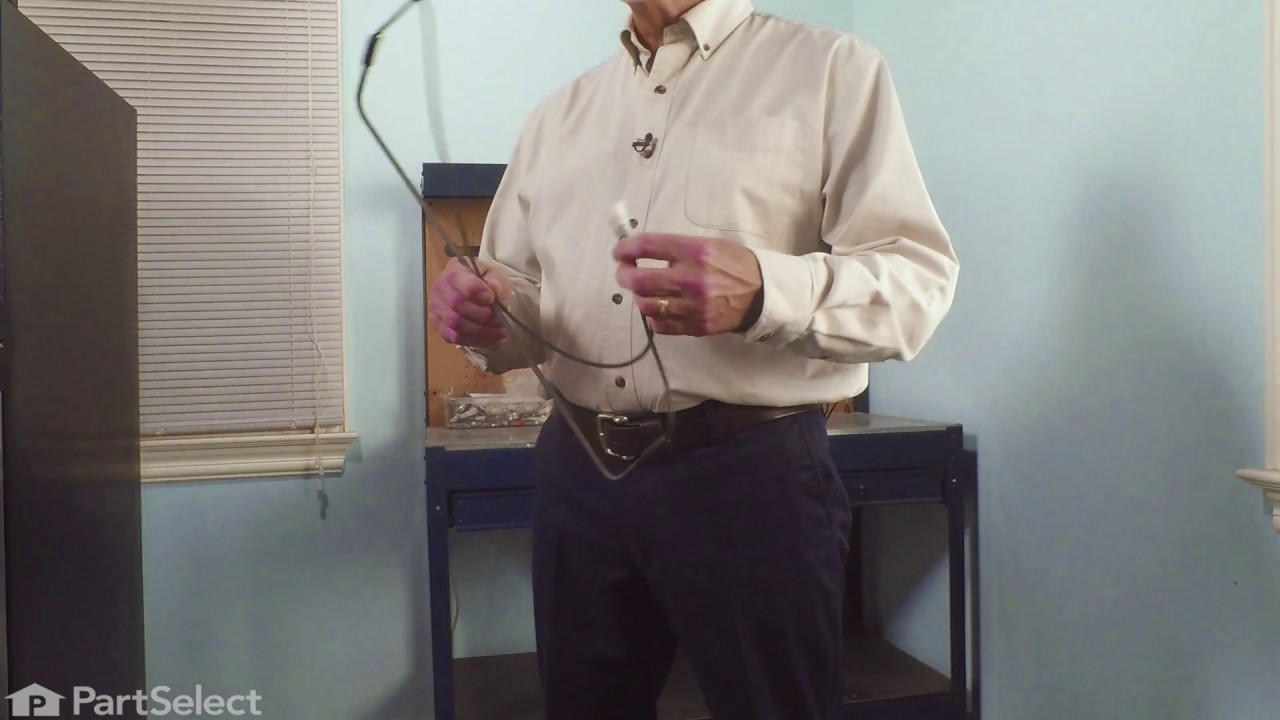
How to Replace a Defrost Heater
The tools you will likely need may include a Phillips screwdriver, putty knife, needle nose pliers, and a quarter-inch nut driver.
- If your fridge is not already unplugged from defrosting the freezer, begin your repair by disconnecting the power to the appliance.
- The defrost heater is located behind the back wall of the freezer, so all food items and shelving will need to be removed in order to access the part. Remove any screws or bolts that hold the back cover in place and carefully remove the panel from the freezer.
- Locate the wire harness for the defrost timer and disconnect it. Then remove any screws or bolts from brackets that may be used to hold the heater in place.
- The old defrost heater can be removed and discarded, and the new one can be installed by reversing the steps above.
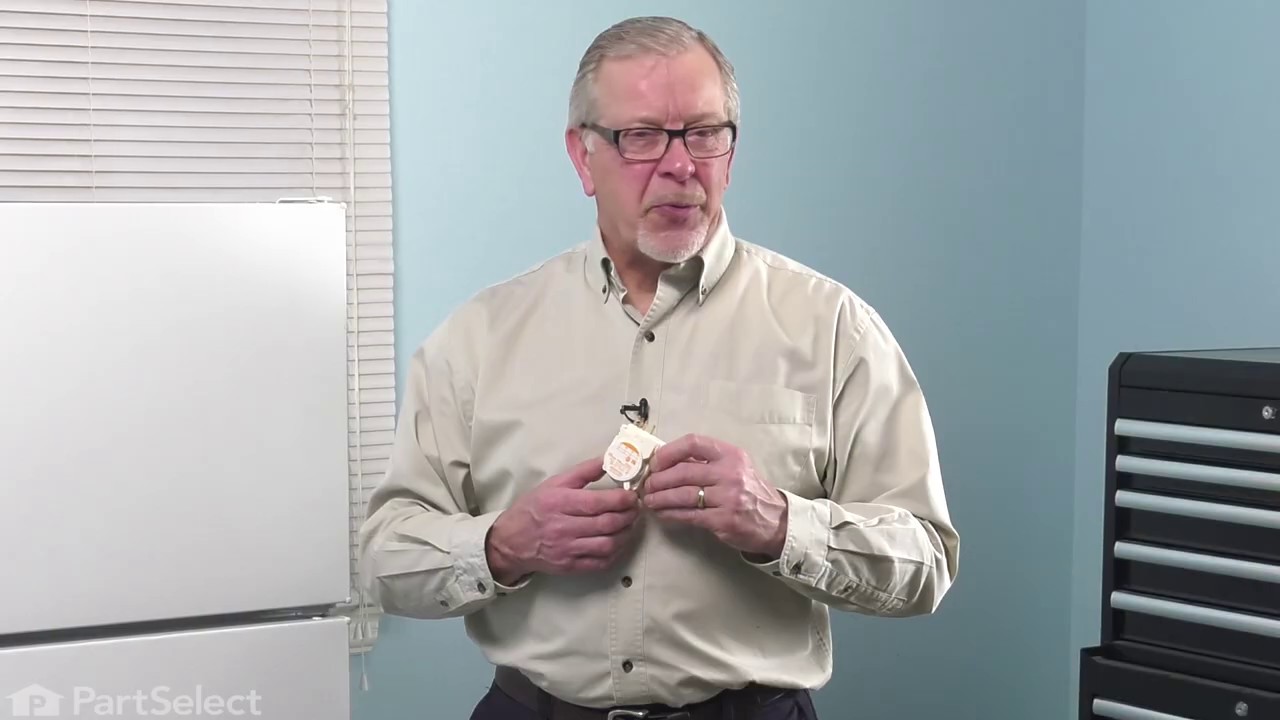
How to Replace the Defrost Thermostat
Replacing a defrost thermostat requires a bit of electric work, so you will need a pair of wire cutters and strippers, and some electrical tape or heat shrink for this repair.
- If your fridge is not already unplugged from defrosting the freezer, begin your repair by disconnecting the power to the appliance.
- The defrost thermostat is located behind the back wall of the freezer, so all food items and shelving will need to be removed in order to access the part. Remove any screws or bolts that hold the back cover in place, along with any wire harnesses, and carefully remove the panel from the freezer.
- With the evaporator exposed, you should now be able to locate the defrost thermostat. Unclip the thermostat from the evaporator and then cut the wires that are connected to the thermostat. The old thermostat can now be discarded.
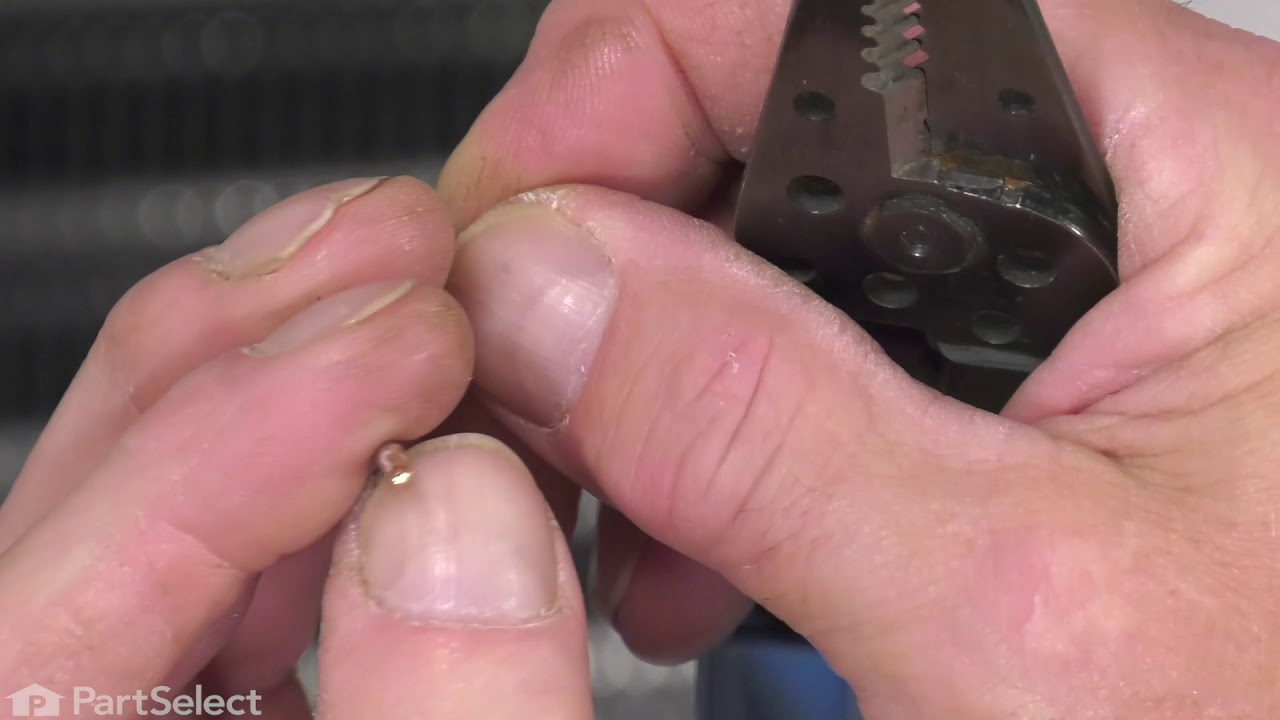
- On the new thermostat, you can cut back some of the wires and strip some of the wire insulation. Join the two sets of wires together by using a wire nut or splice. Electrical tape can then be used to keep the two wires together.
- With the new thermostat spliced together, it can be reinstalled back on the evaporator.
Ice on the Bottom of the Freezer
If there is solid ice (not frost) along the bottom of your freezer, there is likely a blockage in the drain hose, causing water to back-flow into the freezer and forming the layer of ice. The line will need to be flushed out, which can be done with compressed air.
How to Fix a Blocked Drain Hose
- If your fridge is not already unplugged from defrosting the freezer, begin your repair by disconnecting power to the appliance.
- To clear a blocked drain line, we recommend doing so through the external drain outlet with compressed air. This won’t require much air pressure; a bicycle pump will do the trick.
- Whatever was obstructing the drain line will be blown into the freezer compartment and can be cleaned up from there.
- With the line now clear, the appliance can be plugged back in, and future ice melting from the defrost cycle should flow down the drain line instead of into the freezer.
Practical Tips to Prevent Frost Buildup
Now that we’ve solved the most common issues and parts that have caused frost build-up in your freezer and cleared it out, it’s time to make sure it doesn’t happen again. Fortunately, basic changes to some of your daily habits can help prevent future frost or ice buildup in your freezer. Since warm, humid air entering the freezer causes frost to form, following these tips can help prevent any issues:
- Limit how often you open the fridge and freezer door.
- Keep your unit organized so you can find what you need quickly. This is key to limiting how long the door is left open.
- Ensure the door is closed tightly after each use.
- Don’t place hot food in the freezer. Allow leftovers to cool down completely before storing.
- Promptly clean up any spills, which could prevent the door gaskets from sealing properly.
- A well-stocked freezer can help maintain a consistent temperature, but make sure it isn’t crammed to allow for proper airflow.
By following these use-and-care tips, you can ensure that your freezer is running efficiently and frost-free. As with any repair, if it is outside of your comfort zone don’t hesitate to contact your preferred appliance repair technician.

Is your refrigerator's ice maker broken and not working properly? Let's get...
Keep your fridge cold and your food fresh all summer long with this guide.
If your refrigerator is freezing food, then it's not doing its job - there'...