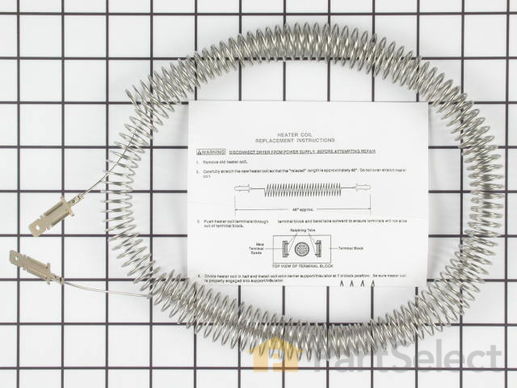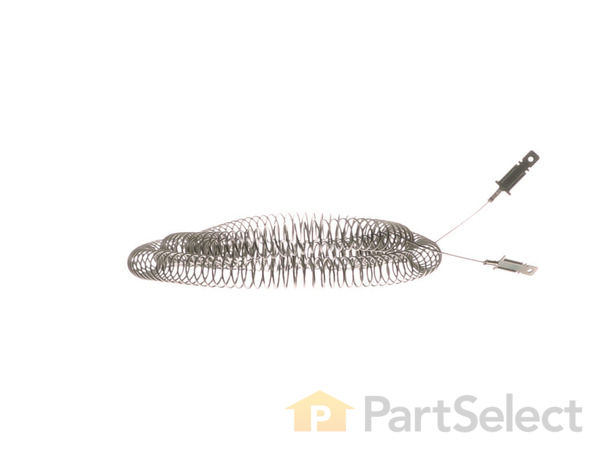
Heater Coil with 5/16 Inch Terminals 5300622034
Rated by 5 customers
A Bit Difficult
1- 2 hours
Ratings submitted by customers like you who bought this part.
Get this part fast! Average delivery time for in-stock parts via standard shipping: 1.8 days.
Heater Coil with 5/16 Inch Terminals Specifications

How Buying OEM Parts Can Save You Time and Money
-
5 Stars 4
-
4 Stars 0
-
3 Stars 0
-
2 Stars 0
-
1 Star 0
- < Prev
- 1
- Next >
- < Prev
- 1
- Next >
- < Prev
- 1
- Next >
-
Chuck from STERLING, VA
-
Difficulty Level:A Bit Difficult
-
Total Repair Time:More than 2 hours
-
Tools:Nutdriver, Screw drivers
-
John from O FALLON, IL
-
Difficulty Level:Really Easy
-
Total Repair Time:30 - 60 mins
-
Tools:Pliers, Screw drivers
-
C. William from Milford, NY
-
Difficulty Level:Difficult
-
Total Repair Time:More than 2 hours
-
Tools:Pliers, Screw drivers, Wrench (Adjustable)
While greasing the bearing in the back of the drum, I found my heating coil was broken. Steps to replace:
1) Unplug the unit
2) Remove the top panel. Note, do not remove the center front screw that does not go into the door.
3) Rem ... Read more ove front outer panel
4) Remove interior front panel
5) Remove front control panel 6 screws, pushing downward the panel and disconnecting connection to door.
6) Remove door by removing the screws on the top and pull door straight off. (I left the air duct attached to the door)
7) Remove the back access panel to the motor
8) Release the belt from the idler pulley and remove the belt.
9) I removed the three screws in the center of the drum as I found it difficult to remove the drum from the bearing. Remove the drum.
10) disconnect the coil terminals by first bending the tabs outward to allow you to be able to pull them off the block
11) remove the old coil
12) carefully stretch the new coil so that it measures 48 inches (no more)
13) Plug new coil into terminals and bend tabs to lock in place.
14) Divide heater coil in half and install coil onto center support on the opposite side from where it connects to the block/back wall of dryer
15) Install remaining coils onto supports.
16) reinstall all parts in reverse order.
-
Mark from Normalville, PA
-
Difficulty Level:A Bit Difficult
-
Total Repair Time:30 - 60 mins
-
Tools:Pliers, Screw drivers
Removed door panel,top,control panel not sure all needed to be removed except door then removed 3 screws in center at rear of drum this disconnects the drum to shaft that secures it in place ( could not find info on that step and is the reason for writing this hope it helps , reassemble in r ... Read more everse
-
Reed from Seatac, WA
-
Difficulty Level:A Bit Difficult
-
Total Repair Time:1- 2 hours
-
Tools:Screw drivers
- < Prev
- 1
- Next >
Ask our experts a question about this part and we'll get back to you as soon as possible!
- < Prev
- 1
- Next >

8 people found this helpful.

1 person found this helpful.

1 person found this helpful.
- < Prev
- 1
- Next >

Manufacturer Part Number: 5300622034

Item is in stock and will ship today if your order is placed before 4:00 PM Eastern Standard Time.
If your order is placed after 4:00 PM EST, the in stock items will ship on the next business day.
Item is not in stock and usually ships 3-5 business days from the time you place your order.
Item is not in stock and usually ships 10-15 business days from the time you place your order.
This item is no longer being made by the manufacturer, and cannot be added to your shopping cart.


