This Drive Belt is 89.5" long and comes in black, featuring four ribs on the inside for a better grip. This is a long belt that wraps all the way around the dryer drum, around a tension pulley, and then around the drive motor pulley, allowing all the parts to work together, spinning the drum as the motor rotates. If the drum will not turn...Read more when the dryer is turned on the belt is likely broken. It is common for belts to stretch or become brittle over time, which is what leads to the breakage. If broken, it should be replaced; the drum simply cannot spin without this belt. Refer to your model number and user manual to check if this part is right for you. Ensure you use work gloves to protect your hands from sharp internal parts during this repair. Please note: When comparing the length of your old belt to the length of the belt as stated here, remember that a small amount of stretching and contortion may occur with belts over time for a range of different reasons. Unless your belt is drastically different in length, this belt is what you are looking for despite any small inaccuracies. You will need to remove power to your appliance, remove the main panel, and access the motor drive to slip your new belt back into place.
This is a duct felt seal for a dryer. The duct felt seal allows the front-load dryer drum to glide smoothly on the front panel. Your dryer will not function properly if the drum felt seal is compromised. Disconnect power to the dryer before completing this repair. You will need to remove the front of the dryer to gain access to the felt s...Read moreeal. This felt seal may differ in appearance from your original but will function the same as your original. This is an OEM replacement part that is sourced directly from the authentic manufacturer.
This lint filter is a genuine OEM component designed for use in both electric and gas clothes dryers. It plays a critical role in maintaining proper airflow by capturing lint and debris during drying cycles, helping prevent duct obstructions and reducing fire risk. Regular cleaning is essential to ensure efficient operation and faster dry...Read moreing times. If the filter’s screen is torn, the casing is cracked, or drying performance has declined, replacement is recommended. Installation is simple and tool-free—just remove the old filter as you would for cleaning, and insert the new one into the designated slot. This part is sold individually and is compatible with a wide range of dryer models.
This is a timer control knob for your dryer. The timer is the main part within dryers that is responsible for controlling when the different processes of the drying cycle occur, and it is important that the knob that controls it works properly, too. If you are having difficulty selecting the correct dryer function and mode, this knob may ...Read morebe broken and need to be replaced. To replace this knob, simply pull the old one away and off, and then carefully push the new one on in its place. This OEM knob is sold individually, and does not come with any other parts.
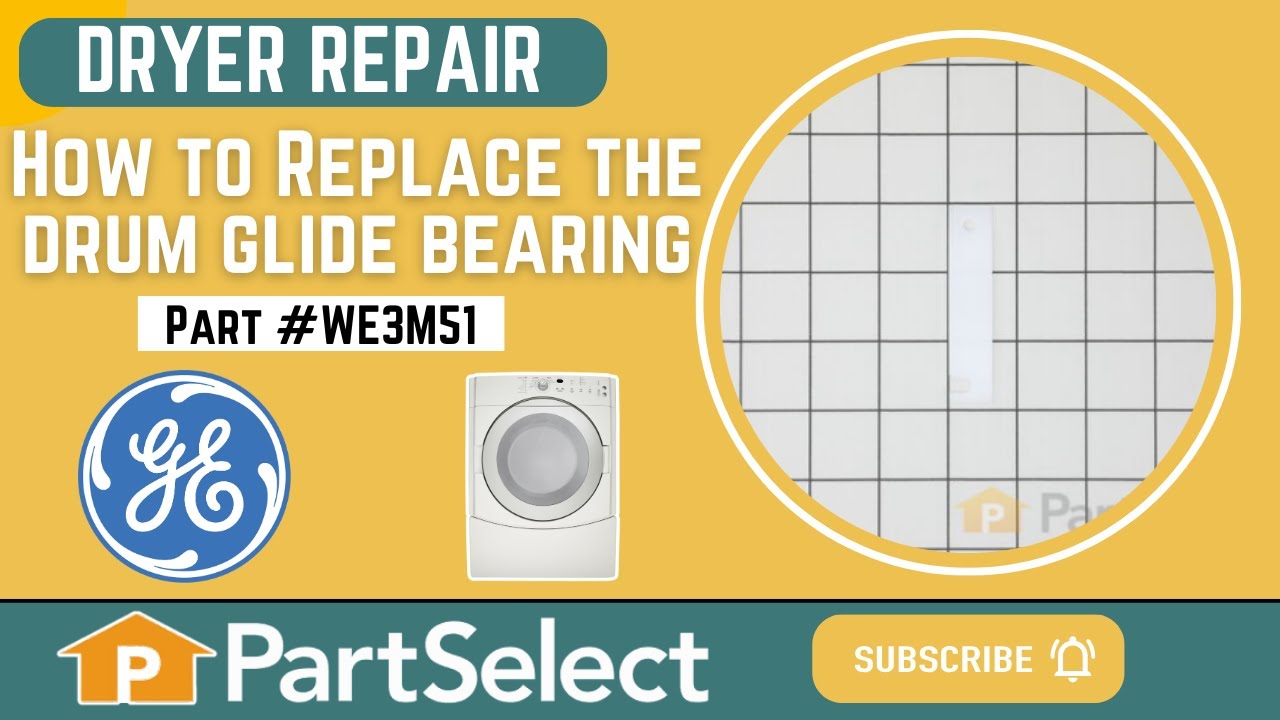
This drum glide bearing is an authentic OEM replacement part that is compatible with dryers. It is white in color and made of highly durable plastic. The bearing allows the drum to rotate smoothly and dry your clothes thoroughly and evenly. It keeps the drum stable and protects it from excessive friction damage. Over time, the bearing may...Read more wear down or break due to normal aging or wear from repeated use. If the bearing is no longer able to support the drum, you will likely notice unusually loud grinding or squeaking noises from the dryer. You may also notice increased drying times due to poor drum rotation. Inspect all the bearings on your dryer, as they tend to wear down at the same time. Each drum glide bearing is sold individually.
This OEM replacement dryer slide bearing is white in color, and approximately 3 inches long. The slide bearings are supportive linings for your dryer. If they have eroded, or are damaged, the drums will scrape against metal during the drying cycle which will produce a squealing, or scraping sound.
Restore reliable operation to your GE dryer with this genuine OEM push-to-start switch, designed specifically for use with a range of GE dryer models. This switch activates the dryer when you press and release the button, making it an essential component for proper startup.
Common signs that this part may need replacement include the dry...Read moreer failing to start or starting unexpectedly without pressing the switch. Replacing the switch is a straightforward repair and requires only a Phillips screwdriver and a flathead screwdriver. Before beginning the installation, always disconnect the power to ensure safety. Once the power is off, remove the control panel screws, disconnect the old switch, and install the new one in its place.
This part is sold individually and is a reliable solution for restoring your dryer's functionality with minimal effort.
This rear drum bearing sleeve is a critical support component located at the back of the dryer drum, designed to reduce friction and ensure smooth rotation during operation. As the drum spins, the sleeve helps maintain alignment and stability, contributing to efficient drying and quiet performance. A worn or damaged sleeve can lead to sym...Read moreptoms such as squeaking, grinding noises, excessive drum movement, or heat loss. This genuine OEM replacement is compatible with select GE and Hotpoint models and restores proper drum support. Installation typically involves accessing the rear panel, removing the drum, and replacing the sleeve to restore optimal function.
This is the door switch for your dryer. Door switches are used to communicate with the control board when the door is fully closed, so the drying cycle can safely begin, and if it is opened so it can stop. If this door switch is damaged or bad from extended use or excessive force when closing, it will cause your dryer not to start, and it...Read more will need to be replaced. This door switch will require a few tools, such as a screwdriver, wrench, and pliers to replace, and some slight disassembly of your dryer. This door switch is an OEM part and is sold individually.
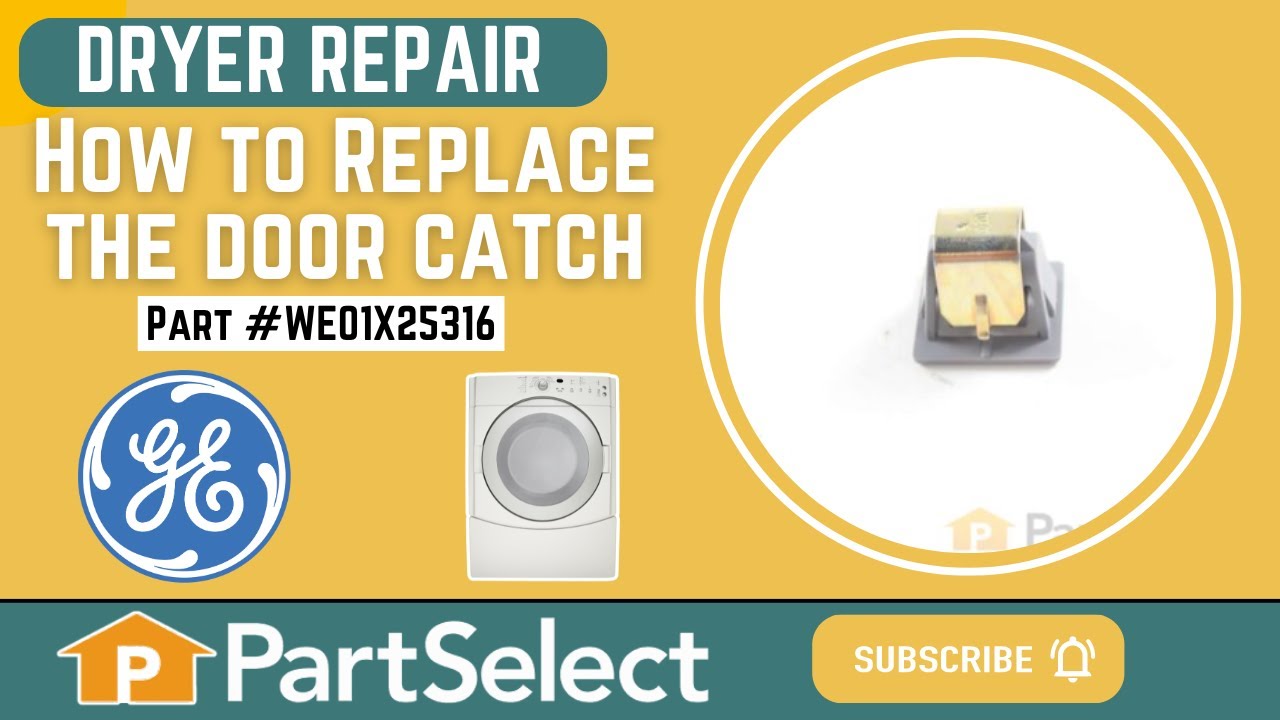
TThe door strike for your dryer is mounted on the dryer frame that the door shuts onto. It fits into the door catch on the door and keeps the door closed. If the door strike is damaged or missing, the door will not lock properly and not only will this cause the door to swing open, but it won’t allow the dryer to start properly. It is a small piece of metal, about 1 inch in length and is sold individually.
This timer is a genuine OEM part supplied by the manufacturer for use in dryers. It is a high-quality replacement part that is designed to fit just like the original for your convenience. The timer controls the length of each cycle, such as drying, cooling, or tumbling by activating and deactivating various components of the dryer accordi...Read moreng to the cycle settings. If you are experiencing issues such as cycles not completing, difficulties starting the dryer,and damp clothing at the end of a cycle, then the timer is likely malfunctioning and will need to be replaced. The timer is located inside the control panel of the dryer.
This authentic OEM rear bearing O-ring is designed for use with GE dryers. It helps secure the drum rear bearing onto the drum shaft, playing a key role in maintaining smooth and quiet dryer operation. A common sign that this part may need replacement is increased noise during the drying cycle. This O-ring is sold individually.
To replac...Read moree the O-ring, you’ll need a Phillips screwdriver, a square-head screwdriver, a small flat-blade screwdriver, and needle-nose pliers. Always consult your dryer’s manual or parts diagram to ensure proper installation and compatibility.
Ask our experts a question about this model and we'll get back to you as soon as possible!
We may have answered a similar question already! Search questions and answers left by others using simple keywords like "fit", "broken", "easy", or "quality" to find questions that match.
Search filter:
Clear Filter
Your search term must have 3 or more characters.
Sort by:
Prev
1
2
3
Next
Sorry, we couldn't find any existing answers that matched.Try using some different or simpler keywords, or submit your new question by using the "Ask a Question" button above!
Robert - For model number GTD33EASK0WW
December 17, 2021
I would like to know how to get front and top off so I can get to internal items and lint filter blower etc.
Hello Robert, thank you for writing. Your front panel is part PartSelect Number PS11736653. We do have a video that shows how to Disassemble a GE dryer just now an exact match to yours. It should be of some help.
The dryer only runs when i hold the start button. The belt is still on the dryer but it doesn’t spin. What do i need to check/replace?
Hello and thank you for writing.
It is likely that a faulty push to start to switch PS3487190 you also might want to check the belt PS1766009 for damage and replace it if needed. We hope this helps. Please contact us anytime if you require further assistance.
Hello Donald, Thank you for the question. Normally this indicates the one or more of the Thermostats need to be replaced. The three Thermostats can be tested with as multi meter to determine if they are defective and need to be replaced. We hope this helps!
Will not start when i push the start switch but it still counts down on the timer.
Hi Kim,
Thank you for your question. If the dryer will not start, there are some parts that you will need to check to see which one is causing the issue. You will need to check the start switch, the drive belt, the door switch, the high limit thermostat, the terminal block and grounding strap, the door strike, the duct felt seal and the main knob assembly. To test the electrical parts to see if they are working, you will need to use a multi-meter. For information on how to test the parts, go to Appliance Repair on our website and on the next page click on the dryer icon. On the next page that comes up you will find a list of symptoms. Click on "How To Fix A Dryer That Won't Start". This will bring up the information for you. For information on how to test the high limit thermostat, it will be found under "How To Fix A Dryer That's Not Producing Heat". If you are not familiar with using a multi-meter, here is a link to one of our videos on YouTube that you may use as a general reference on how to use one, https://www.youtube.com/watch?v=bWC44fHn0As. We hope this helps. Thank you and have a great day.
What else besides heating voil can make dryer not dry
Hello Vickie, thank you for contacting us. Besides a bad heating coil, the issue can be caused by a dirty and clogged lint filter, part number PS11763056, blocked drainage, a defective operating thermostat, part number PS11772030, and a problematic high limit thermostat, part number PS12073908. We look forward to hearing from you if you need assistance with placing an order through our 7-days-a-week customer service. We hope this helps!
See how others fixed this model. Time, tools, difficulty, and steps that lead to victory!View More
Search repair tips from other customers using simple keywords like "replace", "fit", "remove", "inspect". DIY doesn't mean you have to do it alone!
Search filter:
Clear Filter
Your search term must have 3 or more characters.
Drum belt broke
209 of 310 peoplefound this instruction helpful.
Adrian from Middletown, MD
A Bit Difficult
30 - 60 mins
Screw drivers
Removed the front Dryer panel. Left drum in place and lifted it up slightly to get access to motor drive. Slipped belt in place and put panel back on. This was a first attempt ever at fixing an appliance and it was no big deal.
Was this helpful?
Thank you for voting!
Broken Dryer Belt
81 of 121 peoplefound this instruction helpful.
Richard from Ashton, MD
Easy
1- 2 hours
Nutdriver, Screw drivers
I had to take most of the dryer apart because there is no rear access to the motor. It turned out to be easy to dissasembel the dryer. The only problem that I had was that I could not figure out how to route the belt around the motor and the idol pullies. I could not find anywhere that gave instructions on how to properly tension the belt
... Read more. I finally figured out that the idoler pulley needs to be locked in place on the right side of the engie mount. Then the belt needs to be routed over idoler pulley and under the motor pulley. Finally release the idoler pully from the locked postion to put tension on the belt. It really turned out to be pretty easy.
Read less
Was this helpful?
Thank you for voting!
Rubbing/Squealing Noise While Drying, especially during cold weather
62 of 83 peoplefound this instruction helpful.
Gary from Spring Hill, TN
Easy
30 - 60 mins
Screw drivers
This part arrived at our house two days after I ordered it. I was stunned by how quickly it arrived.
Our dryer was making a very annoying squeaking/rubbing noise while drying and it became worse as the outside temps dropped (it's winter)...colder air cooling the exhaust line, causing metal in dryer to contract more.
... Read more>I called an appliance repair service and they said, "Honestly, your money is going to be better spent to just buy a new dryer. The bearings on these are a pain to replace."
Yeah, right.
I've never taken apart a dryer, but it took me less than 45 minutes to complete this repair and our dryer is back to normal. Total cost was $18, including shipping. A $300 savings versus buying a new dryer.
There is another description of the process for this part so I won't repeat it all.
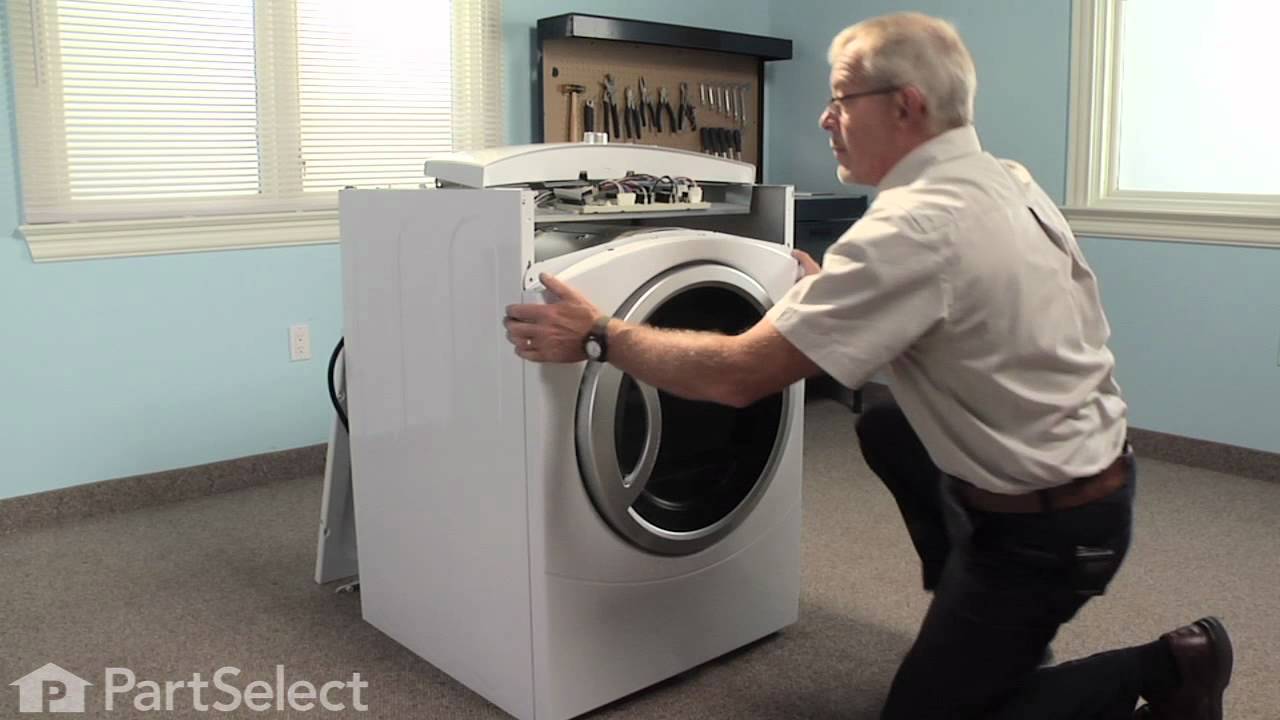
I did it a little differently than most, namely I did not remove the dryer drum. I simply pulled it out about six inches (make sure and slide belt back as you inch out the drum). But first, unplug the dryer, then remove the top, then the front.
A Philips screwdriver will quickly remove the top of the dryer (two screws on inside front, where door closes) and the front face (two screws at top of front, inside face). Lift the front up about an inch and it is free. I had to disconnect a couple wires, just make sure you mark before you disconnect them.
With that done, the drum will pull straight toward you (out). Make sure and support the weight of the drum as you slide it out. I found no need to remove the drum.
At the rear inside of our drum, there are three Torx screws that hold the bearing assembly on. I have a pretty long reach so I just removed two of the Torx screws, then reached around the back of the drum while removing the third screw, to keep the bearing assembly from falling onto the floor behind the back of the drum.
This plastic bearing is held to the bearing shaft by a little o-ring. Just pull the o-ring off, slide off the old bearing, slide the new bearing on and replace the o-ring (if yours is broken, any home store will have one that will work as a replacement in their faucet repair department).
Reattach the bearing housing to the drum with the Torx screws (get all three started before you tighten any of them), slide the drum back in - make sure you slide the belt as you move the drum back in and support the weight of the drum so you don't bash the bearing assembly into the back of the dryer.
You're doing this part blind, but in a few seconds, you can guide the bearing back into the hole in the back wall of the dryer. It just slides into the hole, nothing fancy.
Put the front of the dryer back on. Then replace the top (I had to remove the five screws on top of the dial panel to give it some flex so the top would pop back into place without stressing the dial panel), plug the dryer back in, and fire it up.
45 minutes after this part arrived at our home, our dryer problems were gone. Now that I've done one, I could probably do it in 20 minutes the next time (it's that simple/easy). And we didn't need a new dryer. Makes me think I should have the appliance guy who told me we needed a new dryer to direct all of these "pain in the fanny" bearing replacements to me because I could charge someone $50 total for the repair and make good money.
Hope all this babble helps someone else who doesn't need a new dryer.



 My Orders