Models > GTD33EASK0WW > Symptoms > Marks left on clothes

Parts That Fix General Electric Dryer GTD33EASK0WW Marks left on clothes

Marks left on clothes is a commonly reported symptom for the GTD33EASK0WW General Electric Dryer, and we have put together a full guide on how to fix this. This advice is based on feedback from people who own this exact appliance. We have listed the most common parts for your GTD33EASK0WW General Electric Dryer that will fix Marks left on clothes. We have included repair instructions, and helpful step-by-step video tutorials. If you are experiencing this issue, not to worry, DIYers just like you have fixed this, and shared their experience to help you!

Fixes Symptom 79% of time
★★★★★
★★★★★
42 Reviews

Rated by 85 customers 


Really Easy 

30 - 60 mins 

Ratings submitted by customers like you who bought this part.   

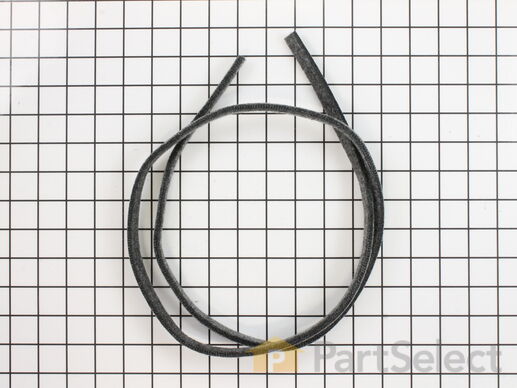
This is a duct felt seal for a dryer. The duct felt seal allows the front-load dryer drum to glide smoothly on the front panel. Your dryer will not function properly if the drum felt seal is compromised. Disconnect power to the dryer before completing this repair. You will need to remove the front of the dryer to gain access to the felt seal. This felt seal may differ in appearance from your original but will function the same as your original. This is an OEM replacement part that is sourced directly from the authentic manufacturer.

$ 11.56
  In Stock
PartSelect Number PS12722961
Manufacturer Part Number WE09X27634

Replacing your General Electric Dryer Duct Felt Seal

Replacing your Duct Felt Seal

Customer Repair Stories

Dryer leaving stains on clothes

Shortly after a piece of felt (the duct felt seal) was visible on the drum intererior, the dryer started making metal-on-metal squeaks. A few weeks later it started leaving'machine part' type brown/black marks on clothes. With the model # it was quite easy to find and order the correct part, which arrived a few days later. The accompanying video made installation quite straightforward, even for someone who's NEVER worked on a dryer before - even though the model used wasn't the same. Over half the repair time was to clean out lint and dirt from the various exposed parts. Overall, an easy and effective repair that solved the staining issue. Follow the video and you won't go wrong.
  • Tahir from ARLINGTON, MA
  • Difficulty Level:
    Easy
  • Total Repair Time:
    1- 2 hours
  • Tools:
    Screw drivers
1 of 3 people found this instruction helpful.
Was this instruction helpful to you?
Thank you for voting!

the felt in front door worn out

i follow your video and all went well except now the dryer will not heat. i went back on your site an tried the no heat option an still no heat
  • gerard from goldsboro, NC
  • Difficulty Level:
    Easy
  • Total Repair Time:
    30 - 60 mins
  • Tools:
    Nutdriver, Screw drivers
2 of 5 people found this instruction helpful.
Was this instruction helpful to you?
Thank you for voting!
Fixes Symptom 9% of time
★★★★★
★★★★★
9 Reviews

Rated by 5 customers 


Easy 

1- 2 hours 

Ratings submitted by customers like you who bought this part.   

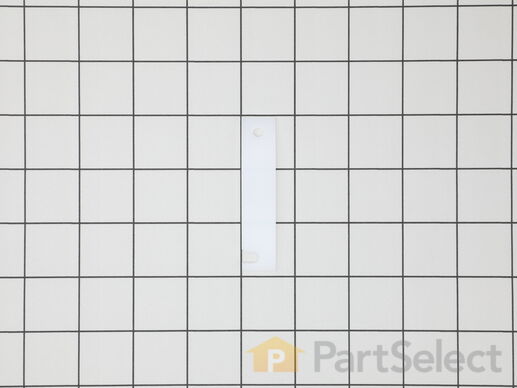
If your dryer is excessively noisy when operating, is not tumbling, or is leaving marks on your laundry, it may be time to replace the drum glides. The drum glide bearing is a genuine OEM part for your dryer and is used to help the drum rotate smoothly and quietly. If the bearing has worn out, it can make your dryer noisy when operating, with a metal-on-metal sound. Please be sure to disconnect the power supply to the dryer before beginning this repair.

$ 13.17
  In Stock
PartSelect Number PS4704230
Manufacturer Part Number WE3M51

Replacing your General Electric Dryer Drum Glide Bearing - White (Sold individually)

Replacing your Drum Glide Bearing - White (Sold individually)

Customer Repair Stories

Dryer was making noise

Took the top and front end of the dryer off. Took the old slider spacers off and installed the new ones. I replaced all four of them even though only two was bad. While I had the dryer open I decided to use my shop vac to clean up the lint that had accumulated there. Replaced the front and the lid plugged it up, hit the start no noise just like new.
  • Maurice from MINERAL SPGS, AR
  • Difficulty Level:
    Really Easy
  • Total Repair Time:
    15 - 30 mins
  • Tools:
    Screw drivers
8 of 10 people found this instruction helpful.
Was this instruction helpful to you?
Thank you for voting!
Fixes Symptom 8% of time
★★★★★
★★★★★
3 Reviews

Rated by 3 customers 


Easy 

1- 2 hours 

Ratings submitted by customers like you who bought this part.   

$ 15.13
  In Stock
PartSelect Number PS17626249
Manufacturer Part Number WE03X37320
Fixes Symptom 4% of time
★★★★★
★★★★★
5 Reviews

Rated by 5 customers 


A Bit Difficult 

1- 2 hours 

Ratings submitted by customers like you who bought this part.   

Also known as Drum Mounting Hub.

$ 26.89
  In Stock
PartSelect Number PS12743374
Manufacturer Part Number WE11X29438

Customer Repair Stories

Heat deflector was covered in melted plastic

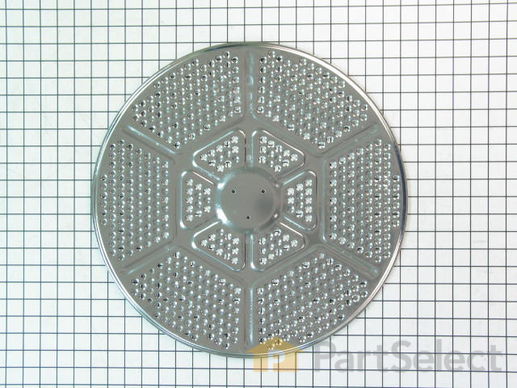
Someone I'm related to by marriage accidentally dried a plastic-coated tablecloth on high heat, and our heat deflector was hosed. I was very happy to find this part here for such a reasonable price; Sears wanted about $65 for it. Installation required a Torx bit, and removing the old one was easy, but the dryer's design made it difficult to reinstall the heat deflector while keeping the dryer running concentrically. I ended up cutting the heads off three screws, threading those into the plate behind the drum, sliding the new heat deflector on over those, and then one by one replacing them with the original Torx head screws. Once I figured it out it didn't take long but it took me a while to figure it out. That's probably more a reflection on me than the dryer!
  • Charles from Alexandria, VA
  • Difficulty Level:
    A Bit Difficult
  • Total Repair Time:
    30 - 60 mins
  • Tools:
    Socket set
35 of 50 people found this instruction helpful.
Was this instruction helpful to you?
Thank you for voting!

Deflector was covered in burnt something.

Deflector has 3 bolts attaching it. They require a star wrench. Had to purchase same to do the repair. Removed the bolts(they are sheet metal type screws(bolts). Installed the deflector and started dryer. Loud rubbing sound noted. Shut off and checked the drum and noted it was not running concentrically. Removed deflector and the found the 3 screws actually retained the drum to drive. Had to make alignment pins to allow proper alignment of the drive, drum, and deflector. Once the pins were used during installation of the deflector everything worked correctly. Turned on dryer and it operated normally.
Had I had the proper tools the repair would probably have taken 30 minutes or less.
  • Richard from San Antonio, FL
  • Difficulty Level:
    Difficult
  • Total Repair Time:
    1- 2 hours
  • Tools:
    Wrench set
38 of 56 people found this instruction helpful.
Was this instruction helpful to you?
Thank you for voting!