Your coupon for will be reflected when you check out!
✖
Your coupon for
✖
Hello!
You're visiting the PartSelect site in U.S.
Would you like to shop on the Canadian site?
Stay on this site
Go to Canadian site
✖
Model Number Locations
1Select Category Type
Select Category Type
2Select Product Type
Select Product Type
3Select {MODEL} Type
Select {MODEL} Type
Sample Model Number Tags
Model numbers can be made up of numbers (1005400, for example) or a combination of letters and numbers (LAT1000AAE). The model number will most likely appear on either a paper sticker or a metal plate. Your appliance's model number tag may look similar to the sample model number tags shown here (model number highlighted in yellow):
Model has been saved to My Models. If you're not signed in, your lists are available on this device and will expire within 30 days.
Model has been saved to My Models.
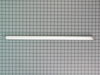
This replacement door handle is designed to fit select range models and provides a secure grip for opening and closing the oven door. Measuring approximately 22 inches by 1 inch, it is constructed fro...
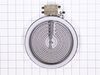
Introducing GEs 6 Inch Heating Element, the ultimate solution for your appliance repair needs. Authentic and guaranteed for quality, this radiant surface element is designed to be the perfect replacem...
1st I opened the oven door and removed the 2 screws that hold the outside and inside of the door together. With the door separated I removed the 2 screws that hold the end caps in place, then removed the old end caps. I put the new end caps on the oven door handle, aligned the holes for the end cap screws and reinstalled the screws,then
... Read morereinstalled the oven door screws,closed the oven door and started cooking.
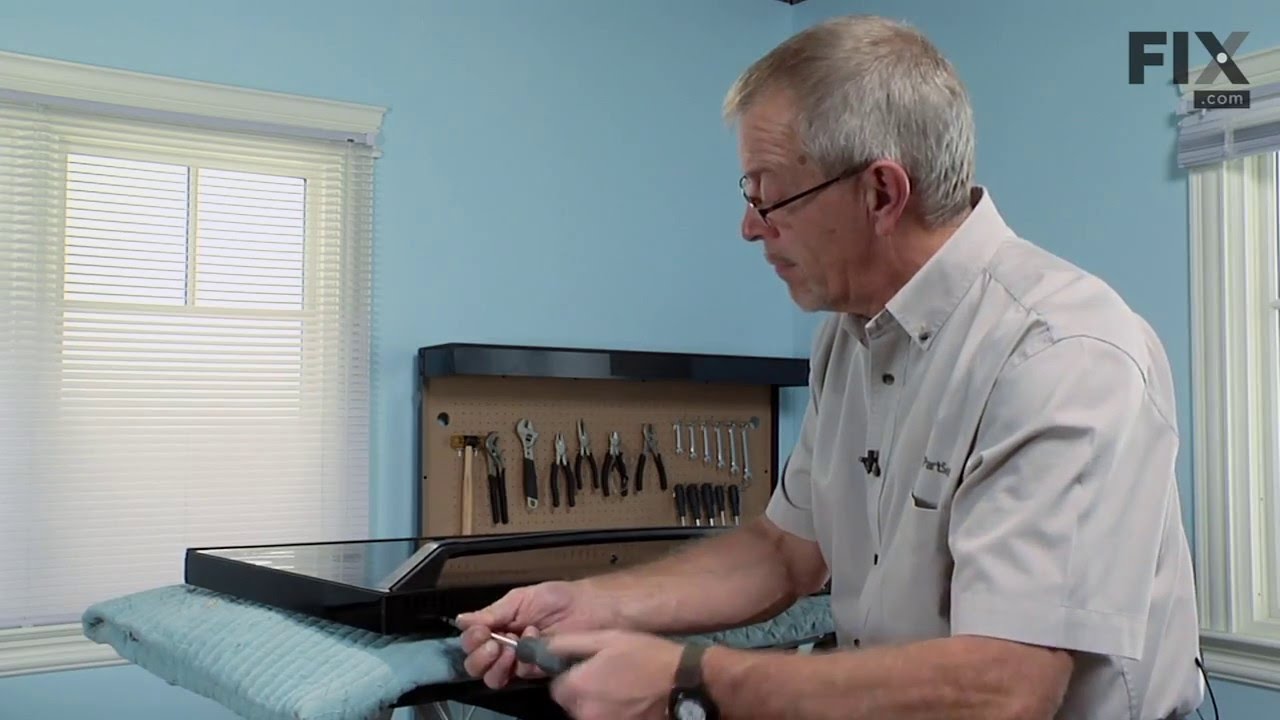
Unplugged range. Opened oven door and removed two screws from top of oven opening. Lifted oven top and propped up with a 2 x 3.Unscrewed the two screws that were holding