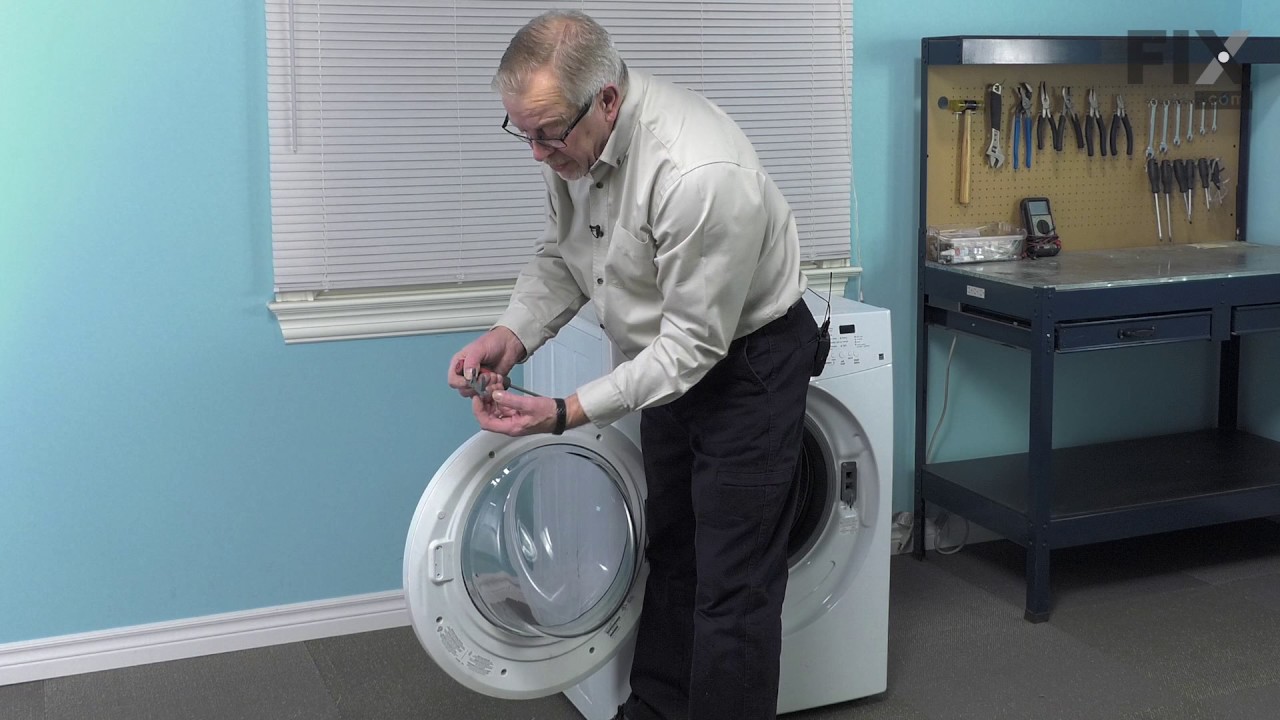
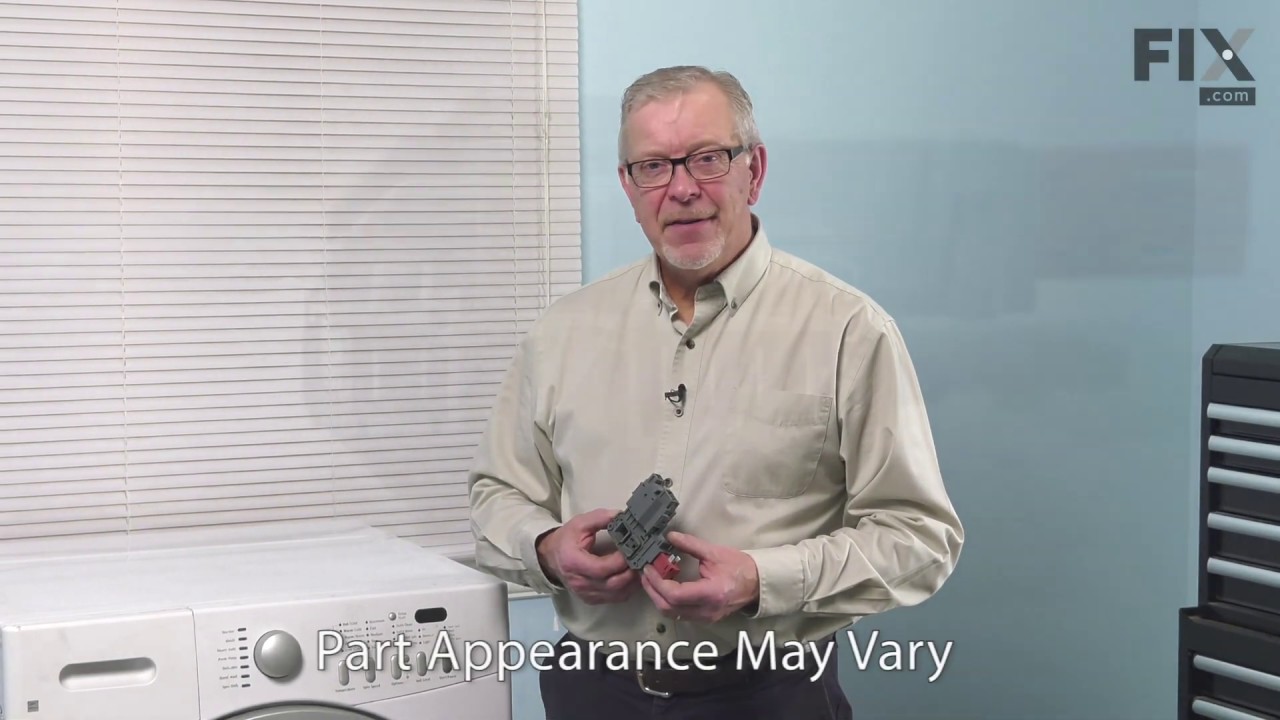
This is a door striker, it is gray in color and is a part found on your washer. The purpose of the striker is to keep your washer door closed for usage. This piece will attach to your appliance lid and will activate the door switch when your lid is closed. The most common reasons for needing to replace this part are if your lid will not c...Read moreonsistently open or close, and your washer will not consistently start. The only tool you will need to complete this installation is a Phillips screwdriver.
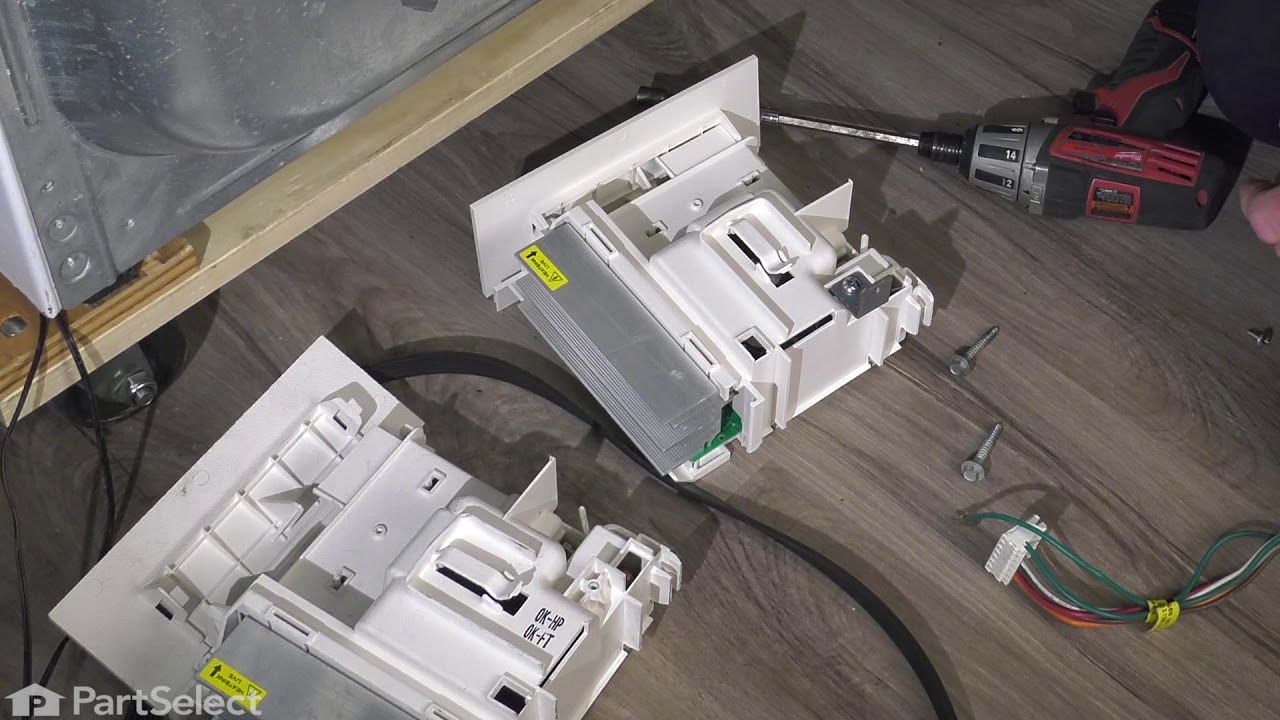
This door lock and switch assembly is manufactured to lock the door on your front load washer to prevent it from opening while it is running. You may need to replace the door lock and switch if the door does not open or lock. Your washer will not start if the door does not lock. This part is also known as a washing machine door lock assem...Read morebly. As per the manufacturer, some models require a new wire harness and a door strike for this door lock assembly to work on the appliance. The original style lock would require the door lock kit.
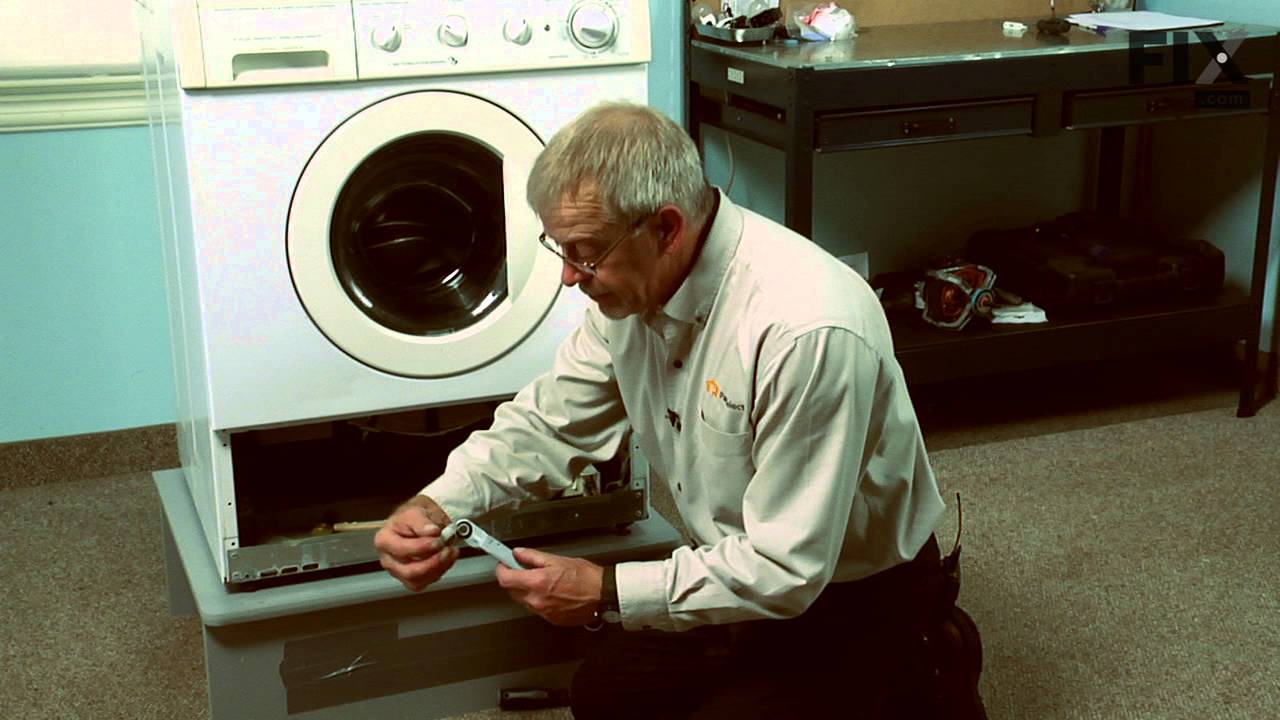
This shock absorber kit is an authentic OEM part that is sourced directly from the manufacturer. The kit includes two dual-stage shock absorbers, one spare shock mounting pin, and four locking nuts. These shock absorbers keep your front-load washer from shaking vigorously by absorbing and reducing vibrations from the wash and spin cycles ...Read moreof your appliance. This kit comes with two shock absorbers because it is recommended to replace both at the same time, as they wear at the same rate. To access your washer shock absorbers, simply remove the lower access panel after disconnecting the power to the appliance.
This is a 120 volt, 60 hertz drain pump that is manufactured to remove water from the tub of your washer once your clothes are washed. This part is the pump and motor assembly, which includes a red flapper to prevent drain backflow. You will need to remove the front panel of your washer to access the drain pump. The tools you will need fo...Read morer the repair are a Phillips screw driver, a putty knife, a pair of slip joint pliers, and a 5/16 nut driver. Be sure to disconnect the water supply from your washer before doing the repair. The metal edges on the appliance are sharp, so use work gloves to safely complete the repair.
This is a screw in leveling leg for your washing machine. It supports the appliance by screwing in place to create a stable and flat surface. Take note that you are able to adjust the height of your appliance to make it leveled. This model is made entirely of plastic and is white in color. It is just under 2.5 inches long, 1.5 inches wide, and the head has a diameter of roughly 1.5 inches.
This is a replacement screw for your washer or dryer. The screw is approximately half an inch in length and is a Phillips-head screw. It screws in from the outside of the drum, into the vane/baffle. The main reason you would replace this screw is if the old screw is missing or damaged. This part is sold individually and is an OEM part sourced directly from the manufacturer.
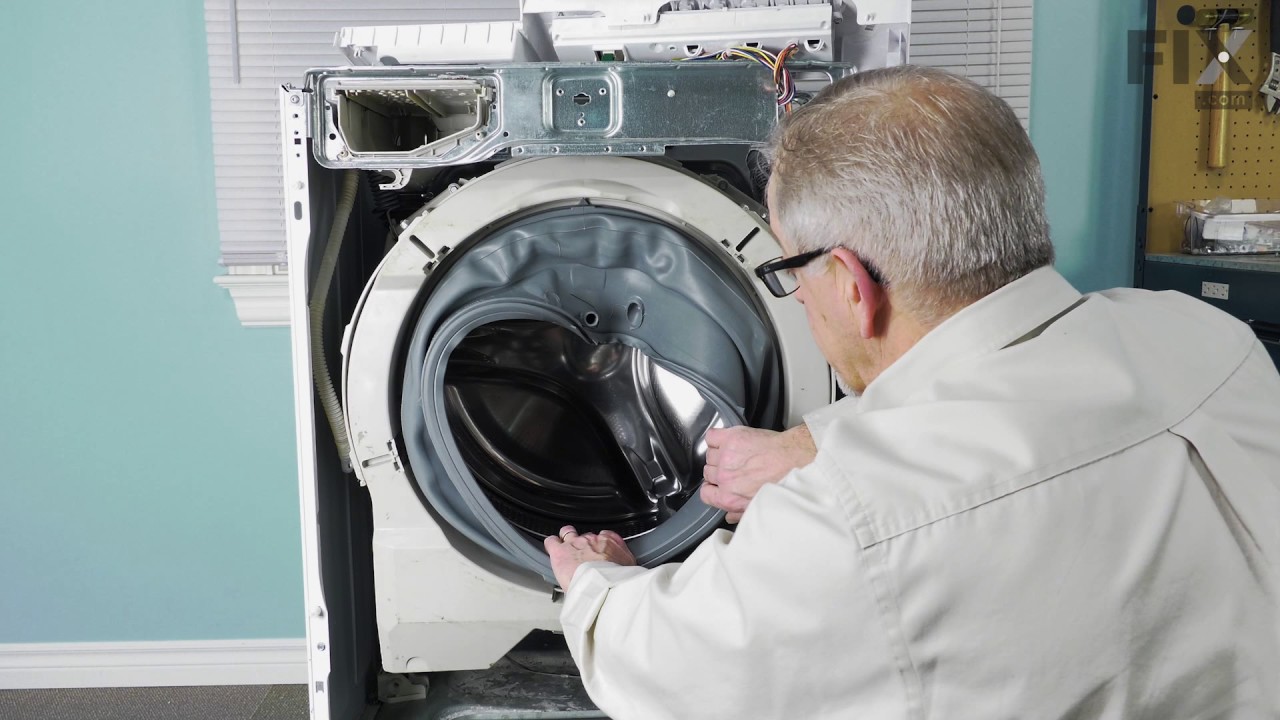
Also known as a Door Boot Seal and is used in front load washers. This part is used to keep the clothes inside the tub during the wash cycle. The folds in the bellow allow the tub to move separately from the door during the spin cycle.
NOTE: This part has been redesigned by the manufacturer and is interchangeable with the old design.
This washer shock absorber mounting pin is a small but essential fastener that secures the shock absorber to the outer tub of a front-load washing machine. By holding the shock absorber firmly in place, it helps stabilize the tub during wash and spin cycles, reducing excessive vibration, shaking, and movement. Made from durable materials ...Read moreand designed for a precise fit, the pin supports smooth operation and protects other components from stress caused by unbalanced motion. Replacing a worn, broken, or missing mounting pin can help restore proper vibration control, improve washer stability, and prevent noise or damage during operation.
This washer door boot spring clamp secures the rubber door seal in place, maintaining a tight, watertight fit between the tub and front panel during operation. Its tension design helps prevent leaks and keeps the door properly sealed throughout wash cycles. Replacement is recommended if the seal becomes loose, water leaks from the front, ...Read moreor the clamp is damaged, helping restore a secure fit and reliable washer performance.
Ask our experts a question about this model and we'll get back to you as soon as possible!
We may have answered a similar question already! Search questions and answers left by others using simple keywords like "fit", "broken", "easy", or "quality" to find questions that match.
Search filter:
Clear Filter
Your search term must have 3 or more characters.
Sort by:
Prev
1
2
Next
Sorry, we couldn't find any existing answers that matched.Try using some different or simpler keywords, or submit your new question by using the "Ask a Question" button above!
Shawn - For model number 41748102701
November 28, 2022
I have a kenmore front load washer and i it will only work in the wool setting all other settings heavy, normal, perm press, ect,ect will not work and the the door locked light flashes what would cause this the door lock or the controle board?
Hello Shawn, thank you for contacting us. The most probable cause of the issue is a faulty control board, part number PS2342423. It manages almost all the functions of the washer such as filling, washing, draining and spinning. Please reach out to customer service if you need help placing an order. Glad to be of help!
Washing machine plastic handle needs replaced on door
Hi Frank, Thank you for writing. The White Door Handle for this model is shown as PartSelect #: PS1145788. Thank you for the inquiry, good luck with the repair!
This is an old (10+ yrs) Kenmore Front Loader Extra Capacity Model 417 48102701 and out of nowhere, there is banging and thumping all of the time. It won't stop unless I move the dial to any random setting. It stops for a few mins and then starts banging again. It's in a tight space, so want to know what to expect before pulling it out.
Hi Mike,
Thank you for your question. If your washer shakes and moves, there are some parts that you will need to check to see which one is causing the issue. You will need to check the shock absorbers, the shock mounting pins and the suspension springs. We have included a link that you may reference on how to check these parts. Once you have determined the part you need, please feel free to call customer service. We are open 7 days a week and anyone will be happy to assist you. We look forward to hearing from you!
Kenmore front loading washer model # 41748102701 will not complete final spin cycle. It will spin/wash but once it starts to go into the final faster spin- the washer turns itself off. Not overloaded(will do this with only a couple of towels/light load) and I have changed the door lock switch to see if that would help. The new switch did not help. I assume it is some sort of safety feature? Any thoughts? Thank you!
Hello Brooke, thank you for your question. This may be happening due to a faulty Motor Control Board PS1524621. We hope this helps.
Every once in a while after running a load water will appear in drum which I remove with the "Drain/Spin" setting. The water doesn't have any noticeable odor which leads me to belive it's fresh water and not drain water. Thoughts?
Hello Mark, thank you for contacting us. According to our research, the most likely cause is a faulty water inlet valve. The inlet valve can develop an internal leak and allow a small amount of fresh water to slowly seep into the drum even when the washer is turned off. Since the water appears clean and has no drain odor, it is likely coming from the water supply rather than backing up from the drain. Replacing the water inlet valve, part number PS2330891, can help prevent water from collecting in the drum between cycles. We hope this solves your problem!
See how others fixed this model. Time, tools, difficulty, and steps that lead to victory!View More
Search repair tips from other customers using simple keywords like "replace", "fit", "remove", "inspect". DIY doesn't mean you have to do it alone!
Search filter:
Clear Filter
Your search term must have 3 or more characters.
Broken Door Catch
574 of 593 peoplefound this instruction helpful.
Joy from Columbia, MO
Really Easy
Less than 15 mins
Screw drivers
This was one of the simpliest repairs I have ever done taking less than 5 minutes to complete. On the inner door I removed the two screws that hold the plastic catch in place. I then removed the broken catch and put the new catch in place. Finally I replaced the two screws that hold the catch in place and it was done.
Was this helpful?
Thank you for voting!
Door on washer wouldn't lock or start
477 of 565 peoplefound this instruction helpful.
DOUG from KING FERRY, NY
Really Easy
Less than 15 mins
Screw drivers
1. Unplug unit. 2. Unscrew 2 nuts holding top in place in rear of unit using phillips head screwdriver. 3.Slide top back and remove. 4. Open door of washer and unscrew 2 screws holding in door lock unit. 5.Pull out unit from the top and install new unit reconnecting the 3 wire connections.
Was this helpful?
Thank you for voting!
Old Bellow Ripped
251 of 346 peoplefound this instruction helpful.
Peggy from New Castle, PA
A Bit Difficult
30 - 60 mins
Nutdriver, Screw drivers
remove top of machine by removing 3 screws along the top edge in the back of your machine and then sliding the top back and up. Then loosen the screws holding on the control panel enough to get to the 2 screws at the top of the door panel. Next remove bottom panel by removing 2 screws along bottom edge then pulling it free from snaps. The
... Read moren along the outside lip of the bellow, just inside the door, is a wire clip that is easily removed by prying it past rubber lip with a screw driver and lifting it away. Remove the door panel by removing the 2 screws you exposed by loosening the control panel and 2 more along the bottom that were exposed when removing bottom panel. After the door panel is removed and the bellow is completely exposed, you will find that it is held in place by a circular spring which wraps the whole way around the drum opening. Again it can be removed by prying it out away from the groove in which it sits with a screw driver. Now your machine is broken down as far as it needs to be. From here you can follow the directions included in your new bellow kit and put it back together by following these instructions in reverse.



 My Orders