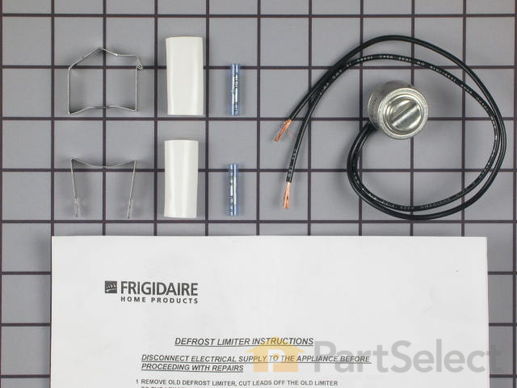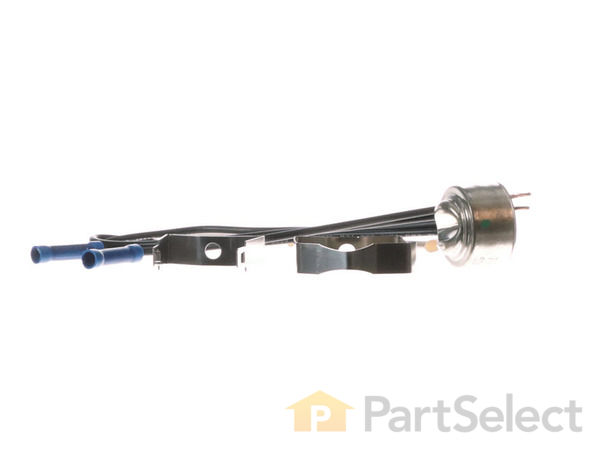
Defrost Thermostat 5303917954
Rated by 30 customers
Easy
30 - 60 mins
Ratings submitted by customers like you who bought this part.
Get this part fast! Average delivery time for in-stock parts via standard shipping: 1.8 days.
Defrost Thermostat Specifications

How Buying OEM Parts Can Save You Time and Money
Replacing your Frigidaire Refrigerator Defrost Thermostat

-
5 Stars 3
-
4 Stars 2
-
3 Stars 0
-
2 Stars 2
-
1 Star 0
- < Prev
- 1
- Next >
- < Prev
- 1
- Next >
- < Prev
- 1
- 2
- 3
- Next >
-
Reed from Cash, AR
-
Difficulty Level:A Bit Difficult
-
Total Repair Time:1- 2 hours
-
Tools:Nutdriver, Screw drivers
-
Jeff from GLENDORA, CA
-
Difficulty Level:Really Easy
-
Total Repair Time:Less than 15 mins
-
Tools:Nutdriver
-
Carol from OSHKOSH, WI
-
Difficulty Level:Easy
-
Total Repair Time:30 - 60 mins
-
Tools:Screw drivers
-
Todd from Thornton, CO
-
Difficulty Level:Really Easy
-
Total Repair Time:15 - 30 mins
-
Tools:Nutdriver, Screw drivers
The problem when the fan broke th ... Read more e compressor overheat and burn the swich.
I learn a lot and still saving money over these repair guy.
Thanks
-
Joel from Sunny Isles Beach, FL
-
Difficulty Level:A Bit Difficult
-
Total Repair Time:15 - 30 mins
-
Tools:Nutdriver, Pliers
-
DONALD from MECHANICSVILLE, MD
-
Difficulty Level:Really Easy
-
Total Repair Time:15 - 30 mins
-
Tools:Nutdriver
The defrost timer was right in front. 2 minutes and a screwdriver and I had it replaced.
To replace the thermostat, I had to take out the back panel, defrost it and then install the new part. the only problem was that the heatshrink tubing they sent was too large. Otherwise, it worked great.
-
brad from minneapolis, MN
-
Difficulty Level:Easy
-
Total Repair Time:30 - 60 mins
-
Tools:Nutdriver, Screw drivers
2. Removed all of the shelving and bottom basket.
3. Removed rear covering in the freezer section.
4. If frosted over, manually defrost coils with hairdryer.
5. Located original thermostat and after marking the wire locations cut the wires and removed th ... Read more e Thermostat.
6. Connected matching wires using a lighter to melt the wires together. Wrapped repaired wires with electricians tape.
7. Unable to install the thermostat in the recommended location (freezer is a tight fit) the new part was installed at the original location.
8. Replaced the rear cover and shelves.
9. Plugged in the refrigerator and set the cycle back to cooling.
10. Monitored freezer coils couple of days/weeks depending on how fast they freeze over (slots at bottom of cover) to validate if problem solved.
-
Kyle from Porter, OK
-
Difficulty Level:Really Easy
-
Total Repair Time:Less than 15 mins
-
Tools:Nutdriver
-
Anil from Somerset, NJ
-
Difficulty Level:Really Easy
-
Total Repair Time:15 - 30 mins
-
Tools:Nutdriver, Pliers
The thermostat requires removing the lower drawers in the freezer and unscrew the back side of the rails and let them hang over to get access to the lower cover on the back of the freezer. On ... Read more ce the panel is off you will be able to see the thermostat. From there you just remove the thermostat from the clip, cut the 2 wires, splice in the new thermostat and re install using the new clip and your done!!
This was my first time and it was really simple. I had a local repair shop quote me $375.00 . I did it myself for under 50.00 shipped to my door..
-
Else from Plant City, FL
-
Difficulty Level:Easy
-
Total Repair Time:15 - 30 mins
-
Tools:Nutdriver, Screw drivers
- < Prev
- 1
- 2
- 3
- Next >
Ask our experts a question about this part and we'll get back to you as soon as possible!
- < Prev
- 1
- Next >

9 people found this helpful.

5 people found this helpful.

- < Prev
- 1
- Next >

Manufacturer Part Number: 5303917954

Item is in stock and will ship today if your order is placed before 4:00 PM Eastern Standard Time.
If your order is placed after 4:00 PM EST, the in stock items will ship on the next business day.
Item is not in stock and usually ships 3-5 business days from the time you place your order.
Item is not in stock and usually ships 10-15 business days from the time you place your order.
This item is no longer being made by the manufacturer, and cannot be added to your shopping cart.


