Your coupon for will be reflected when you check out!
✖
Your coupon for
✖
Hello!
You're visiting the PartSelect site in U.S.
Would you like to shop on the Canadian site?
Stay on this site
Go to Canadian site
✖
Model Number Locations
1Select Category Type
Select Category Type
2Select Product Type
Select Product Type
3Select {MODEL} Type
Select {MODEL} Type
Sample Model Number Tags
Model numbers can be made up of numbers (1005400, for example) or a combination of letters and numbers (LAT1000AAE). The model number will most likely appear on either a paper sticker or a metal plate. Your appliance's model number tag may look similar to the sample model number tags shown here (model number highlighted in yellow):
Model has been saved to My Models. If you're not signed in, your lists are available on this device and will expire within 30 days.
Model has been saved to My Models.
This an authentic OEM 40-Watt replacement light bulb, used in a number of household appliances. It is specially designed to withstand extreme temperatures, which is why these replacement bulbs are mos...
This oven temperature sensor, for ranges, works together with the oven control board to measure and regulate the oven temperature. The sensor detects the temperature in the oven cavity. If the followi...
This is a multi-use and multi-appliance screw. It can be used on a microwave, refrigerator, range/oven, air conditioner, dehumidifier, washer, or dryer. The measurements of this screw are 8 x 1/2 inch...
This is a door hinge active with spring, for your range. The hinge controls the opening and closing of the oven door. If your oven door seems to be sticking, you may want to consider replacing this pa...
This touch-up paint can be used on a wide variety of household appliances. It is most often used on washers, dryer, refrigerators, dishwashers, ranges, freezers, trash compactors, or microwaves. It is...
This surface element control switch, also known as an infinite switch, is a genuine OEM replacement designed for 6-inch electric burners on select ranges. It regulates the power supplied to the surfac...
This broiler pan and roasting rack set is designed to help reduce mess while cooking by allowing grease to drain away from food. Its durable porcelain-coated construction stands up to high temperature...
This chrome-colored oven rack is designed to provide a stable and heat-resistant surface for cooking, baking, and broiling inside compatible range ovens. Engineered for durability, it fits a variety o...
This broil element supplies heat for cooking purposes and is located in the roof of an oven. If you find there is little to no heat when cooking, a burned-out element, or food is taking too long to co...
This dual element control switch is designed to regulate heat for dual surface burners on select electric ranges. It provides precise temperature control and helps restore functionality when a burner ...
The light socket on your electric range connects the power source to the light bulb. If your oven light is malfunctioning, you may need to replace the light socket. The light socket is located in the ...
Ask our experts a question about this model and we'll get back to you as soon as possible!
4 questions answered by our experts.
Sort by:
< Prev
1
Next >
Search filter:
Clear Filter
Your search term must have 3 or more characters.
Keep searches simple. Use keywords, e.g. "leaking", "pump", "broken" or "fit".
Sorry, we couldn't find any existing answers that matched.Try using some different or simpler keywords, or submit your new question by using the "Ask a Question" button above!
Evert
January 31, 2024
Our front two burners get to hot for the setting we have it on. The back left one is also starting.
For model number YWFE530C0AW0
Hello Evert, thank you for getting in touch. Based on the description that you have provided, we would recommend checking the surface element switches to fix the issue. The surface element switch for the left front and the right front burner have the same part number PS11754687, and the surface element switch for the left rear element is part number PS11740785. We hope this solves your problem!
LE CENTRE DE MON DUAL ZONE DE DROITE RESTE TOUJOURS À LA TEMPERATURE MAXIMUM
EST-CE QUELQUE CHOSE QUE JE PEUX RÉPARER MOI MÊME?
For model number YWFE530C0AW0
Bonjour René,
Merci pour votre demande. Nos recherches ont révélé que le numéro de pièce PS11749881 est l'élément Duel de remplacement pour votre modèle. Pour le changer, il vous suffit de soulever la plaque de cuisson en verre, de retirer l'ancien élément et d'insérer le nouveau. Nous espérons que cela vous aidera.
My left front dual zone medium sized element only heats up too hot at any setting, what part do I need to order?
For model number YWFE530C0AW0
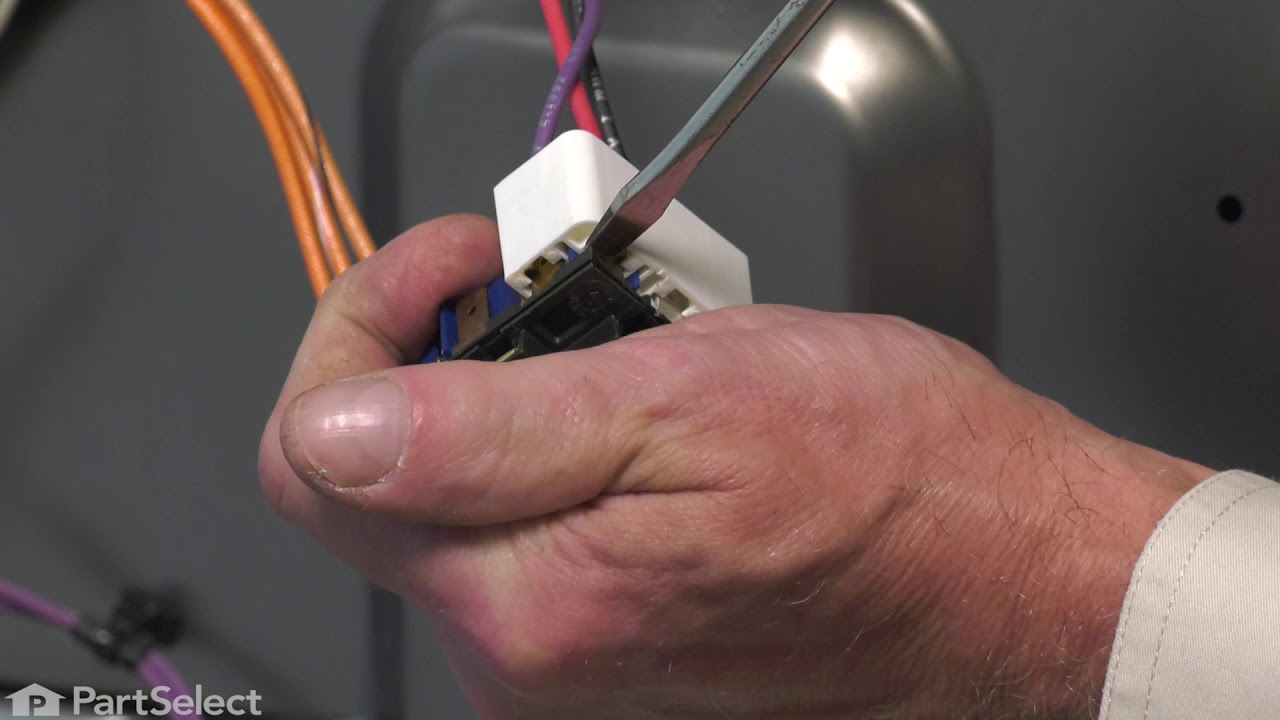
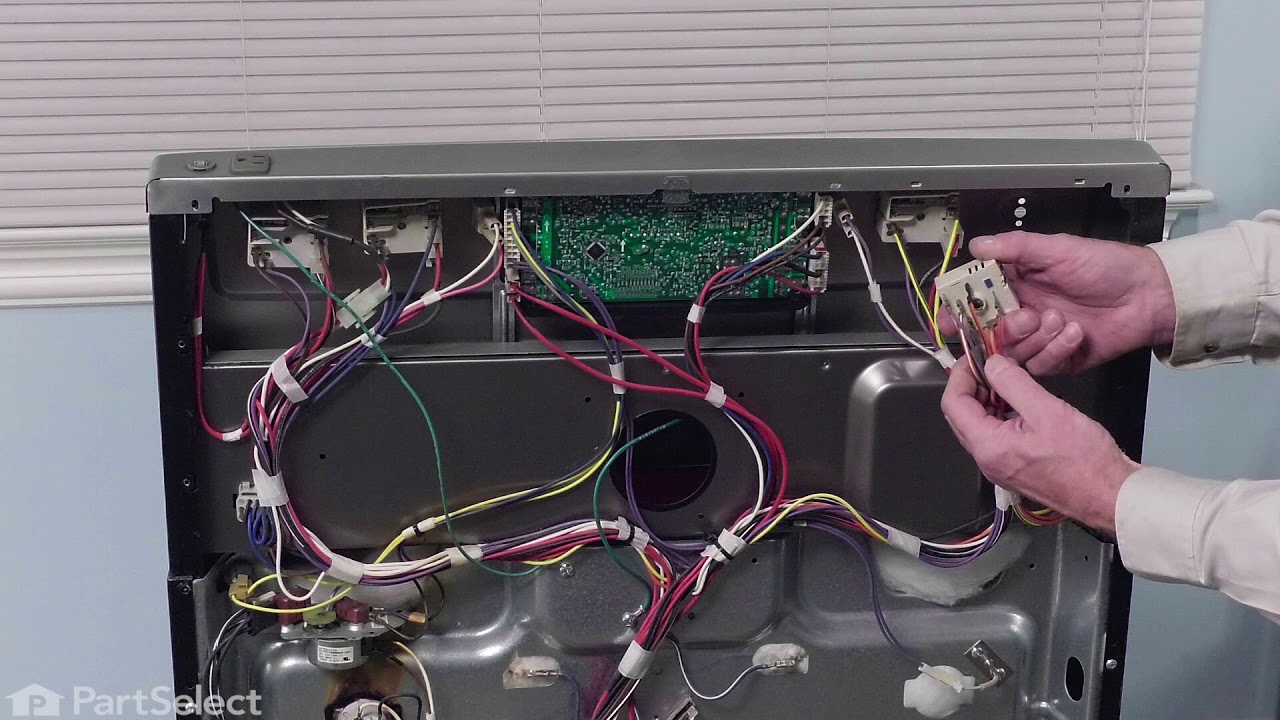
Hello Suzan, Thank you for the question. Normally this is an indication the Switch that controls the element is defective and should be replaced. We hope this helps!
Stove is a Whirlpool flat top model.. one element only comes on high heat regardless of setting.. i believe this to be a switch problem but i cannot see how to unplug wires from the back of the switch to replace it.. the wires appear to go directly from the switch into the main body of the stove. does this make sense? model # ywfe530c0aw0. serial # r41410989
For model number YWFE530C0AW0
Hello Doug, thank you for writing. We have an installation video for you to access. The Dual Switch is part PS11754687 and the 6" switch is PS11740785. We hope to hear from you soon.
I numbered every part. ex: 1 L., for first part removed left side. I used a magic marker to circle the holes and wrote the number of screws used on the part, set the srews in a separete place, so that I new where these screws went to. The cleanup was pretty time consuming, but I was able to keep my stove, when every repairman I called to
... Read more fix my stove told me I was better off buying a new stove. ($600.00 stove 2 years old)Please Note: The insulation blanket needed for the entire stove is two pieces, the sides and top are one part # and the bottom and back, are another part #. I did not know this. I just purchased the top and sides. I got lucky, the back and bottom were still in good shape. So I guess I should have read the description of the part more carefully to see what it covers, before I ordered it. It took two people two hours to do the work, it was really nice to have an extra set of eyes, to remember what direction pieces of metal from the stove went. I would do it all over in a heart beat instead of buying a new stove.
Opened up the back of the stove. Unpluged the sensor. Replaced the sensor. Replace the back of the stove.
The sensor that has been replaced is not what is expected. After reading all of the instructions for adjusting the temperatures, the only temp that stays steady is when we first turn on the oven to 350 degrees. That stays s
... Read moreteady but when I turn it to 400 it slowly goes up to 425 degrees.
Took 2 screws under front edge of smooth top. Unscrewed ground wire from back of smooth top unit. Unplugged 2 wire bundles, from back. Took bad element out , put in new one. Put back together. About 10 min's tops. Easy peasy.