WSM2780TCWWB General Electric Washer Dryer Combo - Overview
Sections of the WSM2780TCWWB
[Viewing 6 of 6]Keep searches simple, eg. "belt" or "pump".
Top Drum Glide Kit
PartSelect #: PS264864
Manufacturer #: WE03X10001
This top drum glide kit comes with the adhesive.
No Longer Available
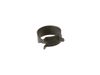
Dishwasher Hose Clamp Kit
PartSelect #: PS270806
Manufacturer #: WH1X2036
This is a water hose clamp kit for a variety of appliances including dishwashers and washers. This is a genuine replacement part. The kit includes two hose clamps. The smaller of the two is 1 inch in ...
$26.40
In Stock
Dryer Screw 818 X .31
PartSelect #: PS299875
Manufacturer #: WR2X9494
This screw is sold individually. Size 8 - 18 x 0.31
No Longer Available
Gas Valve Coil Kit
PartSelect #: PS265259
Manufacturer #: WE04X10020
This dryer solenoid kit comes with both the 2 and 3 wire coil valves.
No Longer Available
Water Inlet Valve
PartSelect #: PS270303
Manufacturer #: WH13X78
This water inlet valve attaches the water lines to the back of your appliance. The attaching solenoids on the valve open and close according to the desired temperature, or amount of water needed.
No Longer Available
IDLER & PULLEY
PartSelect #: PS12730520
Manufacturer #: WE03X29378
A dryer's idler pulley wheel serves to help the belt to rotate the drum. This arm is what attaches to the idler pulley wheel.
$98.20
In Stock
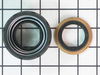
Tub Seal Kit
PartSelect #: PS269368
Manufacturer #: WH08X10004
Are you in need of extra storage in your fridge for those essential items? As a kitchen whiz, we understand that you appreciate a well-organized fridge. That's why we're introducing our GE Full Door S...
No Longer Available
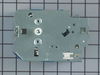
Washer Timer
PartSelect #: PS269959
Manufacturer #: WH12X1040
The timer controls most of the operations of the washer: water level, tub filling and emptying, length of cycles, and cycle setting sequences.
No Longer Available
Questions And Answers for WSM2780TCWWB
Be the first to ask our experts a question about this model!
✖
Ask a Question
Ask our experts a question on this model and we'll respond as soon as we can.
Sorry, we couldn't find a match for "".
Here's a guide for finding your model number.
Something went wrong. Please try again later.
Your Question Has Been Submitted!
Our experts will send you an email as soon as your question has been answered.
Common Symptoms of the WSM2780TCWWB
[Viewing 4 of 4]Noisy
Fixed by
these parts
these parts
Show All
Leaking
Fixed by
these parts
these parts
Show All
Marks left on clothes
Fixed by
these parts
these parts
Show All
Will not agitate
Fixed by
these parts
these parts
Show All
Keep searches simple. Use keywords, e.g. "leaking", "pump", "broken" or "fit".
Clothes were getting stuck in the outer rim of the dryer.
Turns out the part was only $50, and the repair was easy as can be...
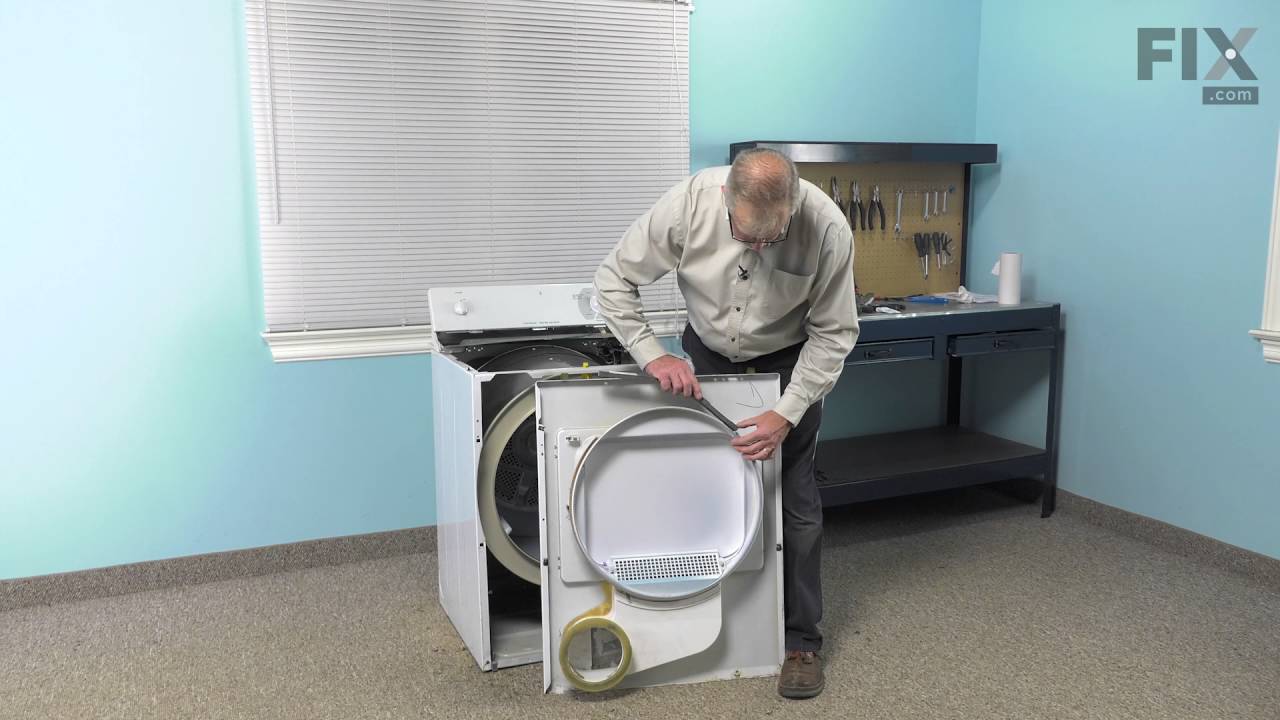
1. Pop the top cover off, pressing the clips down with a flathead screwdriver.
2. Remove the two screws that hold the front cover in place, and take the cover off.
3. Remove the old glides and the felt they're attached to.
4. ... Read more Scrape off any remains of the felt and glue.
5. Apply the glue they send with the part. Give it a minute to get tacky before you stick the new part on.
6. Stick the new part on. Let it sit for a few hours before re-assembling the dryer.
Thanks, PartSelect, for saving me a bunch of money, yet again!
1. Pop the top cover off, pressing the clips down with a flathead screwdriver.
2. Remove the two screws that hold the front cover in place, and take the cover off.
3. Remove the old glides and the felt they're attached to.
4. ... Read more Scrape off any remains of the felt and glue.
5. Apply the glue they send with the part. Give it a minute to get tacky before you stick the new part on.
6. Stick the new part on. Let it sit for a few hours before re-assembling the dryer.
Thanks, PartSelect, for saving me a bunch of money, yet again!
Read less
Parts Used:
-
Joseph from Delaware, OH
-
Difficulty Level:Easy
-
Total Repair Time:15 - 30 mins
-
Tools:Screw drivers
5 of 5 people
found this instruction helpful.
Was this instruction helpful to you?
Thank you for voting!
Dryer kept eating clothes! They'd catch between the door panel and drum.
*****I HIGHLY RECOMMEND buying both bottom felt and top felt with glides and replacing them as a pair. Do it now!!****
First I removed the screws on the top of the control panel and lifted the control panel free. Next I pried the top cover off the drier. Reaching down inside the drier, I removed 2 screws holding the front pa ... Read more nel in place (one on each side of the drum, screw heads are INSIDE the appliance) Then the front panel popped off toward the front, leaving the drum dangling inside the cabinet. I removed the old top felt and glides one piece) which had nothing left to them. I used a rag soaked with Acetone and a putty knife to remove the old adhesive and clean the mating surface. Following the supplied instructions (that came with the part) I glued the new piece in place. I reassembled the dryer and tested it out - I recommend giving all internal air ducts a good vacuuming while the dryer is apart - and everything seemed OK for a week. Then another article of clothing fell prey to the dryer, becoming lodged between the drum and front panel again. I suspect the culprit is the space BELOW the drum where the bottom felt is worn much more than the brand new felt just installed. I HIGHLY RECOMMEND buying both bottom felt and top felt with glides and replacing them as a pair.
Read less
Parts Used:
-
Joshua from Bristol, RI
-
Difficulty Level:Easy
-
Total Repair Time:30 - 60 mins
-
Tools:Screw drivers
3 of 3 people
found this instruction helpful.
Was this instruction helpful to you?
Thank you for voting!
Dryer stopped working
What a mess. Partselect shipped the wrong part. I paid a technician to fix it, only to learn the part was wrong. I order the right part. I needed to send it back, reorder the same part, and pay for a second visit from the technician. The nice people at partselect gave me a $7 credit for costing me $200. Losers

Parts Used:
-
Shanice from RESTON, VA
-
Difficulty Level:Very Difficult
-
Total Repair Time:More than 2 hours
3 of 3 people
found this instruction helpful.
Was this instruction helpful to you?
Thank you for voting!