Your coupon for will be reflected when you check out!
✖
Your coupon for
✖
Hello!
You're visiting the PartSelect site in U.S.
Would you like to shop on the Canadian site?
Stay on this site
Go to Canadian site
✖
Model Number Locations
1Select Category Type
Select Category Type
2Select Product Type
Select Product Type
3Select {MODEL} Type
Select {MODEL} Type
Sample Model Number Tags
Model numbers can be made up of numbers (1005400, for example) or a combination of letters and numbers (LAT1000AAE). The model number will most likely appear on either a paper sticker or a metal plate. Your appliance's model number tag may look similar to the sample model number tags shown here (model number highlighted in yellow):
WSM2700TCWAB General Electric Washer Dryer Combo - Overview
Save your modelModel Saved!
Save your model for later to make things easier.
Model has been saved to My Models. If you're not signed in, your lists are available on this device and will expire within 30 days.
Model has been saved to My Models.
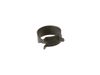
This is a water hose clamp kit for a variety of appliances including dishwashers and washers. This is a genuine replacement part. The kit includes two hose clamps. The smaller of the two is 1 inch in ...
This hi-limit thermostat acts as a safety mechanism that keeps the dryer from overheating. With this thermostat, a dryer's heating element will cut out if the internal temperature reaches 260 degrees...
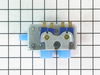
This water inlet valve attaches the water lines to the back of your appliance. The attaching solenoids on the valve open and close according to the desired temperature, or amount of water needed.
Are you in need of extra storage in your fridge for those essential items? As a kitchen whiz, we understand that you appreciate a well-organized fridge. That's why we're introducing our GE Full Door S...
*****I HIGHLY RECOMMEND buying both bottom felt and top felt with glides and replacing them as a pair. Do it now!!****
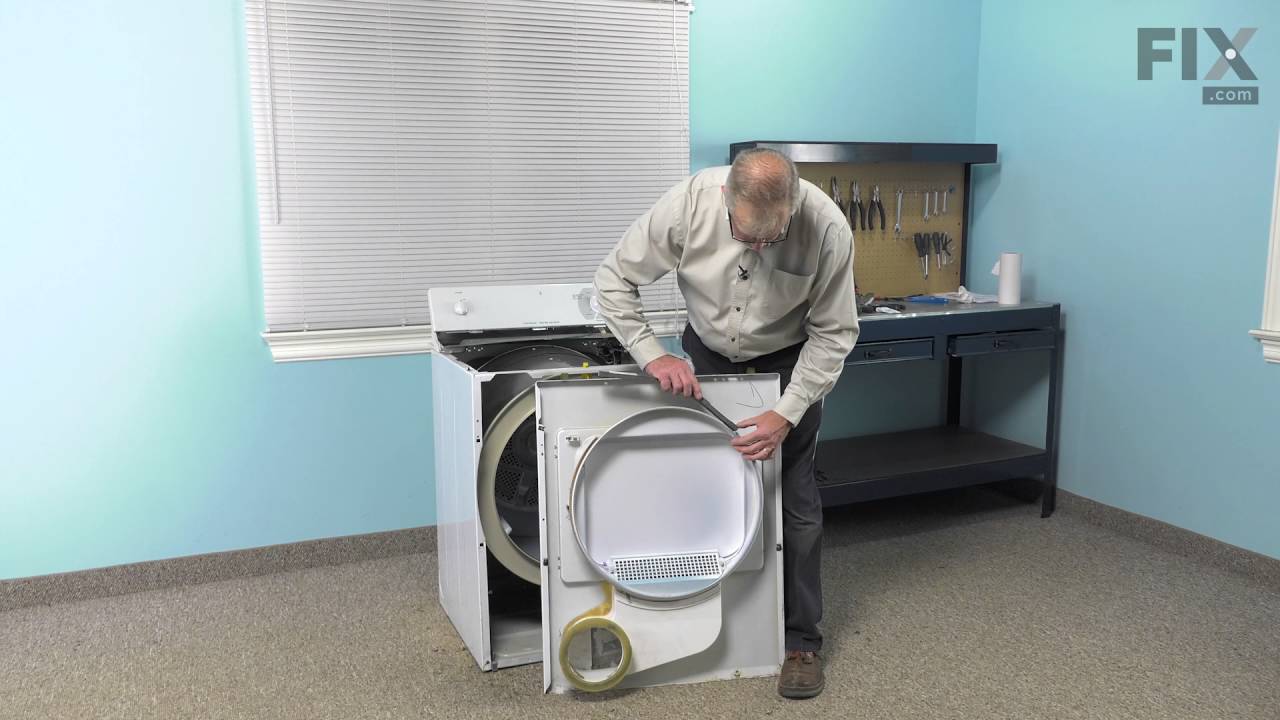
First I removed the screws on the top of the control panel and lifted the control panel free. Next I pried the top cover off the drier. Reaching down inside the drier, I removed 2 screws holding the front pa
... Read morenel in place (one on each side of the drum, screw heads are INSIDE the appliance) Then the front panel popped off toward the front, leaving the drum dangling inside the cabinet. I removed the old top felt and glides one piece) which had nothing left to them. I used a rag soaked with Acetone and a putty knife to remove the old adhesive and clean the mating surface. Following the supplied instructions (that came with the part) I glued the new piece in place. I reassembled the dryer and tested it out - I recommend giving all internal air ducts a good vacuuming while the dryer is apart - and everything seemed OK for a week. Then another article of clothing fell prey to the dryer, becoming lodged between the drum and front panel again. I suspect the culprit is the space BELOW the drum where the bottom felt is worn much more than the brand new felt just installed. I HIGHLY RECOMMEND buying both bottom felt and top felt with glides and replacing them as a pair.
Hardest part was getting the top off which ended up being quite easy, once I knew how. At the front of dryer, between the top and the cabinet, there are two spring clips that hold the top to the bottom. I could feel them with the putty knife but wasn't sure how to release them. Push on them with the blade of the stiff putty knife ... push
... Read more hard and they will release. When the top was off I could see the screws that held the front. I unscrewed those, had easy access to the front glide that needed to be replaced. Pulled the old one off, followed the directions to glue the new one on, gave it about an hour to dry, reassembled and away we went. No more snagging.