Your coupon for will be reflected when you check out!
✖
Your coupon for
✖
Hello!
You're visiting the PartSelect site in U.S.
Would you like to shop on the Canadian site?
Stay on this site
Go to Canadian site
✖
Model Number Locations
1Select Category Type
Select Category Type
2Select Product Type
Select Product Type
3Select {MODEL} Type
Select {MODEL} Type
Sample Model Number Tags
Model numbers can be made up of numbers (1005400, for example) or a combination of letters and numbers (LAT1000AAE). The model number will most likely appear on either a paper sticker or a metal plate. Your appliance's model number tag may look similar to the sample model number tags shown here (model number highlighted in yellow):
WSM2700HAWWW General Electric Washer Dryer Combo - Overview
Save your modelModel Saved!
Save your model for later to make things easier.
Model has been saved to My Models. If you're not signed in, your lists are available on this device and will expire within 30 days.
Model has been saved to My Models.
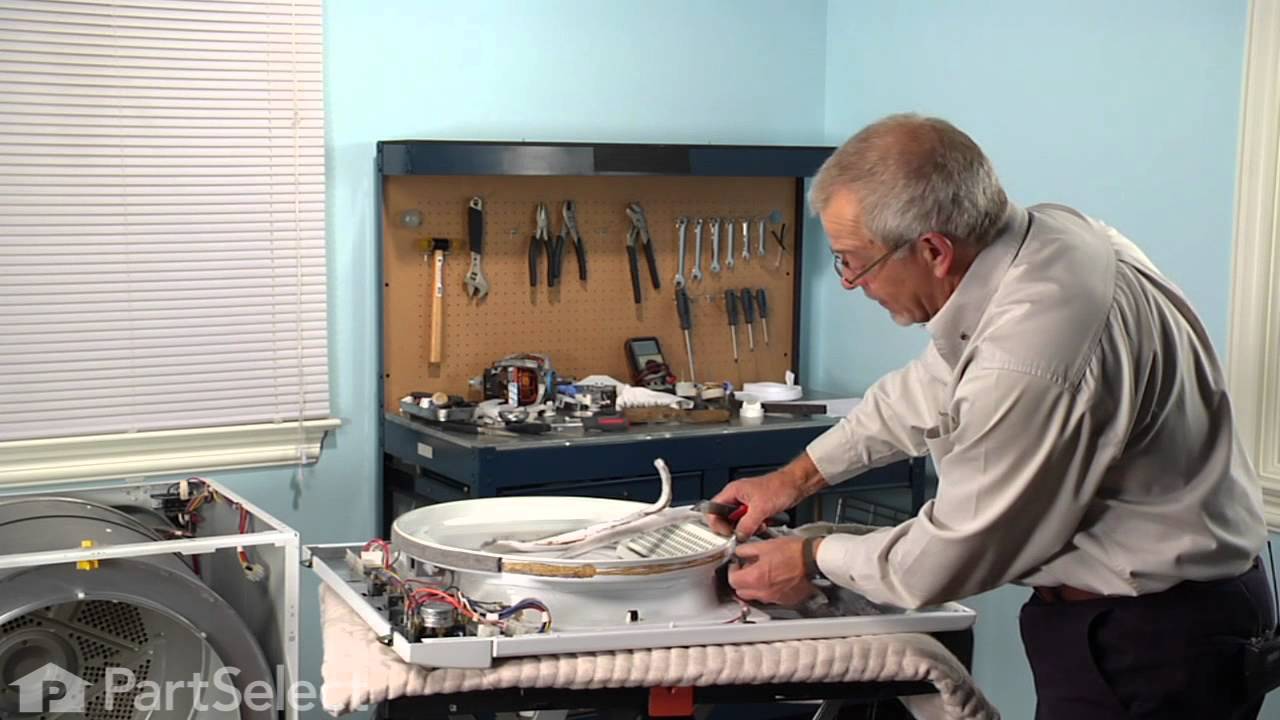
The lower front felt seal with adhesive, also known as a drum felt seal, is used in dyers and allows the drum to easily glide on the front panel. For this repair project, you will need the following t...
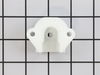
Introducing the GE Dryer Drum Bearing! This genuine replacement part is the ultimate solution for enhancing your dryer's performance. It is ideal for supporting the drum as it spins, offering stabilit...
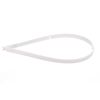
Introducing the Genuine GE Appliances Drive Belt, a crucial component for your washing machine. Known as the V-Belt, it expertly bridges the connection between the drive motor and the machine's drive ...
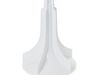
Experience smooth operation with this genuine Dryer Felt Seal from GE. This product is designed to allow your dryer drum to glide effortlessly on the front panel, promising a quieter, more efficient p...
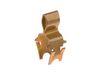
This hi-limit thermostat acts as a safety mechanism that keeps the dryer from overheating. With this thermostat, a dryer's heating element will cut out if the internal temperature reaches 260 degrees...
This thermostat controls the internal drying temperature.
Cycling themostats continually cycle the heating element off and on to maintain a constant inner temperature. This particular cycling thermos...
Ask our experts a question about this model and we'll get back to you as soon as possible!
4 questions answered by our experts.
Sort by:
< Prev
1
Next >
Search filter:
Clear Filter
Your search term must have 3 or more characters.
Keep searches simple. Use keywords, e.g. "leaking", "pump", "broken" or "fit".
Sorry, we couldn't find any existing answers that matched.Try using some different or simpler keywords, or submit your new question by using the "Ask a Question" button above!
Sijo
November 9, 2022
Water not drain and not spinning
For model number WSM2700HAWWW
Hello Sijo, thank you for contacting us. A blocked drainage can stop the washer from spinning. We would recommend checking the drain pipes and hoses and ensuring that these are not blocked. Also, check the drain pump and make sure that it is functional and not blocked. We hope this solves your problem!
1 person found this helpful.
Did this question help you?
Thank you for voting!
Henry
April 7, 2024
During the spin cycle, smoke started to come out of the machine. I removed the front panel and saw that the drive belt had been rubbing against one of the legs supporting the tub, causing the belt to shred and burn. There seems to be some oil inside as well. My guess is that something is wrong with the idler arm torsion spring. Considering the age and availability of parts, it is probably time for a new machine, but a pro's opinion would be welcome. Thanks!
For model number WSM2700HAWWW
Hello Henry, thank you for getting in touch. Based on the description that you have provided, the issue is most probably with the idler pulley, part number PS12730520. It includes the idler arm and the idler pulley that maintains tension on the drive belt, allowing the belt to turn. You may need to replace it to fix the issue. Glad to be of help!
Hello Ana, thank you for your question. It may be a faulty Door Catch PS264343 or Door Strike PS266861. One or more of the shock absorbers might be broken or worn out making the tub unbalanced and unable to rotate properly. Problems with the drive belt or motor, such as breakage or wear, can also hinder spinning. We hope this helps.
Removed 2 Hose clamps with pliers. Unplug power source from drain pump. Unscrew 2 mounting screws with 5/16" nut-driver then replace unit in reverse sequence...... Very simple.
1. Removed face of dryer (drum 'holder') 2. Disconnected door switch wires 3. Tore off existing felt
NOTE: The length of the felt that I recieved from PartSelect was incorrect (too short). Since the existing felt was worn and torn at the top, I replaced only a length that matched the length of the new felt.
... Read more>4. Used a razor blade-type gasket remover/scraper to remove the exisitng glue 5. Applied new glue (which comes with the felt) onto the felt and let it set up
NOTE: In hindsite, I would apply the glue to the drum holder instead, as the glue otherwise soaks into the felt. If applied to the drum holder instead, the glue will spread out and provide more surface area for adherence.
6. Installed the new felt, starting at one end and working my way around to the other end, being careful not to stretch it 7. Trimmed the remainder of the existing felt (see first NOTE) 8. Scraped the drum holder below the pulled away ends of the exisitng felt 9. Applied glue to the existing felt, including the trrimmed ends so that the ends do not pull away from the ends of the new felt 10. Re-attached the existing felt 11. Let the glue set-up overnight 12. Reinstalled the face of the dryer, turning the drum so that the felt will not get pushed away 13. Reconnected the door switch wires 14. Turned dryer on, with lid still raised, to check for any drifting of the felt 15. Once assured that the felt would stay in place, put the dryer in service
NOTE: I replaced the felt becasue of the gap that opened due to compression of the felt. The gap, as well as a torn piece of the felt that entered the interior of the drum, was catching clothes and tearing them as they were rotated between the drum and the drum holder. The new felt eliminated this problem.