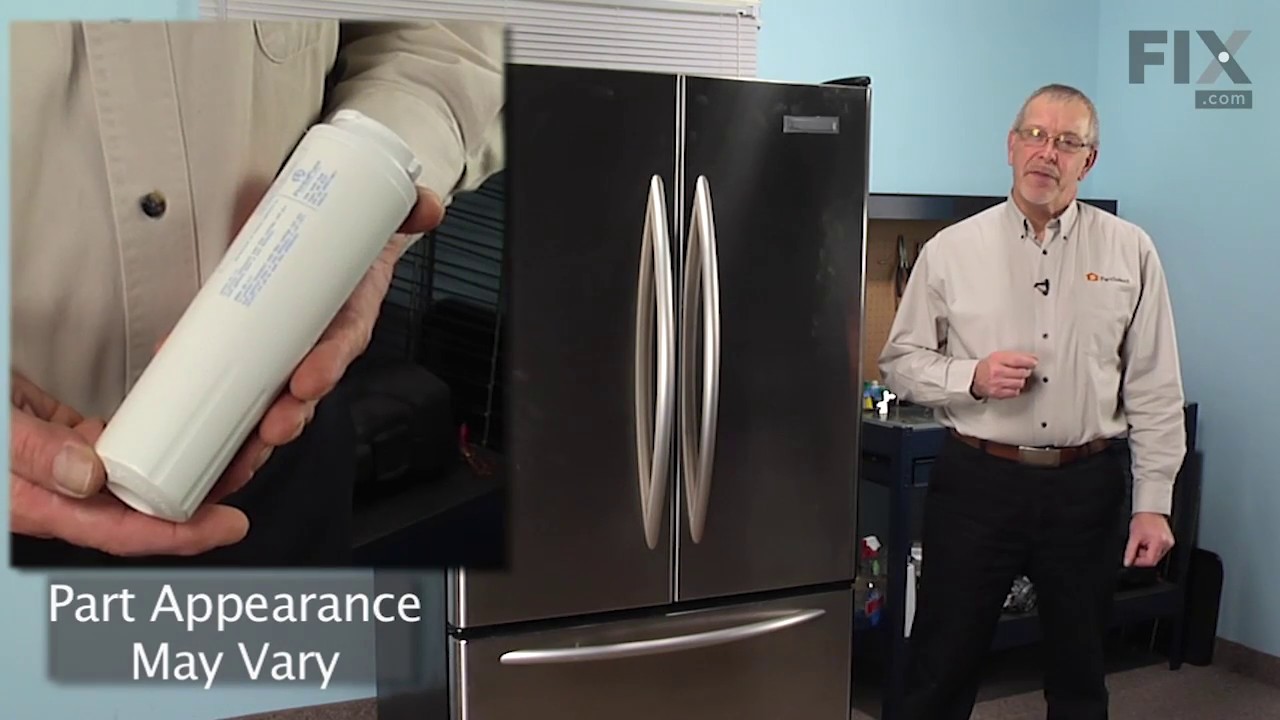
This water filter (Whirlpool EveryDrop Refrigerator Water Filter, Single Turn Filter) purifies water going to the water dispenser and sometimes the icemaker as well. This part should be replaced if it is causing reduced water flow or just replaced periodically per the owner manual. Replacing this water filter may fix a noisy or leaking fr...Read moreidge, a fridge that is not dispensing water (or reduced flow rate), and an ice maker that is not making ice at all, or not making enough ice. This filter is white, sold individually and measures 8 inches by 3 inches in diameter. This water filter has been updated by the manufacturer. It may appear different but will still function the same. It is sold individually.
This pantry drawer lid is also known as a pantry drawer door or pantry drawer cover. This is a genuine OEM part, and is sold individually. This part helps keep everything inside the drawer. It acts as a cover, and also keeps your drawer at the proper temperature by creating a seal. You may need to replace this part if door does not open o...Read morer close, or if the drawer is too cold. No tools are required for this replacement, simply push the hinge pins aside to remove the old lid. Consider checking the pantry end cap kit for damage before ordering the pantry drawer lid, as they are often purchased together.
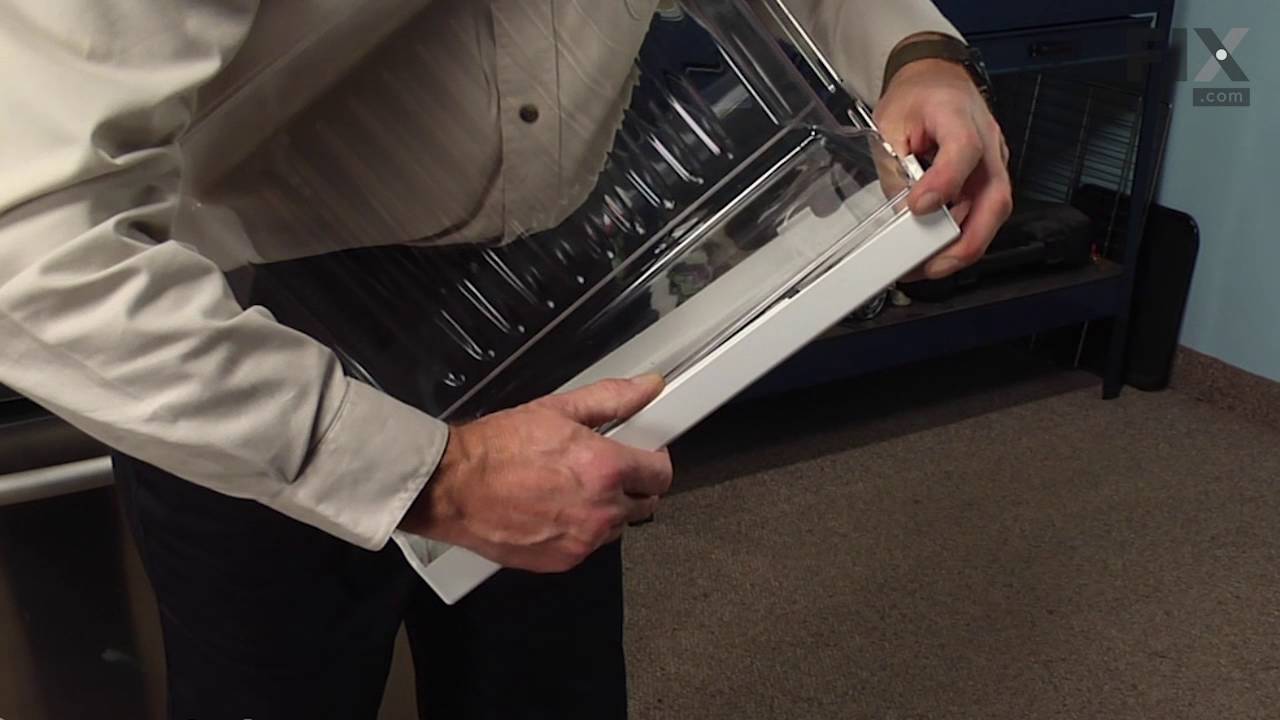
The crisper drawer in your refrigerator is used for storing various items. If you notice that your current crisper drawer is damaged, you may need to replace it. You may notice that your refrigerator door does not open or close properly, which is a sign that your cripser drawer is damaged. This crisper drawer is made of clear plastic and ...Read moreis roughly 20 inches in length. This part is sold individually and does not come with the plastic faceplate on it. If your current crisper has one, you will need to remove it and transfer it to the new crisper. NOTE: As per the manufacture the crisper drawer has been updated from the original. A new crisper cover may need to be purchased for the drawers to work. Factory dimensions - 12.847" Depth X 15.217" Width X 6.93 High.
This right-side end cap is designed to support the pantry drawer in your refrigerator, ensuring smooth operation and secure placement. Mounted directly to the interior wall of the appliance, it helps stabilize the drawer and maintain proper alignment. If the end cap becomes damaged or worn, replacement is recommended to restore full funct...Read moreionality. Installation should be done with the refrigerator unplugged, and manufacturer-provided instructions and diagrams should be followed for proper setup. Sold individually.
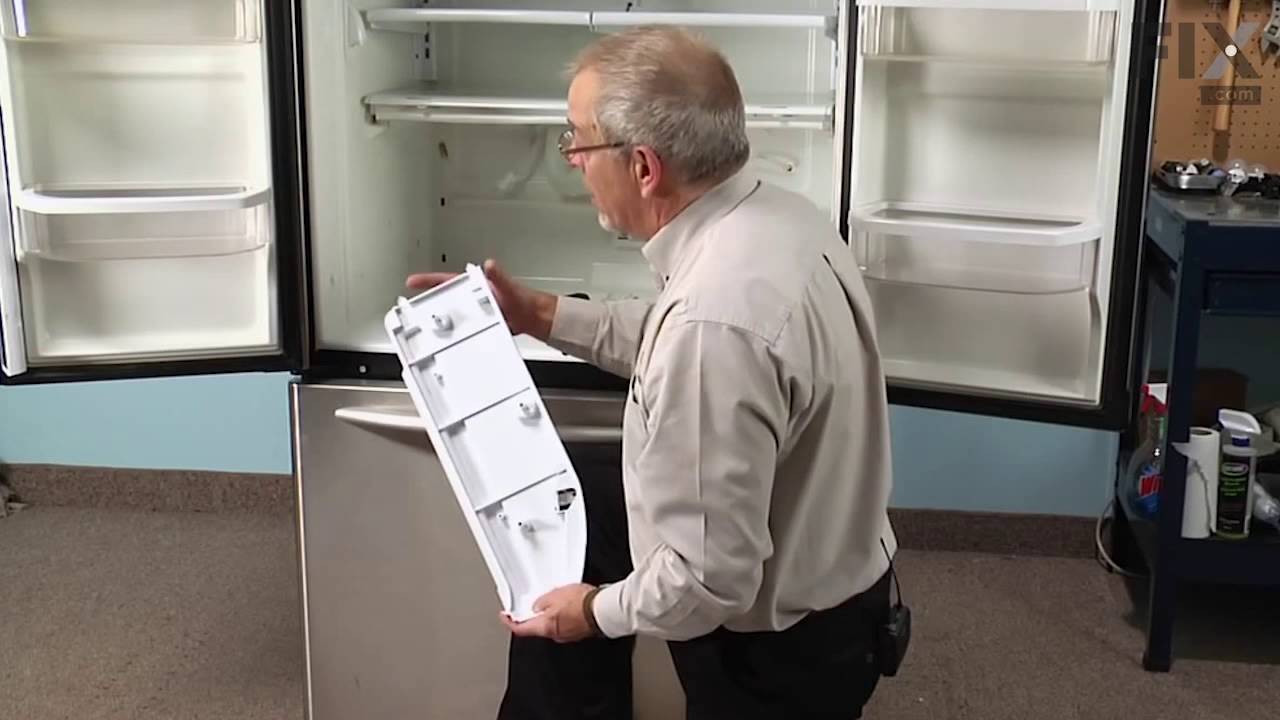
The pantry end cap is also known as a drawer support or a door shelf trim. This specific piece is sold individually and is meant for the left side of your refrigerator. It snaps into place on the door of your fridge, which allows it to hold items on the door shelf. To change the left side end cap on your refrigerator you will need a 1/4 i...Read morench nut driver. Users have ranked this installation as easy to do, with a less than thirty minute repair time.
This light switch may also be known as a refrigerator door switch or a light switch kit, and is compatible with your refrigerator. The function of the refrigerator door switch is to turn on the light when your fridge door is open, and to make sure it is off when your refrigerator door is closed. The reason you would need to replace this p...Read moreart is if your light is not turning on when your door is open. For this repair, you will need a putty knife, and a small flat-blade screwdriver.
This is an ice maker assembly for various models of refrigerator. This ice maker assembly is used to freeze and eject ice into the ice bucket, then dispense the ice. This ice maker comes with the necessary shut-off arm, as well as a wire harness to properly install it into the freezer compartment of your refrigerator. If your current ice ...Read moremaker is either not producing ice or not breaking the ice up properly, it will need to be replaced. This ice maker assembly is an OEM part and is sold on its own, without any other parts or accessories.
This refrigerator door gasket is designed to create an airtight seal when the door is closed, helping maintain consistent internal temperatures and energy efficiency. Constructed in gray and equipped with magnets along all sides, it ensures a secure closure that prevents warm air from entering and cold air from escaping. Over time, the ga...Read moresket may become cracked or lose its sealing ability, leading to symptoms such as condensation on the door or difficulty opening and closing. Replacement is recommended if these issues occur, and installation typically involves removing the old gasket and pressing the new one into the designated groove around the door frame. Proper sealing is essential for optimal appliance performance and food preservation.
The p-trap drain tube kit may also be known as the duck bill, or the drain pipe, and it is compatible with your refrigerator. The function of the p-trap drain kit is to carry the water that has formed during the defrost cycle to the bottom of the refrigerator, where your drain pan is located. The tools you will need for this repair includ...Read moree a 1/4-inch nut driver and a small flat-blade screwdriver. To do this repair you will need to pull the refrigerator forward in order to reach the lower access panel at the back. This kit includes the tube extension piece and spacer.
This shallow refrigerator door shelf bin is a genuine replacement component designed to enhance interior organization and storage efficiency. Made from clear, durable plastic, it securely holds bottles, jars, and other small items within the door compartment of select refrigerator models. Its transparent design allows for easy visibility ...Read moreof contents, while its shallow depth makes it ideal for compact storage needs. Installation is simple and tool-free, making it a convenient solution for replacing cracked or missing bins. Compatible with a wide range of models from Whirlpool and associated brands such as Kenmore, Maytag, KitchenAid, and Amana, this OEM part ensures a precise fit and reliable performance.
Ask our experts a question about this model and we'll get back to you as soon as possible!
We may have answered a similar question already! Search questions and answers left by others using simple keywords like "fit", "broken", "easy", or "quality" to find questions that match.
Search filter:
Clear Filter
Your search term must have 3 or more characters.
Sort by:
Prev
1
2
Next
Sorry, we couldn't find any existing answers that matched.Try using some different or simpler keywords, or submit your new question by using the "Ask a Question" button above!
Daniel - For model number WRF540CWHZ02
May 17, 2023
Freezer light not working
Hi Daniel, thank you for reaching out. If the freezer light is not working, you may need to replace it. The part number for the freezer light is PS16731134. We hope this helps!
Thank you for letting me know I need a niche module PS16731134. I would be happy to order one from you if you can tell me how to remove the existing one
Hi Daniel, thank you for reaching out. You can easily remove the old module by prying it out with the help of a putty knife and making it loose enough to pull it out the rest of the way. We hope this helps!
Was this helpful?
Thank you for voting!
Mathieu - For model number WRF540CWHZ02
October 18, 2023
Hi, my whirlpool fridge/freezer model WRF540CWHZ02 works great for a couple of hours. The fridge and freezer get to the set temperatures. After a while the display shows the freezer temp as being very warm and It seems the freezer keeps freezing because it thinks it's warm. I was thinking of ordering the thermistor. I haven't seen this specific symptom. Do you think this may solve the issue? Any other recommendations?
Hello Mathieu, thank you for reaching out. Based on our understanding of the issue, we would suggest checking the temperature control board, part number PS11757087, to fix the issue. We hope this solves your problem!
the fridge doesnt cool evenly. the back left side sometimes freezes while the rest is approximately 3.5 degrees C. is this related to an air circulation problem
Hi Larry,
Thank you for your question. If the fresh food section of your refrigerator is too warm, we recommend checking both the evaporator and the condenser fan motors for continuity with a multimeter on the Rx1 setting to see if they are operating normally. Before removing and checking these parts, we recommend unplugging the refrigerator from the electrical outlet. When inspecting the evaporator fan motor, first check it for signs of damage and to make sure that the motor shaft turns freely with little resistance. If there are no signs of damage, test it with the multimeter. You should receive a reading between 10 and 100 ohms. If you receive any other reading, you will need to replace the evaporator fan motor. When inspecting the condenser fan motor, look for any debris or obstructions that could be preventing the fan from moving freely. You should also inspect the condenser fan motor for any signs of wear or damage. If there are no signs of damage, test it with multimeter. You should receive a reading between 80 and 120 ohms. If you receive any other reading, you will need to replace the condenser fan motor. We hope this helps!
Triping the breaker after it run for a few days some time a week
Hello Harold, thank you for getting in touch. Based on the description that you have provided, we would recommend checking the defrost heater assembly, part number PS11738605, to solve the problem. A malfunctioning defrost heater assembly can most probably cause the circuit breaker to trip. We hope this helps!
See how others fixed this model. Time, tools, difficulty, and steps that lead to victory!View More
Search repair tips from other customers using simple keywords like "replace", "fit", "remove", "inspect". DIY doesn't mean you have to do it alone!
Search filter:
Clear Filter
Your search term must have 3 or more characters.
light on to order water filter
916 of 1059 peoplefound this instruction helpful.
Douglas from Byron, NY
Really Easy
Less than 15 mins
Pressed in the end of the filter cover, lowered it down part way. Twisted the old filter 1/4 turn and removed it. Set in the sink to drain. Inserted new filter and twisted it to lock. closed cover. Done. Total time @ 1 Minute.
Was this helpful?
Thank you for voting!
Removing the existing filter by rotating as directed and then dislodging from 'docking' station proved difficult. Turns out, the old filter is under a bit of vacuum pressure and getting the unit to separate or release was a challenge.
216 of 335 peoplefound this instruction helpful.
Jake from Novato, CA
Easy
Less than 15 mins
I removed the drop-down outer housing by gently prying the sides of the two pivot pins at the rear. This gave me move 'room' to grip and slightly rotate then pull the old filter forward and away from the tight suction connection. I was concerned that I would be too forceful for the plastic assemblies and would break something; deliberate
... Read moremotions and a steady thought process on the problem helped disengage the darned old filter!
Read less
Was this helpful?
Thank you for voting!
Broken pins holding pantry door
149 of 169 peoplefound this instruction helpful.
Gregory from Bethesda, MD
A Bit Difficult
15 - 30 mins
Nutdriver
Removed door and crisper pans. Removed nuts on left end cap - think there were 3. Removed nuts on right end cap and one or two on back air regulator attached to right end cap. Replaced left end cap with new one using reserved nuts. Carefully removed back air regulator from right end cap. Attached back air regula
... Read moretor to new right end cap. Replaced right end cap and back air regulator and attached with nuts. Carefully inserted pantry door into pin on one side and slightly bent both right and left pins to insert door fully into end caps. Replaced crisper pans. That's it.




 My Orders