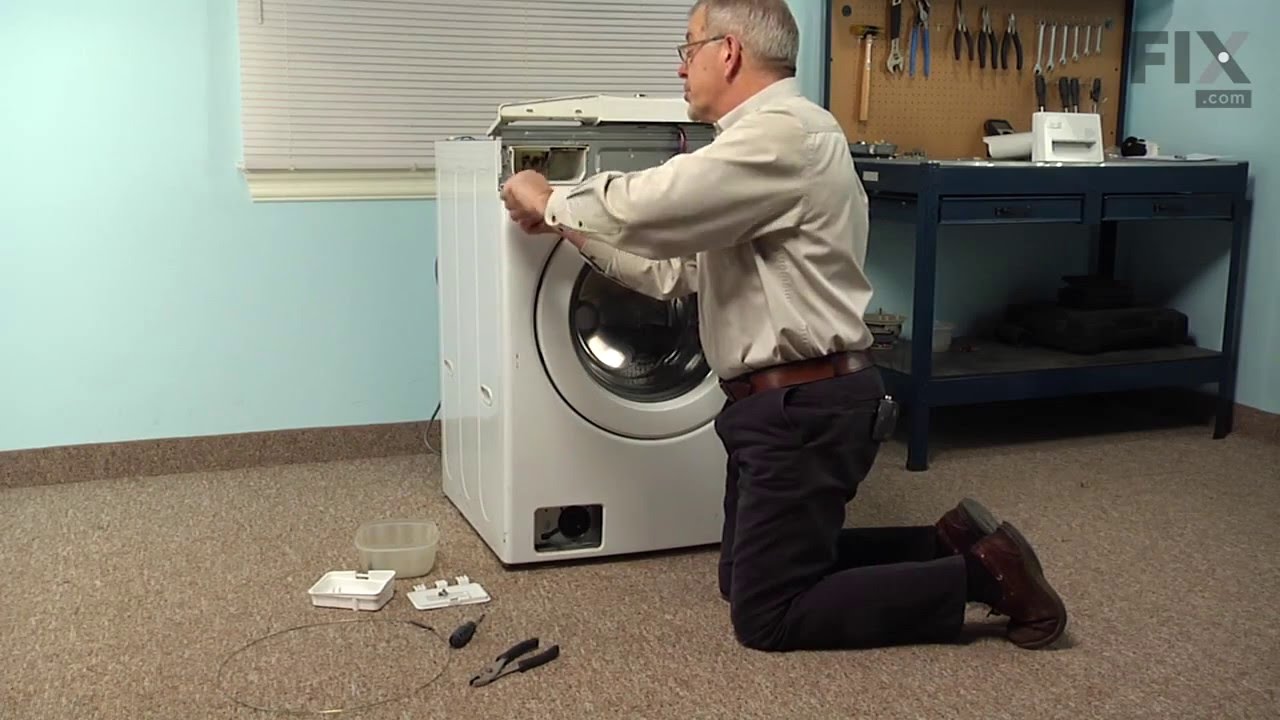
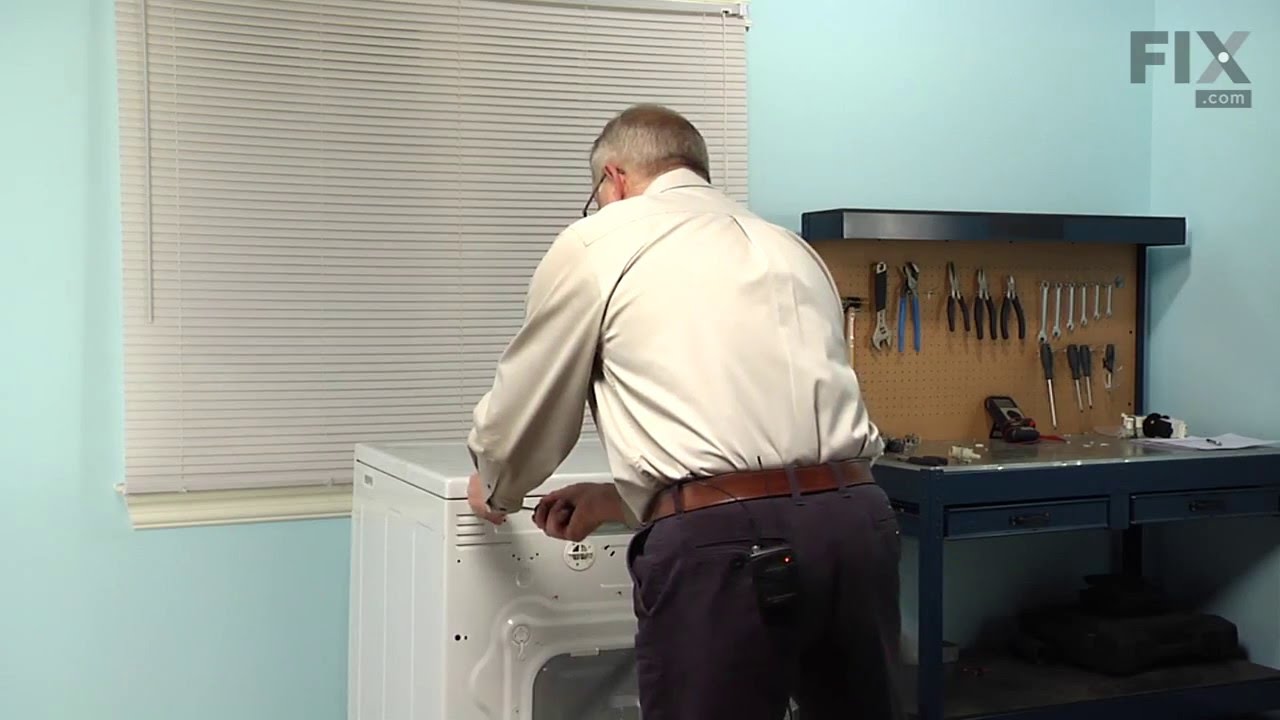
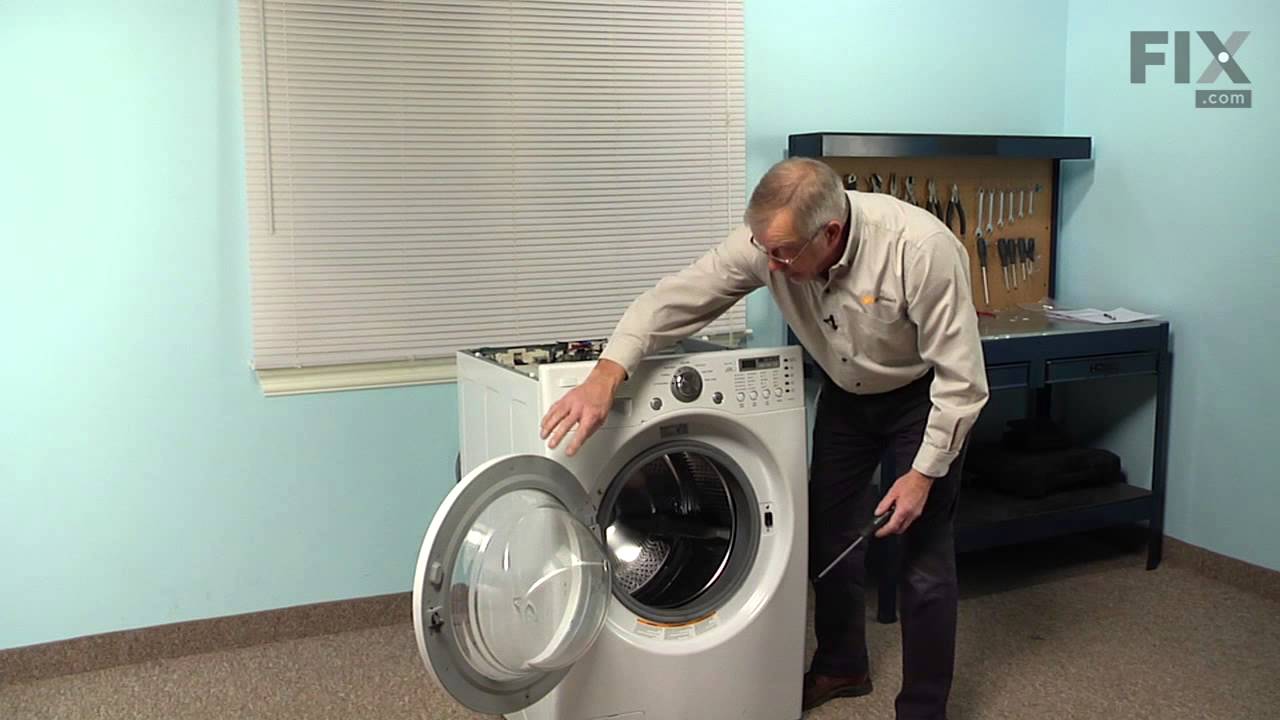
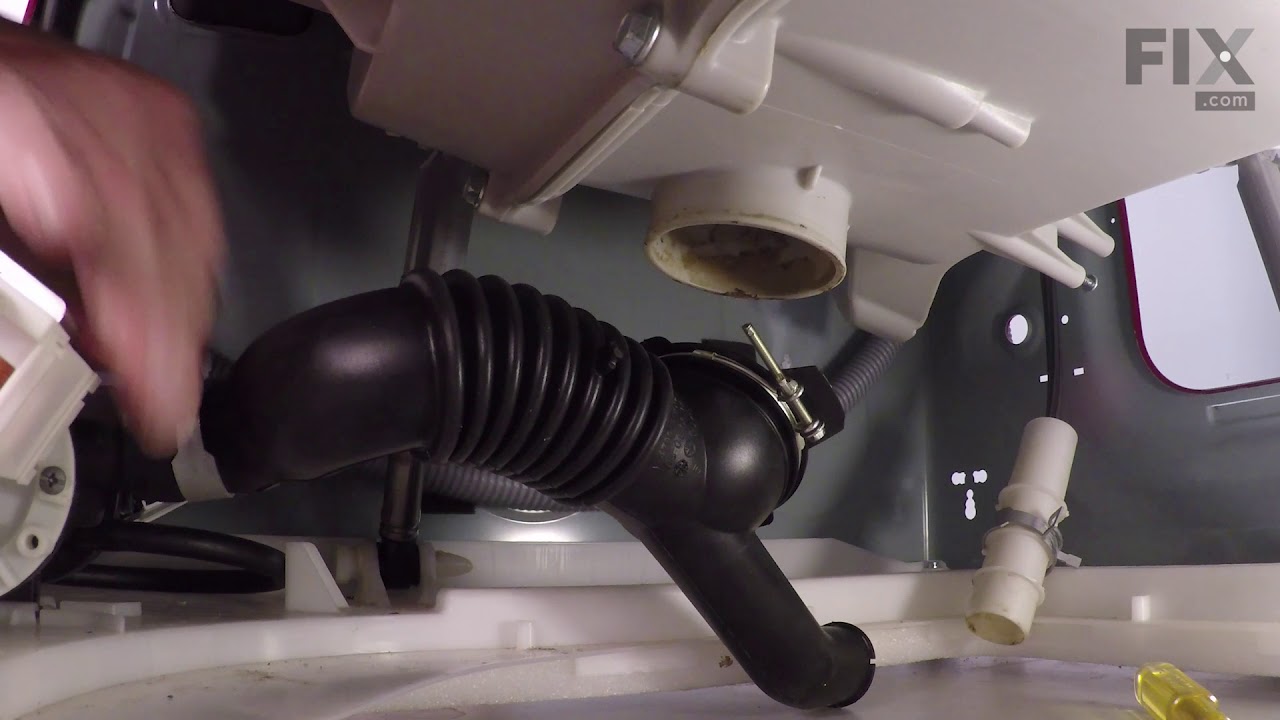
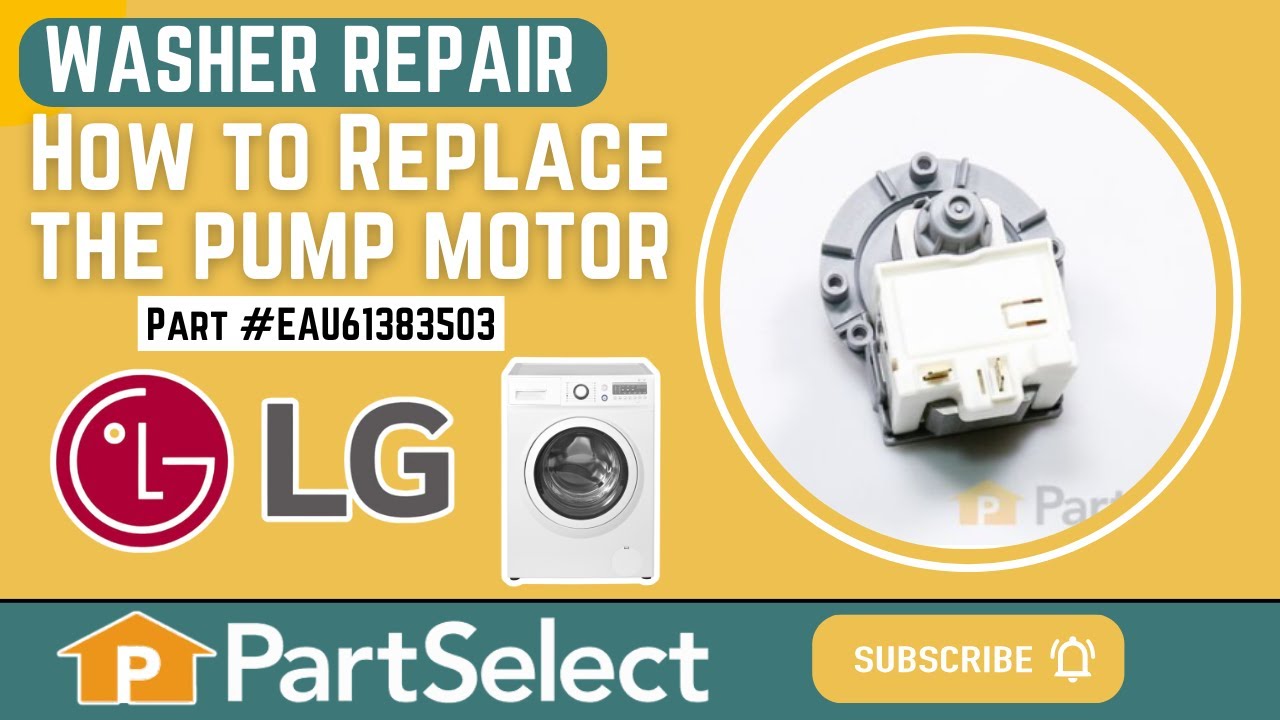
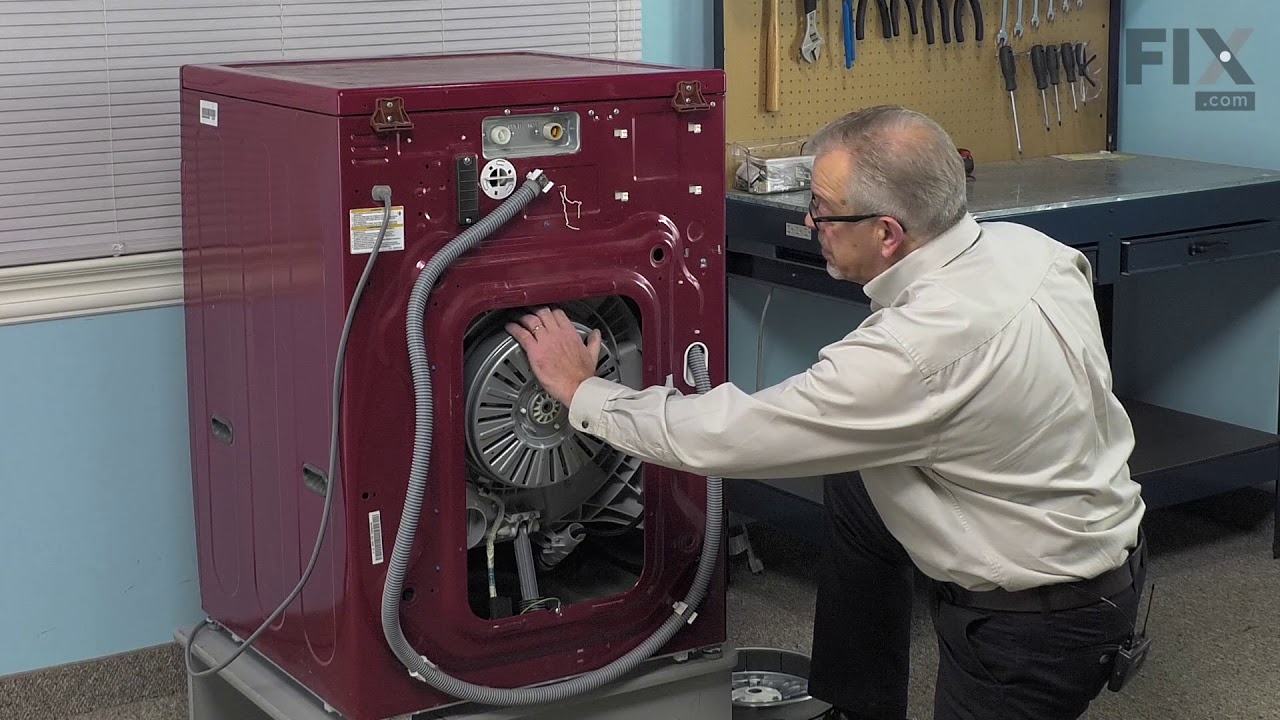
The drain pump and motor assembly may also be known as the washer drain pump and is a part for your washer. The drain pump helps expel water from the washing machine. The drain pump is activated after the spin cycle speed is maintained for a specific period of time. To make this installation you will need a Phillips screwdriver, a small f...Read morelat-blade screwdriver, a pair of needle-nose pliers, and a pair of slip-joint pliers. Note that the pump casing is not included. This medium-difficulty repair may vary, but can generally be started by disconnecting power, then removing the top of the washer by taking out the four back screws and two small brackets. Then, remove the front panel by taking out the two screws and eight tabs that should be taken from the top. Moving down the front of the washer, remove the door, latch, tub gasket, and drain cover. Disconnect the drain hoses and clip from under the drain assembly, and install new assembly from there. Reassemble parts in direct reverse order -- taking photos during disassembly and keeping parts clearly organized can help here. Despite the number of steps, you will only need a standard Phillips screwdriver to complete this repair.
The hot water inlet valve on your washing machine controls the water flow into the washer. This inlet valve has a standard hose fitting inlet and one water outlet. The water inlet valve opens to allow water to enter the washing machine. If the water inlet valve is defective, the washer may leak, fill slowly, or not fill at all. To test yo...Read moreur valve, unplug the washer when the symptom occurs. If the washer continues to fill, then your inlet valve is defective. This part is approximately 3 inches long x 3 inches wide.
If you notice your washing machine is leaking water from the top of the transmission, it might be due to the gasket being damaged or worn down. When replacing your gasket, consider replacing your tub bearings at the same time. The gasket (or seal) is located at the back of the outer tub of your washing machine. To access this part you wil...Read morel need to pull the top off of the appliance by releasing the screws holding it in place. This part is sold individually, is black in color, and measures 3 inches in diameter.
This is a tub-to-pump drain hose for a front load washer. The hose features flexible bellows which allow it to expand and contract when necessary. It carries the water from the tub of the washer to the drain pump so the used water can properly empty from the tub. This part is made of rubber, is black in color and measures 13 inches long. ...Read moreBe sure to drain the excess water from the washer before completing this repair. This is an authentic OEM part that is sourced directly from the manufacturer.
The door lock assembly is a part for your washing machine and tells the washer that the door is closed and locked into place. If the switch has shorted out and not locking, it is no longer delivering the message to the machine and it will not latch into place. If you find that your door will not close, open, or start, it is more than like...Read morely an issue with the locker switch assembly. The switch is located behind the front panel. You will need to remove the gasket to reach the switch.
This is a replacement sensor assembly for your washer. It may also be known as a motor rotor position sensor. The sensor assembly monitors the direction and speed of the spinning rotor and communicates this information to the electronic control board. If your washer pumps but will not spin or agitate, you may have a damaged sensor assembl...Read morey. This part is sold individually, and is an OEM part sourced directly from the manufacturer. Be sure to shut off the power to your washer before you begin this repair.
This is a seal for a washer tub. It creates a seal between the front and rear halves of the washer tub to prevent the appliance from leaking. If you notice leakage between the two sections of the tub, you may need to replace this part. Seals can get dry and brittle over time which compromises the integrity of the part and may cause your a...Read moreppliance to leak. This is a genuine replacement part sourced from the original manufacturer. You will need to disassemble the outer panels of the washer to access the tub seal.
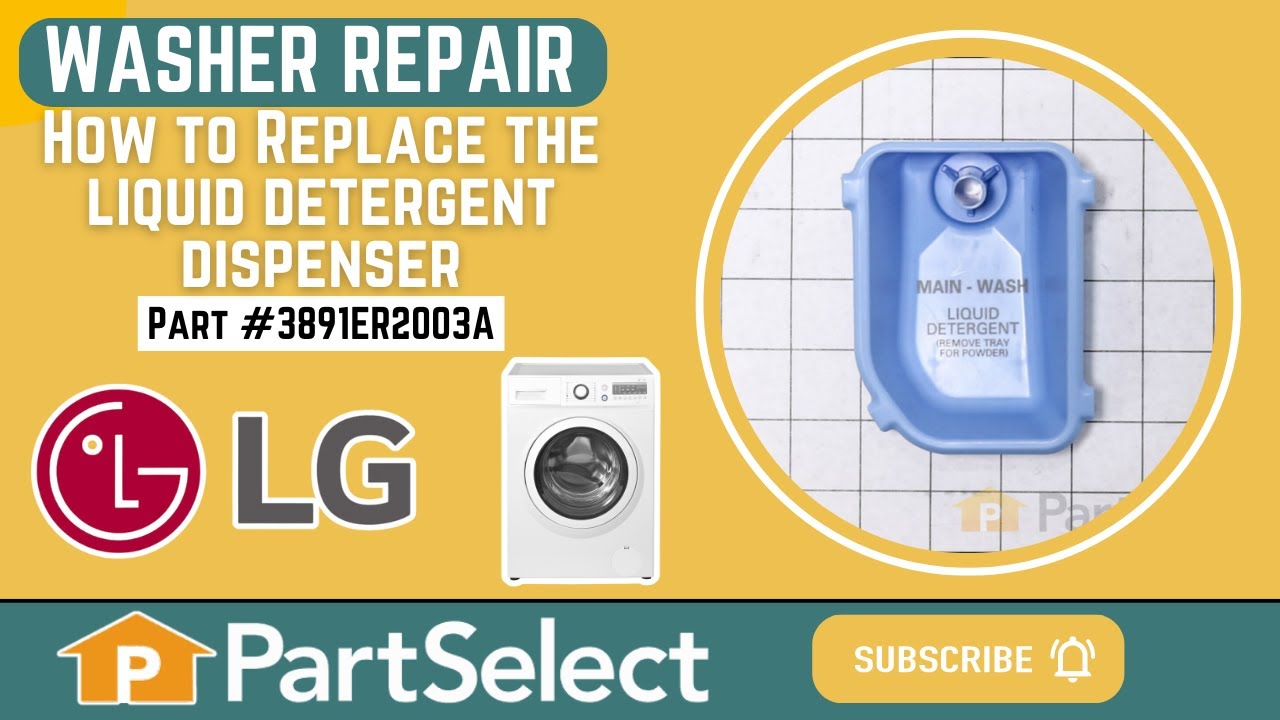
This is a replacement detergent dispenser for your washer. It stores the detergent, and then dispenses it into the washer at the appropriate point in the wash cycle. If the detergent dispenser is broken, or if the detergent is not dispensed during the wash cycle, you may need to replace it. The dispenser is made of blue plastic, and is ap...Read moreproximately 4 inches wide, 4.5 inches long, and two inches tall. This is an OEM part made by the manufacturer.
This replacement pump filter, also known as a filter assembly, is a genuine OEM part for your washer or washer/dryer combo. Before beginning this repair, turn off the power and water supply to your washer. The filter assembly may need to be replaced because it is broken or is leaking water. To locate the filter assembly, pry open the smal...Read morel door on the front of the washer, using a flat-blade screwdriver. Unplug the drain hose next to the filter and drain the water into a bucket. Then unscrew the pump filter, and replace with your new one.
The drain hose assembly is a genuine OEM assembly supplied directly by LG for use in washing machines. The assembly includes the hose, connector, elbow fitting, and metal clamp. It is responsible for directing wastewater from the washing machine tub to the household drain or plumbing system. It allows the water to exit the washer efficien...Read moretly and prevents it from pooling inside the machine at the end of the cycle. If the hose can no longer stay attached to the washer or drainpipe, water is leaking from the hose, or the hose has visible damage such as cracks and splits then you will need to replace it before you can resume using your washer.
This is a locking pin, and it works in conjunction with your washer. The part measures to be roughly 3 inches long, and less than an inch wide. The pin is cylindrical, off-white in color, and made entirely of plastic. This part is used to hold the shock absorber on the washing machine. There is a pin used at the bottom and top of the shoc...Read morek absorber. This model is sold individually. If your washing machine is experiencing an above-average amount of shaking and moving this part may be the reason.
Ask our experts a question about this model and we'll get back to you as soon as possible!
We may have answered a similar question already! Search questions and answers left by others using simple keywords like "fit", "broken", "easy", or "quality" to find questions that match.
Search filter:
Clear Filter
Your search term must have 3 or more characters.
Sort by:
Prev
1
Next
Sorry, we couldn't find any existing answers that matched.Try using some different or simpler keywords, or submit your new question by using the "Ask a Question" button above!
Chris - For model number WM3987HW
July 7, 2023
Washer does not fill with proper amount of water so clothes do not get totally wet....
Hi Chris, thank you for contacting us. We have concluded that the issue is with the water level pressure switch, part number PS3529317, which senses and controls the water level in the washer. Please submit a new question if you have any follow-ups!
My washer stopped draining. I unplugged the drain hose to let all the water out. What could this be from?
Hi Debbie, thank you for reaching out. Based on the description that you have provided, we would recommend checking the drain hose for any clogging or obstruction. If this is not the issue, we would recommend replacing the drain pump, part number PS3579318, to solve the problem. Glad to be of help!
Machine washes great but will not dry the clothes. I hear the fan kick in and I feel lots of heat at the top of machine and on the glass of the door but does not dry clothes
Hi Lisa, thank you for contacting us. We would suggest checking the heating element, part number PS3527798. You may need to replace it to fix the issue. We hope this sorts out your problem!
Hi Dwayne, thank you for the great question. Based on our understanding of the issue, we would suggest you replace the door lock assembly, part number PS3533609. The door lock secures the washer door when it’s closed and signals the door switch to begin a wash cycle. If the lock is faulty, it may not secure the door or signal the switch, preventing the tub from spinning and starting a wash cycle. We hope this information helps!
6yr old W/D Combo quit during spin cycle (with a brief and feint smell like an electrical short.) It will not start and does not have a display or other sign of life. Power source checks out OK. Can this be a door lock issue?
Thanks
Hello Bob, thank you for reaching out. We would recommend checking the following parts to fix the issue: Thermistor, part number PS3528953, Door Lock, part number PS3533609, and Main PCB Assembly, part number PS3533794. Please reach out to customer service if you need help placing an order, anyone will be happy to assist you. We hope that helps.
See how others fixed this model. Time, tools, difficulty, and steps that lead to victory!View More
Search repair tips from other customers using simple keywords like "replace", "fit", "remove", "inspect". DIY doesn't mean you have to do it alone!
Search filter:
Clear Filter
Your search term must have 3 or more characters.
Washing maching wouldn't drain
592 of 761 peoplefound this instruction helpful.
Jorge from Apple Valley, CA
Easy
1- 2 hours
Screw drivers
Removed the top of the washer by removing the 4 back screws and 2 small brackets. Then I removed the front panel, this was actually the hardest part, 2 screws and 8 tabs that you pop out carefully from the top of the panel. I only disconnected the power button and was able to rest the panel on top of the washer. The rest of the washer cam
... Read moree apart quickly just moving down the front of the washer and removing the door, latch, tub gasket, drain cover. Removing the pump was just a mater of disconnecting the drain hoses, and one clip under the drain assembly. 3 screws attach the drain to assembly to the pump and only 2 wires that are clearly marked. Reassembly is just going back through in reverse order of disassenbly. The best thing about this is that it all comes apart with a standard phillips screwdriver.
Read less
Was this helpful?
Thank you for voting!
LE Error Message and won't spin drum properly
255 of 339 peoplefound this instruction helpful.
Mark from Harrisburg, PA
Easy
30 - 60 mins
Screw drivers, Socket set
I first tested the motor per the service manual. I checked the resistance between the terminals of the 3 pin connector. It's supposed to be 5-15 ohms. The motor checked out so I replaced the main electrical board. It turns out that wasn't the problem. After a brief web search I found out that the hall sensor (which is attached to the
... Read more motor stator) was the likely cause of the failure. I replaced that and everything works great now. And now I have a spare main board in case that ever fails. I also want to mention that I took the time to remove the dispenser box (where the water comes in and is directed to the different cleaning products) and cleaned it with a very strong bleach solution. It got rid of the mildew and funky smell. It seems that the fabric softener caused a lot of mildew to form inside the dispenser directly above the fabric softener tray. The bleach took care of that. This is probably something that should be done routinely to keep the mildew from forming.
Read less
Was this helpful?
Thank you for voting!
noisy operation, sometimes did not drain, gave OE code
60 of 81 peoplefound this instruction helpful.
Michael from RALEIGH, NC
Really Easy
30 - 60 mins
Pliers, Screw drivers
Thank you for the very helpful YouTube video. After watching the video, I was able to diagnose the problem, buy the part from your website, and complete the repair. This is my personal machine - I am not a professional repairman.



 My Orders