












EasyApplianceParts is now PartSelect! We've merged our sites to provide a better shopping experience for you.   Full Details
Back
Back
Back
Keep typing for more specific results...
Models > WM0532HW > Symptoms > Draining Issues

Parts That Fix LG Washer WM0532HW Draining Issues
Draining Issues is a commonly reported symptom for the WM0532HW LG Washer, and we have put together a full guide on how to fix this. This advice is based on feedback from people who own this exact appliance. We have listed the most common parts for your WM0532HW LG Washer that will fix Draining Issues. We have included repair instructions, and helpful step-by-step video tutorials. If you are experiencing this issue, not to worry, DIYers just like you have fixed this, and shared their experience to help you!
Fixes Symptom 96% of time
★★★★★
★★★★★
2 Reviews

Rated by 1 customer 


A Bit Difficult 

More than 2 hours 

Ratings submitted by customers like you who bought this part.   

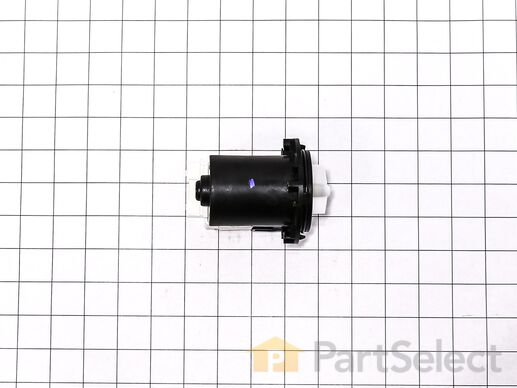
The drain pump and motor assembly may also be known as the washer drain pump and is a part for your washer. The drain pump helps expel water from the washing machine. The drain pump is activated after the spin cycle speed is maintained for a specific period of time. To make this installation you will need a Phillips screwdriver, a small flat-blade screwdriver, a pair of needle-nose pliers, and a pair of slip-joint pliers. Note that the pump casing is not included. This medium-difficulty repair may vary, but can generally be started by disconnecting power, then removing the top of the washer by taking out the four back screws and two small brackets. Then, remove the front panel by taking out the two screws and eight tabs that should be taken from the top. Moving down the front of the washer, remove the door, latch, tub gasket, and drain cover. Disconnect the drain hoses and clip from under the drain assembly, and install new assembly from there. Reassemble parts in direct reverse order -- taking photos during disassembly and keeping parts clearly organized can help here. Despite the number of steps, you will only need a standard Phillips screwdriver to complete this repair.

$ 58.42
  In Stock
PartSelect Number PS3579318
Manufacturer Part Number 4681EA2001T

Replacing your LG Washer Washing Machine Drain Pump
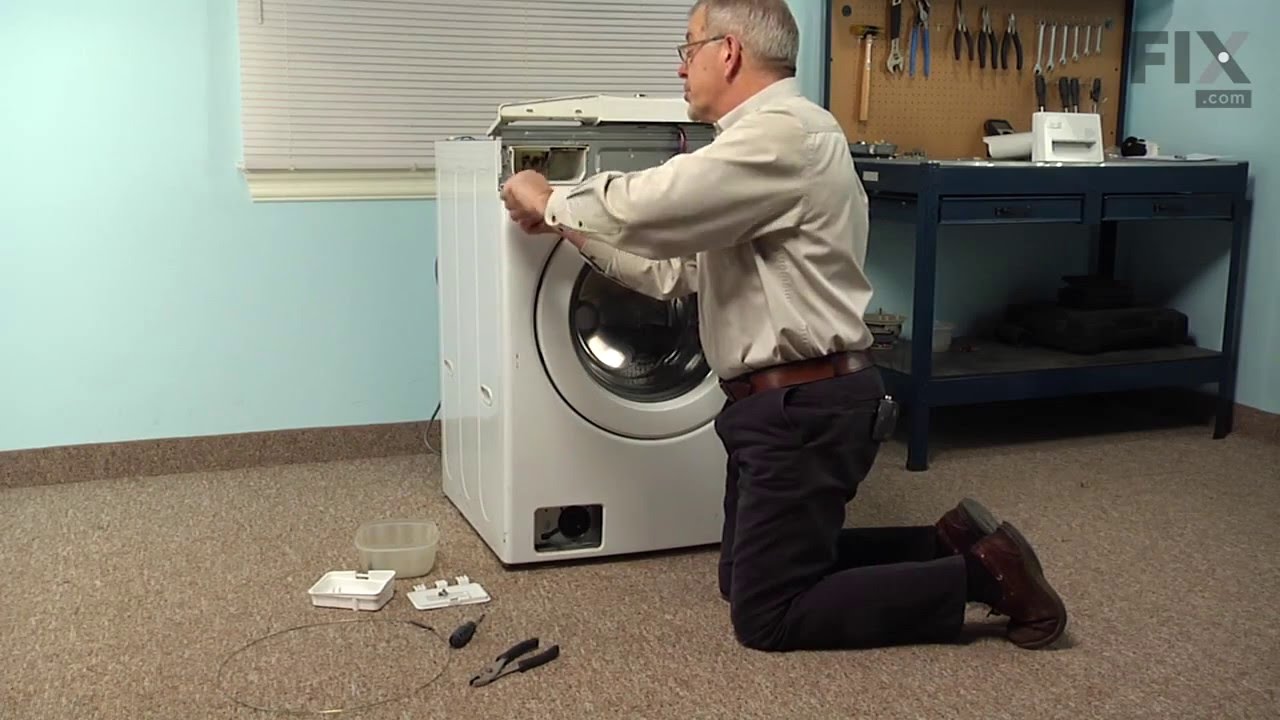
Replacing your Washing Machine Drain Pump

Customer Repair Stories

noisy operation, sometimes did not drain, gave OE code
Thank you for the very helpful YouTube video. After watching the video, I was able to diagnose the problem, buy the part from your website, and complete the repair. This is my personal machine - I am not a professional repairman.
  • Michael from RALEIGH, NC
  • Difficulty Level:
    Really Easy
  • Total Repair Time:
    30 - 60 mins
  • Tools:
    Pliers, Screw drivers
59 of 80 people found this instruction helpful.
Was this instruction helpful to you?
Thank you for voting!
Washing maching wouldn't drain
Removed the top of the washer by removing the 4 back screws and 2 small brackets. Then I removed the front panel, this was actually the hardest part, 2 screws and 8 tabs that you pop out carefully from the top of the panel. I only disconnected the power button and was able to rest the panel on top of the washer. The rest of the washer came apart quickly just moving down the front of the washer and removing the door, latch, tub gasket, drain cover. Removing the pump was just a mater of disconnecting the drain hoses, and one clip under the drain assembly. 3 screws attach the drain to assembly to the pump and only 2 wires that are clearly marked. Reassembly is just going back through in reverse order of disassenbly. The best thing about this is that it all comes apart with a standard phillips screwdriver.
  • Jorge from Apple Valley, CA
  • Difficulty Level:
    Easy
  • Total Repair Time:
    1- 2 hours
  • Tools:
    Screw drivers
591 of 760 people found this instruction helpful.
Was this instruction helpful to you?
Thank you for voting!
Fixes Symptom 4% of time

The drain hose assembly is a genuine OEM assembly supplied directly by LG for use in washing machines. The assembly includes the hose, connector, elbow fitting, and metal clamp. It is responsible for directing wastewater from the washing machine tub to the household drain or plumbing system. It allows the water to exit the washer efficiently and prevents it from pooling inside the machine at the end of the cycle. If the hose can no longer stay attached to the washer or drainpipe, water is leaking from the hose, or the hose has visible damage such as cracks and splits then you will need to replace it before you can resume using your washer.

$ 36.85
  In Stock
PartSelect Number PS3527325
Manufacturer Part Number 5215ER2002G

Customer Repair Stories

The drain hose was leaking
First I had to elevate the washer on 3-5 gal. buckets in order to get underneath it and find the leak. Then I tried to repair the hose itself-which actually worked-but then the rest of the hose just started splitting everywhere I touched it. So I ordered the new part which took some careful comparing and examination online. But it was exactly the right part. You have to remove the top of the washer which is just 2 or 3 screws. Then taking the hose out was a little challenge-knowing I would have to put the new one back in carefully. Use Vaseline on rubber fitting at the end of the hose that connects to the washer. Need at least 2 people to raise the washer up in air to work on it.
  • Julia from Mena, AR
  • Difficulty Level:
    Difficult
  • Total Repair Time:
    1- 2 hours
  • Tools:
    Pliers, Screw drivers
1 person found this instruction helpful.
Was this instruction helpful to you?
Thank you for voting!
Pump discharge hose leak.
Went to U tube found several good videos relative to the problem, suggest you do the same. Heavy rubber diaphragm seal retainer spring VERY difficult to expand, bought a replacement spring with less tension and it worked fine. Plastic clip at the back of the cabinet does not have to be removed. Squeeze it and it will unlatch to free the hose, The part supplied was an exact replacement for the original, it worked just fine. Good luck.
  • JAMES S. from LEANDER, TX
  • Difficulty Level:
    A Bit Difficult
  • Total Repair Time:
    1- 2 hours
  • Tools:
    Pliers, Screw drivers
10 of 13 people found this instruction helpful.
Was this instruction helpful to you?
Thank you for voting!