Your coupon for will be reflected when you check out!
✖
Your coupon for
✖
Hello!
You're visiting the PartSelect site in U.S.
Would you like to shop on the Canadian site?
Stay on this site
Go to Canadian site
✖
Model Number Locations
1Select Category Type
Select Category Type
2Select Product Type
Select Product Type
3Select {MODEL} Type
Select {MODEL} Type
Sample Model Number Tags
Model numbers can be made up of numbers (1005400, for example) or a combination of letters and numbers (LAT1000AAE). The model number will most likely appear on either a paper sticker or a metal plate. Your appliance's model number tag may look similar to the sample model number tags shown here (model number highlighted in yellow):
Model has been saved to My Models. If you're not signed in, your lists are available on this device and will expire within 30 days.
Model has been saved to My Models.
This an authentic OEM 40-Watt replacement light bulb, used in a number of household appliances. It is specially designed to withstand extreme temperatures, which is why these replacement bulbs are mos...
This is a control knob, sometimes known as a valve knob, for a range, oven, or stove. It allows you to control the temperature of the surface burner on your appliance. It is made of plastic and is bla...
This bake oven spark igniter is a genuine replacement part designed for gas ranges equipped with a direct spark ignition (DSI) system. It generates the spark needed to ignite the oven burner gas and w...
This oven temperature sensor, for ranges, works together with the oven control board to measure and regulate the oven temperature. The sensor detects the temperature in the oven cavity. If the followi...
This is a multi-use and multi-appliance screw. It can be used on a microwave, refrigerator, range/oven, air conditioner, dehumidifier, washer, or dryer. The measurements of this screw are 8 x 1/2 inch...
This OEM replacement rear drawer glide supports the storage drawer on your range, and allows the drawer to open and close with ease. If your storage drawer will not open or close, or catches and stick...
This is a door hinge active with spring, for your range. The hinge controls the opening and closing of the oven door. If your oven door seems to be sticking, you may want to consider replacing this pa...
This touch-up paint can be used on a wide variety of household appliances. It is most often used on washers, dryer, refrigerators, dishwashers, ranges, freezers, trash compactors, or microwaves. It is...
Ask our experts a question about this model and we'll get back to you as soon as possible!
6 questions answered by our experts.
Sort by:
< Prev
1
2
Next >
Search filter:
Clear Filter
Your search term must have 3 or more characters.
Keep searches simple. Use keywords, e.g. "leaking", "pump", "broken" or "fit".
Sorry, we couldn't find any existing answers that matched.Try using some different or simpler keywords, or submit your new question by using the "Ask a Question" button above!
Tammie
March 4, 2020
Converting to lp gas. Videos show to remove the screws on the burners to change the orifice but ours doesn't have screws looks like hex key nuts. Can u help.
For model number WFG361LVQ2
Hello, Thank you for your question. It looks like you would need a wrench to get them off. We hope this helps.
1 person found this helpful.
Did this question help you?
Thank you for voting!
Karl
December 10, 2023
Can't burn the oven at the same time as the top burners
For model number WFG361LVQ2
Hi Karl, thank you for contacting us. Based on the description that you have provided, we would recommend checking the gas valve, part number PS11752203. We hope this is helpful!
Went to use the stove today and found out that the oven didn't turn on. The igniters on the stovetop don't work either. Not sure if it makes a difference but we lost power last night. It worked before that. What do I need to check?
For model number WFG361LVQ2
Hi James, thank you for contacting us. For the oven issue, we would suggest checking the oven control board, part number PS11754598. For the stove top issue, we would recommend checking the spark ignition switch and harness, part number PS11752276. We hope this solves your problem!
How do you convert the oven to lp gas can't find a video anywhere plz help.
For model number WFG361LVQ2
Hello Tammie, thank you for your question. The LP conversion kit is PartSelect Number: PS11749495. The top burner orifice can be changed by ordering the conversion kit. The oven can be changed over by replacing the oven orifice part number WPW10400495 which is the LP orifice for the oven. You can find a general guide online if you search "how to convert a gas range to propane". I hope this helps.
Did this question help you?
Thank you for voting!
< Prev
1
2
Next >
✖
Ask a Question
Ask our experts a question on this model and we'll respond as soon as we can.
My oven was misdiagnosed from an appliance repair company. They said my ignitors and spark module needed to be replaced. I did this myself and still nothing. The problem happened to be a defective gas valve.
First I unplugged the stove and shut off the gas supply. After I disconnected the flex hose and the 2 gas connections
... Read more behind the stove, I removed the 4 screws that held the valve to the back of the stove.
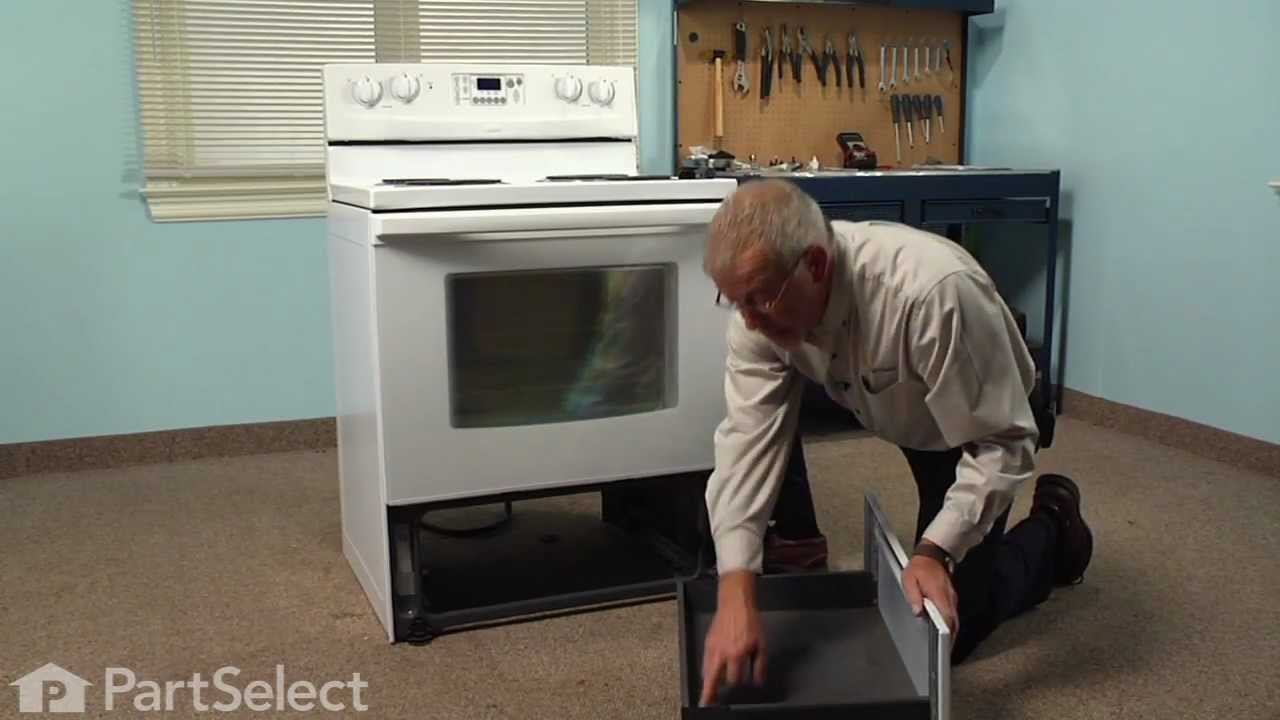
I went to the front of the appliance and pulled out the bottom drawer. This exposed the valve from the other side. I disconnected the electrical connections (3 colored wires) to the valve and removed it. I re-attached the new valve, putting everything back in reverse order. I made sure the 3 wires were reconnected correctly by labeling each one before disconnecting them. I made certain that my gas connections were sealed by using teflon tape and/or pipe sealant from the hardware store. I turned the shutoff valve back to the on position and checked for leaks. If I smelled gas I snugged it down a bit more until no gas smell was detected.
There was nothing wrong with the ignitors or the spark module. The stove failed to pre-heat and the "tick-tick" I used to hear when the stove was first turned on was nonexistent. What the so-called experts said would be hundreds of dollars to fix unded up being a $90 part.
I numbered every part. ex: 1 L., for first part removed left side. I used a magic marker to circle the holes and wrote the number of screws used on the part, set the srews in a separete place, so that I new where these screws went to. The cleanup was pretty time consuming, but I was able to keep my stove, when every repairman I called to
... Read more fix my stove told me I was better off buying a new stove. ($600.00 stove 2 years old)Please Note: The insulation blanket needed for the entire stove is two pieces, the sides and top are one part # and the bottom and back, are another part #. I did not know this. I just purchased the top and sides. I got lucky, the back and bottom were still in good shape. So I guess I should have read the description of the part more carefully to see what it covers, before I ordered it. It took two people two hours to do the work, it was really nice to have an extra set of eyes, to remember what direction pieces of metal from the stove went. I would do it all over in a heart beat instead of buying a new stove.
Opened up the back of the stove. Unpluged the sensor. Replaced the sensor. Replace the back of the stove.
The sensor that has been replaced is not what is expected. After reading all of the instructions for adjusting the temperatures, the only temp that stays steady is when we first turn on the oven to 350 degrees. That stays s
... Read moreteady but when I turn it to 400 it slowly goes up to 425 degrees.