Your coupon for will be reflected when you check out!
✖
Your coupon for
✖
Hello!
You're visiting the PartSelect site in U.S.
Would you like to shop on the Canadian site?
Stay on this site
Go to Canadian site
✖
Model Number Locations
1Select Category Type
Select Category Type
2Select Product Type
Select Product Type
3Select {MODEL} Type
Select {MODEL} Type
Sample Model Number Tags
Model numbers can be made up of numbers (1005400, for example) or a combination of letters and numbers (LAT1000AAE). The model number will most likely appear on either a paper sticker or a metal plate. Your appliance's model number tag may look similar to the sample model number tags shown here (model number highlighted in yellow):
Model has been saved to My Models. If you're not signed in, your lists are available on this device and will expire within 30 days.
Model has been saved to My Models.
This an authentic OEM 40-Watt replacement light bulb, used in a number of household appliances. It is specially designed to withstand extreme temperatures, which is why these replacement bulbs are mos...
This oven temperature sensor, for ranges, works together with the oven control board to measure and regulate the oven temperature. The sensor detects the temperature in the oven cavity. If the followi...
This is a multi-use and multi-appliance screw. It can be used on a microwave, refrigerator, range/oven, air conditioner, dehumidifier, washer, or dryer. The measurements of this screw are 8 x 1/2 inch...
This OEM replacement rear drawer glide supports the storage drawer on your range, and allows the drawer to open and close with ease. If your storage drawer will not open or close, or catches and stick...
This oven rack is a piece for your range. The oven rack is sold individually and is silver in color. The function of this part is to provide a balanced and flat surface for your cookware to sit inside...
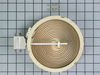
This is a radiant surface element with limiter, and it works in conjunction with your range. The function of this part is to give heat to the surface directly above it, on cooking area stove top.This ...
This touch-up paint can be used on a wide variety of household appliances. It is most often used on washers, dryer, refrigerators, dishwashers, ranges, freezers, trash compactors, or microwaves. It is...
This surface element control switch, also known as an infinite switch, is a genuine OEM replacement designed for 6-inch electric burners on select ranges. It regulates the power supplied to the surfac...
This broil element supplies heat for cooking purposes and is located in the roof of an oven. If you find there is little to no heat when cooking, a burned-out element, or food is taking too long to co...
This bottle of non-abrasive cooktop cleaner breaks down and gets rid of the hardest baked-on stains and residue without causing any harm to your appliance. The bottle is 10 oz and does not require a l...
Ask our experts a question about this model and we'll get back to you as soon as possible!
4 questions answered by our experts.
Sort by:
< Prev
1
Next >
Search filter:
Clear Filter
Your search term must have 3 or more characters.
Keep searches simple. Use keywords, e.g. "leaking", "pump", "broken" or "fit".
Sorry, we couldn't find any existing answers that matched.Try using some different or simpler keywords, or submit your new question by using the "Ask a Question" button above!
Harry
July 28, 2021
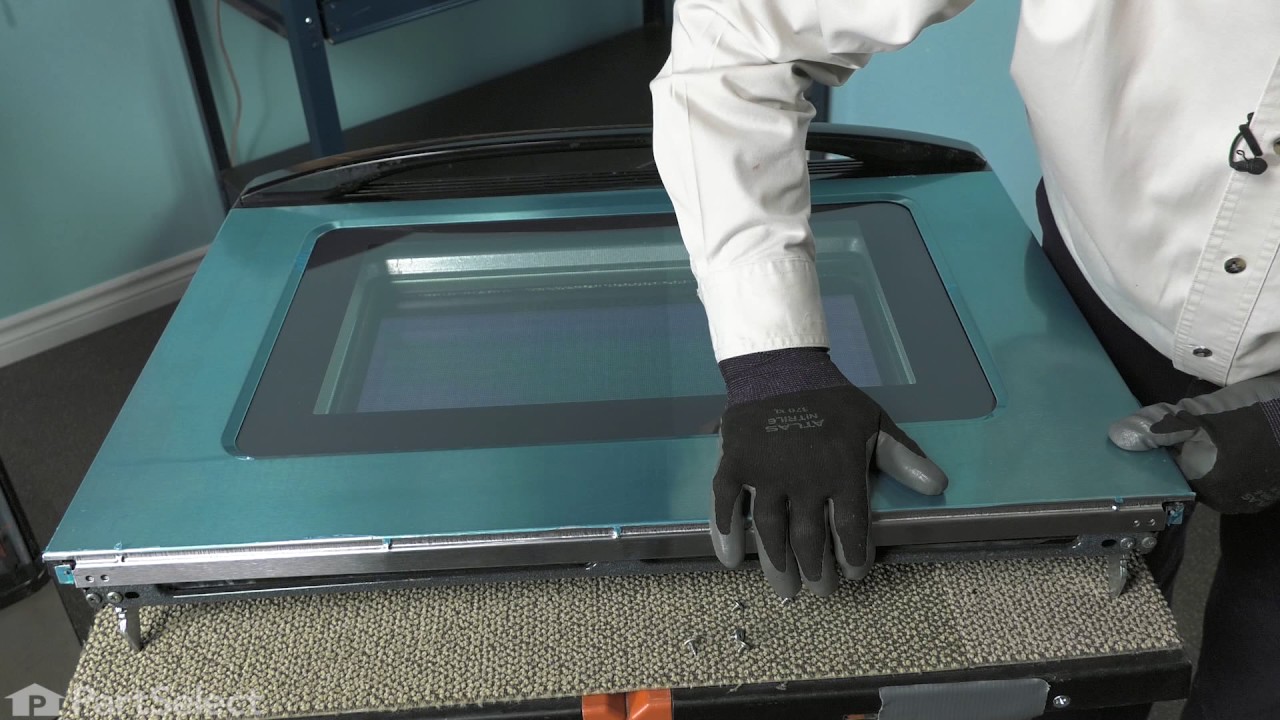
Can the oven door be removed as 1 piece?
For model number WFE371LVQ0
Hello Harry, Thank you for the question. Here is a link to a video that will show how to remove the Door for the oven. We hope this helps! https://www.youtube.com/watch?v=TaNMEAePWeg&t=71s
1 person found this helpful.
Did this question help you?
Thank you for voting!
George
February 13, 2023
Bulb replacement in oven, will any appliances bulb work. I replaced the bulb with a standard appliance bulb, and it came on, but wouldn’t turn off.
For model number WFE371LVQ0
Hi George, thank you for reaching out. It is not recommended to use a non-compatible bulb with your appliance. The compatible bulb for your model is part number PS884734. If the light is still not turning off after installing the compatible bulb, then we would recommend checking the door switch, part number PS11747197. We hope this solves your problem!
Right front double element comes on but stays on high. Also, the switch only works in certain positions. I think I need a double switch element but confused with the different parts shown. Please advise. Thank you for your time
For model number WFE371LVQ0
Hi John, thank you for reaching out. We have researched the model and found that the part you are looking for is the Infinite Dual Element Switch, part number PS11749068. We hope this helps!
Left front burner stays on high when turned on. Repairman says that I need a new infinite dual element switch, but he didn't have one in stock. What is the part number and where can I purchase one?
For model number WFE371LVQ0
Hello Gary, thank you for reaching out. The infinite switch for the left front burner is part number PS11749394. If you need help placing an order, customer service is open 7 days a week!
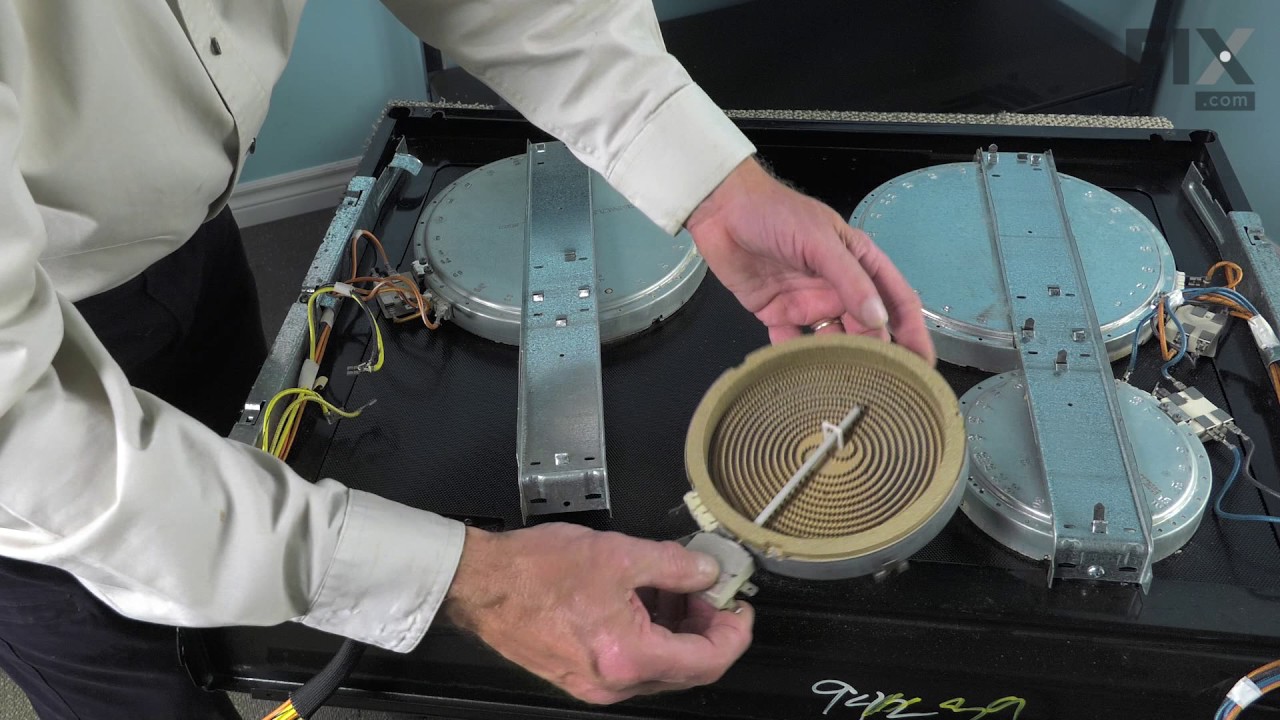
Turned the breaker off, I removed 2 screws securing the range top to the range, opened the top and secured it in the up position, Removed the 2 screws securing the element ,one at a time I swapped the quick connectors from the old element to the new and repeated the process in reverse. I save over $100.00 in labor, plus most companies get
... Read more you for a trip charge. It was easy!!
I numbered every part. ex: 1 L., for first part removed left side. I used a magic marker to circle the holes and wrote the number of screws used on the part, set the srews in a separete place, so that I new where these screws went to. The cleanup was pretty time consuming, but I was able to keep my stove, when every repairman I called to
... Read more fix my stove told me I was better off buying a new stove. ($600.00 stove 2 years old)Please Note: The insulation blanket needed for the entire stove is two pieces, the sides and top are one part # and the bottom and back, are another part #. I did not know this. I just purchased the top and sides. I got lucky, the back and bottom were still in good shape. So I guess I should have read the description of the part more carefully to see what it covers, before I ordered it. It took two people two hours to do the work, it was really nice to have an extra set of eyes, to remember what direction pieces of metal from the stove went. I would do it all over in a heart beat instead of buying a new stove.
Thermal switch is integral to element and can not be changed, must replace entire element.
Turn off power. Removed front two screws above oven door jamb and lifted the top. Removed the bracket that holds the element against the glass top and removed the element. Moved brackets from old element to new one, aligning to same numer
... Read moreical position and then moved wiring to new element. Slide new element under bracket and reinstalled single screw. Replaced top and screwed down. Turn on power and test .