Your coupon for will be reflected when you check out!
✖
Your coupon for
✖
Hello!
You're visiting the PartSelect site in U.S.
Would you like to shop on the Canadian site?
Stay on this site
Go to Canadian site
✖
Model Number Locations
1Select Category Type
Select Category Type
2Select Product Type
Select Product Type
3Select {MODEL} Type
Select {MODEL} Type
Sample Model Number Tags
Model numbers can be made up of numbers (1005400, for example) or a combination of letters and numbers (LAT1000AAE). The model number will most likely appear on either a paper sticker or a metal plate. Your appliance's model number tag may look similar to the sample model number tags shown here (model number highlighted in yellow):
Model has been saved to My Models. If you're not signed in, your lists are available on this device and will expire within 30 days.
Model has been saved to My Models.
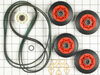
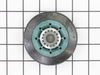
This Whirlpool Dryer Repair Kit is a convenient solution for fixing noise and drum movement problems in 27-inch dryers. Compatible with models from Whirlpool, Kenmore, Maytag, and more, the kit includ...
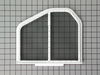
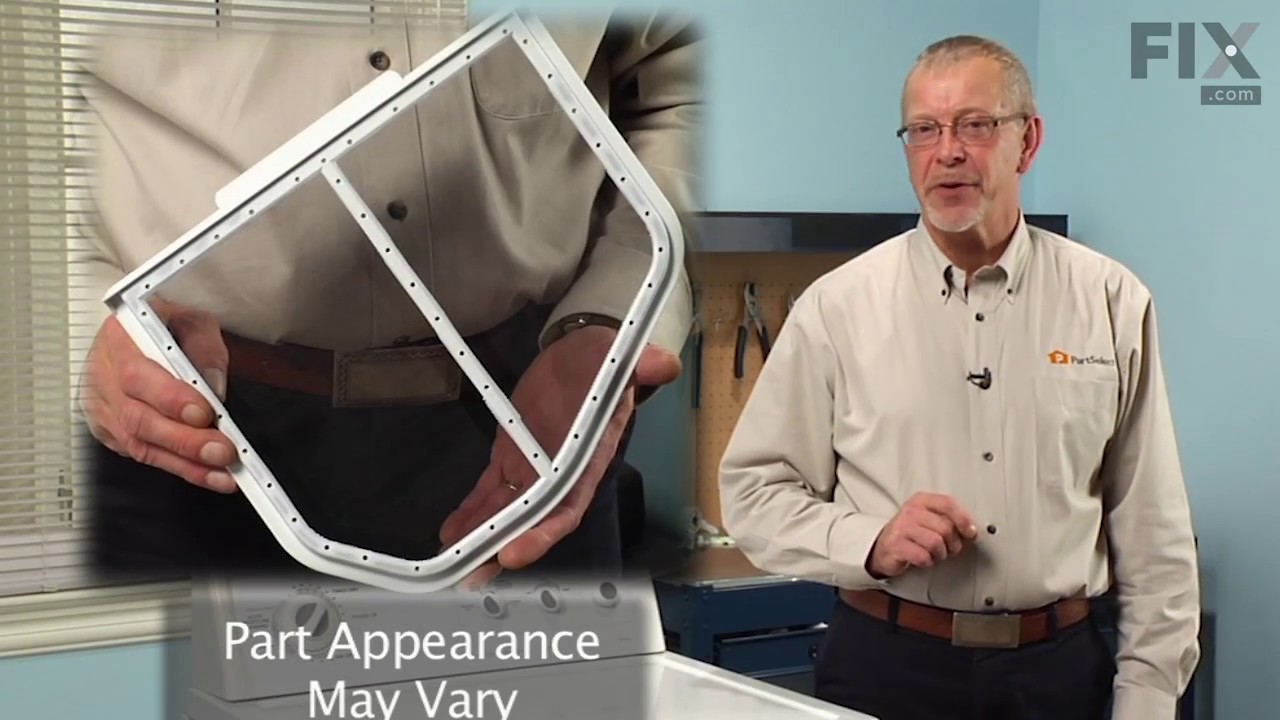
The filter collects lint during the drying cycle. This filter is 12 1/2 inches wide and 10 1/2 inches deep. Replacing the lint filter is an easy repair which requires no tools. When replacing the lint...
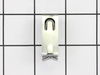
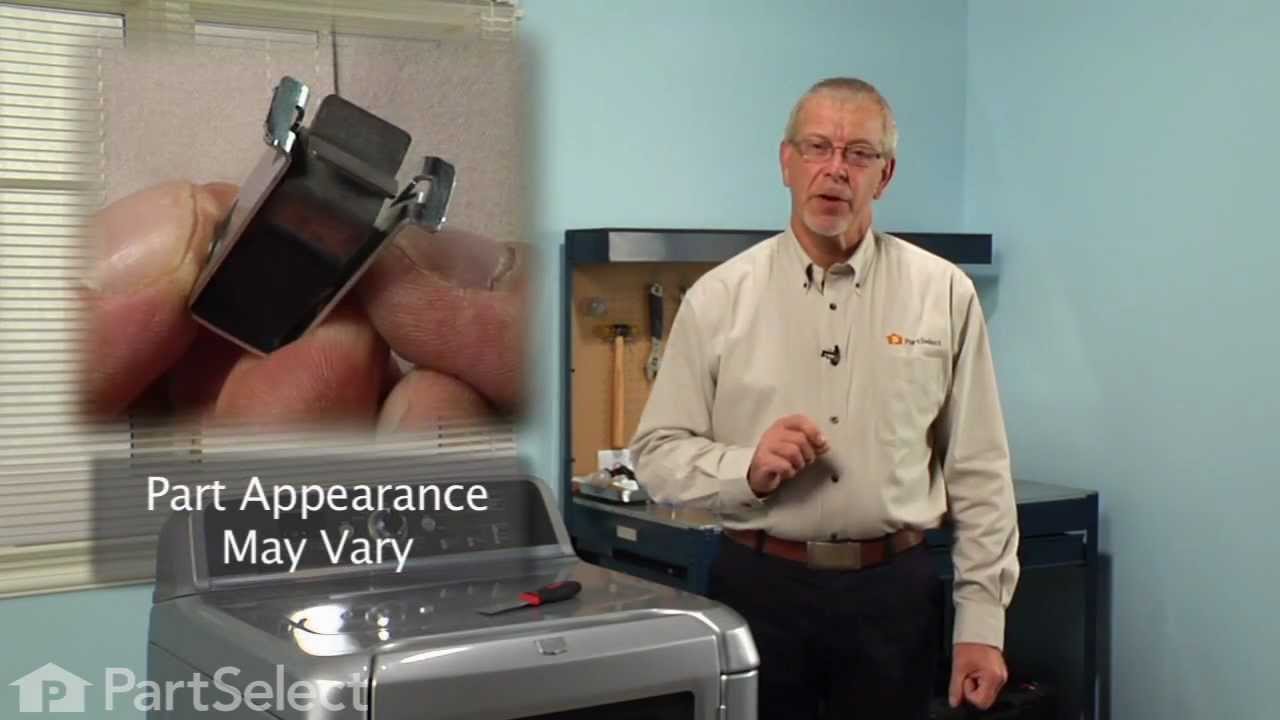
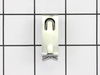
This replacement door catch is for your dryer door. If the catch is broken and the door will not stay shut, the dryer may not turn on. Use a putty knife to pop out the existing door catch by the locki...
This dryer thermistor is a genuine replacement component designed to monitor and regulate internal temperature in Whirlpool dryers. Mounted on the blower housing, it plays a critical role in controlli...
If you notice that your dryer is noisy or will not tumble, you may need to replace the tri ring. This part is triangular, and is less than an inch in size. Tri rings can be found both on the idler pul...
If your washer shakes or vibrates loudly when it reaches its max speed, check that the leveling legs are even. To ensure that the washer is firmly on the ground using all four legs, adjust the legs so...
This is the moisture sensor for your dryer. It helps detect the amount of moisture in your clothes during the dryer cycle. If you notice your clothes are still wet after an automatic dryer cycle is do...
Also known as Thermal Cut-Off kit. The thermostat acts as a safety mechanism that keeps the dryer from overheating and the fuse is like a backup system - it's set to trip at a higher temperature than...
This 10-watt clear incandescent light bulb is designed to provide reliable interior illumination for household appliances such as dryers and refrigerators. Measuring approximately 2 inches in length, ...
Ask our experts a question about this model and we'll get back to you as soon as possible!
3 questions answered by our experts.
Sort by:
< Prev
1
Next >
Search filter:
Clear Filter
Your search term must have 3 or more characters.
Keep searches simple. Use keywords, e.g. "leaking", "pump", "broken" or "fit".
Sorry, we couldn't find any existing answers that matched.Try using some different or simpler keywords, or submit your new question by using the "Ask a Question" button above!
Stephen
July 31, 2021
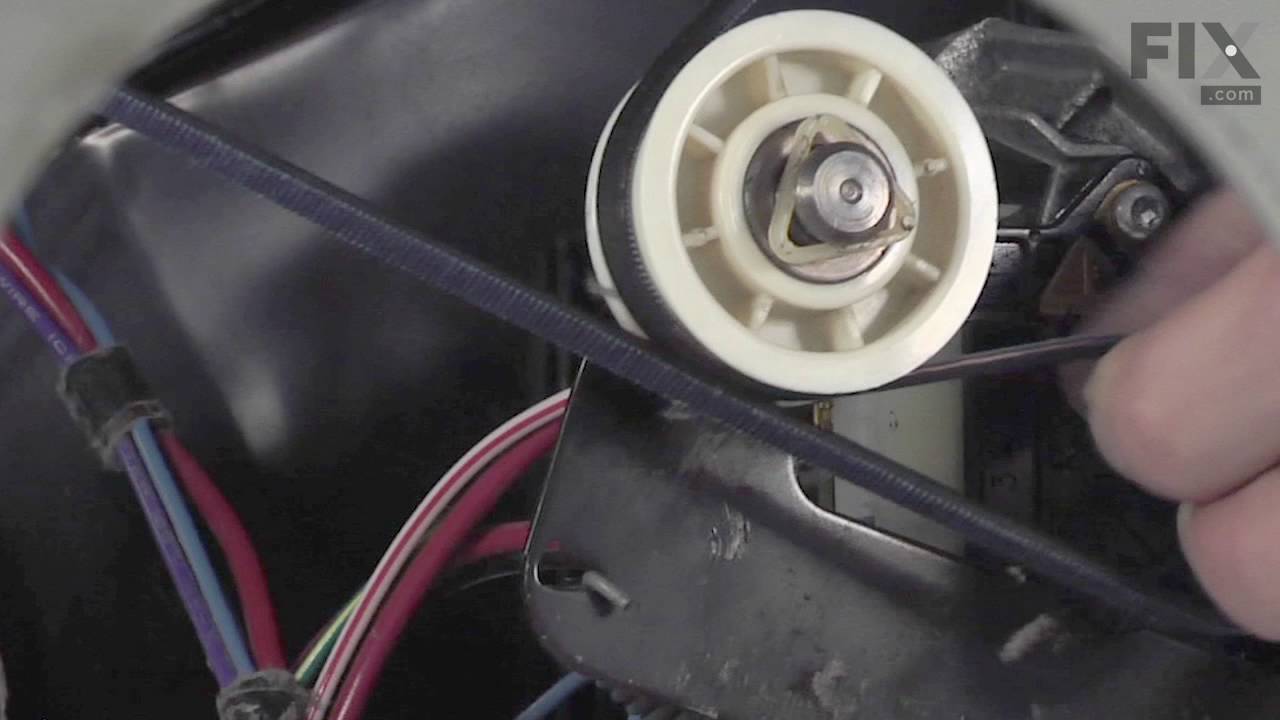
Replaced the drive belt (after some searching for a video on how to do it). The new belt is 8n place, however comparing what i see to what is in the service manual (page 12, motor test) it seems like my belt is sitting in the wrong position. The belt is sitting directly on the arm where the spring connects. I did not replace the idler pulley, but am willing to do that if needed. I wish i could upload an image to help the explanation.
For model number WED8500BW0
Hi Stephen,
Thank you for your question. Unfortunately we do not have any installation instructions specifically for this part however, this video will show you how to install it, https://youtu.be/LxooXQCin8Y. We hope this helps. Good luck with your repair.
WHEN WE PUSH THE START BUTTON, NOTHING HAPPENS. ALL THE LIGHTS WORK, LIGHT BULB WORKS.
For model number WED8500BW0
Hello William, thank you for your question. We recommend testing the Door Switch PS11753512 or the Door Catch PS11748369. If the catch is broken and the door will not stay shut, the dryer may not turn on. The other part to check is the Disposable Thermal Fuse - Two Terminal PS11741444. Good luck with the repair.
The start button feels like nothing is there when you push it. Everything else works fine except the start button is dead. I took the panel apart and found out the the gray case that holds in the circuit board, the mechanism attached to it was broken off where the start button is. I supper glued it back and it work for four months before it did it again. I’ve fixed it again but can I get the gray plastic casing that holds the circuit board
For model number WED8500BW0
Hello Jeff, Thank you for contacting us. We show the gray casing that holds the circuit board as part# PS11756425. We hope this helps you.
After a few years of slamming the dryer door (at least that is what my husband says), the catch on the dryer door broke. Using pliers (I used needle nose) squeeze the outer edges of the catch together (vertically). With it compressed, it should slide out easily. My husband had jacked with ours prior to the repair, so the broken piece i
... Read moren the door was actually sideways and would not fit through the hole. Using a screwdriver, I pushed that piece into the door (it lives in the door somewhere now). I was then able to slide out the rest of the old catch. Compress the new catch and insert it into the hole in the door. Push it in until it clicks into place. DONE! Happy Drying!
The issue was the idler pulley. First I began opening up the front panel based on a youtube video but soon realized the model was slightly different and required a lot more items to remove. I saw the pulley in the back with nothing in the way so I put the front panel crap back on and removed the rear panel. There it was, very simple to re
... Read moremove and replace. I'm not looking forward to drum rollers though. Hopefully they're aren't as difficult as they appear.