













SF350BEGW0 Whirlpool Range - Overview
Sections of the SF350BEGW0
[Viewing 6 of 6]


Keep searches simple, eg. "belt" or "pump".

Oven Igniter
PartSelect #: PS11770066
Manufacturer #: W10918546
This flat-style oven igniter is a genuine OEM replacement part designed for gas ranges. Housed in durable ceramic, it includes a connector for easy installation and is responsible for igniting the gas...
$44.23
In Stock

Screw
PartSelect #: PS12349731
Manufacturer #: W11233072
This is a multi-use and multi-appliance screw. It can be used on a microwave, refrigerator, range/oven, air conditioner, dehumidifier, washer, or dryer. The measurements of this screw are 8 x 1/2 inch...
$21.45
In Stock

Range Rear Drawer Glide
PartSelect #: PS890554
Manufacturer #: WP8053334
This OEM replacement rear drawer glide supports the storage drawer on your range, and allows the drawer to open and close with ease. If your storage drawer will not open or close, or catches and stick...
$9.62
In Stock

Range Rack
PartSelect #: PS11751295
Manufacturer #: WPW10256908
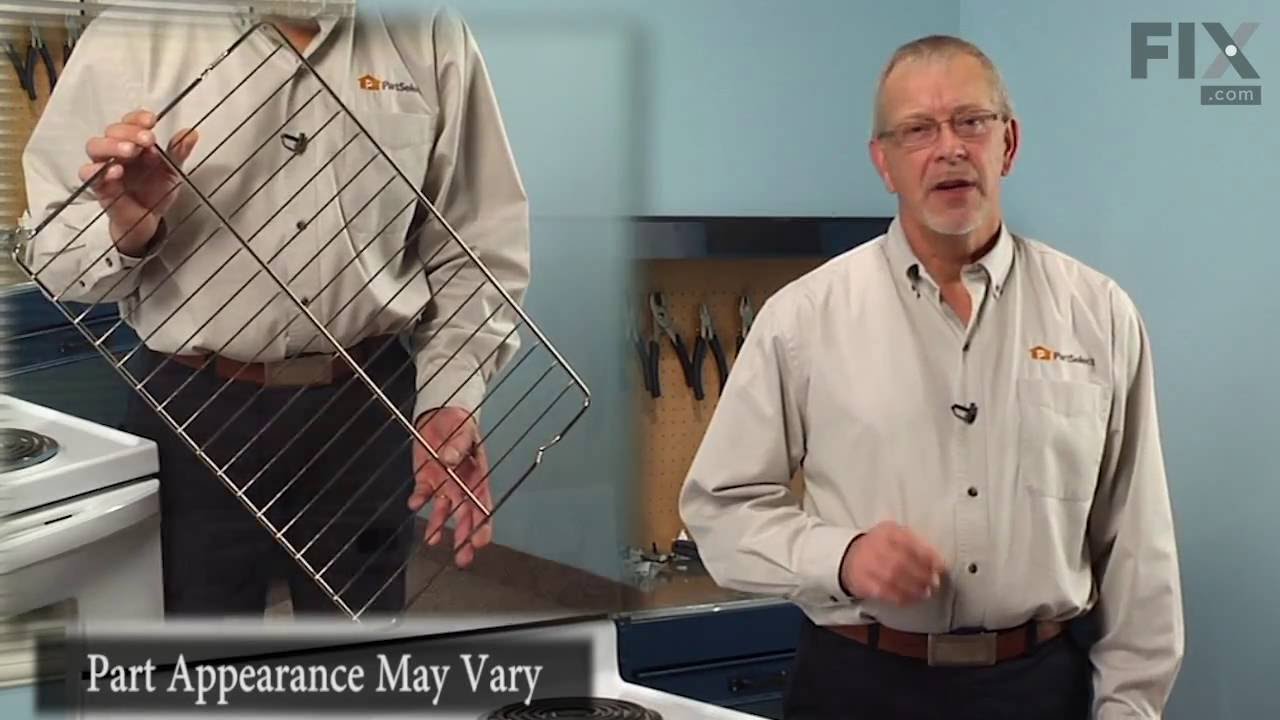
This oven rack is a piece for your range. The oven rack is sold individually and is silver in color. The function of this part is to provide a balanced and flat surface for your cookware to sit inside...
$80.01
Special Order

Range Screw
PartSelect #: PS11738704
Manufacturer #: WP179051
Sold individually. Lock washers are used with screws when vibration from an appliance may cause the screw to loosen. Lock washers are also used in the electrical components of an appliance to ensure ...
$7.47
In Stock

Touch-Up Paint - White
PartSelect #: PS385132
Manufacturer #: 72017
This touch-up paint can be used on a wide variety of household appliances. It is most often used on washers, dryer, refrigerators, dishwashers, ranges, freezers, trash compactors, or microwaves. It is...
$24.15
In Stock

Range Front Drawer Glide
PartSelect #: PS11740957
Manufacturer #: WP3195546
Sold individually.
$9.62
In Stock


Range Screw
PartSelect #: PS11740978
Manufacturer #: WP3196164
This screw is sold individually.
$7.47
In Stock

Range Door Handle
PartSelect #: PS11750223
Manufacturer #: WPW10202217
This is a door handle for the oven on your range. It mounts onto your oven, allowing you the ability to have full control of the door. This handle does not come with the required screws, and they will...
$124.60
In Stock

Screw
PartSelect #: PS11741605
Manufacturer #: WP3400832
This screw is sold individually.
$7.47
In Stock

Range Rear Leveling Leg
PartSelect #: PS11748094
Manufacturer #: WPW10058460
Sold individually.
$9.62
In Stock
Manuals & Care Guides for SF350BEGW0
Click to downloadCommon Symptoms of the SF350BEGW0
[Viewing 8 of 8]Gas igniter glows, but will not light
Fixed by
these parts
these parts

Show All
Will Not Start
Fixed by
these parts
these parts

Show All
Little to no heat when baking
Fixed by
these parts
these parts
Show All
Door won’t close
Fixed by
these parts
these parts


Show All
Element will not heat
Fixed by
these parts
these parts
Show All
Oven not heating evenly
Fixed by
these parts
these parts

Show All
Oven is too hot
Fixed by
these parts
these parts
Show All
Door won’t open after self cleaning cycle
Fixed by
these parts
these parts

Show All



Keep searches simple. Use keywords, e.g. "leaking", "pump", "broken" or "fit".
mice had made nests in the insulation wrap in the range
I numbered every part. ex: 1 L., for first part removed left side. I used a magic marker to circle the holes and wrote the number of screws used on the part, set the srews in a separete place, so that I new where these screws went to. The cleanup was pretty time consuming, but I was able to keep my stove, when every repairman I called to
... Read more
fix my stove told me I was better off buying a new stove. ($600.00 stove 2 years old)Please Note: The insulation blanket needed for the entire stove is two pieces, the sides and top are one part # and the bottom and back, are another part #. I did not know this. I just purchased the top and sides. I got lucky, the back and bottom were still in good shape. So I guess I should have read the description of the part more carefully to see what it covers, before I ordered it. It took two people two hours to do the work, it was really nice to have an extra set of eyes, to remember what direction pieces of metal from the stove went. I would do it all over in a heart beat instead of buying a new stove.
Read less
Parts Used:

-
Wendy from Red Hook, NY
-
Difficulty Level:Easy
-
Total Repair Time:More than 2 hours
-
Tools:Screw drivers
127 of 206 people
found this instruction helpful.
Was this instruction helpful to you?
Thank you for voting!
our oven would not heat up
My husband pulled out the stove turned the gas off then he pulled out the part and replaced igniter....it took only about 20 min to do this job it was very easy and prior to us doing ourselves i called a well known company that does home repairs, I also called a few smaller businesses and to replace this part was anywhere from $175- 250 i
... Read more
f not more. we are very very happy with our decision to replace the part ourselves unstead of spending extra money we didnt have .
Read less
Parts Used:
-
sharnette from baltimore, MD
-
Difficulty Level:Really Easy
-
Total Repair Time:15 - 30 mins
-
Tools:Screw drivers
93 of 109 people
found this instruction helpful.
Was this instruction helpful to you?
Thank you for voting!
E1 F5 Error on display
After reading many forums found that this error happens when trying to clean the oven and there is a failure in the latch motor to lock the oven door. It was suggested 1st to just tunr the breaker off to the over wait and then turn it back on to see if the error would clear by itself. If not then you'll have to do what I did and buy a n
... Read more
ew Latch Motor and replace it. Fairly easy to do:
) Move oven to get to the back panel
) Disconnect oven from power
) Remove the 8 screws to get the back panel off
) REmove the Latch motor screws (2) and remove the motor after twisting to get the latch rod off
) Put in new latch motor by 1st putting the latch rod in the motor assembly
) Screw the new motor in place
) Replace back panel
) Power on Oven
DONE!
) Move oven to get to the back panel
) Disconnect oven from power
) Remove the 8 screws to get the back panel off
) REmove the Latch motor screws (2) and remove the motor after twisting to get the latch rod off
) Put in new latch motor by 1st putting the latch rod in the motor assembly
) Screw the new motor in place
) Replace back panel
) Power on Oven
DONE!
Read less
Parts Used:

-
Gregory from Thornton, CO
-
Difficulty Level:Easy
-
Total Repair Time:30 - 60 mins
-
Tools:Screw drivers
42 of 53 people
found this instruction helpful.
Was this instruction helpful to you?
Thank you for voting!