Your coupon for will be reflected when you check out!
✖
Your coupon for
✖
Hello!
You're visiting the PartSelect site in U.S.
Would you like to shop on the Canadian site?
Stay on this site
Go to Canadian site
✖
Model Number Locations
1Select Category Type
Select Category Type
2Select Product Type
Select Product Type
3Select {MODEL} Type
Select {MODEL} Type
Sample Model Number Tags
Model numbers can be made up of numbers (1005400, for example) or a combination of letters and numbers (LAT1000AAE). The model number will most likely appear on either a paper sticker or a metal plate. Your appliance's model number tag may look similar to the sample model number tags shown here (model number highlighted in yellow):
PSS26SGRDSS General Electric Refrigerator - Overview
Save your modelModel Saved!
Save your model for later to make things easier.
Model has been saved to My Models. If you're not signed in, your lists are available on this device and will expire within 30 days.
Model has been saved to My Models.
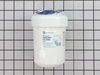
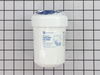
This OEM ice and water filter fits side-by-side and bottom-freezer GE models. The most common reason you would need to change this part is if you have never updated your model and it is no longer filt...
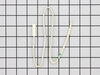
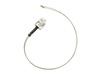
This sensor (Temperature Sensor, Thermistor, Refrigerator Temperature Sensor) sends the temperature reading of the compartment to the control board. If you notice your refrigerator is too warm, too co...
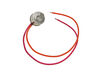
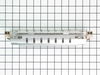
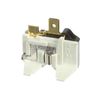
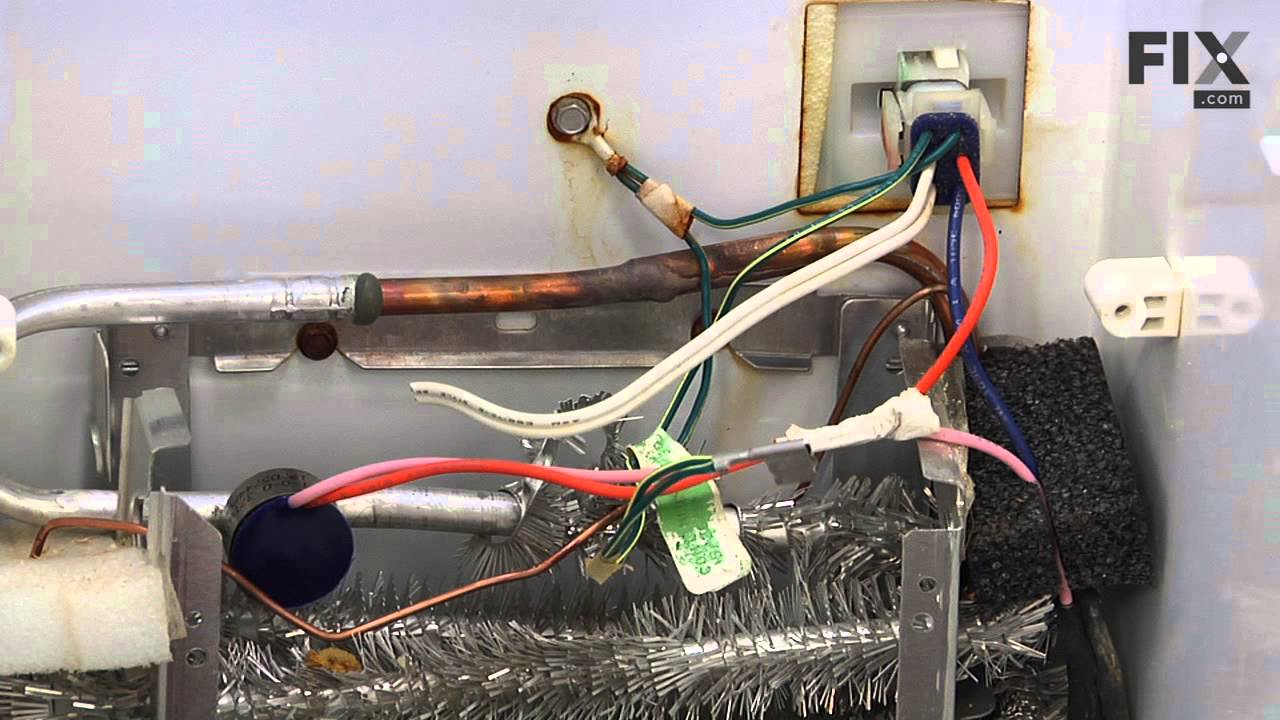
This defrost termination thermostat (Defrost Limiter Thermostat, High Limit Thermostat, Refrigerator Defrost Bi-Metal Thermostat) acts as a safety device to stop the evaporator coil from overheating, ...
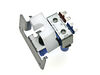
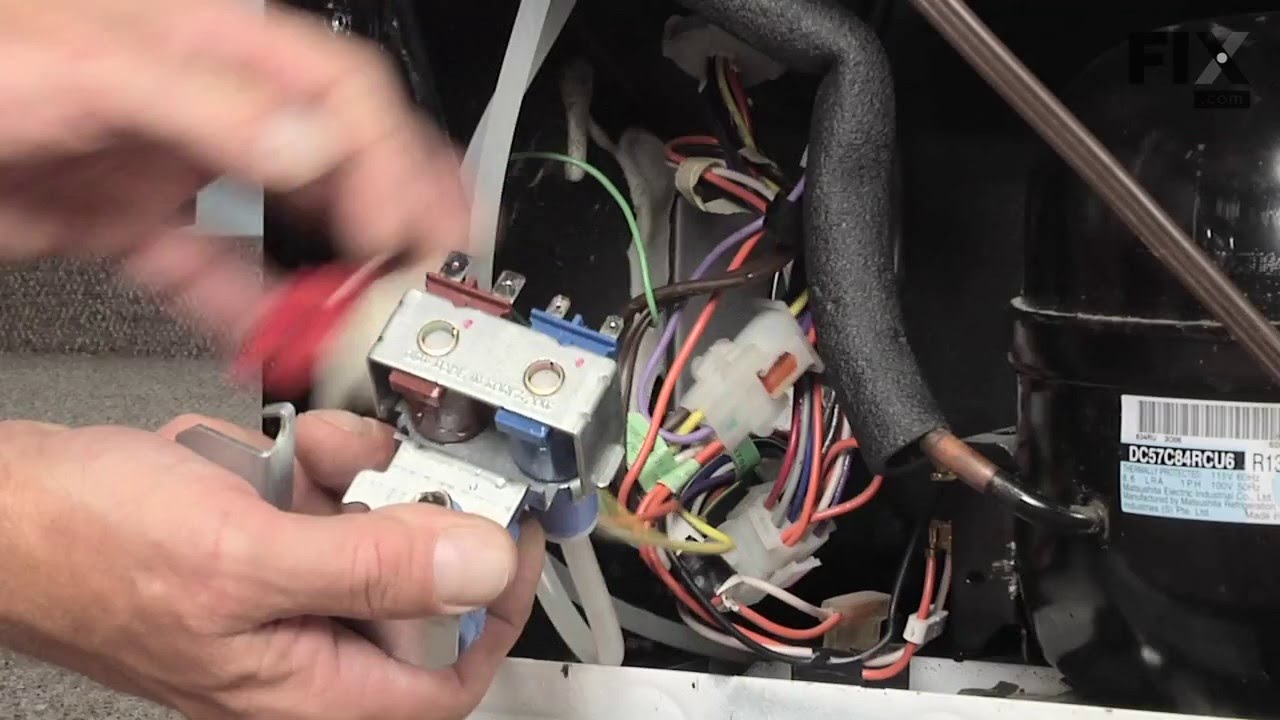
This water inlet valve (Refrigerator Water Inlet Valve Assembly) supplies water to the ice maker and the water dispenser in your refrigerator. It is located at the back of the fridge, beneath the bott...
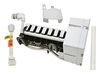
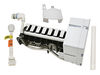
This 10 by 5 inch ice maker (Electromechanical Icemaker Kit, Ice Maker Assembly) produces ice. This particular model will produce seven crescent shaped cubes every cycle. It is constructed of plastic ...
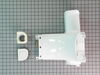
This “Dispenser Door Assembly” (Door Recess Assembly, Ice Door Assembly, Dispenser Door, Refrigerator Dispenser Ice Chute Door Kit, Dispenser Door Flap, Ice Chute Door, Flapper) keeps the room air fro...
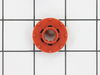
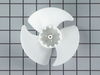
If you notice that your refrigerator or freezer is noisy or too warm, you may need to replace the evaporator fan grommet. This part is red in color, and is about 1 inch in diameter. The evaporator fan...
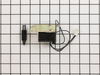
This genuine OEM solenoid is designed for use with GE refrigerators and controls the opening and closing of the ice chute door. It serves as a direct replacement for a worn or faulty solenoid, helping...
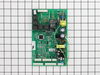
This electronic board (Main Control Board Assembly, Control Board, Motherboard) controls the temperature and defrost functions of the unit. This control board is located on the back of the refrigerato...
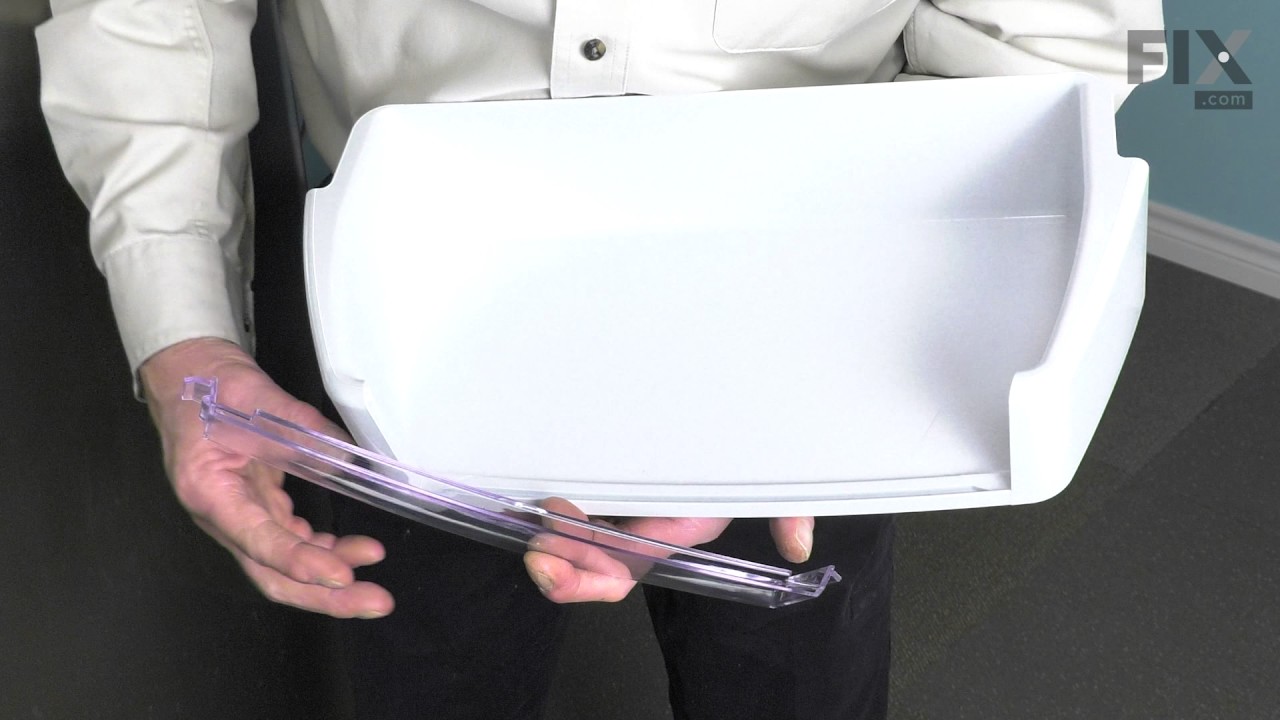
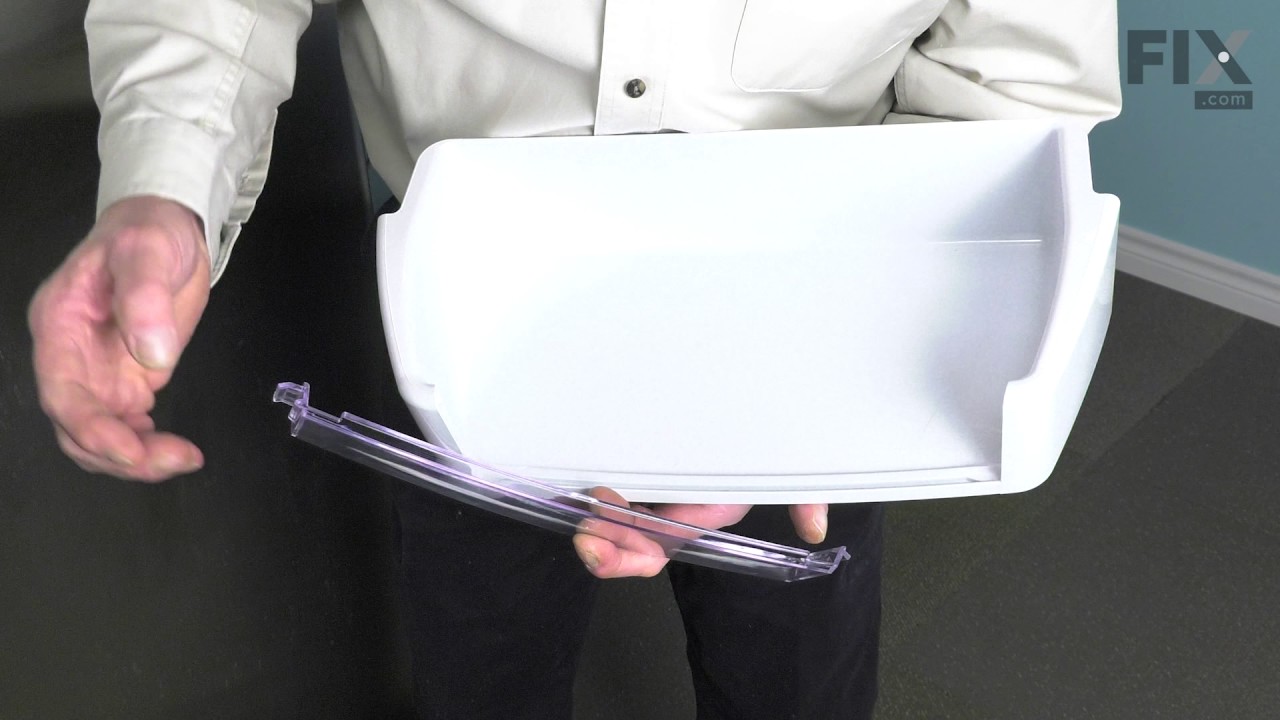
This shelf insert is a genuine OEM replacement part for your refrigerator. The shelf insert can be installed without any tools. Simply pull out the existing shelf and insert the new one.
Ask our experts a question about this model and we'll get back to you as soon as possible!
4 questions answered by our experts.
Sort by:
< Prev
1
Next >
Search filter:
Clear Filter
Your search term must have 3 or more characters.
Keep searches simple. Use keywords, e.g. "leaking", "pump", "broken" or "fit".
Sorry, we couldn't find any existing answers that matched.Try using some different or simpler keywords, or submit your new question by using the "Ask a Question" button above!
Teddy
December 3, 2019
Freezer temperature is 12 degrees and the refrigerator is 42 degrees. Checked condenser coil and cleaned. The compressor is warm. Tried the evaporator. Melted and dried for a while with a hair drier, then looks normal the next day, but it returned to 12 degrees and 42 degrees again. Freezer part inside looks frosted. What parts should be changed?
For model number PSS26SGRDSS
Hi Teddy,
Thank you for your question. If the refrigerator is too warm, there are some parts that you will need to check to see which one is causing the issue. Here is a link from our website that you may reference on what parts to check, https://www.partselect.com/AdvancedModelSymptoms.aspx?ModelNum=PSS26SGRDSS&mfgModelNum=&fkMfgID=2&ModelMasterID=141358&PID=179. I hope this helps. Thank you and have a great day!
1 person found this helpful.
Did this question help you?
Thank you for voting!
Ervin
January 13, 2022
HOW DO YOU REMOVE THE TRIM RECESS ASSEMBLY ON THE FREEZER DOOR?
For model number PSS26SGRDSS
Hello Ervin, Thank you for the question. Using a putty knife slip it in around the trim gently prying the trim away from the door to pop it off. You may also need to remove the drip try to see if there is a screw that needs to be replaced underneath. We hope this helps!
1 person found this helpful.
Did this question help you?
Thank you for voting!
Bob
February 23, 2020
My refrigerator squeals. It seems to be coming from the right side a bit further down. It stops temporarily when you try to dispense water. Water does not work either. Thanks for your help!
For model number PSS26SGRDSS
Hello, Thank you for your question. You will want to check the fan grommet, as well as the motors for the fan, those are typically the cause of the squealing. We hope this helps, good luck with this repair.
Did this question help you?
Thank you for voting!
Carol
June 16, 2021
What causes drip at door dispenser
For model number PSS26SGRDSS
Hi Carol,
Thank you for your question. Sometimes after you have dispensed water from the nozzle on the dispenser, it is common for a few drops to still come out. Sometimes if there is excess water in the drip tray, water may drip down the side of the door. If this is not the issue and you are getting a continuous drip coming from the door, there may be an issue with either the water inlet valve or the micro switch. You will need to check the parts to see which one is causing the issue. We hope this helps?
The very first symptom here is important! The door water dispenser is not working but the ice macine is working. You may only have a frozen water tube in the door so do the following before diagnosing that your solenoid valve is bad: 1) the tube usually runs under the front of the refrigerator and usually has a quick disconnect. Undo t
... Read morehe connection and press the dispenser. If water comes out of the tube you have a frozen or blocked tube in the door. 2) Immediately adjust the temperature in the freezer and warm the freezer compartment as much as you can without destroying the freezer contents. Wait 24 hours. This will usually unfreeze the line. Do not waste your time with a hair dryer. NOW, if this doesn't work and you are convinced you need to order and replace the solenoid, follow these steps. Assemble your tools first. I needed a good ratchet set and a screwdriver. A shop towel is helpful for spilled water. A light is handy. Pull out the refreigerator to gain access to the rear of the unit. Unplug the power and close the water valve (older homes, you may need to actually shut the house water supply). Remove the screws which hold the cover over the lower half of the refrigerator. On the left you will see the solenoid. It's always good to see that your new part matches the one you feel needs replaced. They may not match perfectly due to changing design but they should be very similar. One screw holds this part in place and access is very simple. Now simply unplug the electrical connections. In my case, one blue "blade" type connection (powering the water) and one red "blade" type connection powering the ice maker. They are not the same size and this coupled with the coloring means you will not accidently switch them. pull the tubes clear of the solenoid. This is simple and needs no explantion. Grab your new solenoid and reattach both the electrical and water lines (two, remember, ice maker and drink dispencer). Replace the single screw. Re-attach the rear, lower refrigerator cover and go to the front of the unit to check the water. You can listen carefully and hear the power engage from the new part bringing you water. Clean up, replace the refrigerator back to its place and look really tired when your wife sees that you worked "so hard"! You probably saved at least $50-$80 from a service call which can now be used to take the family to dinner after your "exhausting" 15 minute workout of removing about 10 screws and wheeling the unit in and out of place. Writing this article took longer! My 4 year old worked harder holding the flash light!
After taking Ice Maker's ice collection container out, I noticed that the plastic cup drive was broken. I did a websearch for repair and replacement parts for our GE refrigerator. I found PartSelect website easy to navigate and find the replacement part necessary...and placed an order.
Once I received the shipment, I placed the
... Read more Cup Drive into position and used the flat edge of a knife to allow the Cup Drive to slide into the tight-fitting position necessary. After positioning into place, I placed the ice collection bin back into the freezer...turned the ice-maker back on...and waited for ice to be made. A day later, the ice maker had produced enough ice to test the ice maker's dispensing mechinism. The cup drive worked perfectly...and ice began to be dispensed. The dispensor has been working ever since.
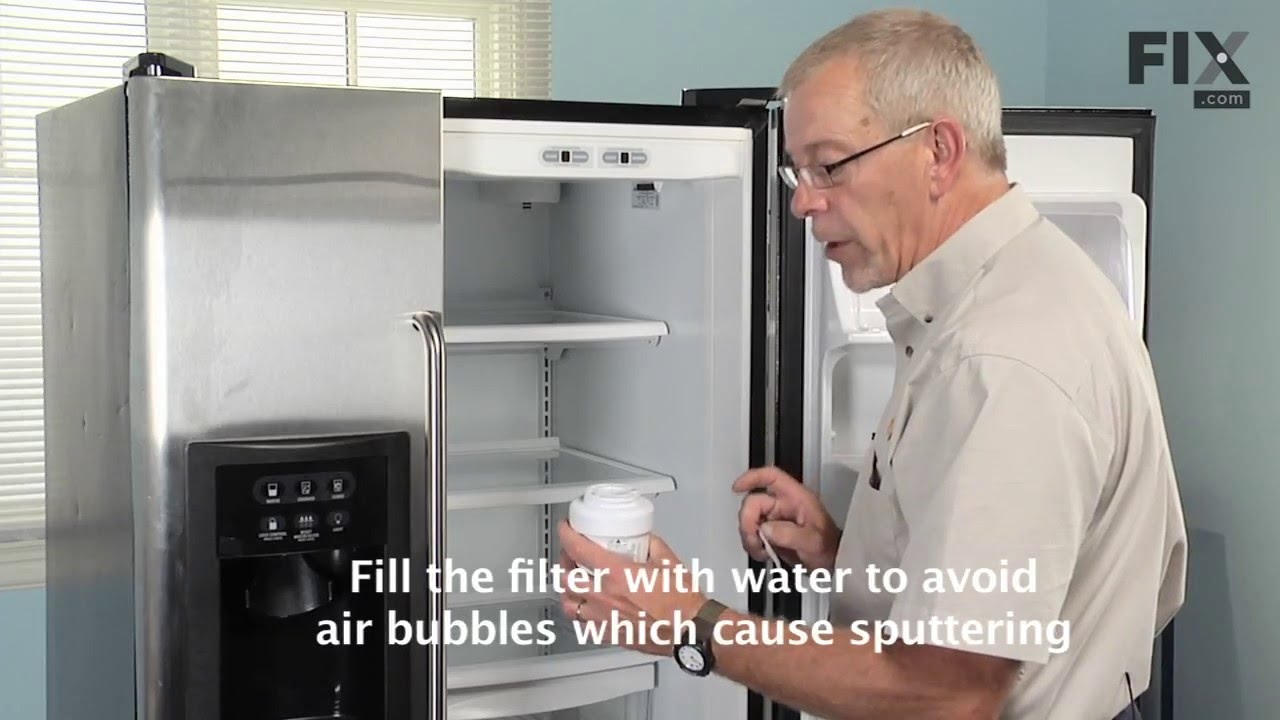
I also replace the ice and water filter...another very easy task...of unscrewing the old and replacing with the new filter. After replacing the filter, I let the water dispensor run for 2 minutes to flush all air out the system. The water dispensor work perfectly.
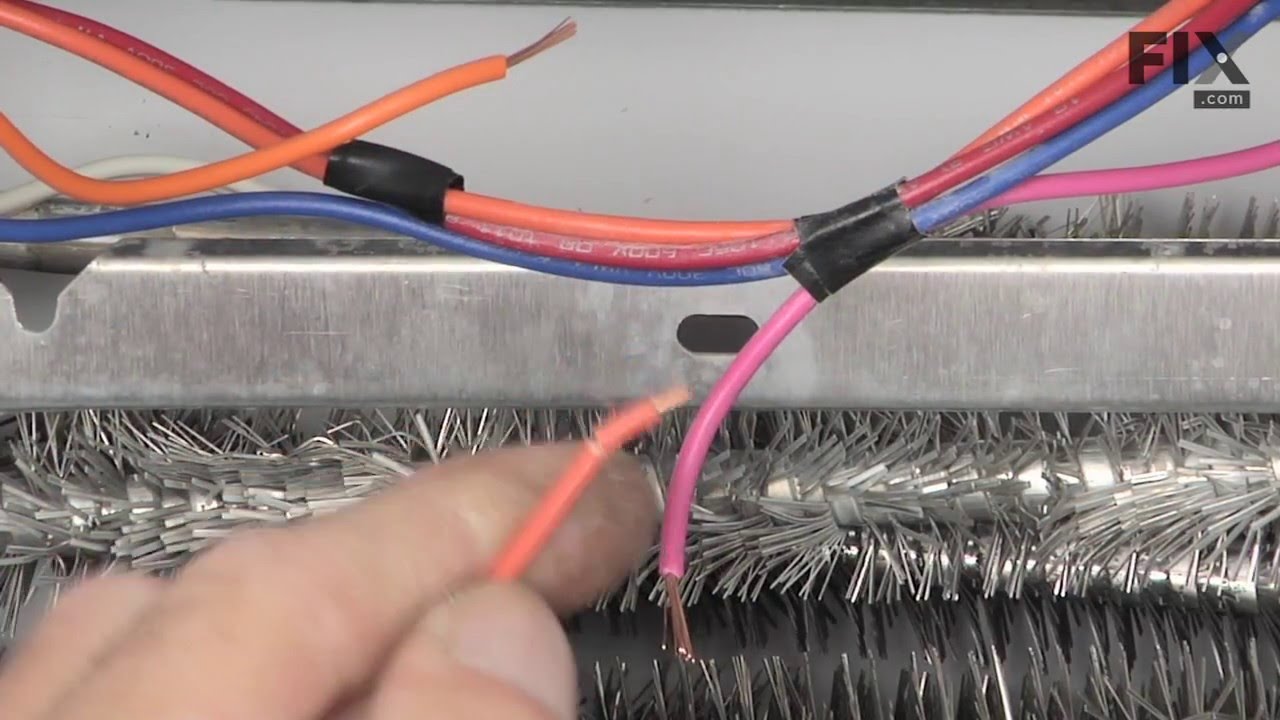
After replacing the defrost heater, main board and thermistor I still had the same problem. Called a repair guy and he (with the help of GE on the phone) diagnosed that the temperature sensor was bad. So I ordered from partselect and installed it and it fixed the problem. Been good for a couple months (knocking on wood). To install I
... Read morehad to cut the 2 wires to the old sensor, crimp the 2 new wires on and snap the new sensor to the clip on the evaporator. Very easy. Make sure you seal the ends of the wire crimps so moisture doesn't get in and corrode the connection.