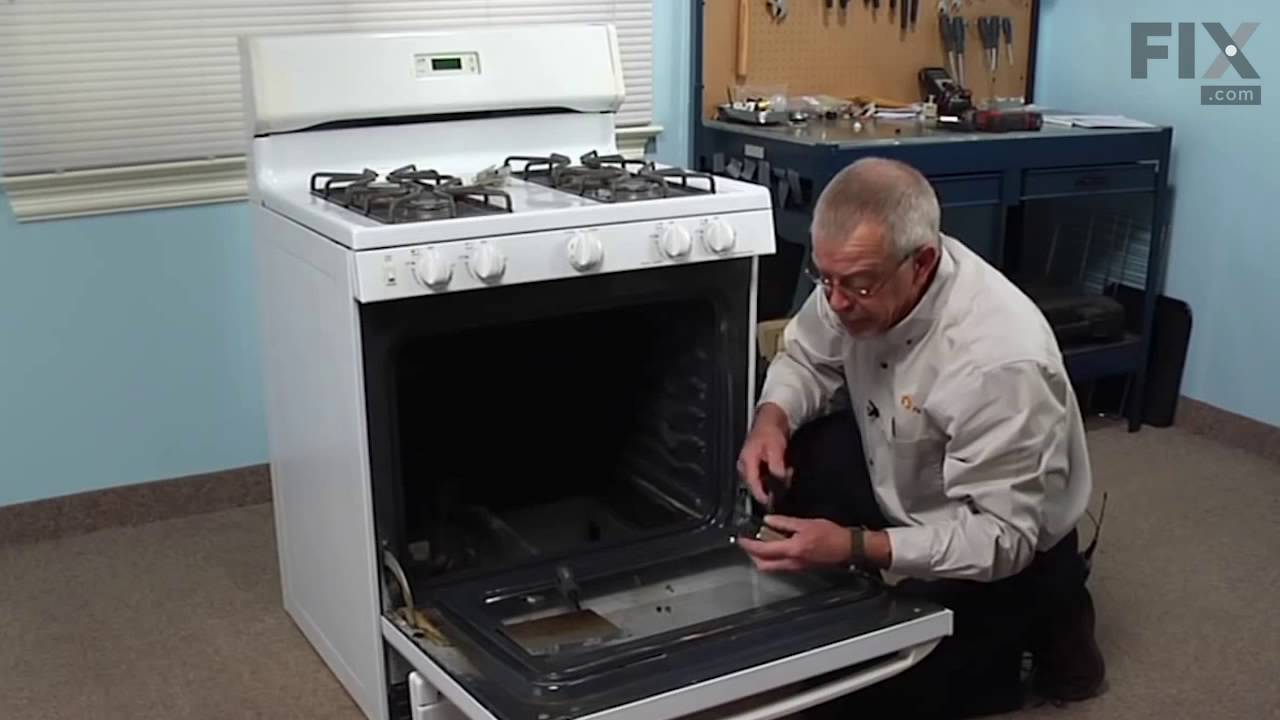
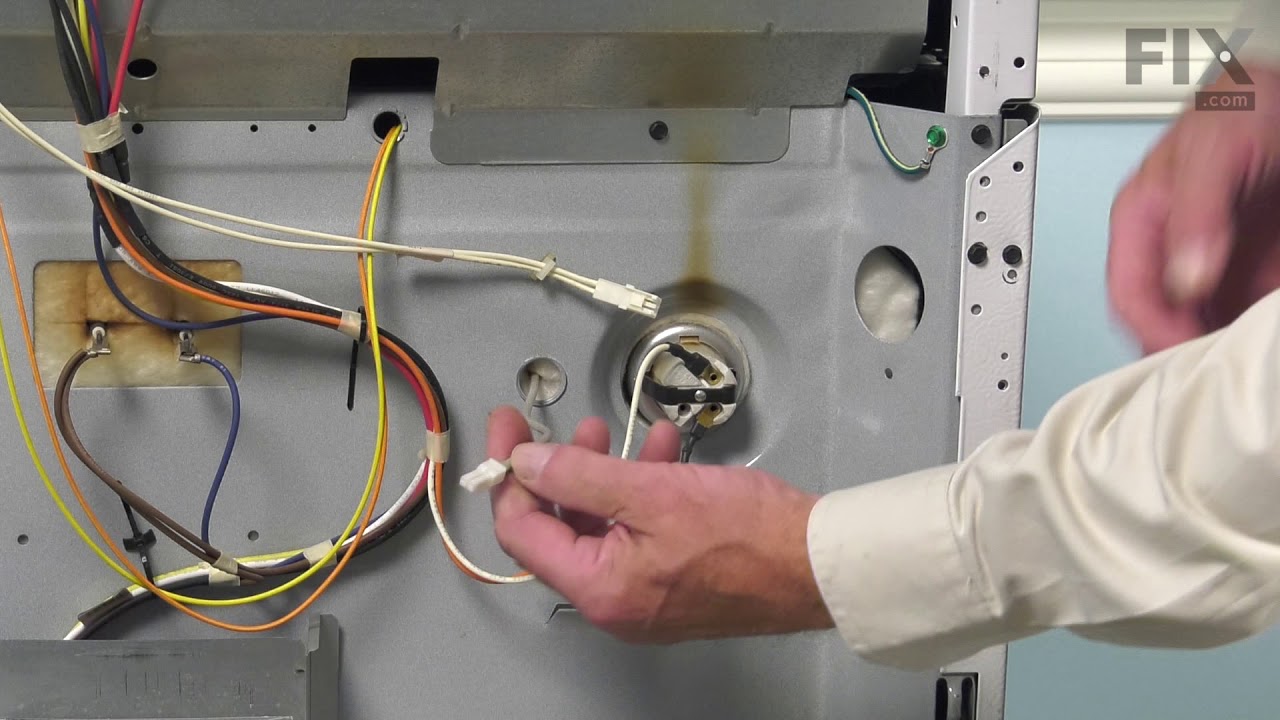
The flat style oven igniter kit comes with a mounting bracket and a wire connector with a plug. The igniter kit is used to light the oven burner. If you notice that your oven will not heat up properly, the igniter kit may need to be replaced. This flat style gas oven igniter has a body length of 3-3/4 inches. When completing this repair, ...Read morethe connector plug might need to be removed and spliced to the range wiring using porcelain wire nuts. Before you begin this repair, be sure to disconnect the power source from the oven, and shut off the gas supply.
This burner cap is for your gas range, and acts as a cover for the burner head. It is black in color and just over 3 inches in diameter. If your old burner cap is damaged or missing, this is the part that will replace it. This is an OEM part sourced directly from the manufacturer and is sold individually.
This is a burner cap for your gas range. The cap acts as a cover for the burner head. If your old burner cap is damaged or missing, this is the part that will replace it. The cap is black in color and about 3 and a half inches in diameter. This is a quality OEM part sourced directly from the manufacturer. This cap is sold individually.
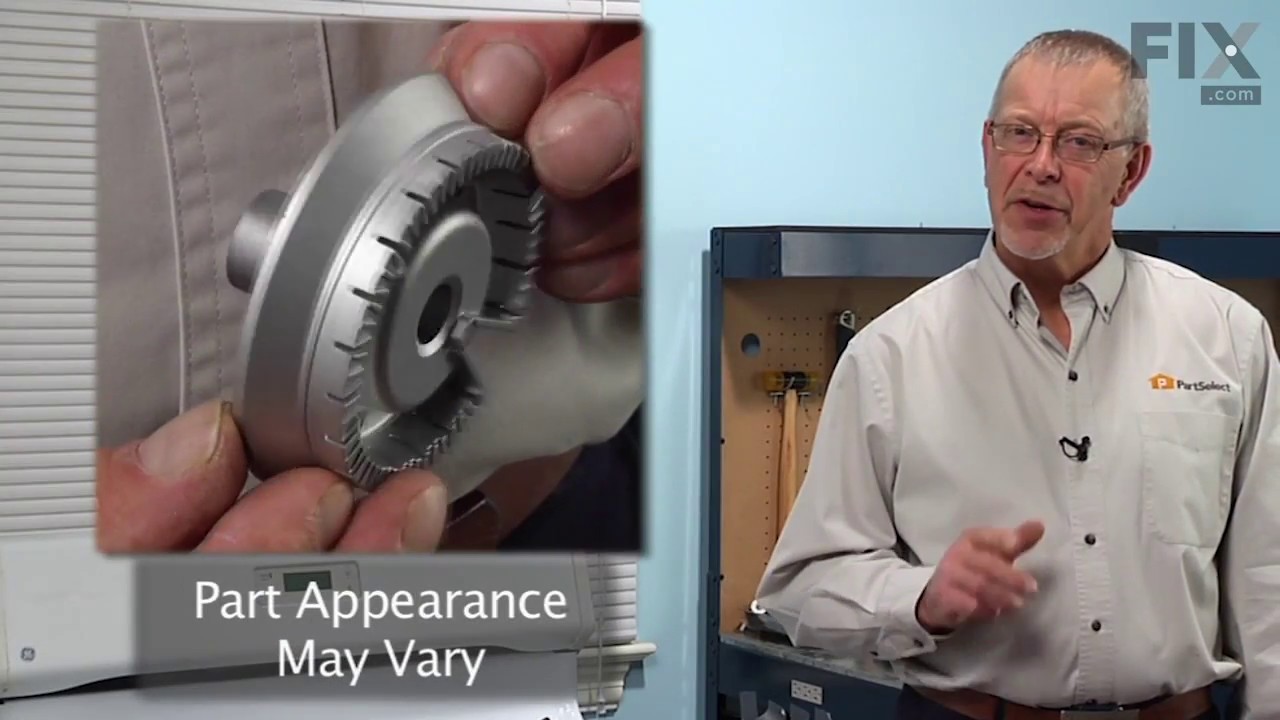
This burner head, or surface burner, is used in ranges and ovens. The burner sends gas through the holes and slots to create an equal flame across the cooking area. If the gas igniter glows but will not light up, or there are heating inconsistencies, replacing the burner head could be the solution to your problem. No tools are required fo...Read morer this installation. To change the burner, first lift the grate and take the burner cap off. Next, lift the burner away from the cooktop. To set the new burner in place correctly, check the locating tab that fits into the V-shaped notch and make sure the igniter fits into the cut-out. Refer to the diagram provided by the manufacturer for further instructions.
This is a burner cap for your gas range. The cap is black in color and about 3 inches in diameter. The cap acts as a cover for the burner head. If your old burner cap is damaged or missing, this is the part that will replace it. This is a quality OEM part sourced directly from the manufacturer. This cap is sold individually.
This large surface burner head is designed for use with gas cooktops and ranges, delivering consistent heat output for everyday cooking. Rated at 12,000 BTUs, it distributes gas evenly through precision-engineered slots or holes to create a stable flame. Made of metal with a silver finish, the burner head measures approximately 3.5 inches...Read more in diameter and sits beneath the burner cap. It is a direct replacement for worn or malfunctioning burner heads and helps restore efficient performance. For safety, always shut off the gas supply and unplug the appliance before installation. Compatibility should be confirmed with your specific model prior to replacement.
This genuine small burner is an original replacement part from GE, designed for use with a wide range of gas ranges. Positioned between the rangetop and bracket assembly and the burner cap, it plays a key role in generating the flame needed for cooking. No tools are required for installation, making it a quick and convenient replacement. ...Read moreThe burner is sold individually, and users should consult their appliance manual for proper installation and safety guidelines.
The light housing is also known as a lamp holder and is a part for the oven in your range. The function of this piece is to hold the bulb that will light up the inside of your oven. As per the manufacturer instructions, if your bulb has burnt out you must buy the bulb for this part locally. This light housing is roughly five inches high, ...Read morewith an outside diameter of roughly four inches by four inches. To install this part, you will need a Phillips screwdriver, a nut driver, and a pair of pliers.
This part is the replacement oven burner igniter, broil igniter, or glow bar igniter for your cooktop or range. It is designed to ignite the fuel from the fuel lines and light the broil burner. If your broil burner will not ignite, it is a good indication that the burner igniter is burned out or damaged. Be sure to shut off the power and ...Read moregas to the range before you begin to repair this part. This part is sold individually and is an OEM part from the manufacturer.
Ask our experts a question about this model and we'll get back to you as soon as possible!
We may have answered a similar question already! Search questions and answers left by others using simple keywords like "fit", "broken", "easy", or "quality" to find questions that match.
Search filter:
Clear Filter
Your search term must have 3 or more characters.
Sort by:
Prev
1
Next
Sorry, we couldn't find any existing answers that matched.Try using some different or simpler keywords, or submit your new question by using the "Ask a Question" button above!
Kash - For model number PGS920SEF5SS
February 25, 2020
The touch screen became insensitive and do not work on a touch until you unplugged the oven for a while and connect it back again
Hello Kash,
Thank you for your question. Our sources suggest that its likely the keypad under part PS8754675 for your model is faulty and would need to be replaced to fix the issue. We hope this helps.
Turned oven on to make cookies.
Started preheating.
Went back to put cookies in and display was 100% lit up and nothing worked. Oven door is locked, and the stove top ignites but the burners only stay at a very low flame.
Unplugged the stove for 5 minutes and plugged back in. Oven still locked, display is 100% off and touching it does nothing and the stove top still ignites a very low flame that’s not adjustable.
Note....Never have I ever used self clean setting either.
Someone said something about a “TCO FUSE”? Could this be the cause??
If so... where do I find it on this stove and what would the part number be for it.
Anything else it could be?
Thank you for any help.
Hello Tony, thank you for contacting us. We would suggest deactivating the lock control feature by pressing the control lock button for 3 seconds. And then reactivate the feature. If the burner still ignites when the feature is turned on, the control board, part number PS11700834, might be faulty. It is not properly activating the control lock feature. A stuck or faulty relay on the control board might be causing this issue. Checking the control board for continuity using a multimeter might help. Good luck with the repair!
One gas burner will not light intermittent / no spark
Hello John, thank you for your question. If the gas igniter glows but will not light up, or there are heating inconsistencies, replacing the burner head could be the solution to your problem. The Burner heads are Small PS3486550, Medium PS1020327, Large PS1480992 and the Triple Ring Burner PS11721439.
See how others fixed this model. Time, tools, difficulty, and steps that lead to victory!View More
Search repair tips from other customers using simple keywords like "replace", "fit", "remove", "inspect". DIY doesn't mean you have to do it alone!
Search filter:
Clear Filter
Your search term must have 3 or more characters.
The igniter glowed, but never got hot enough to ignite the propane, so I did smell propane.
678 of 734 peoplefound this instruction helpful.
Sidney from Marysville, CA
Really Easy
30 - 60 mins
Nutdriver
First, I removed the two screws that held the heat shield in place. Second, I removed the one screw that held a small wire covering. That covering kept the wires inside the back wall of the range. Third, I removed the two screws that held the Igniter Kit, and unplugged it from the back of the range. I then carefully put the new ignite
... Read morer in, and reassembled everything in reverse order. It only took about 30 minutes to do the repair, and 30 minutes of cleaning and wiping of the broiler area. (It is amazing what you see when you take things apart). I should have been wiping things up over the past few months. Overall, a very easy repair. I ordered the part at 12:30 in the afternoon, and FedEx delivered it the next morning at 11:30, all for the regular shipping price of $6.95. VERY HAPPY.....
Read less
Was this helpful?
Thank you for voting!
oven would not light or keep temp.
450 of 468 peoplefound this instruction helpful.
zack from corning, CA
Really Easy
15 - 30 mins
Nutdriver, Screw drivers, Socket set, Wrench set
first I thought it was a faulty gas valve, so I pulled it out, started researching for a replacement part, found your site and started research. I discovered thhat the igniter was the culprit, that info. saved me about a week of time and a 100 bucks, so I installed the gas safety valve back in the oven, patience is the word for the day,
... Read moreyou cross thread this and you are done! any way ordered ignighter and it shipped to my house in about 4 days, New York to Calif. had it installed in about 15 minutes fired off the oven and ...IT worked hurray...10-9-2010,
Read less
Was this helpful?
Thank you for voting!
Oven wouldn't heat. This degraded over several weeks.
310 of 411 peoplefound this instruction helpful.
Durwood from Suffield, CT
Easy
15 - 30 mins
Nutdriver, Screw drivers
1. Pulled the 110V power plug. It was not necessary to turn off the gas; just be careful not to stretch or pinch the flexhose behind the stove. 2. Removed the oven door by opening a couple of inches then lifting upward. 3. Removed the warming drawer by pulling out to the stop, then pushing the small levers on the side of the t
... Read morerack to release. 4. Removed two flathead screws at the back of the oven to free up the oven bottom panel. 5. Removed the bottom panel by lifting up the pack until the front edge clears the overhang. 6. Removed the two screws on the side that hold the igniter to the burner tube. Be sure not to let the screws drop into the gaps in the oven floor. Note the position of the bent tab with the holes to ease aligning the new part. 7. Reached through the warming drawer to release the plug by squeezing the tabs on the end. 8. Pulled the plug up through the gap in the oven floor (where the wires went through) and connected it to the other connector. 9. Ran the new wire down through the oven floor. 10. Aligned the new igniter and tightened them. Had trouble getting the screws started so I used a toothpick to align one hole while starting the other screw. 11. Replaced the oven bottom panel. It needed a little jockeying to get the screws and holes aligned. 12. Replaced the door. 13. Replaced the oven drawer.
This turned out to be a good time to clean all those dusty places that don't get cleaned that often.



 My Orders