Your coupon for will be reflected when you check out!
✖
Your coupon for
✖
Hello!
You're visiting the PartSelect site in U.S.
Would you like to shop on the Canadian site?
Stay on this site
Go to Canadian site
✖
Model Number Locations
1Select Category Type
Select Category Type
2Select Product Type
Select Product Type
3Select {MODEL} Type
Select {MODEL} Type
Sample Model Number Tags
Model numbers can be made up of numbers (1005400, for example) or a combination of letters and numbers (LAT1000AAE). The model number will most likely appear on either a paper sticker or a metal plate. Your appliance's model number tag may look similar to the sample model number tags shown here (model number highlighted in yellow):
Model has been saved to My Models. If you're not signed in, your lists are available on this device and will expire within 30 days.
Model has been saved to My Models.
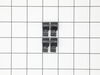
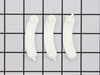
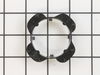
This kit is used for replacing the agitator directional cogs (Agitator Dogs, Agitator Repair Kit, Washer Agitator Dogs, Agitator Dog Ears). The agitator is what creates the thrusting motion in your wa...
This kit (Medium Cam Agitator Repair Kit, Washer Agitator Cam Repair Kit, Cam Agitator) is used to repair the agitator. These parts are located inside the agitator auger near the top. You will need t...
The suspension spring supports the outer tub and keeps the tub steady during loads that could cause an unbalance. If this part breaks, is worn down or has stretched out and lost its spring, it could c...
A clutch assembly (Clutch, Washer Clutch) is found in your washing machine and is responsible for spinning the basket during the spin cycle. The clutch lining can wear over time. If the clutch lining ...
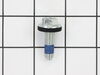
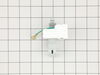
This part is found in your washer. The pin on the lid pushes on the lever of the lid switch to tell the machine that the lid is closed. This part includes the green grounding wire. If your machine is ...
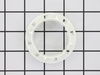
This is a genuine OEM thrust spacer for your washer, and is also commonly known as a retainer ring. The spacer is about 2.5 inches in diameter, is made of plastic, and is white in color. It is used in...
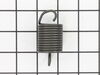
This tub spring is also known as suspension spring, balance spring, or counterweight spring. It is sold individually. The function of the part is to counterbalance the weight of the motor on the front...
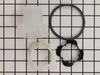
This is an inner cap seal, but may also be known as an O-ring, and it is a part for your washing machine. Some symptoms replacing this part will fix include: leaking from your appliance, uncontrollabl...
Ask our experts a question about this model and we'll get back to you as soon as possible!
6 questions answered by our experts.
Sort by:
< Prev
1
2
Next >
Search filter:
Clear Filter
Your search term must have 3 or more characters.
Keep searches simple. Use keywords, e.g. "leaking", "pump", "broken" or "fit".
Sorry, we couldn't find any existing answers that matched.Try using some different or simpler keywords, or submit your new question by using the "Ask a Question" button above!
Ben
December 26, 2019
Washer does not start, nothing! Have unplugged for a minute, raised the lid 6 times to reset, nothing! Novice at doing repairs DIY type of person.
For model number MTW5600TQ2
Hi Ben,
Thank you for your question. If the washer will not start, the washer lid switch may be malfunctioning. Replacing this item fixes the issue the majority of the time. You will need to test the parts with a multi-meter. Here is a link to one of our videos on YouTube that you may use as a general reference on how to use one, https://www.youtube.com/watch?v=bWC44fHn0As. There are some other parts that you will need to check to see which one is causing the issue. Here is a link from our website that you may reference on what other parts to check, https://www.partselect.com/AdvancedModelSymptoms.aspx?ModelNum=MTW5600TQ2&mfgModelNum=&fkMfgID=1&ModelMasterID=59705&PID=40. We hope this helps. Thank you and have a great day!
1 person found this helpful.
Did this question help you?
Thank you for voting!
Stephen
December 28, 2019
There is a small leak on the right hand side of my mom's Maytag washer model number is w 5 6 mtw 5600 q2 do you think it could be a pump
For model number MTW5600TQ2
Hi Stephen, it is most likely the drain hose. Thank you for your question and good luck with your repair!
My Maytag washer with the model number mtw5600tq2, it fills with water, but the agitator is not moving during the cycle and my clothes are soaking wet when it finishes. The tub is drained of water at the end of the cycle. What could be the reason for this? This model is more difficult to assess then any others i have ever had.
For model number MTW5600TQ2
Hello and thank you for writing.
It certainly sounds like it could be a faulty clutch assembly PS334641 and/or a loose or a faulty agitator bolt PS11741866you should check the part(s) for signs of damage, and replace the part(s) as needed. We hope this helps. Please contact us anytime if you require further assistance.
I have the inlet valve but I can't get to it, how do I get the top off ?
For model number MTW5600TQ2
Hi Ruben, thank you for your question. We have a customer who wrote in with how to install that part: "To replace the inlet solenoid valve/thermistor assembly: Unplug the washer. Turn the water off and unscrew the hoses from the inlet. Unsnap the end caps from the top control panel. Remove the exposed screws from each end of the panel (#2 Phillips). Pull the panel out of the way and pop out the two retaining clips that hold the back of the machine to the cabinet. They are located under the control panel. Remove the mounting screw from the valve assembly (1/4-inch driver). Pull the back away from the cabinet far enough to remove the valve, but don't let the wires get cut. Disconnect the wires. To unplug the solenoid connectors, lift the long tab with a screwdriver. Disconnect the water outlet hose. Connect the wires and hose to the new valve assembly. The red connector goes to the hot water valve. The thermistor wires (the two individual connectors) can be connected to either terminal. It does not matter if they are reversed. Put the valve back in place and install the screw. Hook up and turn the water on. Plug in the machine and test the valve. Unplug the power and reinstall the back and the control panel. The back-to-cabinet clips can be snapped back in place easily. " Good luck with your repair.
Did this question help you?
Thank you for voting!
Maggie
November 9, 2023
My washer doesn’t stop filling up, and if I’d let it it’ll over flow. Seems like a sensor issue. I set it to small load and it fills all the way. How do I fix this?
For model number MTW5600TQ2
Hi Maggie, thank you for getting in touch. Based on the description that you provided, we would recommend checking the water level pressure switch, part number PS3408149, as it is most likely faulty and may need to be replaced. The pressure switch shuts off the power to the water inlet valve when proper water level is reached. If the pressure switch fails, the water inlet valve will continue to fill the washer tub with water, causing the washer to overflow. We hope this is helpful!
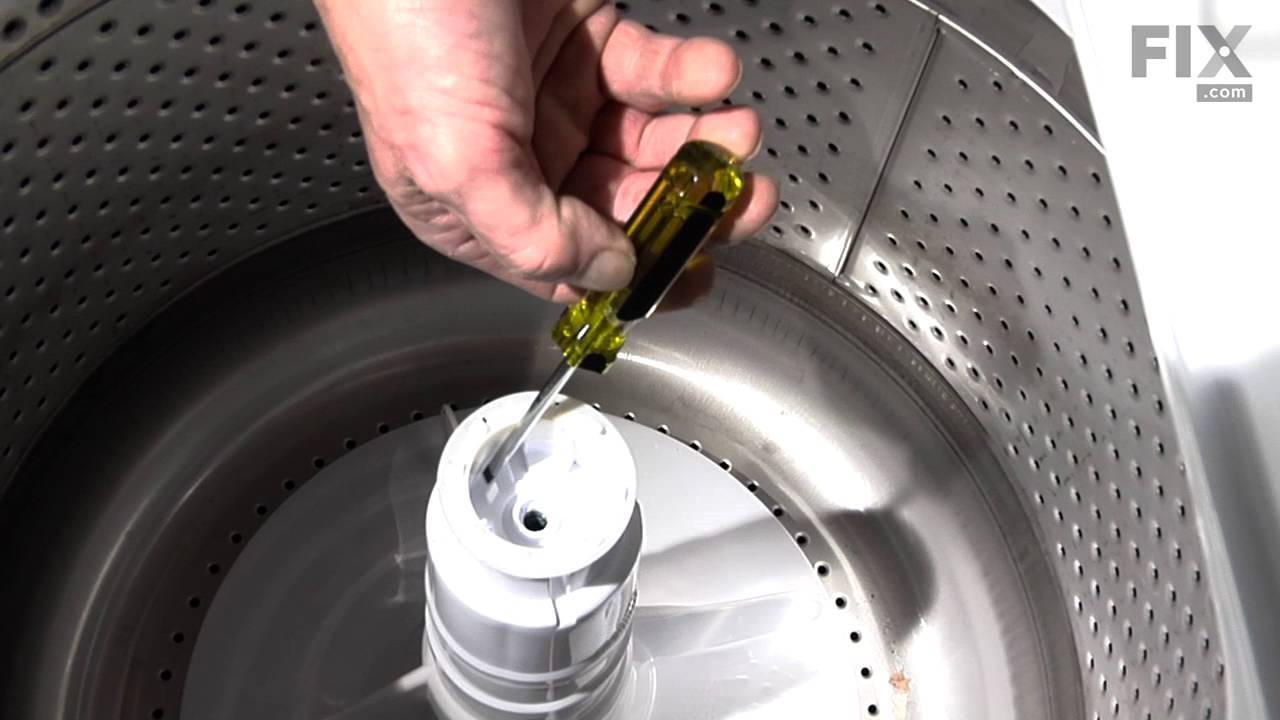
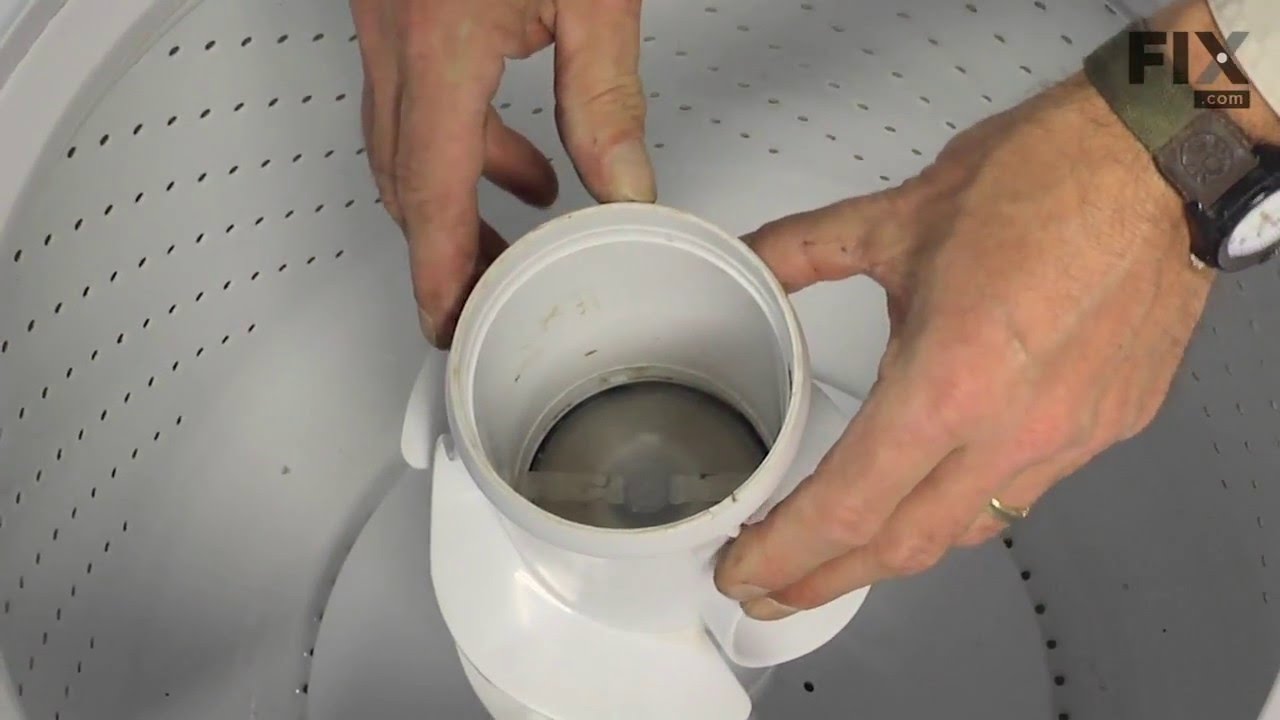
First pry off the cap of the agitator. Then using a socket remove the bolt that holds the plastic cup in place. Remove this cup by prying it loose from the two tabs that hold it in place. Once this cup is removed you can get to the broken cogs. Slip the new cogs into the underside of the cup, and slide the cup back down in the a
... Read moregitator housing using the slots on the side for a guide. (You may want to remove the entire agitator and assemble everything upside down, then flip it all back over to mount, so the cogs don't fall out). Tighten the bolt, snap the cap back in place on top of the agitator and your'e done. Easy repair.
The instructions came with the repair kit, it was fairly simple and straight foward.
One bolt held the entire agitator unit in the washer, as well as held the upper and lower halves together. Once that nut was removed the two halves seperated and the plastic clutch pieces could easily be replaced wtih the new onces in the repai
... Read morer kit.
Very easy do-it-yourself repair! Took about 20 minutes because I was being cautious. Next time I could do it in 5 minutes.
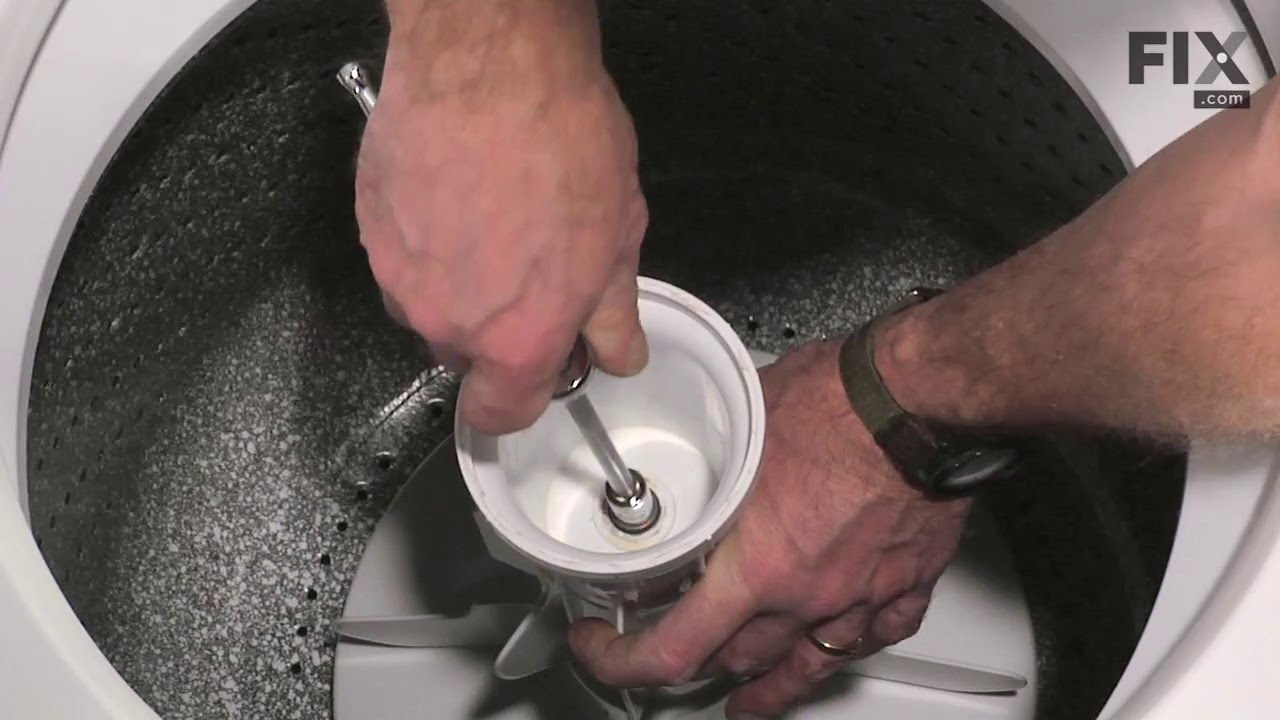
On top of the agitator is a flat cap that is held in place by the friction of an o-ring, there are no fasteners. I would imagine one could get under the lip with a small screwdriver or butter knife to pop it off but I chose simply using my fingernails so as to not disfigure the cap. Under the cap you will find the head of the only bolt
... Read morethat holds the assembly together it is a 7/16 head and because it is in a 4" deep well your will need a 6" extension for your ratchet. Once the bolt is out the top of the agitator, the assembly with the cogs removes by hand. Set the assembly upside down on the counter, slide the black plastic ring off, pull the cogs out with your fingertips, install the new cogs put a new black ring on and set the assembly back in the agitator. Reinstall bolt. As the bolt is down in a tube, you cannot set it in place with your fingers and it will fall out of the socket. To hold the bolt in the socket during positioning you can either put a gob of Vaseline on the bolt head to hold it in the socket or form a small piece of paper over the bolt head and set it into the socket, the friction of the paper will hold the bolt into the socket. Took me less then 10 minutes, good luck