













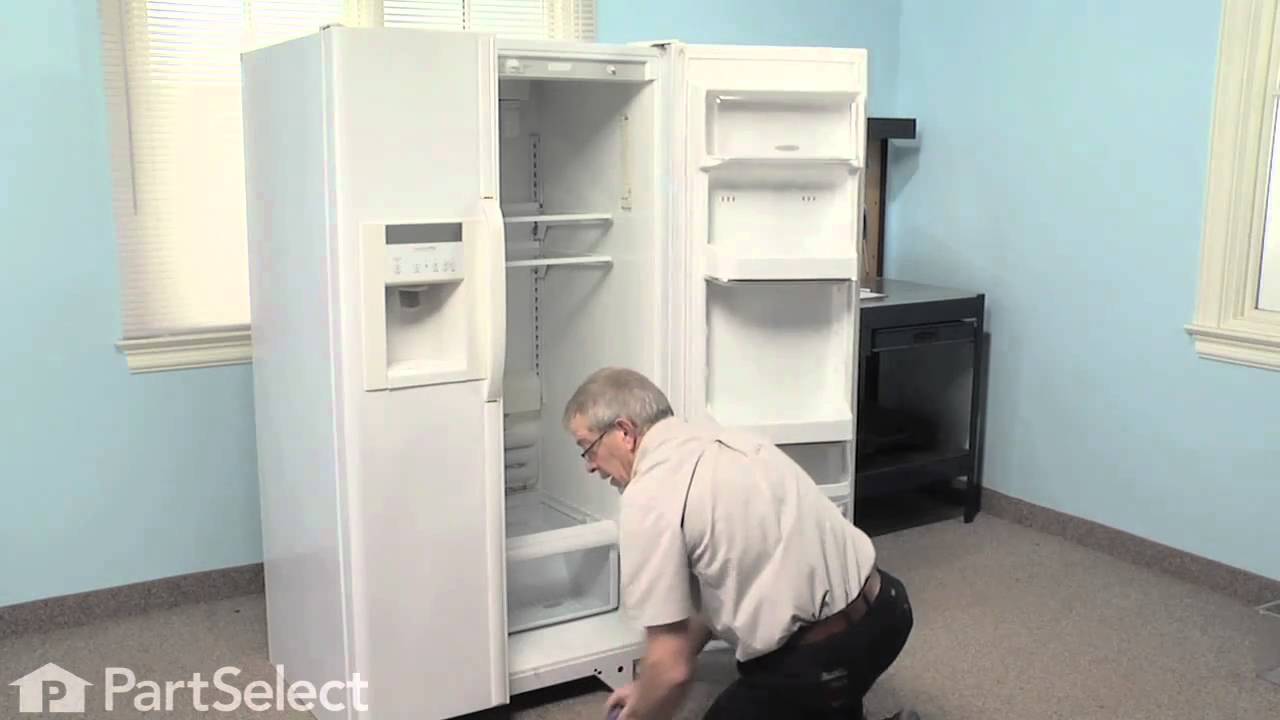
MRT21TNBW1 Gibson Refrigerator - Overview
Sections of the MRT21TNBW1
[Viewing 2 of 2]

Keep searches simple, eg. "belt" or "pump".

Crisper Drawer Cover Support
PartSelect #: PS461210
Manufacturer #: 5303288973
This is the replacement crisper drawer cover support for your refrigerator. The crisper shelf rests on the support, which keeps it level. If your drawer cover or shelf will not stay level, or will not...
No Longer Available

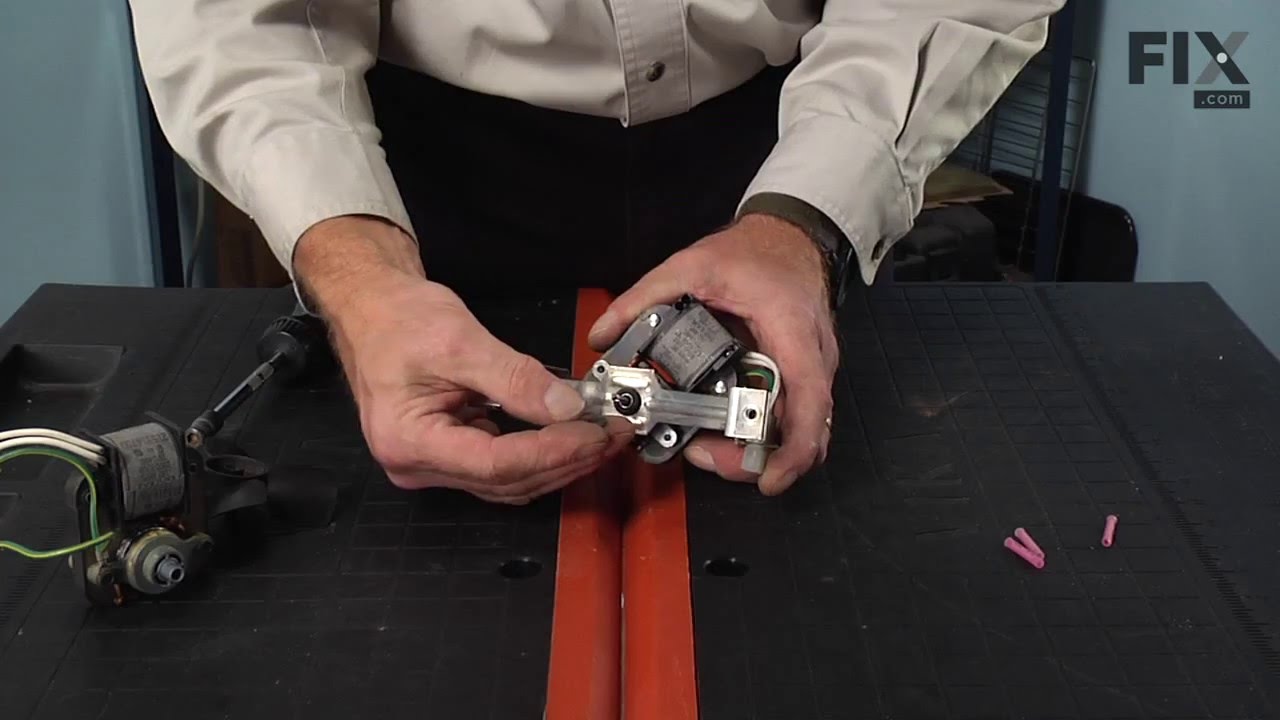
Evaporator Fan Motor Kit
PartSelect #: PS450319
Manufacturer #: 5300158289
The evaporator fan motor kit is specifically made for your refrigerator to run the evaporator fan in your refrigerator. It is mounted on the center hub and has three lead wire terminals; its shaft has...
$106.91
In Stock

Evaporator Fan Blade
PartSelect #: PS473177
Manufacturer #: 5308000010
This evaporator fan blade is a genuine OEM part that is sourced directly from the manufacturer. The evaporator fan blade circulates air through the refrigerator to control the amount of cold air goes ...
$53.85
In Stock

Hexagonal Screw
PartSelect #: PS1526503
Manufacturer #: 241710601
Sold individually.
$25.25
In Stock

White Touch up Paint
PartSelect #: PS467298
Manufacturer #: 5303321319
This is white touch up paint for refrigerators, microwaves, ranges, dryers, and freezers. It is used to cover, or touch up, nicks and scratches on the appliance from wear and tear. It is an 18ml bottl...
$24.67
In Stock

Screw with White Top -#10-32 X 3/4
PartSelect #: PS1765209
Manufacturer #: 240442708
Sold individually.
$14.91
In Stock

Hex Head Screw
PartSelect #: PS1532376
Manufacturer #: 5304455650
Sold individually.
$26.35
In Stock

BRACKET-CTR HINGE
PartSelect #: PS429476
Manufacturer #: 218998902
Center Hinge Pin not included.
No Longer Available

Shelf Grommet
PartSelect #: PS11728257
Manufacturer #: 5304500407
This refrigerator shelf support grommet helps secure and stabilize interior shelves by anchoring them firmly to the refrigerator liner wall. Made from durable white plastic, it helps keep wire or glas...
$13.52
In Stock


Common Symptoms of the MRT21TNBW1
[Viewing 3 of 3]Noisy
Fixed by
these parts
these parts


Show All
Fridge too warm
Fixed by
these parts
these parts
Show All
Freezer section too warm
Fixed by
these parts
these parts
Show All

Keep searches simple. Use keywords, e.g. "leaking", "pump", "broken" or "fit".
Noisy fan
1. Removed the 7 nuts using the nut driver from the freezer back panel inside the freezer.
2. Remove the back panel. The evaporator motor and fan are located above the coils.
3. Unplug the wiring harness.
4. Remove the two gold mounting screws holding the motor and fan in place.
5. Remove the motor and fan including th ... Read more e brackets.
6. Install the new motor and fan onto the mounting bracket.
6a. Attach the green ground to the mounting bracket.
7. Screw the two gold screws back into the freezer.
8. Attach the new wiring harness. Note, the old harness had a mounting hole/space for it to connect to the wiring harness of the freezer. The new motor's harness was not long enough for this, so it is connected freely to the freezer harness.
9. Use the hair dryer to melt any ice that may have formed on the coils and hole where the fan goes.
10. Turn the freezer on to see if the fan turns on.
11. Reinstall the back panel.
All done!
2. Remove the back panel. The evaporator motor and fan are located above the coils.
3. Unplug the wiring harness.
4. Remove the two gold mounting screws holding the motor and fan in place.
5. Remove the motor and fan including th ... Read more e brackets.
6. Install the new motor and fan onto the mounting bracket.
6a. Attach the green ground to the mounting bracket.
7. Screw the two gold screws back into the freezer.
8. Attach the new wiring harness. Note, the old harness had a mounting hole/space for it to connect to the wiring harness of the freezer. The new motor's harness was not long enough for this, so it is connected freely to the freezer harness.
9. Use the hair dryer to melt any ice that may have formed on the coils and hole where the fan goes.
10. Turn the freezer on to see if the fan turns on.
11. Reinstall the back panel.
All done!
Read less
Parts Used:
-
Jordan from Maumee, OH
-
Difficulty Level:Easy
-
Total Repair Time:1- 2 hours
-
Tools:Nutdriver
153 of 180 people
found this instruction helpful.
Was this instruction helpful to you?
Thank you for voting!
The Evaporator Fan Burnt Up
The fan motor all but caught the inside of the freezer on fire . Had to remove then clean, and I mean clean the walls of the freezer . Then had to pry out the old fan without breaking anything . Replacement of new fan was quick and easy because all the parts that I needed were in the bag
Parts Used:
-
ROY from PENSACOLA, FL
-
Difficulty Level:A Bit Difficult
-
Total Repair Time:1- 2 hours
-
Tools:Pliers, Screw drivers
29 of 39 people
found this instruction helpful.
Was this instruction helpful to you?
Thank you for voting!
Fan Noise
took cover off inside freezer control . removed old fan and unpluged wire harness plugged new one up and fastened back in place and put control cover back on.
Parts Used:
-
Kenneth from Springfield,, TN
-
Difficulty Level:Really Easy
-
Total Repair Time:15 - 30 mins
-
Tools:Screw drivers
11 of 13 people
found this instruction helpful.
Was this instruction helpful to you?
Thank you for voting!