The heating element (Flat Can Heating Element 5400W, Heating Element, Whirlpool Dryer Heating Element, Dryer Heating Element) provides heat to the dryer. It is metal and measures 10.5 inches long, 7.5 inches wide, 2 inches deep. The element attaches to the heater housing. This part can break as a result of wear and tear. This can be mater...Read moreial fatigue or prolonged high temperature exposure. If broken your clothes may not dry because of a lack of heat. It must be replaced when there is no longer continuity between the terminals. First check the thermal fuse on the blower housing before deciding to replace the heating element.
This thermostat (Dryer Operating Thermostat, Dryer Cycling Thermostat, Cycling Thermostat, Dryer Thermostat) is used to maintain a temperature of 155 degrees in the dryer drum. The internal bias heater also allows this thermostat to provide a low heat temperature of approximately 140 degrees when the low temperature setting is selected. T...Read morehe part measures 2 by 1.5 inches, comes in black/silver and is constructed of plastic and metal. The thermostat attaches to the blower wheel housing.
This dryer door switch is a simple on/off switch mechanism that prohibits the dryer from operating when the door is open, and operates the drum light. White in color and 6.5 inches long, this OEM switch is comprised of plastic and metal, and features the switch and three wires that comprise the part. Sold individually, this part attaches ...Read moreto the inside of the top end of the front panel. One end attaches to the wiring harness, the other goes through the panel to make contact with the door when the door is closed. Over time, this part can be subject to material fatigue or breakage due to frequent use or rough handling. If it breaks or is defective, you won't be able to start or stop your drying cycle, depending on the position your switch broke in. The easiest way to test this part for functionality is to test it by hand. Push on the black tab that sticks out of the front panel to make contact with your dryer door; if there is no resistance in the tab and it doesn't make a click sound, you may need to replace it.
The thermal cut-off (Dryer Thermal Cut-Off Fuse Kit, Dryer Thermal Cut-Off Kit) prevents the dryer from overheating when the dryer high limit thermostat fails in a closed circuit condition. This part fails when the heater housing does not have adequate airflow through it; this is normally caused by restriction in the exhaust vent, plugged...Read more lint screen, or broken blower wheel. If this part fails, the dryer may not produce any heat. This kit includes one high-limit thermostat with a limit of 250 degrees Fahrenheit, and one thermal cut-off fuse (309 degrees), jumper wires, and new female spade terminals. Both components are mounted on the heater housing, and measure approximately 2 inches long and 1.5 inches wide each. This kit comes in silver and is constructed of metal.
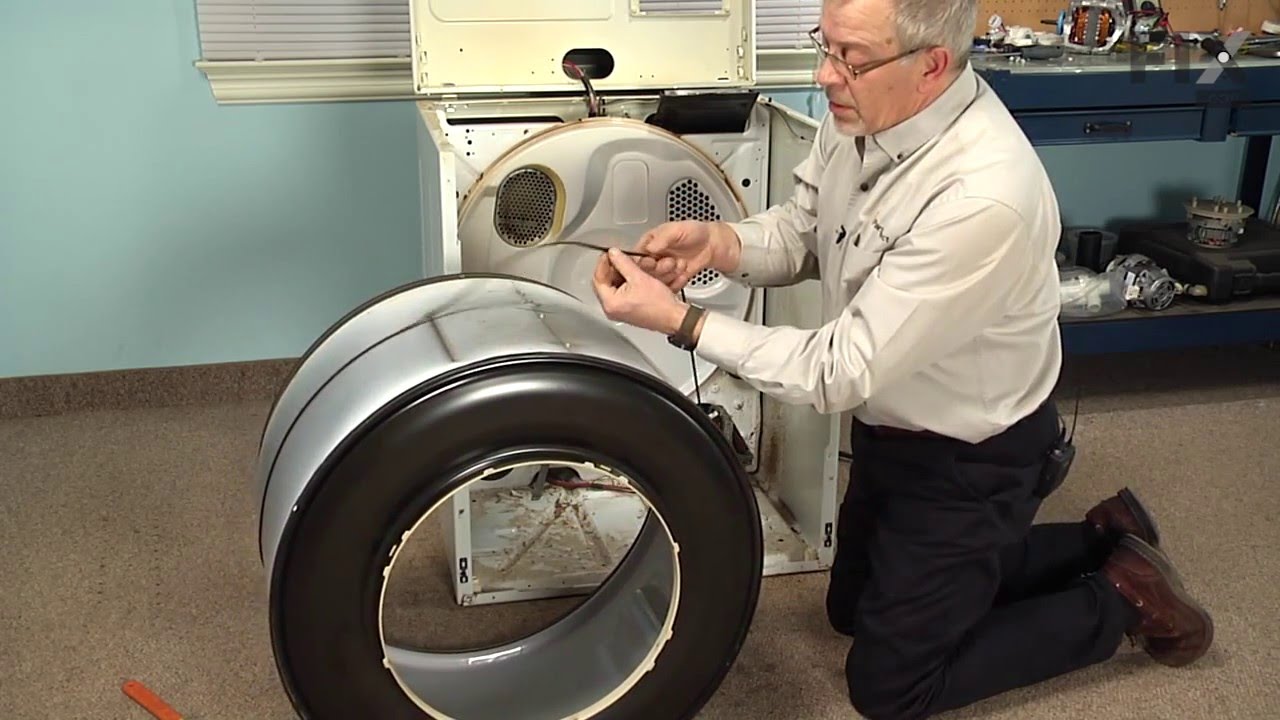
The drum support roller kit (Dryer Repair Kit) allows the dryer to tumble properly by supporting the drum cylinder. The idler pulley provides the tension required for a multi-ribbed belt. The belt attaches to the drum, idler pulley, and motor pulley. If your dryer is damaged, it may be making loud, squeaking, and/or squealing noises while...Read more the drum is turning. This is from normal wear and tear. The drum may eventually stop turning all together. This is a sign the part should be replaced. This is one complete maintenance kit. The kit includes the drum belt, drum support rollers, one idler pulley, four tri-rings, and one clip. The parts are constructed of plastic, metal, and rubber, and come in black/white/silver.
This Whirlpool Dryer Repair Kit is a convenient solution for fixing noise and drum movement problems in 27-inch dryers. Compatible with models from Whirlpool, Kenmore, Maytag, and more, the kit includes a drive belt, drum support rollers, an idler pulley, mounting clips, and a washer. It’s designed for straightforward installation using s...Read moretandard tools, and should only be installed after disconnecting power. Ideal for restoring smooth, quiet dryer performance, this kit combines essential components in one package to save time and effort during repairs.
Installation requires disassembling the dryer to replace parts using standard tools. Ensure the dryer is unplugged before starting. This durable OEM kit provides reliable repairs for quieter, more efficient operation.
A dryer high-limit thermostat (High Limit Thermostat, Hi-Limit Thermostat, Dryer High-Limit Thermostat) is a switch that is actuated by temperature change. This high limit thermostat acts as a safety mechanism to keep the dryer from overheating. If your thermostat is malfunctioning, your dryer may not heat. This thermostat is located bene...Read moreath the dryer vent at the back of the appliance. The terminal extension arm connects to the heater element terminal. You can test the high limit thermostat with a multimeter. Test the thermostat for continuity at room temperature. If your reading indicates a defective thermostat, it must be replaced. This model is made of metal and plastic, and comes in silver/black. This part features 1 high limit thermostat with a terminal extension arm.
This genuine OEM dryer drum support roller is designed to hold the drum in place while allowing it to rotate smoothly and quietly during operation. Built for durability and reliable performance, it helps reduce noise and ensures consistent tumbling. Ideal for replacing worn or damaged rollers, it resolves issues such as squeaking, rumblin...Read moreg, or poor drum movement, helping restore efficient and dependable dryer operation.
This white OEM dryer door handle is used to open and close the dryer's door. Comprised of plastic and 6-by-2-inches in dimension, the handle is sold individually and attaches to the dryer door. Your dryer door may need replacing if you've accidentally pulled too hard on the door handle in opening. This will be more likely to happen over t...Read moreime as the material weakens through frequent use. If your handle is broken, you may no longer be able to open or close your dryer door, depending on the position your handle broke in. You'll know you need to replace this part if the locking tab has broken off, causing the handle to continually fall out.
This manufacturer-certified dryer lint filter is used to collect lint during the dryer cycle, to prevent damage to the machine and to prevent lint from sticking to clothes. This model comes in white and is easy to install. It slides into the lint filter slot in your dryer. If there is visible damage to the screen then it's time to replace...Read more the part. Check your user manual and model number to see if this is the right part for you. Make sure you empty the lint filter after every use of the dryer and check the filter slot for an excess buildup of lint, which can shorten the life of your filter and be a fire hazard. The screen is approximately 20 inches in length, not including the handle, and around 8.5 inches wide.
If you notice that your dryer is noisy or will not tumble, you may need to replace the tri ring. This part is triangular, and is less than an inch in size. Tri rings can be found both on the idler pulley shaft, or on the rear drum roller shaft. In either case, you will need to remove the front panel of the dryer and the drum to access the...Read more part for repair. Once you have accessed the damaged tri ring, you will simply need to slip it off and replace it with the new one. This part is sold individually. Be sure to disconnect the power source from the dryer before you begin this repair.
If your washer shakes or vibrates loudly when it reaches its max speed, check that the leveling legs are even. To ensure that the washer is firmly on the ground using all four legs, adjust the legs so that the machine is level, and tighten the locking nuts on the legs that are threaded. Keep the washer as close to the floor as possible. Y...Read moreour model might have rear legs that level themselves, or it might have threaded legs all around. Make sure the rubber feet have not worn out. Replace any missing or damaged legs and feet. This replacement part is sold individually.
Ask our experts a question about this model and we'll get back to you as soon as possible!
We may have answered a similar question already! Search questions and answers left by others using simple keywords like "fit", "broken", "easy", or "quality" to find questions that match.
Search filter:
Clear Filter
Your search term must have 3 or more characters.
Sort by:
Prev
1
2
3
Next
Sorry, we couldn't find any existing answers that matched.Try using some different or simpler keywords, or submit your new question by using the "Ask a Question" button above!
Jim - For model number MEDC215EW1
February 8, 2020
I put a new dryer timer in and also a new timer and timer still won’t advance. It just runs and runs.
Hello Jim,
Thank you for your question. Our sources suggest replacing the dryer cycling thermostat under part PS11741405 for your model to fix the timers issues. We hope this helps.
How do I access the right roller shaft nut on my dryer?
Hi Tony, thank you for reaching out to PartSelect. We have included a video that help your to access and replace the right drum support roller shaft. The dryer in the video may appear different from yours, but it will give you a general idea of how to install the part. We hope this helps with the repair.
4 peoplefound this instruction helpful.
Was this helpful?
Thank you for voting!
Doug - For model number MEDC215EW1
November 22, 2023
Does the heating element come with everything I need to replace it.
Hi Doug, thank you for your inquiry. The heating element, part number PS334313, does not come with any other tools or parts. You will just need a nut driver and pliers to replace it. We have included a video that you may reference on how to replace the heating element. The dryer in the video may appear different from yours, but it will give you a general idea of how to install the part. We hope this helps with the repair.
See how others fixed this model. Time, tools, difficulty, and steps that lead to victory!View More
Search repair tips from other customers using simple keywords like "replace", "fit", "remove", "inspect". DIY doesn't mean you have to do it alone!
Search filter:
Clear Filter
Your search term must have 3 or more characters.
Dryer motor runs, but no heat
2308 of 2510 peoplefound this instruction helpful.
Gadi from Irvine, CA
Really Easy
30 - 60 mins
Nutdriver
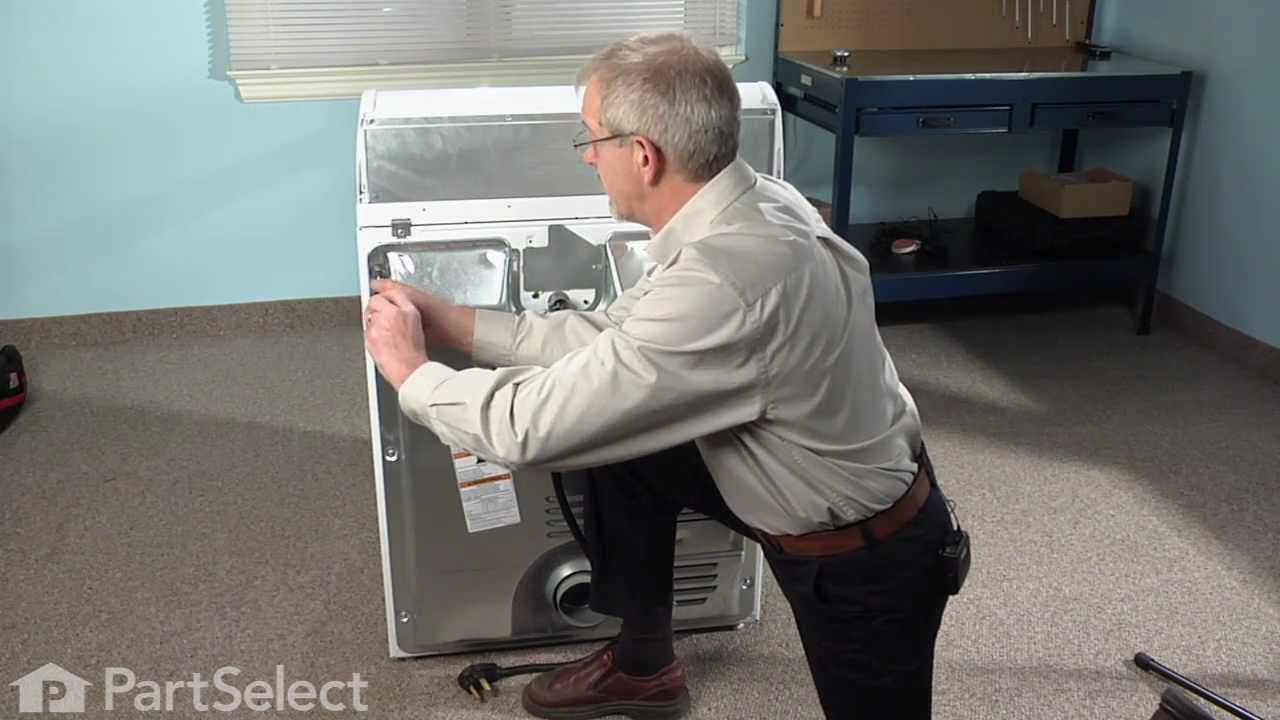
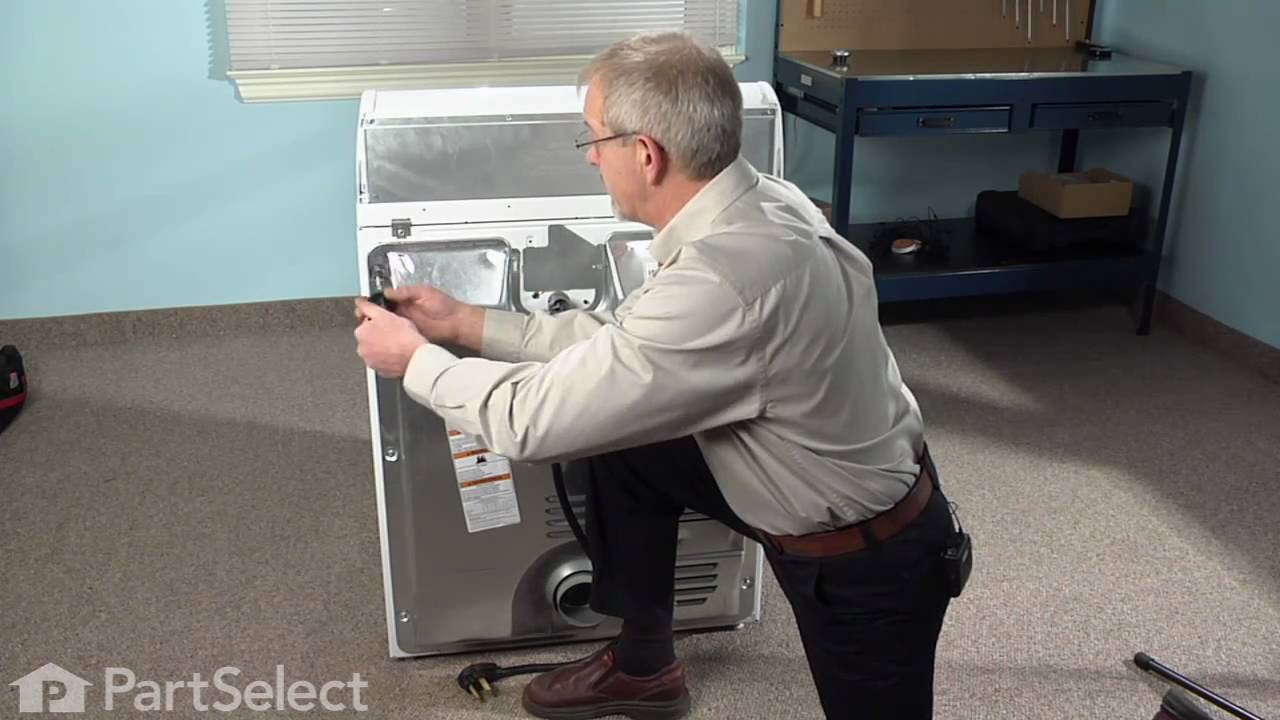
To reach the heating element you only need to open the back cover of the dryer (about 8 nut-head screws). Remember to disconnect the power.
To remove the heating element there are two small nut-head screws. Remove the two electric wires. Then you can pull the heating element away.
You can check the heating element wi
... Read moreth an ohm-meter or visually inspect it to see if the heating element spiral wire is broken.
Don't hurry to dispose the old element. My model includes a small electric safety part. You'll need to transfer it to the new heating element (that comes without it)..
Good luck.
Read less
Was this helpful?
Thank you for voting!
door switch was bad
1036 of 1098 peoplefound this instruction helpful.
pat from lisbon,, OH
Really Easy
15 - 30 mins
Screw drivers, Wrench set
i was able to go on line with your company , find my dryer, order the part and had it the next day. fast , great , service
Was this helpful?
Thank you for voting!
No Heat
903 of 969 peoplefound this instruction helpful.
Vernon from Niceville, FL
Really Easy
15 - 30 mins
Nutdriver
First tried heating element and thermal fuse with no luck. Ordered thermal cutoff and fixed problem. Had I used an ohm meter first I would have determined problem before having ordered heating element and fuse, as both had resistance. I wast just lazy and ordered the took the most common failed components first before taking dryer back
... Read more off.



 My Orders