















Parts That Fix Frigidaire Refrigerator LGUS2642LE2 Leaking
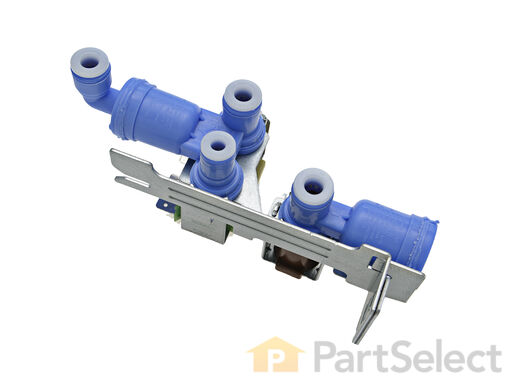
The function of the Refrigerator Water Inlet Valve (Triple Solenoid Water-Valve, Water Valve, Water Inlet Valve, Refrigerator Water Inlet Valve Assembly) is to release water from the supply line when activated, and send it through to your water dispenser or ice maker in your refrigerator. The water inlet valve is located at the back of the refrigerator, and connects to the water supply. The valve can break from material fatigue or normal use. If your water inlet valve is malfunctioning, you could be getting a lack of water to the inside of your refrigerator. Your ice maker may not produce cubes or your water dispenser may not work. The water inlet valve must be replaced if the solenoids no longer have continuity or the valve has internal blockage. This valve measures approximately 7 inches long and 4.5 inches wide, and is constructed of plastic and metal. It comes in blue, and includes the valve and mounting bracket.
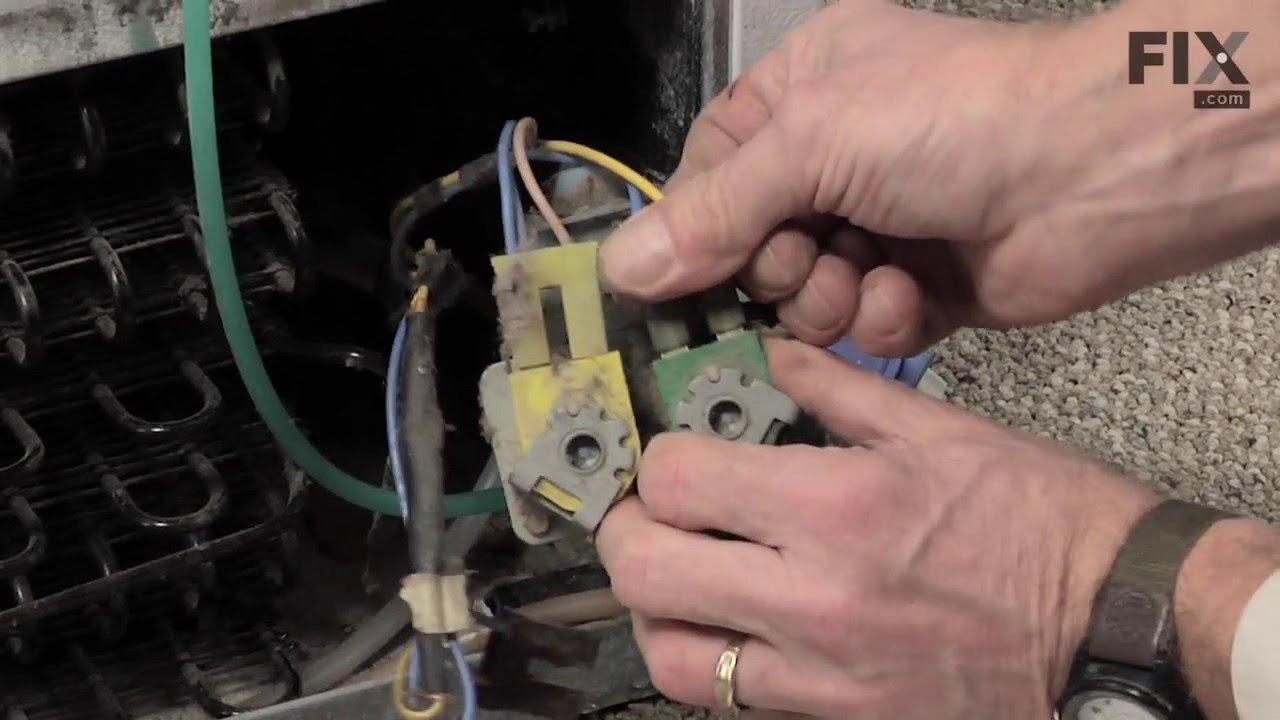
Replacing your Frigidaire Refrigerator Refrigerator Water Inlet Valve
Customer Repair Stories
A real easy way to test the icemaker without voltage and current measurements, is to fill the tray by hand with a little cup of water; wait till the water freezes and see if t ... Read more he maker dumped the ice into the bin.
-
David from New Bern, NC
-
Difficulty Level:Really Easy
-
Total Repair Time:15 - 30 mins
-
Tools:Nutdriver, Screw drivers
-
Jose from Alexandria, VA
-
Difficulty Level:Easy
-
Total Repair Time:15 - 30 mins
-
Tools:Nutdriver, Pliers, Wrench (Adjustable)
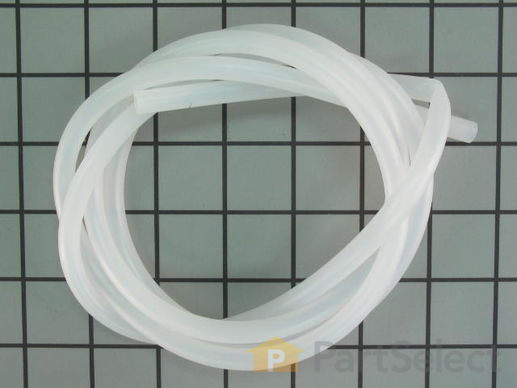
Plastic tube, 5/16".
Replacing your Frigidaire Refrigerator Water Tube


This is the replacement water filter base for your refrigerator. It is approximately 3-1/2 inches by 3 inches. It is made of white plastic with two blue water filter receptacles. The water filter base connects to your refrigerator and is the part that your two-headed water filter fits into. The main reason you would want to replace it is if you notice a leak when you connect the water filter, or if it is noticeably cracked or damaged. This part is sold individually and is a genuine OEM part.
Customer Repair Stories
-
James from ELK GROVE, CA
-
Difficulty Level:Really Easy
-
Total Repair Time:30 - 60 mins
-
Tools:Screw drivers, Socket set
-
Richard from SEATTLE, WA
-
Difficulty Level:Really Easy
-
Total Repair Time:Less than 15 mins
-
Tools:Screw drivers
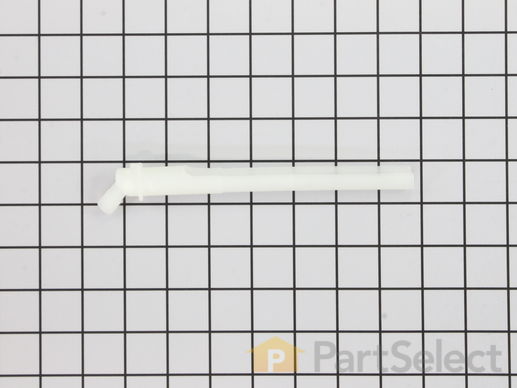
This is a water fill tube which is used in refrigerators. It attaches to the water inlet valve and supplies water to the components in your appliance that need it, such as the icemaker and water dispenser. You will need to replace your fill tube if you notice it is leaking or damaged. This replacement tube is approximately 7 inches in length, and it is made entirely of plastic. The fill tube is sold individually. Before you begin repairing your refrigerator, make sure the water supply has been turned off and that the appliance has been unplugged.
Customer Repair Stories
-
PAT from BATON ROUGE, LA
-
Difficulty Level:Easy
-
Total Repair Time:15 - 30 mins
-
Lawrence from Stow, OH
-
Difficulty Level:Easy
-
Total Repair Time:15 - 30 mins
-
Tools:Pliers
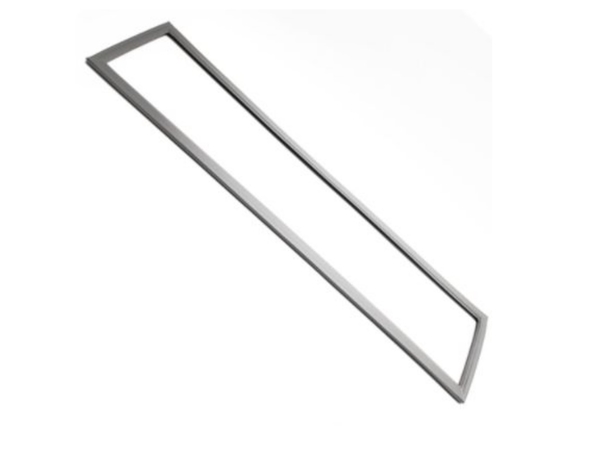
This gray, magnetic freezer door gasket is designed to create a secure seal around the freezer compartment, helping maintain consistent internal temperatures and prevent energy loss. A properly functioning gasket keeps cold air in and warm air out, ensuring efficient operation. If you notice frost buildup, condensation on the door exterior, or difficulty sealing the door, the gasket may need replacement. Installing a new gasket can restore proper sealing and improve overall appliance performance. This part is sold individually and is compatible with a variety of refrigerator models.
Customer Repair Stories
-
Shellie from MONCKS CORNER, SC
-
Difficulty Level:Easy
-
Total Repair Time:30 - 60 mins
-
Tools:Pliers
-
Jerome from Detroit, MI
-
Difficulty Level:Easy
-
Total Repair Time:30 - 60 mins
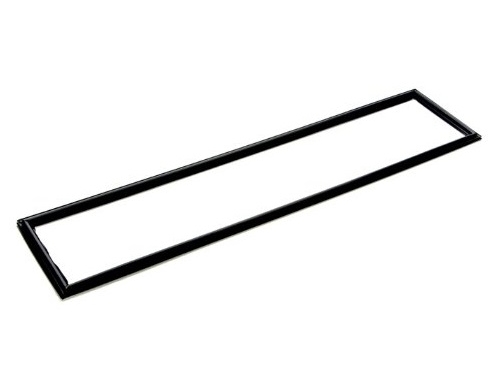
This gray refrigerator door gasket is designed to form a secure, airtight seal around the door of select refrigerator models. Constructed from durable, food-grade silicone and reinforced with a built-in magnetic strip, it helps maintain consistent internal temperatures by preventing cold air from escaping and warm air from entering. This contributes to improved energy efficiency and better food preservation. A properly functioning gasket also reduces frost buildup and ensures the door closes completely. This OEM replacement part is compatible with various models from Frigidaire and other Electrolux-affiliated brands. Common signs of a faulty gasket include cooling issues, moisture accumulation, or a door that won’t seal properly. Installation involves removing the old gasket and pressing the new one into the designated groove, ensuring a snug and uniform fit. Always verify your appliance model before purchasing to ensure compatibility.
Customer Repair Stories
-
alvin from staten island, NY
-
Difficulty Level:Really Easy
-
Total Repair Time:Less than 15 mins
-
Tools:Nutdriver, Screw drivers, Wrench (Adjustable)
P.S. Sorry about not having the model No.
The Part No was PS1991324 M ... Read more agnetic Gasket for Refr side of a Freezer/Refrigerator FRIGIDAIRE There are no screws to remove on this model. Just start at one corner and begin pulling old gasket out of the groove of the door.
-
cletus from Godfrey, IL
-
Difficulty Level:Really Easy
-
Total Repair Time:Less than 15 mins
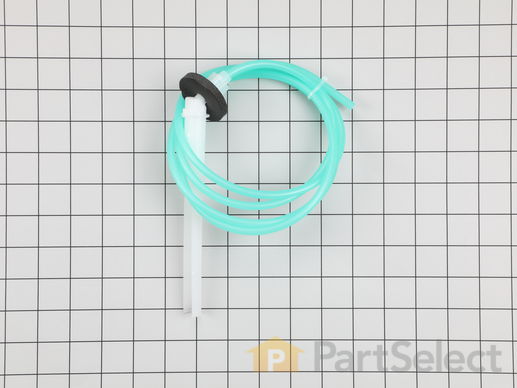
This supplies water to the icemaker and dispenser.
Customer Repair Stories
-
Sam from Ravenswood, WV
-
Difficulty Level:Really Easy
-
Total Repair Time:30 - 60 mins
-
Tools:Screw drivers, Wrench set
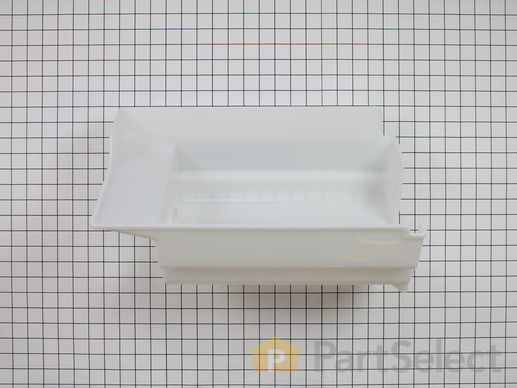
This genuine OEM ice container, also known as an ice bucket, is designed for use in refrigerators to store ice cubes. It should be replaced if it develops significant cracks or breaks that could affect performance. To remove the container, open the freezer door and lift it out, ensuring the ice maker’s shut-off arm is in the off position. Transfer the front panel, access door, shield, crusher assembly, and auger assembly from the old container to the new one—without disassembling the crusher and auger assembly, if possible, to simplify the process. When aligning the control rod, make sure one set of crimps sits in front of the crusher assembly plate and the other behind it. To secure the other end, hook the spring around the tab at the bottom of the container and tuck the bracket behind the tab. Engage the rod’s hook by rotating it into the flapper door. Reinstall the front panel and access door by aligning the holes and fastening them in place. Finally, snap the guard back onto the side rails of the bin, ensuring the ridged edge faces forward. Please note that this replacement part includes only the ice bucket; additional components must be purchased separately.
Replacing your Frigidaire Refrigerator Ice Container/Bucket
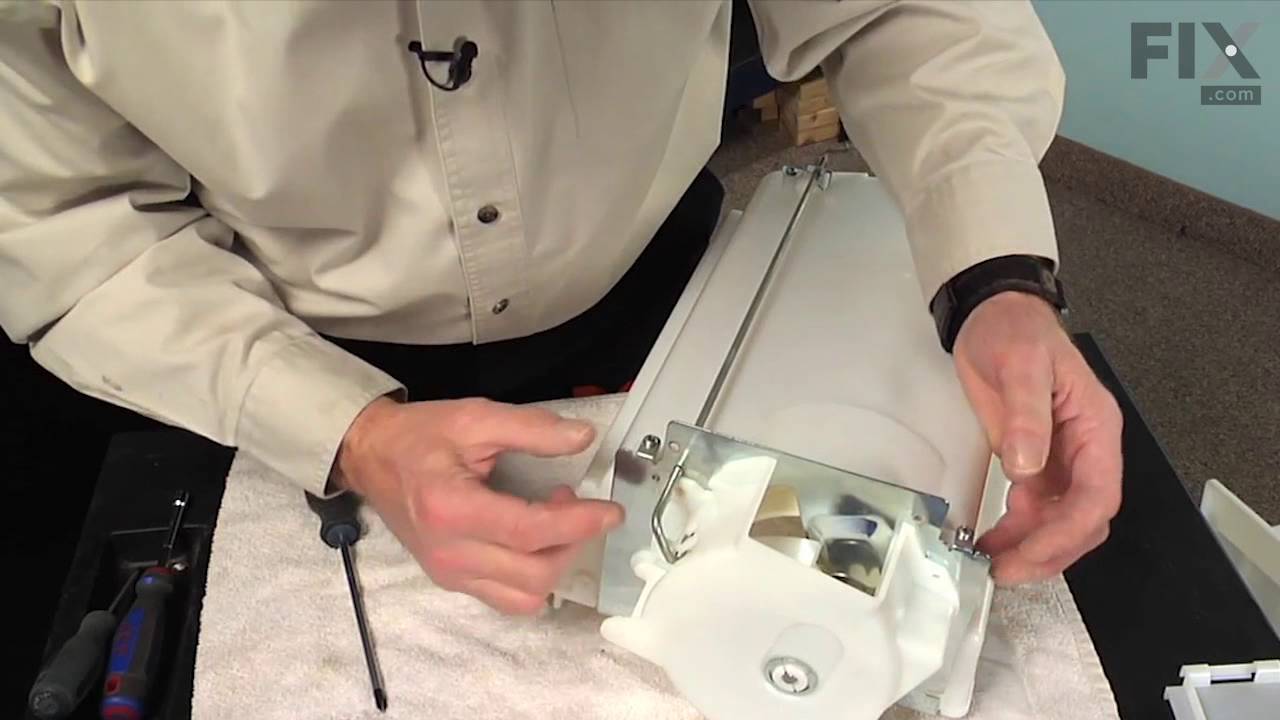
Customer Repair Stories
-
David from Owensboro, KY
-
Difficulty Level:Easy
-
Total Repair Time:15 - 30 mins
-
Tools:Screw drivers
pushes the ice. I inserted the spiral piece back into the hole. I than screwed the ice dispencer
to the bin and re-inserted it back in the refr ... Read more igerator.
It took me about 5 to 10 minutes. It's really easy!
-
Thomas from Niceville, FL
-
Difficulty Level:Really Easy
-
Total Repair Time:Less than 15 mins
-
Tools:Screw drivers
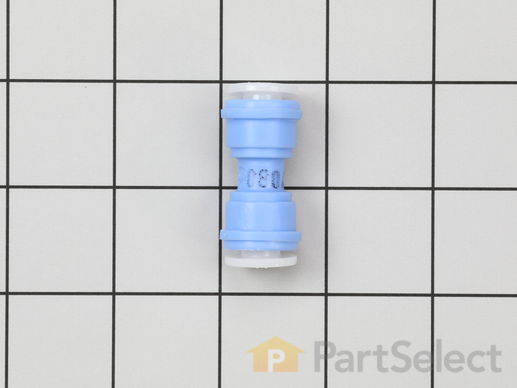
This straight water tube connector provides a secure, leak-free connection between two sections of 5/16-inch refrigerator water lines, helping ensure proper water flow to the ice maker and dispenser. Made from durable materials with an easy push-to-connect design, it offers a simple, reliable replacement when the original fitting becomes cracked or starts leaking. Installing a new connector helps restore steady ice production and consistent dispenser performance.
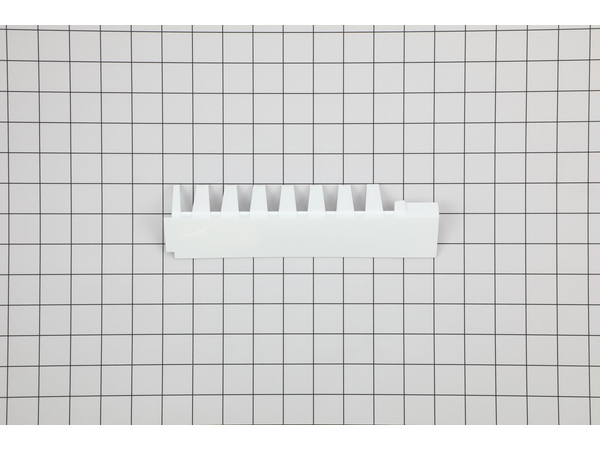
This 8-cube ice maker is used to create ice for your refrigerator. The ice maker receives water from the water inlet valve and will freeze until ice cubes are formed. Once the water has been frozen the cubes will be ejected from the mold in to the ice bucket. The ice maker will continue the process until the ice bucket has reached the limit. If your ice maker is not making ice you may need to replace this part. Please remember to disconnect the power and water supply before starting your repair. This ice maker is a genuine OEM part.
Customer Repair Stories
-
Dennis from DEER LODGE, MT
-
Difficulty Level:Really Easy
-
Total Repair Time:15 - 30 mins
-
Tools:Nutdriver
-
Juan from Miami, FL
-
Difficulty Level:Really Easy
-
Total Repair Time:15 - 30 mins
-
Tools:Socket set

Designed to channel defrost water safely out of your appliance, this genuine OEM defrost drain tube directs melted ice from the evaporator area down to the drain pan for proper evaporation. Its durable construction helps prevent cracks, clogs, and leaks that can lead to water pooling or ice buildup inside the freezer. Built for a secure fit and dependable performance, this component is an ideal replacement for a damaged or obstructed hose, restoring proper drainage and helping maintain efficient, trouble-free operation.
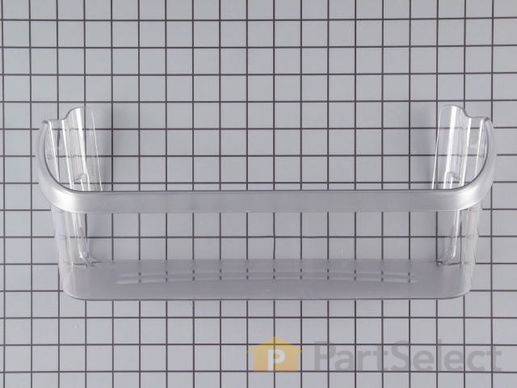
The Bottom Door Bin is also commonly known as a "cantilever shelf" is a clear plastic drawer which holds items in the bottom area of your fridge's interior, on the door. This OEM part is very easy to install and will not require any tools, you will just need to snap the mounting tabs into place for removal and installation. If damaged you will notice visible damage or have problems holding items in the fridge. If damaged, it should be replaced. Check your model number and user manual to see if this is the right part for you. This is important, as many fridges use multiple door bins, many of which vary slightly. This part is sold individually.
Customer Repair Stories
-
Richelle from New Berlin, WI
-
Difficulty Level:A Bit Difficult
-
Total Repair Time:15 - 30 mins
-
Mark from Redlands, CA
-
Difficulty Level:Really Easy
-
Total Repair Time:Less than 15 mins
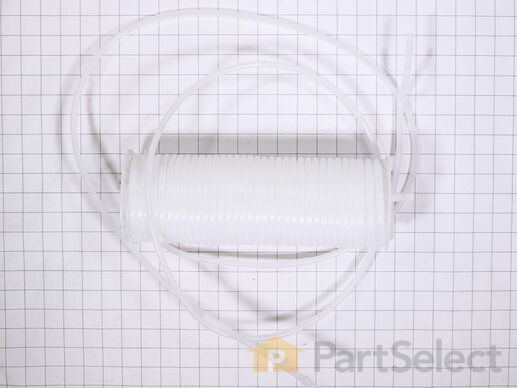
This genuine OEM Frigidaire Water Tank supports your refrigerator?s water-dispenser cooling performance and is designed for select models, though dimensions can vary, so checking compatibility is essential. Installation is straightforward?unplug the appliance, shut off the water supply, wear gloves, and temporarily relocate perishables. This tank restores efficient operation and helps maintain cool, refreshing water for everyday use.
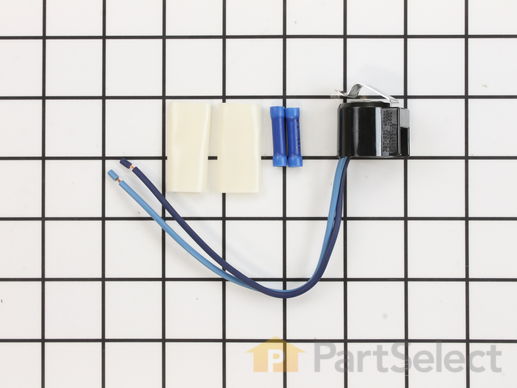
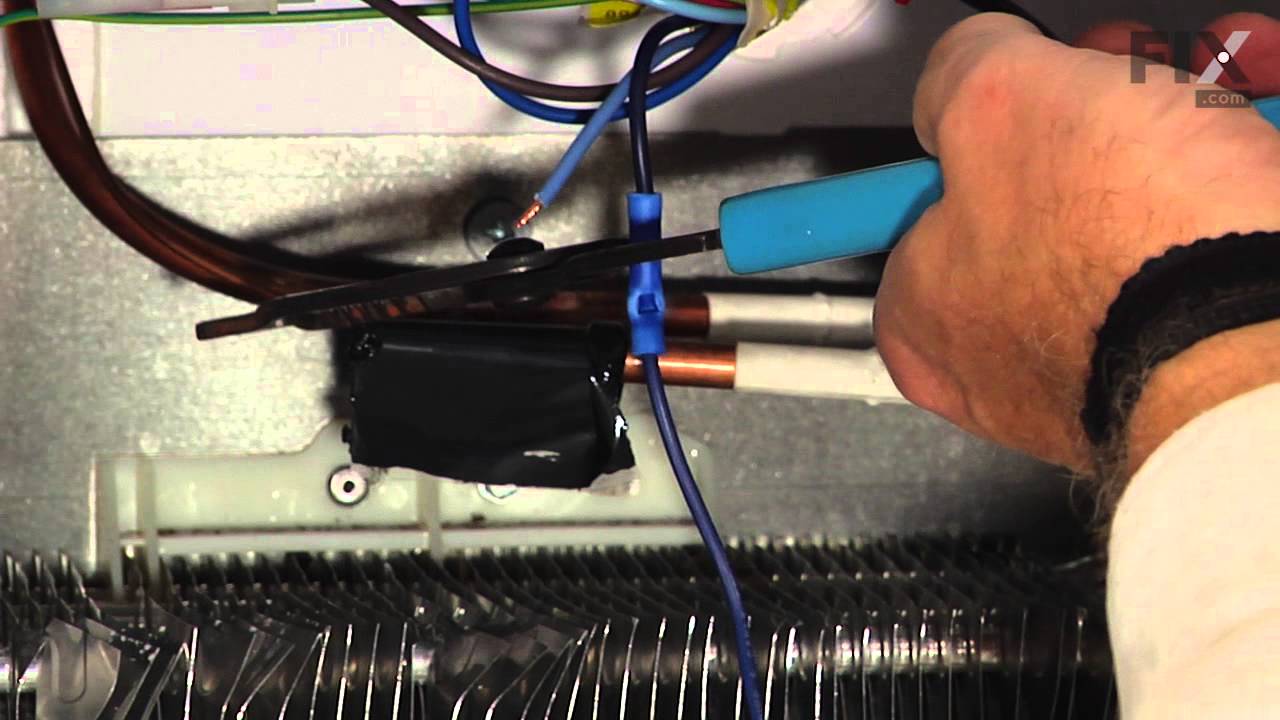
If you find that there is excessive frost in your freezer, or the freezer will not defrost, you may need to replace the defrost thermostat. The defrost thermostat kit comes with the clip, leads, and one heat shrink. To access the defrost thermostat for this repair, you will need to remove your freezer shelves, as well as the back panel of your freezer. To complete this repair, you will need a 1/4-inch nut driver, a set of wire strippers and crimpers, and a heat gun or blow dryer. Before you begin this repair, be sure to disconnect the power source from the appliance.
Replacing your Frigidaire Refrigerator Defrost Thermostat Kit
Customer Repair Stories
-
donna from brandon, FL
-
Difficulty Level:Really Easy
-
Total Repair Time:15 - 30 mins
-
Tools:Screw drivers
-
Leo from Bentonville, AR
-
Difficulty Level:Easy
-
Total Repair Time:15 - 30 mins
-
Tools:Nutdriver, Pliers
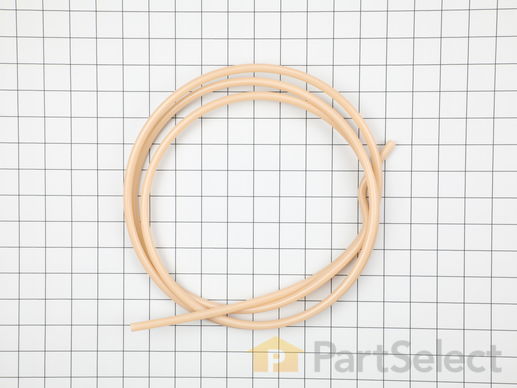
This refrigerator water inlet tube is designed to carry water between key components such as the filter, inlet valve, and dispenser, ensuring a steady and reliable flow for ice and water functions. Made from durable tubing with a 5/16-inch diameter and extended length for flexible routing, it is a practical replacement for worn, cracked, or kinked lines. Replacing a damaged tube can help resolve issues like leaks, reduced water flow, or a non-functioning dispenser, restoring proper performance to your refrigerator.