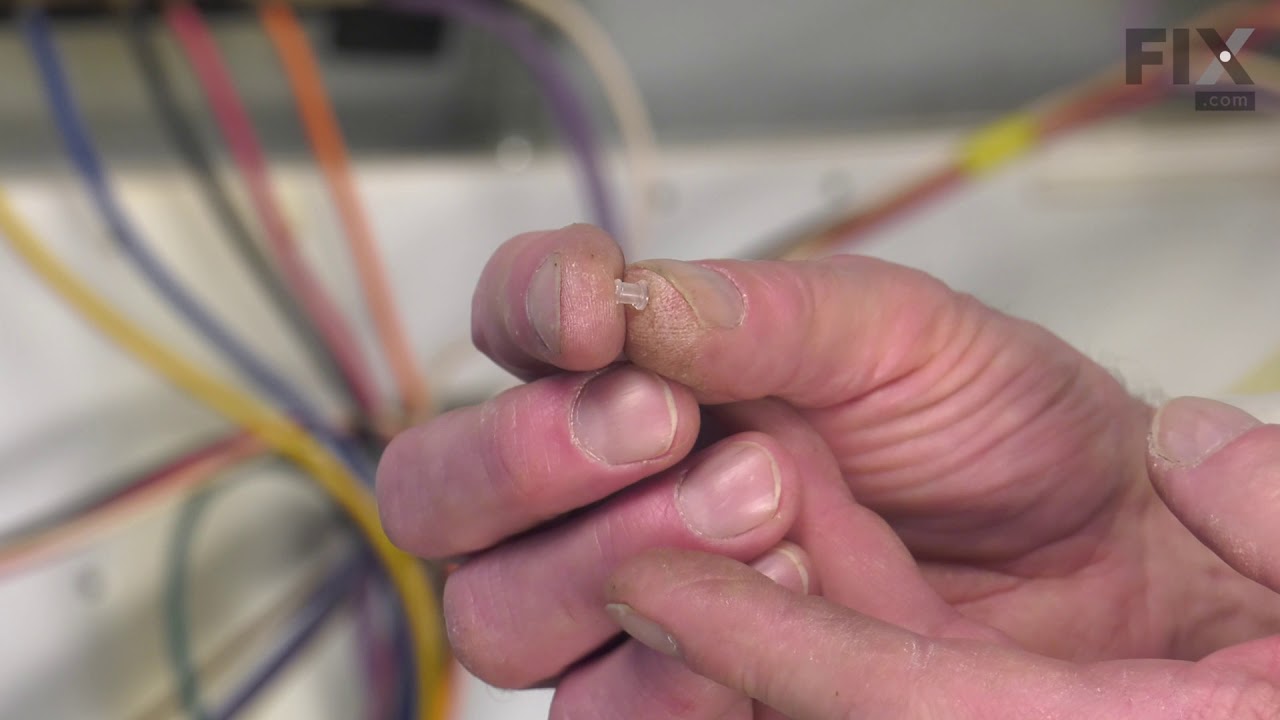
This genuine OEM oven probe is also known as an oven temperature sensor or range probe. This part is manufactured for a range, stove, or oven to detect the temperature within the oven cavity. The probe allows the oven to maintain the set temperature by sensing the temperature and sending the information to the ovens motherboard. You may n...Read moreeed to replace this part if oven is not heating or is heating unevenly. Be sure to disconnect power to oven before replacing, as it is an electrical part. Tools needed are 1/4 inch nut driver and needle nose pliers.
This OEM 40 watt appliance light bulb is used for some ranges, refrigerators, freezers, and microwaves. Simply locate the existing bulb, unscrew it from its socket, and replace with new light bulb. If the existing bulb is broken in the socket, disconnect the power to the refrigerator and use a pair of needle nose pliers to grip the intern...Read moreal fragments of the bulb to unscrew. Replace with the new bulb and reconnect the power to the refrigerator. These bulbs are sold individually and are a commonly replaced part; consider ordering a spare.
This is a part for your range. This switch controls the stovetop surface burner. If you notice that your stove top is not turning on or is not adjusting to the corresponding desired heat, it is mostly likely due to the burner switch needing to be replaced. You will need a #1 square-head screwdriver and needle-nose pliers. Disconnect the p...Read moreower from the range. You will need to move the range out from the wall to remove the upper back panel to access to this part. This is an OEM genuine part.
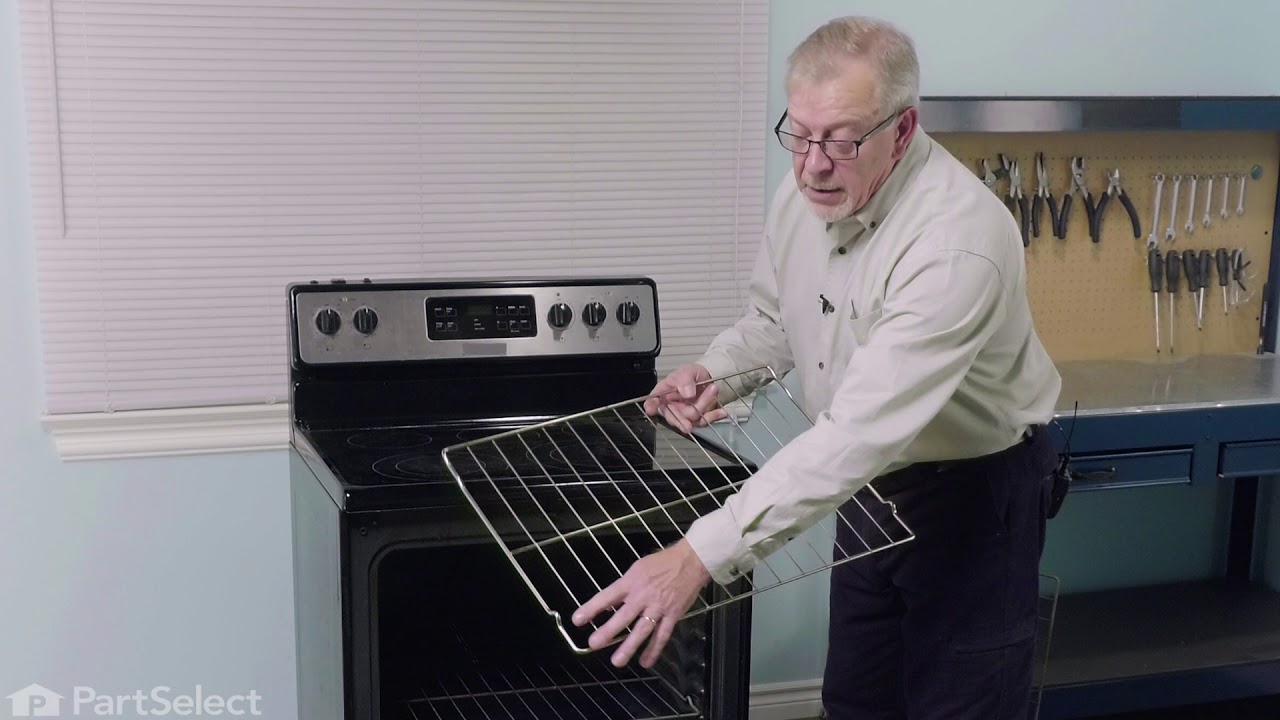
This part is found inside your oven. This oven rack comes in the color chrome and measures 24 inches in width and 16 inches in length. This is an extremely simple repair that requires no tools. The package you will receive will contain one rack. The rack may warp or become distressed over time and will need to be replaced. The rack is wha...Read moret holds your food inside the oven and allows you to adjust your food at different heights. Make sure your oven is unplugged before doing any maintenance. You will need to open the oven door and simply slide the new rack into place.
The Frigidaire light bulb lens covers the interior light bulb in an oven. No tools are necessary to replace this item. After unplugging the appliance, slide off the wire bracket to remove the existing light bulb lens. Be sure to remove all broken glass, if applicable, before installing the new lens. It is recommended to check the state of...Read more the light bulb while the lens is off. This part is made of glass. The lens is a genuine Frigidaire part, sourced directly from the manufacturer, and is sold individually.
This rear drawer glide, also known as a storage drawer glide, is used in ranges. This helps hold the front side of the storage drawer and allows the drawer to easily slide in and out of the range. If your glide is damaged or missing, replacing it could solve any difficulty using the drawer. First, remove the storage drawer and locate the ...Read morerear glide on the side. Next, remove the glide by taking out the screws. Replace new glide by placing tabs into the cut-out. If you are replacing both rear drawer glides, then repeat the same on the other side. Refer to the diagram provided by the manufacturer for further installation instructions and guidance.
This front drawer glide supports the bottom storage or broil drawer, allowing it to slide smoothly in and out of the range. Designed to reduce friction and keep the drawer properly aligned, it helps ensure easy and stable operation. Replacing a worn or damaged glide can fix issues such as sticking, tilting, or uneven movement, restoring normal drawer function.
This part is a single oven rack link arm. It is a genuine OEM replacement part for your oven. It connects the oven rack to the door bracket, to allow the rack to extend out when you open the oven door. This makes the experience of placing your food in the oven easier and more accessible. This repair is easy, and requires some disassembly ...Read moreof your oven rack and door bracket mechanism. Make sure the oven is cool before replacing this link.
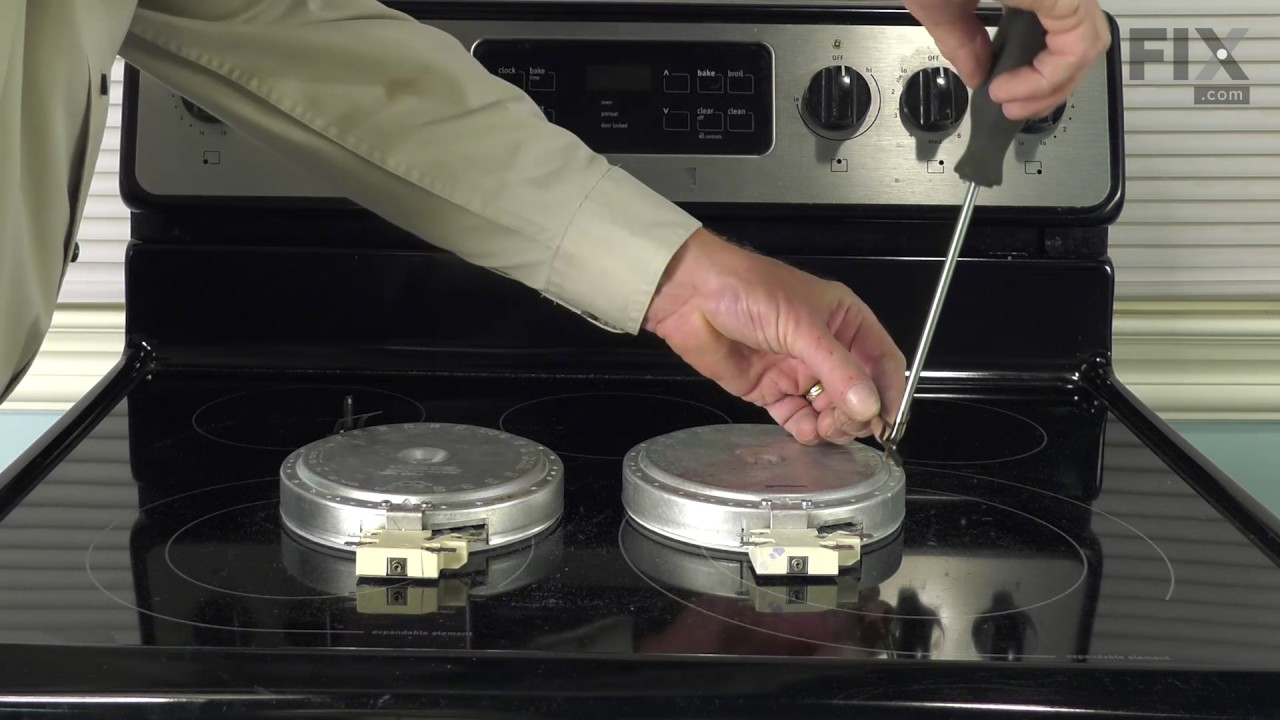
This is a six-inch radiant element with limiter. It works in conjunction with your stove top range. The purpose of this part is to heat up the cooking area that is located on top of the range, also known as your stove top. If you suspect that your surface element is not properly heating then you may want to test the element for continuity...Read more. This model is sold individually and is 1200 watts. The tools you will need for this installation include a Phillips screwdriver and a 14-inch nut driver.
The anti-tip bracket kit comes with one metal bracket and two installation screws, and is sourced directly from the genuine manufacturer. It prevents the freestanding oven, range, or stove from tipping when force or weight is applied to an open oven door. The bracket is secured to the floor and wall and fits over the rear leveling leg in ...Read morethe back of the appliance, in a cutout specifically designed for the anti-tip bracket. This part is very essential to the safe operation of the appliance. Failure to install the bracket properly can result in the oven tipping or falling and causing injuries.
Ask our experts a question about this model and we'll get back to you as soon as possible!
We may have answered a similar question already! Search questions and answers left by others using simple keywords like "fit", "broken", "easy", or "quality" to find questions that match.
Search filter:
Clear Filter
Your search term must have 3 or more characters.
Sort by:
Prev
1
2
3
Next
Sorry, we couldn't find any existing answers that matched.Try using some different or simpler keywords, or submit your new question by using the "Ask a Question" button above!
Mitchell - For model number LGEF3045KFK
January 27, 2020
One burner stays on when the control knob is off and seems not to be able to adjust the temperature of the burner
Hi Mitchell, thank you for your question. There are a couple of parts that could cause this issue specifically. You will need a multi meter to be able to test the parts. The first part you will want to check is your radiant element. It should be reading between 0 - 120 ohms to be working correctly. The other part to check would be your infinite (or surface burner) switch. When you remove that part from the appliance, connect each probe from your multi meter to the prongs and then turn the switch to an on position. If you get no continuity then the switch is the issue. Good luck with your repair.
2 peoplefound this instruction helpful.
Was this helpful?
Thank you for voting!
Diane - For model number LGEF3045KFK
March 10, 2023
My oven takes a really long time to get up to temperature. Any idea of whats wrong?
Hello Diane, thank you for getting in touch. Based on the description that you have provided, we would recommend that you check the oven temperature sensor, part number PS1528542, and the bake element, part number PS1991807. If the problem still persists, we suggest you replace the control board, part number PS9494055. We hope this helps, good luck with this repair!
My range beeps repeatedly then displays F11 ERR and beeps continuously. Pressing any number returns it to intermittent beeping then a loop.
Hello Eric, thank you for your query. We have found that the F11 error code means that the control board is sensing a stuck or shorted key on the touch membrane. To fix the issue, we would recommend checking the electronic control board, part number PS9494055. We hope this solves your problem!
Where is the thermal fuse for this model? Bought new motherboard and it won't light up. someone said the thermal fuse is blown. Thank You
Hi Diana, thank you for your inquiry. Based on our research, your model does not have any thermal fuse. We have concluded that the issue is with the terminal block, part number PS2333392. We would suggest checking the terminal block to fix the issue. Good luck with your repair!
Why does my oven stay on and my cancel button is not shutting it off.
Hello Stan, thank you for reaching out. It seems like the control board is defective and needs to be replaced. The part number for the electronic control board is PS9494055. Additionally, you can also check the thermostat and the heating elements for continuity with a multimeter and replace the faulty part. If you require assistance to place an order, please contact customer service. We hope that helps!
See how others fixed this model. Time, tools, difficulty, and steps that lead to victory!View More
Search repair tips from other customers using simple keywords like "replace", "fit", "remove", "inspect". DIY doesn't mean you have to do it alone!
Search filter:
Clear Filter
Your search term must have 3 or more characters.
Oven wouldn't operated. Error code F9
76 of 101 peoplefound this instruction helpful.
Richard from Centennial, CO
Really Easy
Less than 15 mins
Nutdriver
I called a repair place. They charged $54 to diagnose, (said it needed a new latch motor) then wanted $220 to complete the repair. I checked online prices and did it myself for about 15 minutes work and the latch motor itself ($44?).
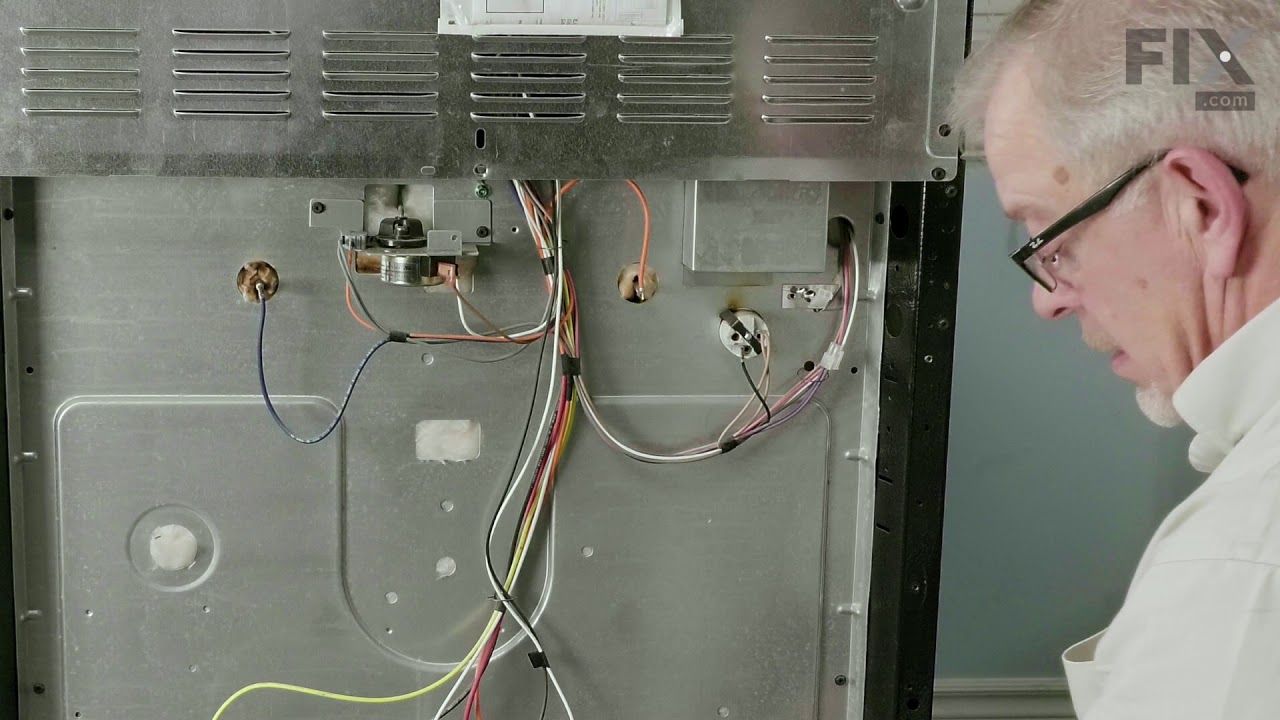
Was necessary to uplug the range, pull it away from the wall and remove the back panel sheet m
... Read moreetal, then 3 screws that mount the motor. Replace motor, reattach sheet metal. Plug in. Done. Ready to bake cookies.
Read less
Was this helpful?
Thank you for voting!
burned out burner
70 of 99 peoplefound this instruction helpful.
Lori from Winter Haven, FL
Easy
Less than 15 mins
Pliers, Screw drivers
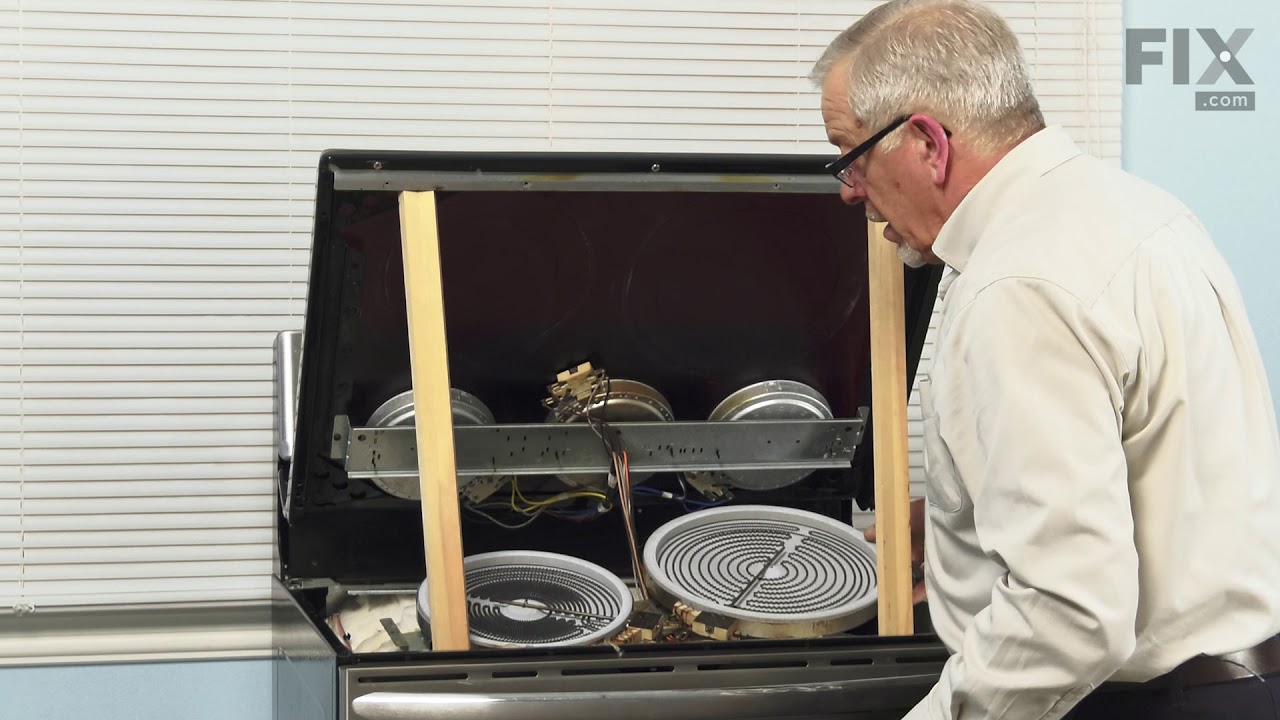
First we removed two screws under the rim of the range top to open the lid. Lifted the lid and removed the screws from the bracket that holds the elements, Be careful with the clips that hold the element in, if you break them or bend them there aren't any more! Also note which holes they were in, they are marked according to the differ
... Read moreent sizes of elements. Disconnected the wires, needed needlenose pliers to grip them...connected new element, popped it back in place, replaced bracket, closed top ...Easy peasy!!!
Read less
Was this helpful?
Thank you for voting!
Switch Was Making A Arcing Sound When Burner Was On
59 of 83 peoplefound this instruction helpful.
Gerald from Paris, TN
Easy
15 - 30 mins
Screw drivers
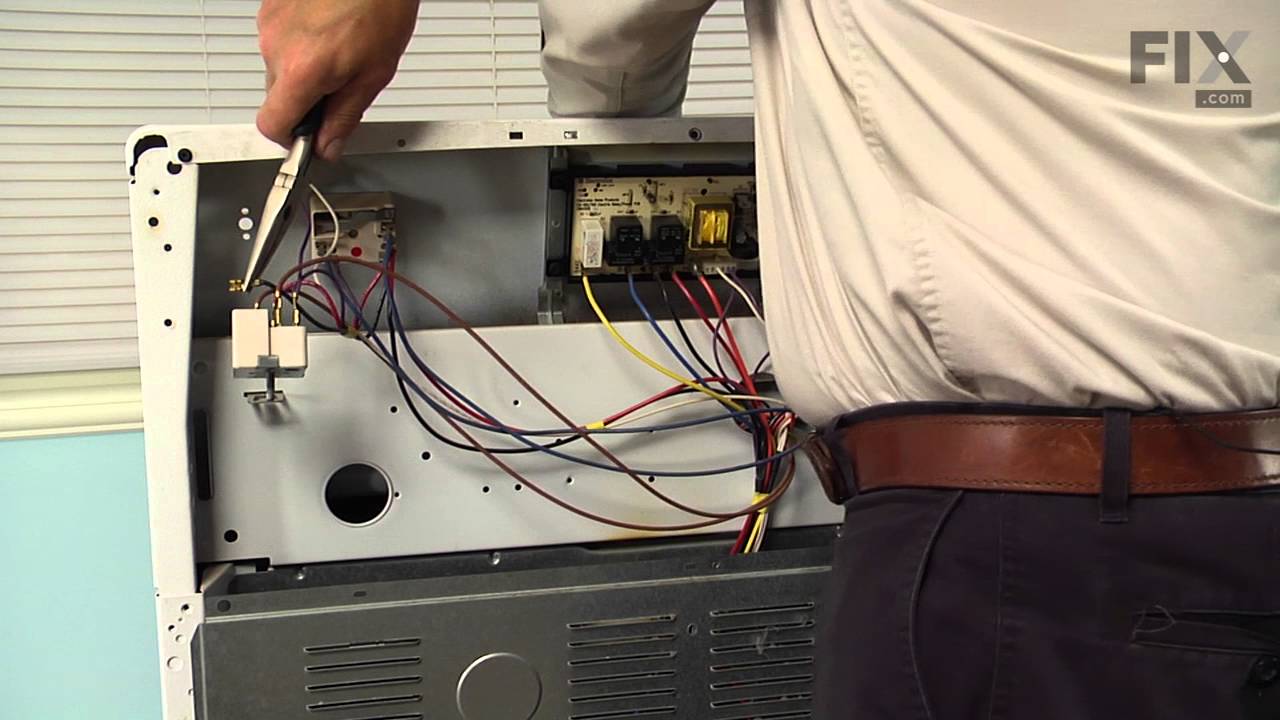
Removed the back cover of the range. Removed the knob from the front of the switch. Removed 2 screws holding switch to range. Removed wires one at a time and connected to proper poles on replacement switch and reinstalled new switch on range



 My Orders