


 My Orders




KUDS01VMSS5 KitchenAid Dishwasher - Overview
Diagrams for KUDS01VMSS5
See every part. Know exactly what you need.


Enter a part description. DIY Heroes keep it simple, eg. "belt" or "pump".
Search filter:
Clear Filter
Your search term must have 3 or more characters.

$29.47
In Stock
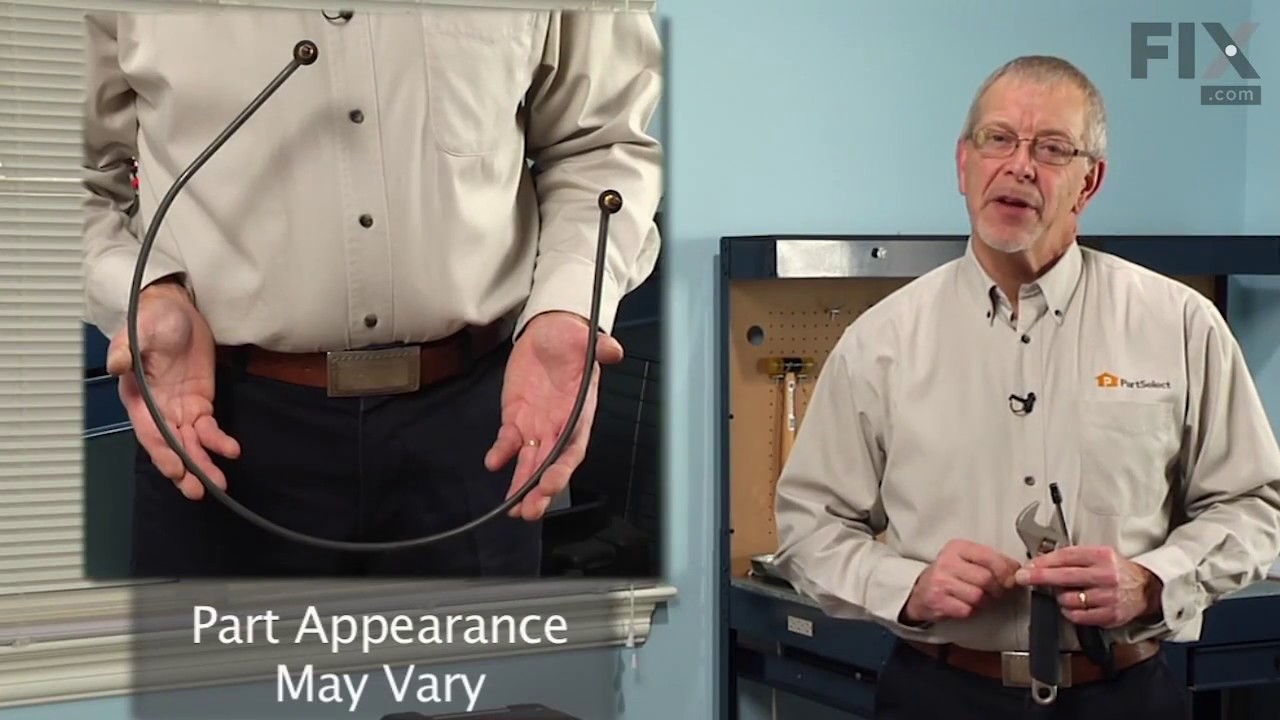
Door Balance Link Kit
Part #8194001
This part is a door balance link kit, also sometimes known as door cable or door spring cable kit, that helps support the door as it opens and closes by connecting to the dishwasher door hinges. The kit includes two door balance links and two door balance mounts with wheels, which will replace both the left and right sides. The only tool ...Read moreneeded is a 5/16 nut driver. Before removing the existing kit, take note of how the door balance link kit is assembled for a smooth replacement process. It is recommended to check the door springs in case they need to be replaced as well.
Read less

$46.34
In Stock
Dishwasher Heating Element
Part #W10518394
This manufacturer-certified heating element is used to create heat during the dry cycle and increase water temperature during portions of the wash cycle when certain options are selected. If your dishes are not drying or the water in the dishwasher is not getting hot you may need to replace the element. This kit includes the heater, two h...Read moreeater fasteners, and is a genuine OEM part. Please remember to disconnect the power before starting the repair. Use a multi-meter to test your heating element for continuity to determine whether this is the part that is causing your symptom. This part does not include any washers. To make your repair, disconnect the wires from the bottom of the element in the back, remove the plastic nuts holding it in place, remove the element, and repeat these steps in reverse order to install your new part. This is an easy repair that requires only a screwdriver, wrench set, and should take less than 30 minutes.
Read less

$15.00
In Stock
Dishwasher Mounting Bracket
Part #WP8269145
The mounting bracket is sold individually, without screws. This part secures the upper side of the dishwasher to the underside of the counter or cabinet to prevent the dishwasher from moving, shaking, or tilting forward. The bracket is made entirely of metal. It is recommended to check all brackets, if applicable, because they often wear ...Read moreat the same rate and both may need to be replaced. This is an OEM part that is sourced from the authentic manufacturer. Tools needed are a pair of needle nose pliers and a screwdriver.
Read less

$78.33
In Stock
Dishwasher Silverware Basket Gray
Part #WPW10190415
The silverware basket is a holder for washing flatware or silverware in your dishwasher. Note: This part has been updated by the manufacturer, it may appear different but will still function the same. This basket is gray in color. To do this repair, open the dishwasher door and slide the bottom rack out. The new basket hooks onto the back...Read more rail of the dish rack. Tip: to prolong the life of your basket, keep the sharp end of your cutlery pointed up to prevent cutting through the bottom, and gently place them instead of dropping.
Read less

No Longer Available
Upper Wash Arm Kit
Part #8193504
This part contains the mounting clips and helps distribute water from the top of the dishwasher tub.

$34.74
In Stock
Chopper Assembly
Part #W10083957
This is a chopper assembly or drain food chopper, and it is designed for your dishwasher. The chopper chops up/minces the food particles in your dishwasher to prevent them from clogging the pump. You may need to replace this part if your dishes are not being cleaned properly, your appliance is particularly noisy, or you are noticing drain...Read moreing problems. The tools you will need to make this repair include a number 20 and a number 15 torque screwdriver, a small flat blade screwdriver, and a pair of needle nose pliers.
Read less

$57.56
In Stock
Fuse Kit
Part #8193762
When replacing these fuses the wire harness must be replaced as well. It is located in the control panel. The harness is included with this part now.

$78.28
In Stock
Door Gasket
Part #W11196317
This is a door seal, but you may also know it as a door gasket and it is a part for your dishwasher. It provides a leak proof seal between the tub and the door of your appliance. You will need to replace the door seal if you are experiencing leaking from the front of your dishwasher. Once you have removed your old seal, we recommend inspe...Read morecting the groove to make sure there are no food particles or debris caught inside that will impede the installation process.
Read less

$7.47
In Stock
Rubber Washer
Part #WP717273
The rubber washer is a part which is specific to dishwashers and should not be substituted by a similar part. It works with the heating element to seal the receptacle opening where the heating element is attached. The rubber washer is used to prevent water leaking from your dishwasher during its cycle. Before making any repairs to your di...Read moreshwasher make sure that you disconnect the power by finding the breaker for the dishwasher, and turning it off. The tools you will need to complete this repair include an adjustable wrench, and a 1/4 inch nut driver. This specific rubber washer is sold individually.
Read less

$33.69
In Stock
Dishwasher Door Balance Spring
Part #WP8270182
This dishwasher door spring is sold individually. It is recommended if you are replacing one side, to replace both.

$60.51
In Stock
Dishwasher Detergent And Rinse Aid Dispenser
Part #WP8558129
This part releases the detergent and rinse aid into the dishwasher.

$61.55
In Stock
Dishwasher Water Inlet Valve
Part #WP8531669
This water inlet valve should be located behind the lower kickplate panel in either the right or left corner. The attaching solenoid on the valve will open and close according to the desired amount of water needed.
Manuals & Care Guides for KUDS01VMSS5
Click to downloadCommon Symptoms of the KUDS01VMSS5
How this model fails, and the parts that fix it.
Not cleaning dishes properly
Fixed by
these parts
these parts


Show All
Leaking
Fixed by
these parts
these parts


Show All
Door latch failure
Fixed by
these parts
these parts


Show All
Not drying dishes properly
Fixed by
these parts
these parts


Show All
Will Not Start
Fixed by
these parts
these parts


Show All
Noisy
Fixed by
these parts
these parts

Show All
Door won’t close
Fixed by
these parts
these parts
Show All
Not draining
Fixed by
these parts
these parts


Show All
Will not dispense detergent
Fixed by
these parts
these parts


Show All
Will not fill with water
Fixed by
these parts
these parts


Show All
Watch our pros, then fix it yourself.
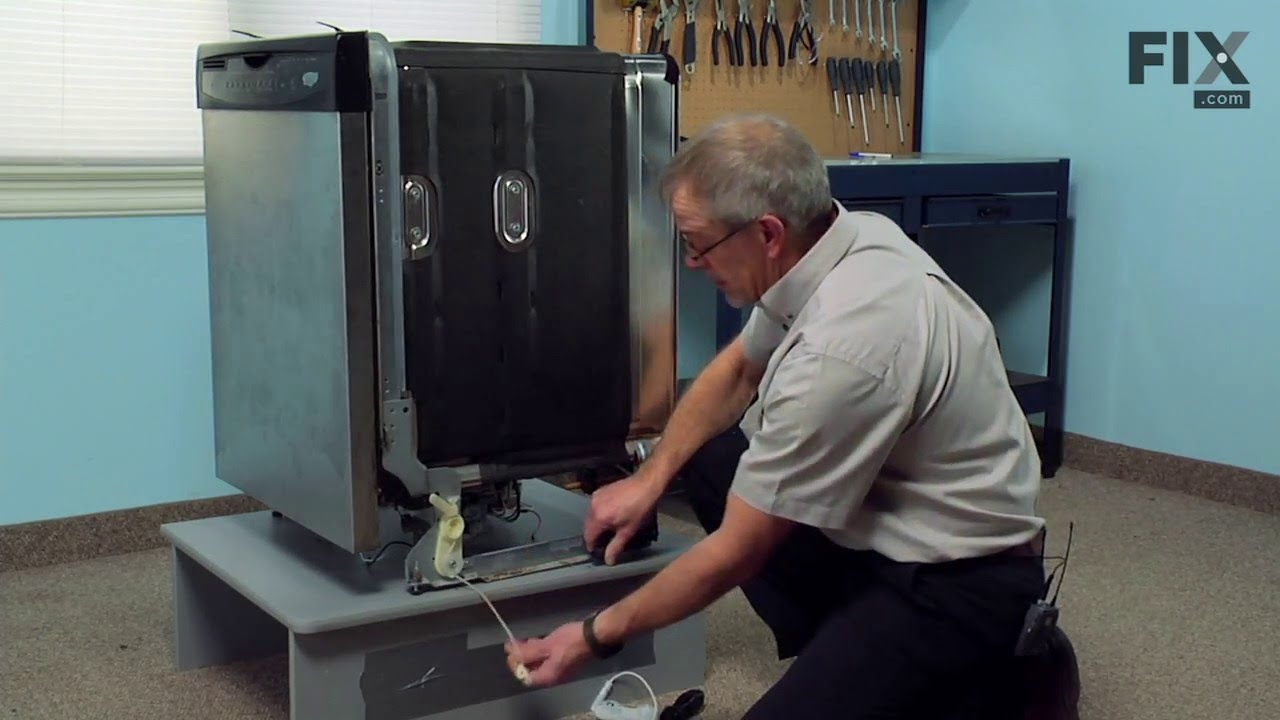
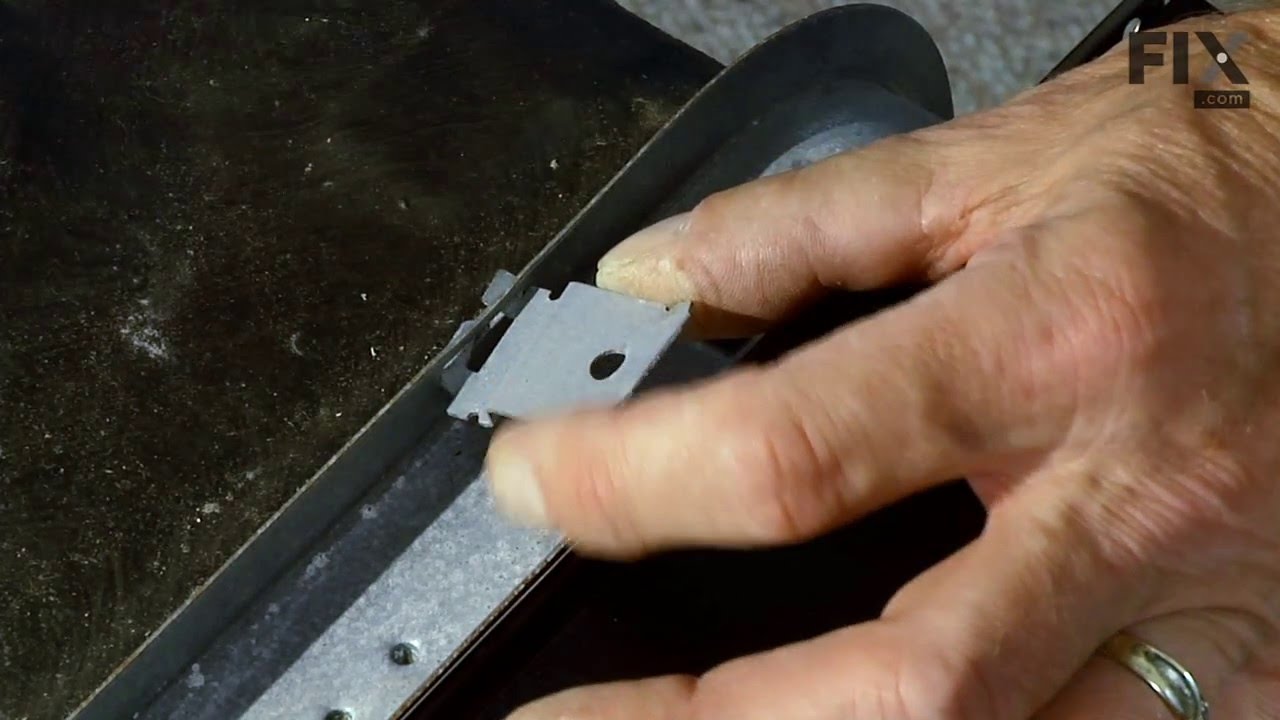
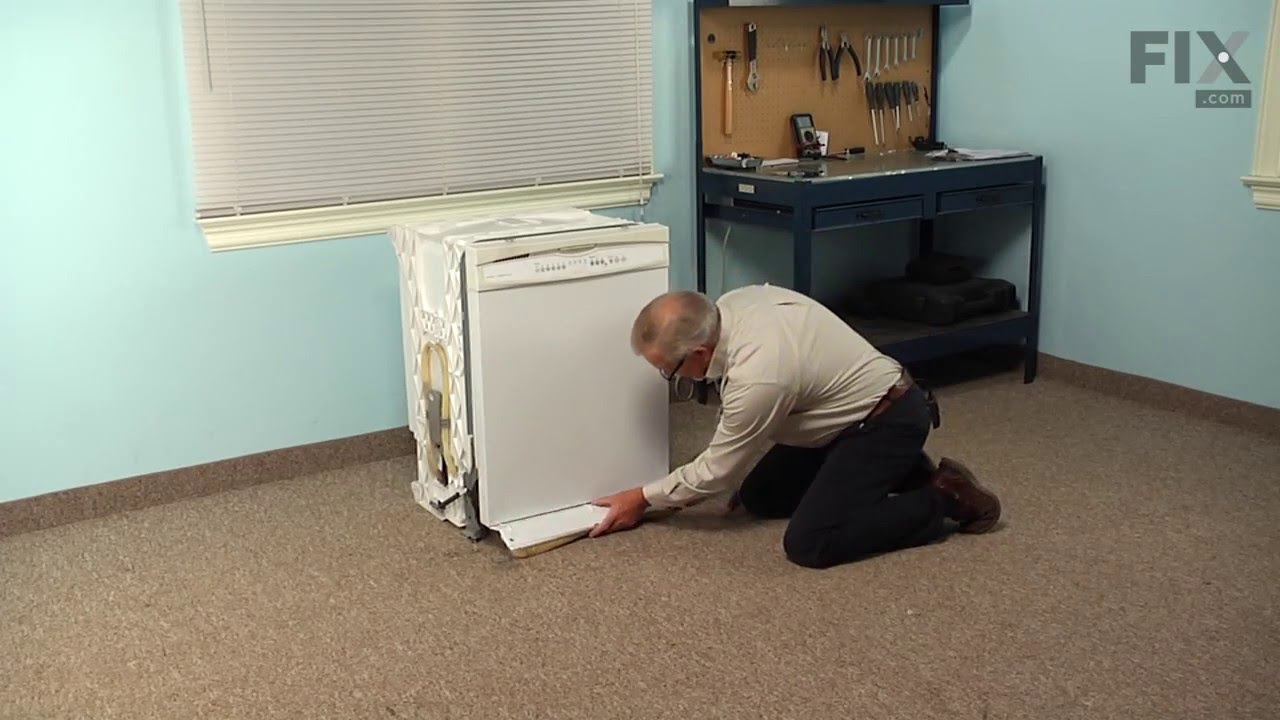
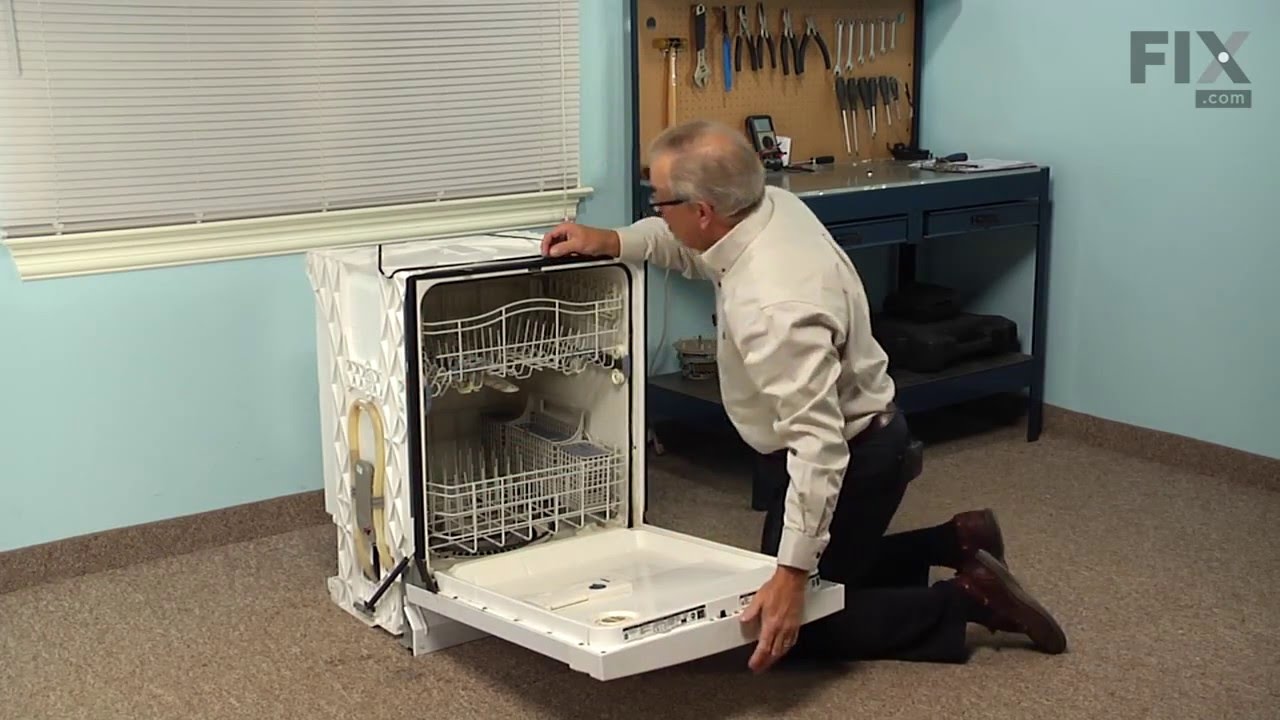
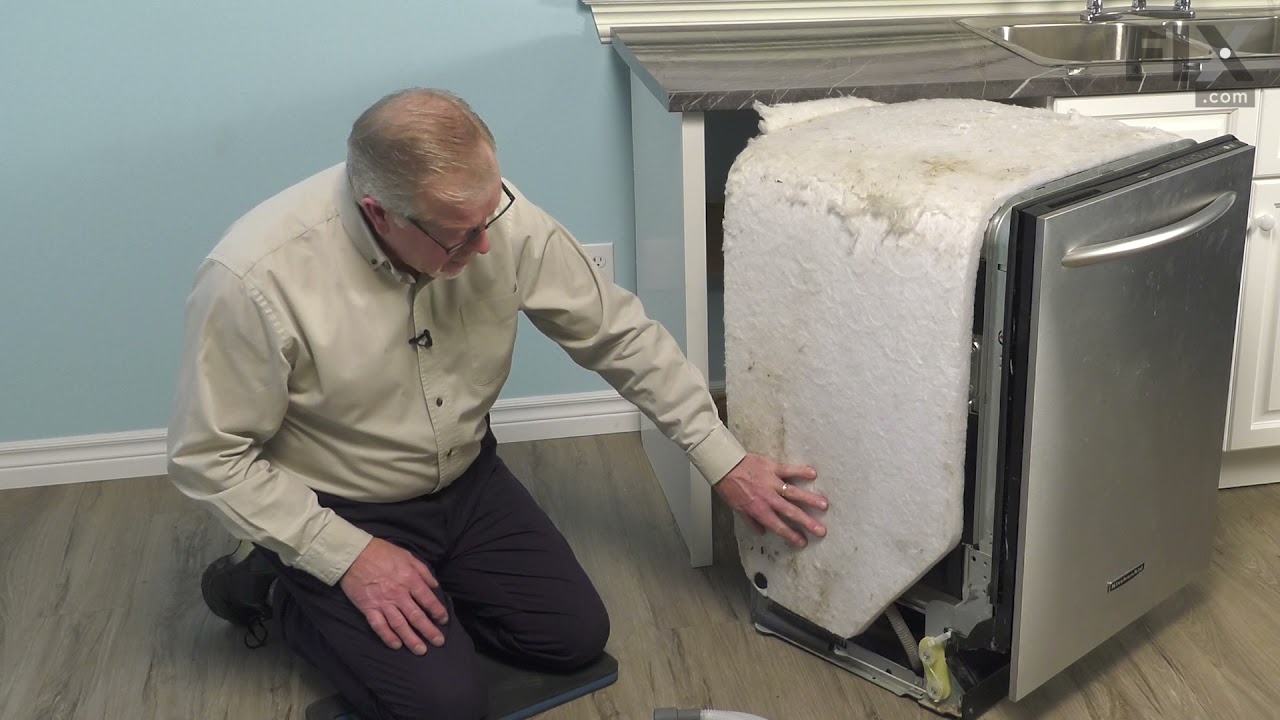
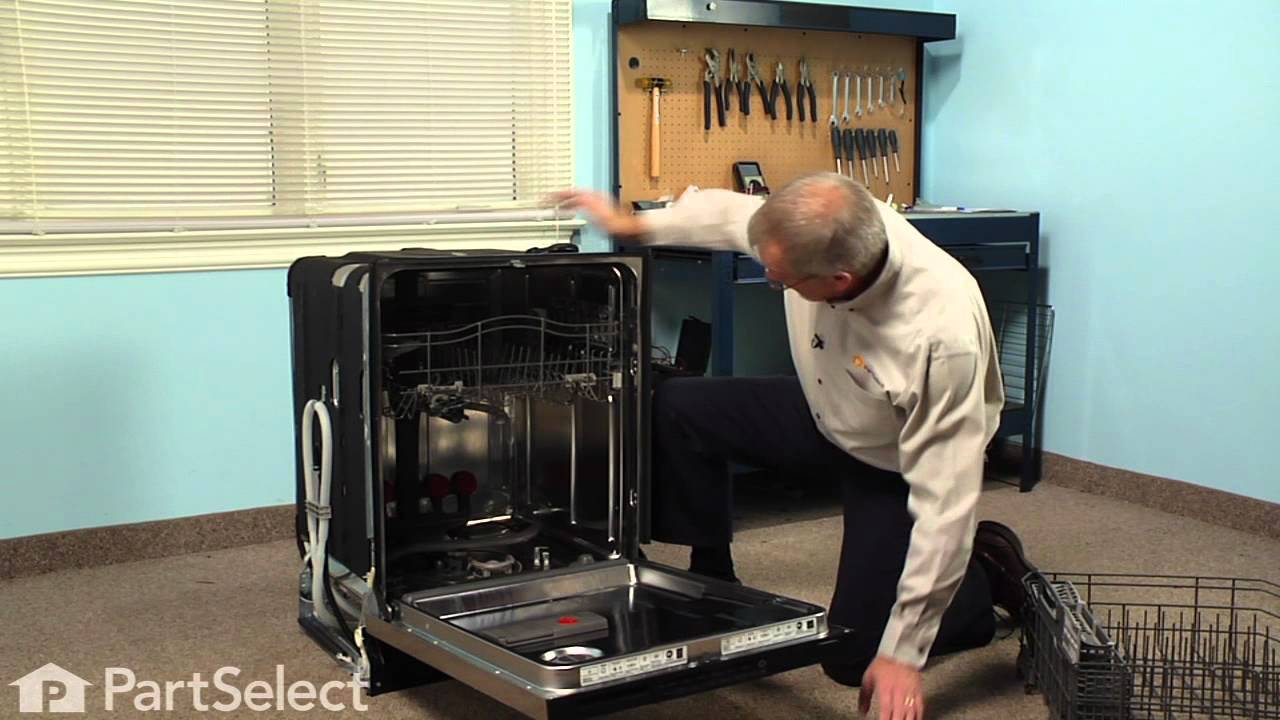
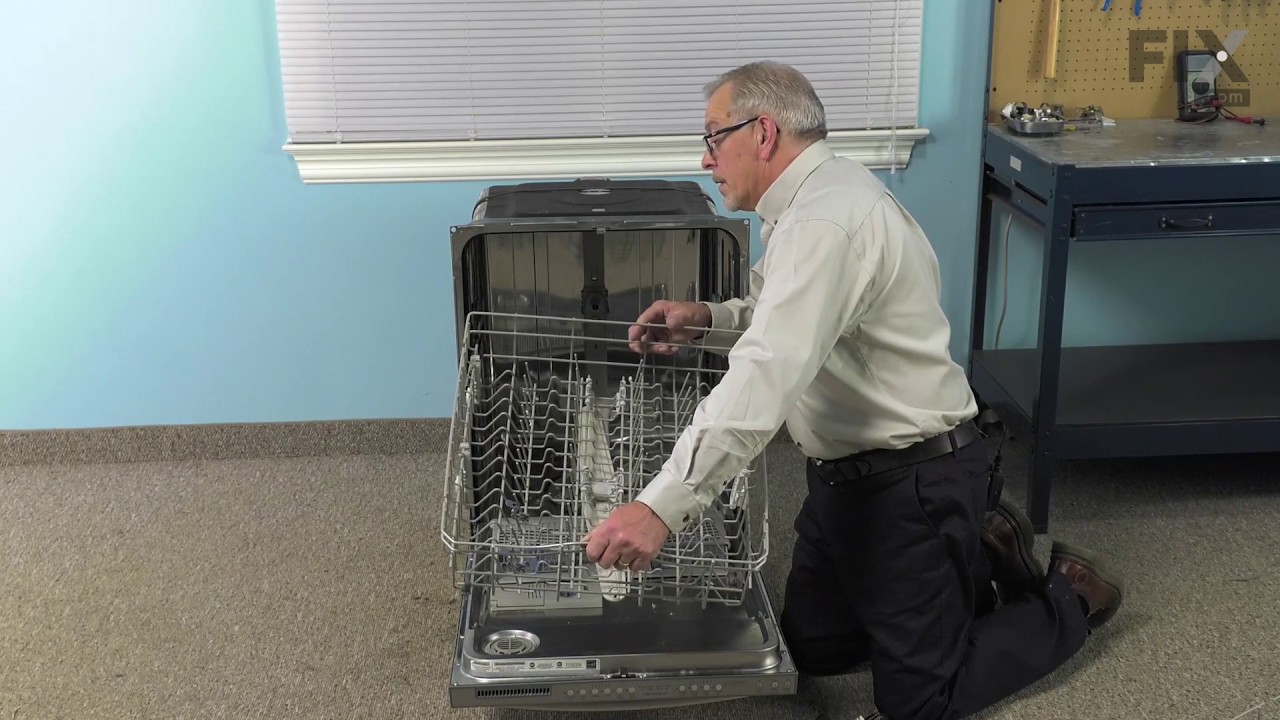
See how others fixed this model. Time, tools, difficulty, and steps that lead to victory!
View More