















Parts That Fix KitchenAid Dishwasher KDFE204ESS1 Leaking
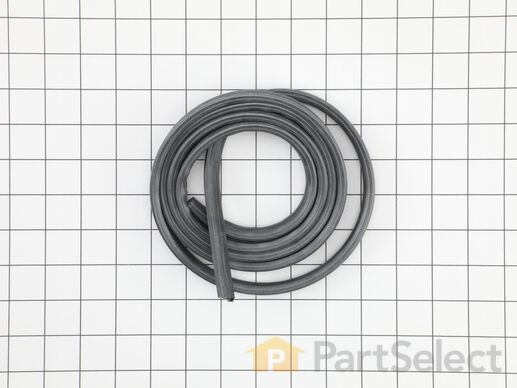
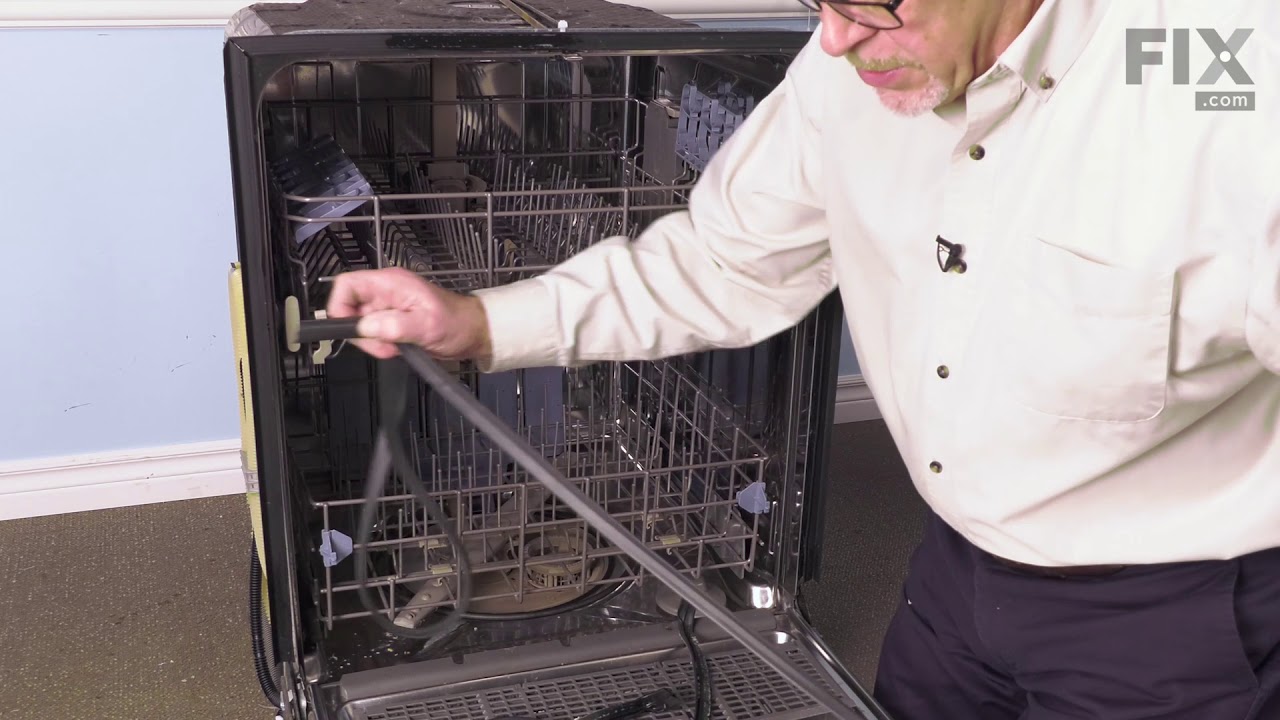
Prevent leaks and maintain optimal cleaning performance with this durable dishwasher door seal. It creates a secure barrier to keep water contained during wash cycles, ensuring reliable operation. Replace by removing the old seal and fitting the new one snugly around the door frame.
Replacing your KitchenAid Dishwasher Dishwasher Door Seal
Customer Repair Stories
-
charles from MAURICE, LA
-
Difficulty Level:Very Easy
-
Total Repair Time:15 - 30 mins
-
Larry from BENICIA, CA
-
Difficulty Level:Really Easy
-
Total Repair Time:30 - 60 mins
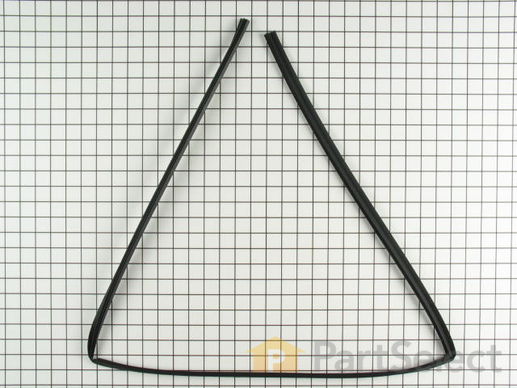
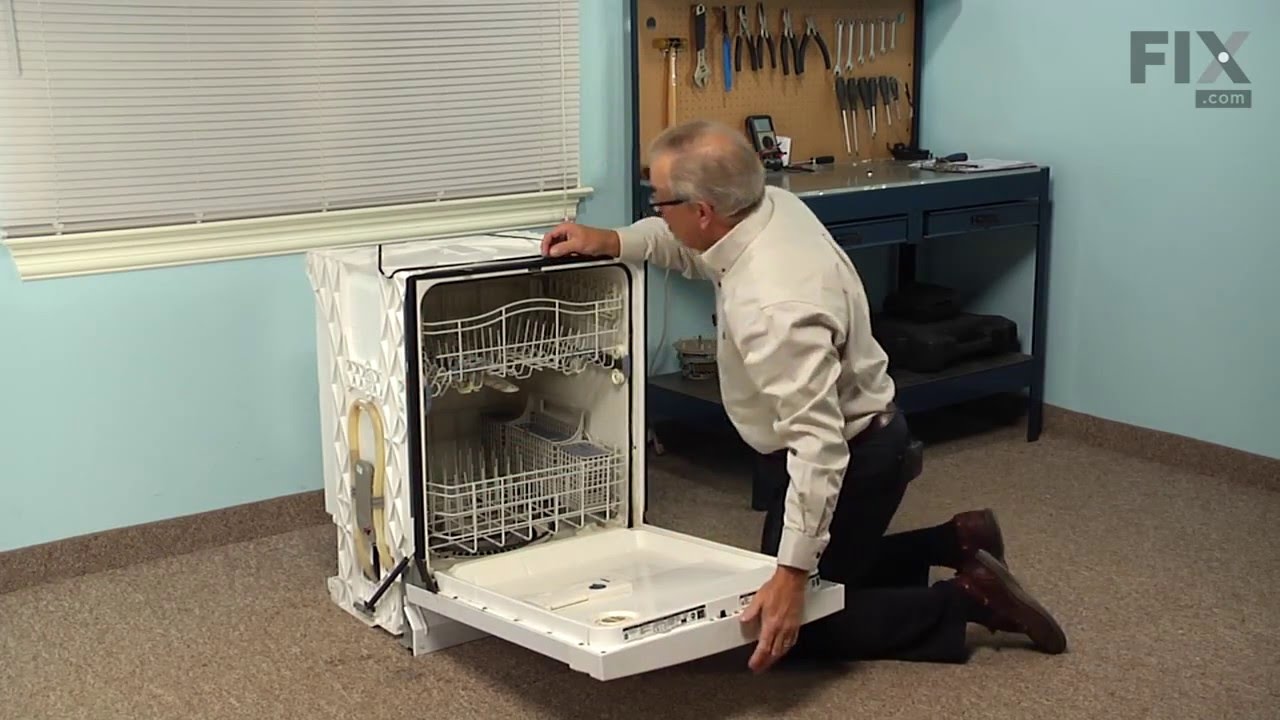
This is a seal, but you may also know it as a door gasket and it is for your dishwasher. The seal forms a watertight barrier between the door and the dishwasher tub, deterring water from escaping during a wash cycle. If your dishwasher is leaking you will need to replace the seal, as it is likely damaged. The first step should be to check the seal for buildup of food particles near the sides and the bottom of your appliance.
Replacing your KitchenAid Dishwasher Seal
Customer Repair Stories
2. Install new seal
-
Charles from WALLBACK, WV
-
Difficulty Level:Really Easy
-
Total Repair Time:30 - 60 mins
-
Charles from ELGIN, IL
-
Difficulty Level:Easy
-
Total Repair Time:30 - 60 mins
-
Tools:Screw drivers
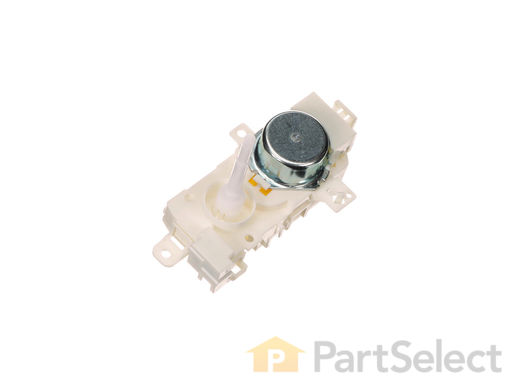
Also know as a diverter valve. This diverter motor is for dishwashers. Diverter motor controls the flow of water to the spray arms. Unplug the dishwasher and shut off the water supply before installing this part. Wear work gloves to protect your hands.
Replacing your Kenmore Dishwasher Motor

Customer Repair Stories
-
John from PERRY, MO
-
Difficulty Level:Very Easy
-
Total Repair Time:15 - 30 mins
-
Tools:Nutdriver, Pliers, Screw drivers
-
Dennis from PORTAGE, MI
-
Difficulty Level:Really Easy
-
Total Repair Time:15 - 30 mins
-
Tools:Nutdriver

This lower door seal ensures a tight seal between the bottom of your dishwasher door and the tub, preventing leaks during operation. It is compatible with various Whirlpool, KitchenAid, Maytag, Jenn-Air, Amana, Inglis, and Magic Chef dishwashers. If water is leaking from the front or bottom of your appliance, replacing this seal can resolve the issue. After installation, close the door for several hours to ensure the seal seats properly for optimal performance.
Customer Repair Stories
-
Paul from HGHLNDS RANCH, CO
-
Difficulty Level:A Bit Difficult
-
Total Repair Time:30 - 60 mins
-
Tools:Nutdriver
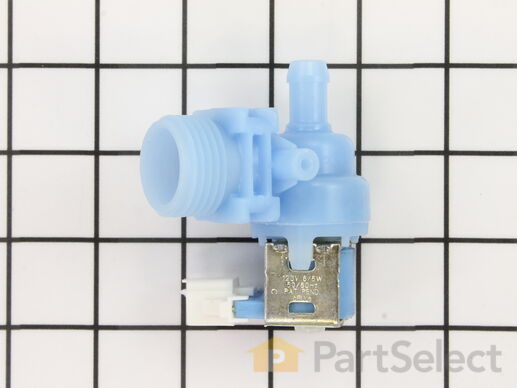
This water inlet valve should be located behind the lower kick plate panel in either the right or left corner. The attaching solenoids on the valve open and close according to the desired amount of water needed.
Replacing your Whirlpool Dishwasher Dishwasher INLET VALVE

Customer Repair Stories
-
Bruce from PHENIX CITY, AL
-
Difficulty Level:Really Easy
-
Total Repair Time:15 - 30 mins
-
Tools:Pliers, Screw drivers, Wrench (Adjustable)
-
Melissa from AIKEN, SC
-
Difficulty Level:Really Easy
-
Total Repair Time:15 - 30 mins
-
Tools:Pliers, Screw drivers
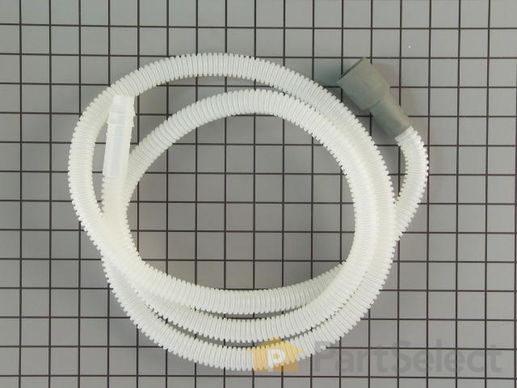
This drain hose is 6 and 1/2 feet.
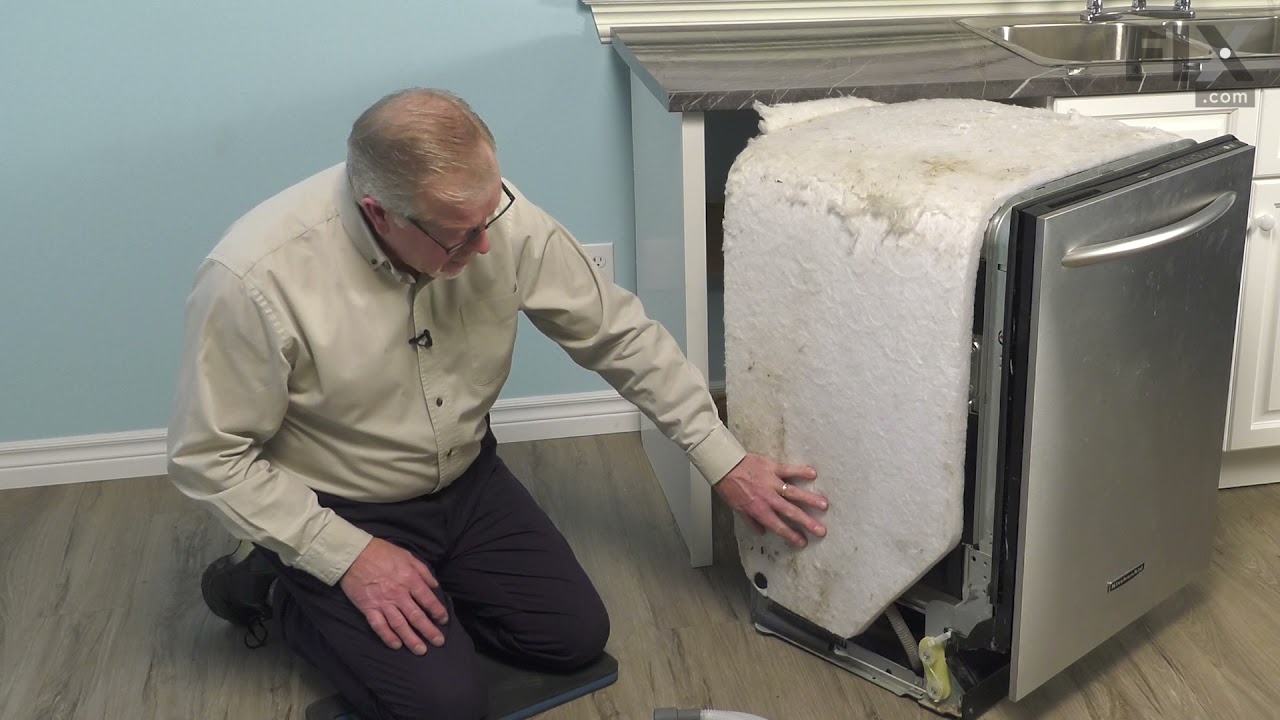
Replacing your Kenmore Dishwasher Drain Hose
Customer Repair Stories
-
Robert from Beaufort, SC
-
Difficulty Level:Easy
-
Total Repair Time:15 - 30 mins
-
Tools:Pliers
-
David from PITTSBURGH, PA
-
Difficulty Level:Easy
-
Total Repair Time:30 - 60 mins
-
Tools:Pliers, Screw drivers, Wrench (Adjustable)

This pump inlet grommet is a genuine OEM replacement part that is compatible with various models of dishwashers. It is made of rubber and has a diameter of approximately 2.5 inches. The grommet is used to create a watertight seal in the area between the inlet hose and the circulation pump. This prevents the dishwasher from leaking, and it also helps to absorb minor shocks and vibrations that occur while the dishwasher is running. It is normal for the grommet to wear down over time or become damaged from exposure to water, heat, and chemicals.
Customer Repair Stories
-
john from SANFORD, NC
-
Difficulty Level:Easy
-
Total Repair Time:30 - 60 mins
-
Tools:Pliers, Screw drivers
-
Monica from PITTSFORD, NY
-
Difficulty Level:Very Difficult
-
Total Repair Time:More than 2 hours
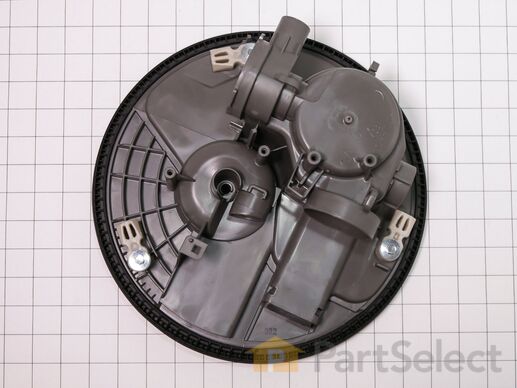
This works in conjunction with the pump and filtration system. It is used to receive drainage for disposal.
Customer Repair Stories
-
Jason from MOLINE, IL
-
Difficulty Level:Really Easy
-
Total Repair Time:30 - 60 mins
-
Tools:Pliers, Screw drivers, Wrench (Adjustable)
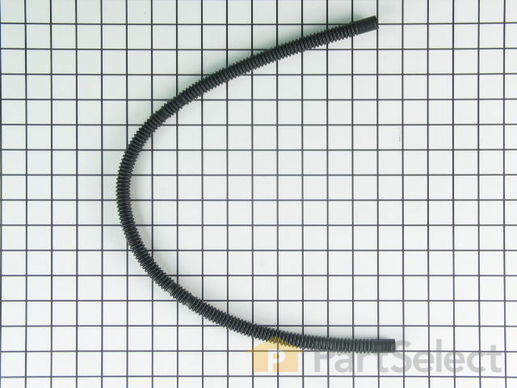
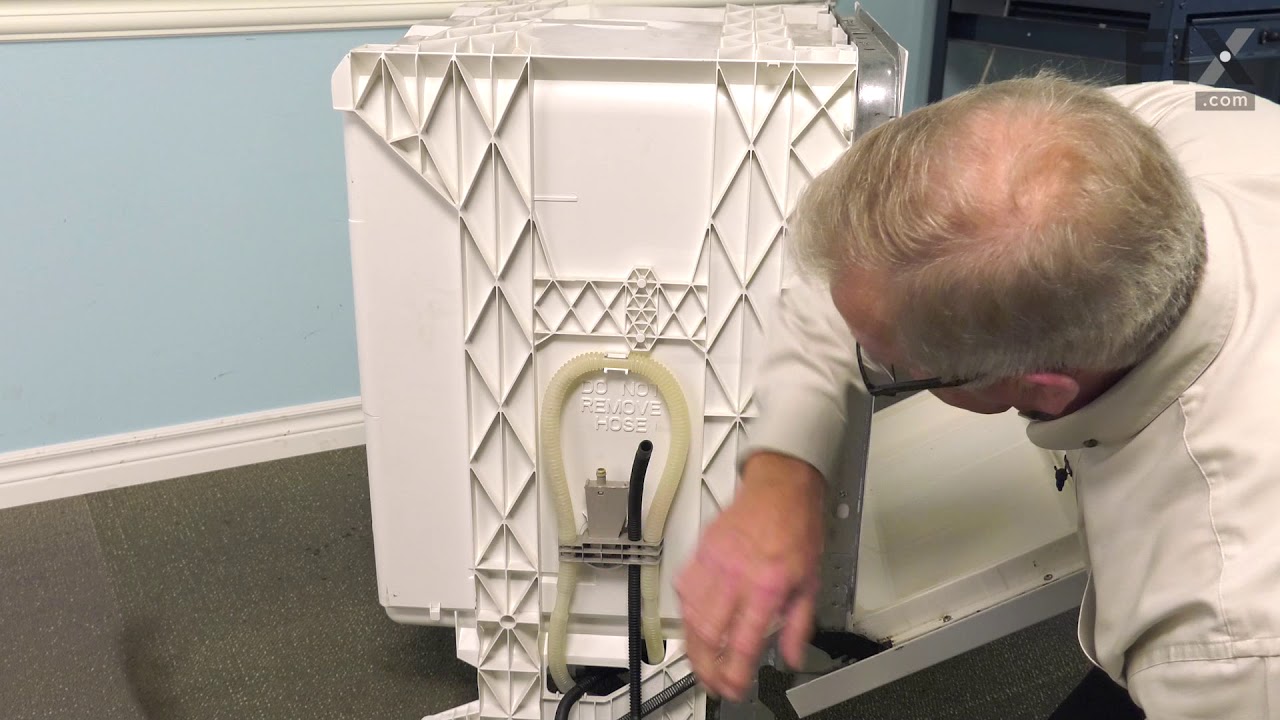
This fill hose is a genuine OEM replacement part for your dishwasher. The hose is made of black plastic, and is accordion-style, for ease of movement within your dishwasher. To replace the fill hose, you will need a 1/4 inch nut driver, Channellock pliers, and a Phillips screwdriver. Replacing this part will require some disassembly, such as removing the water inlet valve from the fill hose, and the clamps which secure the hose in place. Reuse your existing clamps when securing your new fill hose in place.
Replacing your Whirlpool Dishwasher Inlet Fill Hose
Customer Repair Stories
-
Larry from Sarasota, FL
-
Difficulty Level:Easy
-
Total Repair Time:15 - 30 mins
-
Tools:Screw drivers, Wrench (Adjustable)
-
Gordon from Davidsonville, MD
-
Difficulty Level:Really Easy
-
Total Repair Time:Less than 15 mins
-
Tools:Pliers

This hose clamp is used in a wide variety of household appliances. Most often it is found in washers, dishwashers, refrigerators, freezers, dehumidifiers, garbage disposals, or air conditioners. This clamp is used to securely attach a hose to another part of your appliance, which helps prevent leaks from those connections. Depending on the appliance, it can attach hoses to drain pumps, water inlet valves, pressure switches, and injector nozzles. We recommend you refer to model-specific diagrams for appropriate uses and exact placement. This hose clamp is made of metal, and is sold individually. To access and replace this part you will need a nut driver, pliers, and screwdrivers. Before you begin any repair work, make sure you have unplugged your appliance, and shut off the water supply if applicable.
Replacing your Kenmore Washer Washer Hose Clamp


This part is used to drain water from your dishwasher.
Replacing your Whirlpool Dishwasher Dishwasher Drain Hose
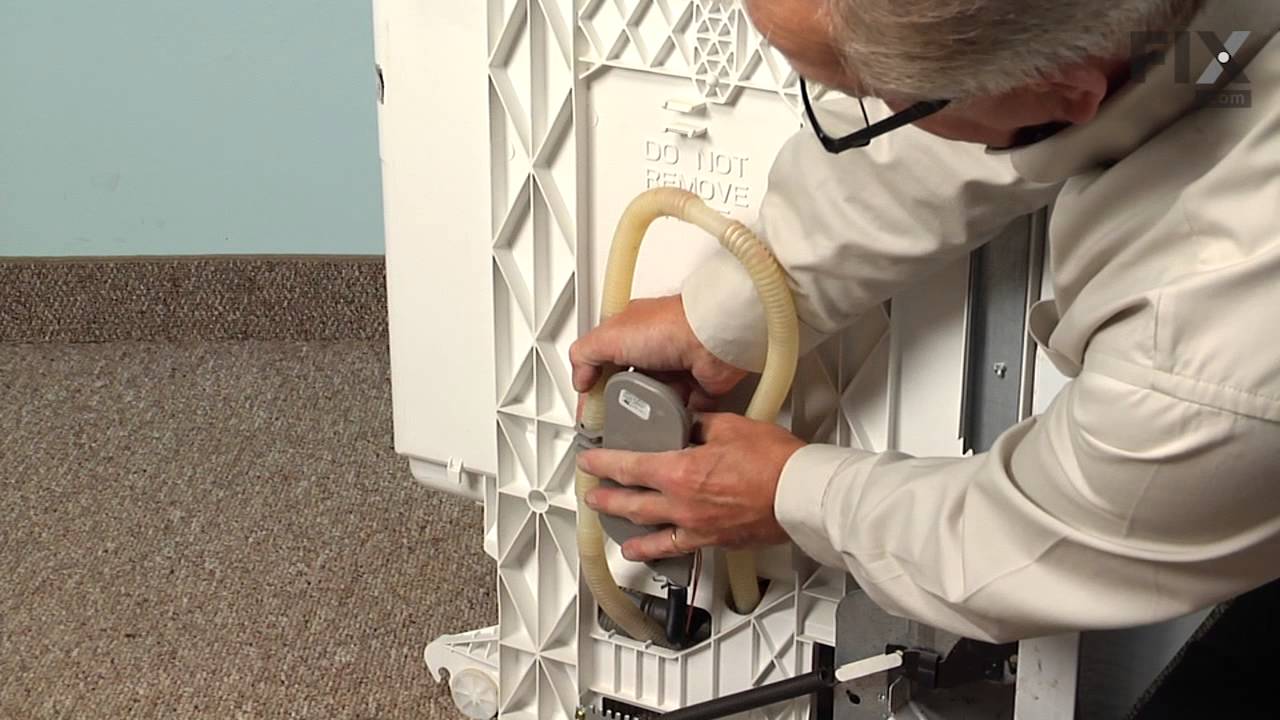
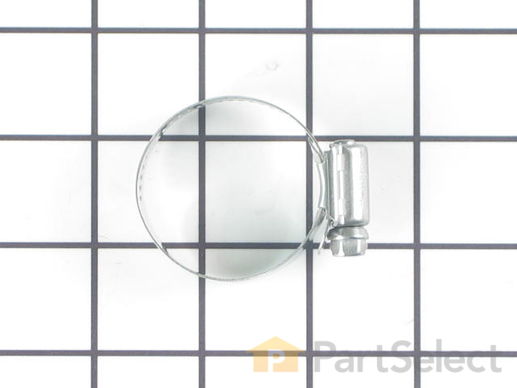
The hose clamp is used to hold the water hose in place which will prevent the hose from leaking water. Sometimes the clamp may lose its ability to latch on, causing a leaking washer. For the installation, you will need a flat head screw driver to replace the clamp and a drill to access the screws to remove the front of the washer. Be careful if you do not have specific clamp pliers as the clamp could fly off. Once the front of the washer has been removed, take a quick look for water damage or any obvious signs of where the leak is coming from. If it is not obvious, run water to test.
Replacing your Kenmore Washer Hose Clamp


This part is also known as a float switch. This float switch, when activated, stops the flow of water into the dishwasher.
Replacing your Whirlpool Dishwasher Dishwasher Overfill Control Switch

Customer Repair Stories
-
TRACEY ANN from BRICK, NJ
-
Difficulty Level:Really Easy
-
Total Repair Time:Less than 15 mins
-
Tools:Pliers
-
Dennis from AUBURNDALE, WI
-
Difficulty Level:Really Easy
-
Total Repair Time:15 - 30 mins

Introducing the Whirlpool Dishwasher Pump Hose, a genuine OEM part designed for use in some models of Whirlpool, KitchenAid, Maytag, Jenn-Air, Amana, Inglis, and Magic Chef dishwashers. This crucial component takes on the task of supplying water between the circulation pump and the sump within your machine. Artfully engineered to hold up to demanding usage, this hose provides a durable, quality connection that helps your dishwasher function at its best. As a gentle reminder, do ensure the accuracy of your model before placing an order as part sizes may slightly vary. For installation, remember to disconnect the power and don work gloves for protection. Trust in the reliability of Whirlpool with this Dishwasher Pump Hose.
Replacing your Whirlpool Dishwasher Dishwasher Hose

Customer Repair Stories
-
Christopher from Delaware City, DE
-
Difficulty Level:Easy
-
Total Repair Time:15 - 30 mins
-
Tools:Nutdriver
also checked for rat entry points, plugged those and put down bait - bait wasn't being taken under dishwasher even tho rat reappeared so put a snap trap in back - no luck so far - teachable moment: might have been cheaper to just get another dishwasher as parts are expensive and its difficult to tell extent of damage - luckily i only needed 3 parts = $150
-
sharon from LAS VEGAS, NV
-
Difficulty Level:Easy
-
Total Repair Time:1- 2 hours
-
Tools:Pliers, Screw drivers

Also known as a washer.
Replacing your KitchenAid Dishwasher Dishwasher Gasket
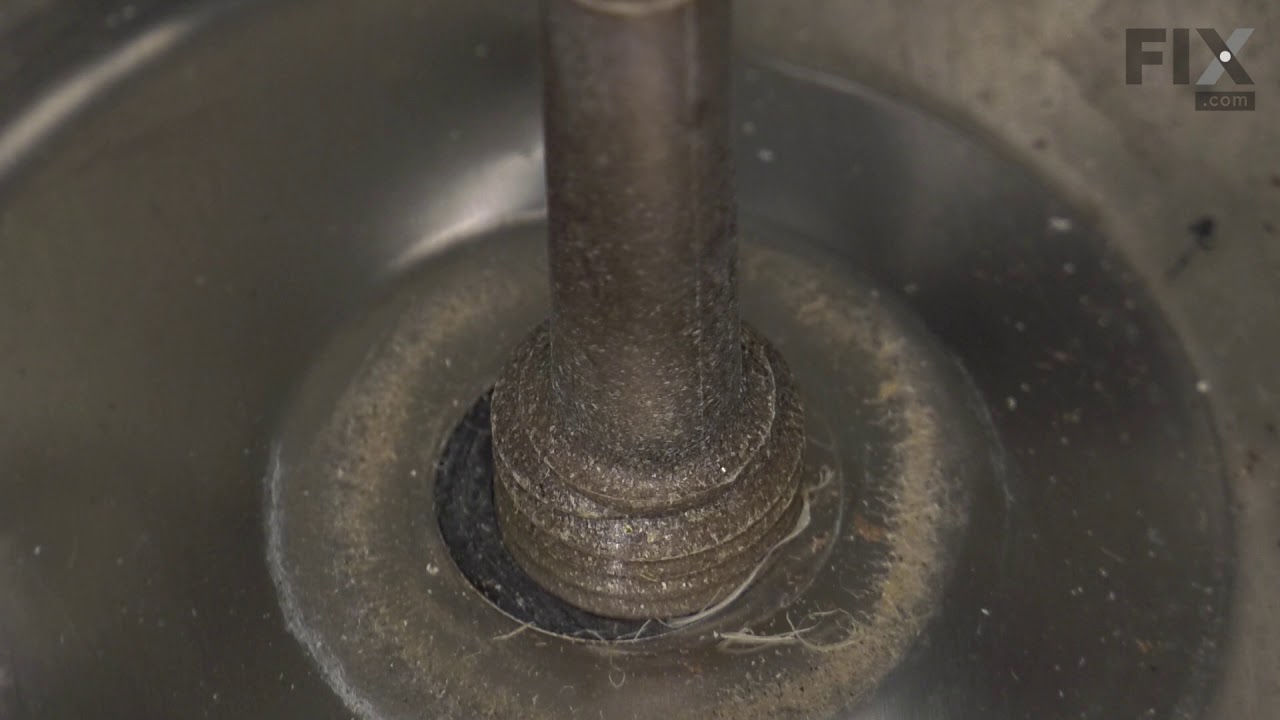
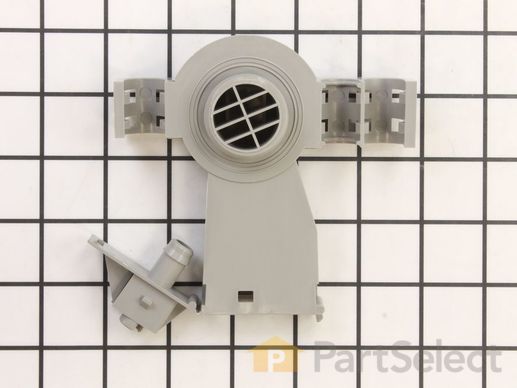
This is connected to the water valve, is located on the side of your tub and allows water to enter your dishwasher. ***Note: This part does not include the inlet gasket - must order separately.
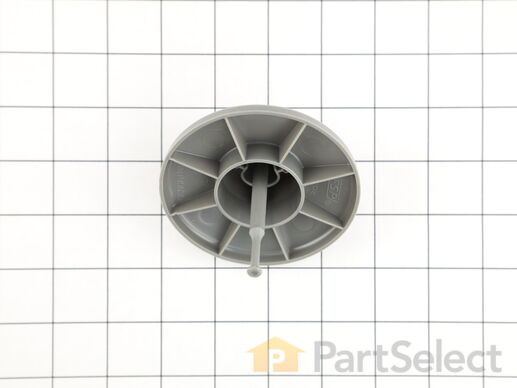
This dishwasher water level float helps monitor and regulate the amount of water inside the tub to prevent overfilling during operation. Made from durable black plastic, the float rises with the water level and activates a safety switch to stop water flow once the correct level is reached, supporting proper wash performance and protecting the appliance from leaks or overflow. Replacing a worn or stuck float can resolve issues such as overfilling, underfilling, or cycle interruptions. Installation typically involves removing the lower rack and securing the float in its designated opening, ensuring it moves freely before reassembling the dishwasher.
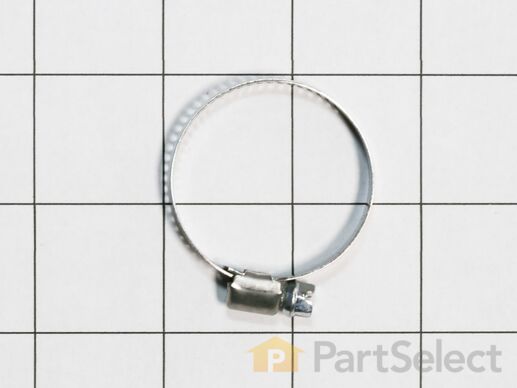
Introducing the Whirlpool Hose Clamp, designed with both quality and efficiency in mind. This genuine OEM part plays an essential role in your dishwasher's functionality. Applied to hold the end of the water hose securely, it effectively prevents any potential leaks. It's essential to disconnect the water supply and electricity and use appropriate hand protection before installation. This versatile clamp works seamlessly with Whirlpool, KitchenAid, Maytag, Jenn-Air, Amana, Inglis, and Magic Chef models. Ensure the part number corresponds with your appliance model prior to purchase, as small variances in shape and size may occur.
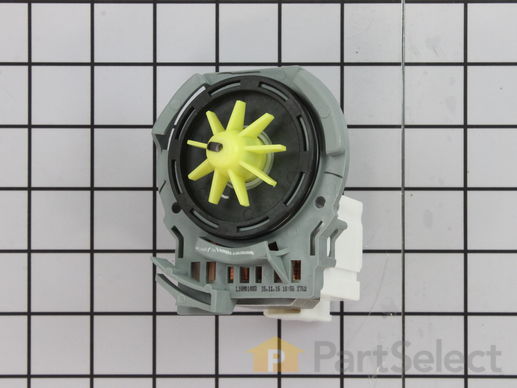
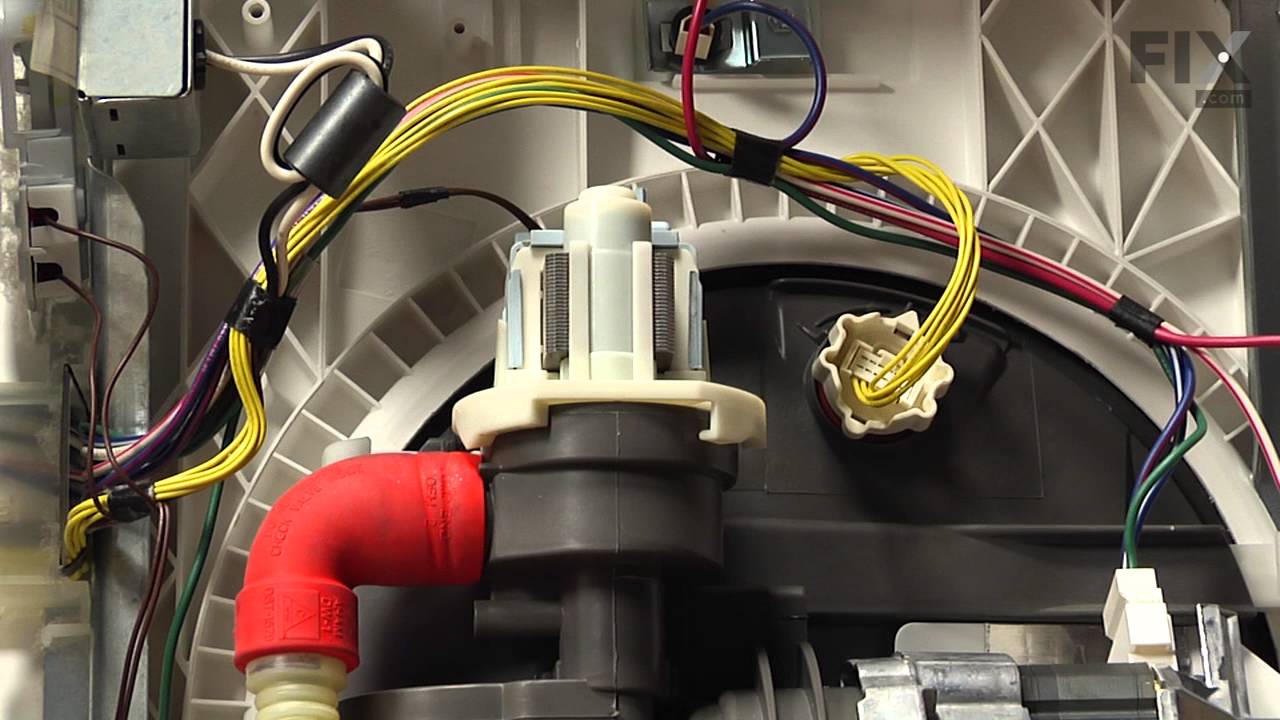
This drain pump is used in dishwashers to remove water from the dishwasher tub. If the impeller in the dishwasher is damaged or the motor has been shorted out and will not drain, it is possible the body is cracked, causing leakage. To prevent this from happening, replace the drain pump. The tools needed for this installation are: Phillips screwdriver, 5/16 inch nut driver, 5/8 inch wrench, and a flathead screwdriver. Remember to unplug your dishwasher from the power source before beginning this installation project. Refer to the manual provided by the manufacturer for further installation instructions.
Replacing your Whirlpool Dishwasher Dishwasher Drain Pump
Customer Repair Stories
-
WILLIAM from MCKEES ROCKS, PA
-
Difficulty Level:Very Easy
-
Total Repair Time:15 - 30 mins
-
Tools:Pliers, Screw drivers
First remove the water from the dishwasher pan that would not drain with a wet/dry vac. Otherwise the water will all drain on the floor when you remove the pump. Then remove the two screws on the kickplate on the front of the unit below the door. Remove the kickplate/maintainence access cover. The drain pump is on the right about 8 inches in. Using two hands you grasp the drain pump with your right hand and use the left hand to push the retaining clip down. Then the drain pump will rotate 1/4 turn counterclockwise and can be removed without pulling the dishwasher out. There is likely to be some water leak out that was traped in the pump housing that you can not reach with the vac. Disconnect the wire. Connect the wire to the new pump, put it in place and 1/4 turn clockwise to install it. Replace the kickplate and you're done.
-
Andrew from Alexandria, VA
-
Difficulty Level:Easy
-
Total Repair Time:Less than 15 mins
-
Tools:Screw drivers
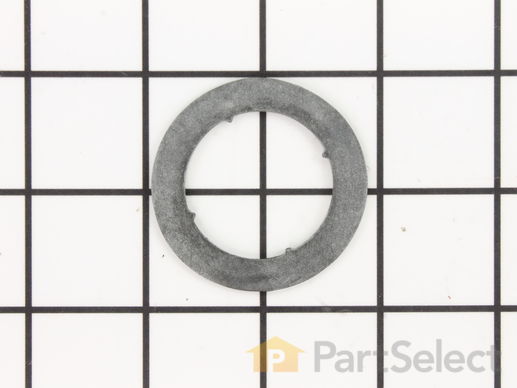
Water inlet gasket WP8531323 is a water inlet gasket for dishwashers. It ensures a watertight seal at the point where water enters the tub, preventing leaks and maintaining efficient water flow during the wash cycle.
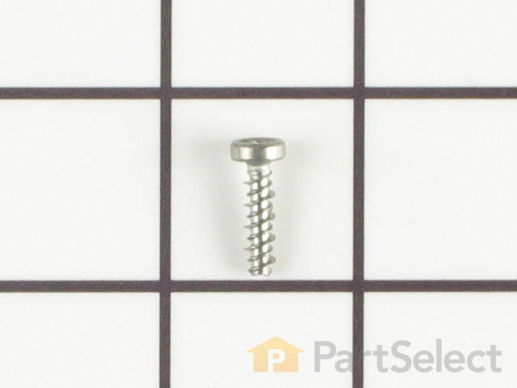
Sold individually.
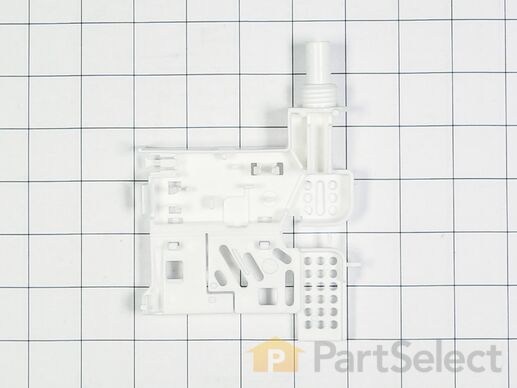
Are you looking to bring your GE oven back to its best performance? Take a look at our GE Oven Door Gasket, the perfect solution to your cooking troubles. This important component creates a tight seal around your oven door, securing the heat inside. By doing so, it ensures that your oven works at peak efficiency, resulting in your meals being cooked to perfection every time. What's great about this door gasket is that it?s made specifically for GE appliances. This certainly means fewer worries about fitting issues and compatibility. Just make sure the oven surface is cool before you begin the easy installation process. By taking care, you'll keep your oven in perfect shape and continue to cook up delicious meals for the whole family. So, don't let a worn-out part keep you from enjoying your cooking. Get your GE Oven Door Gasket today and experience the joy of a well-functioning appliance again.
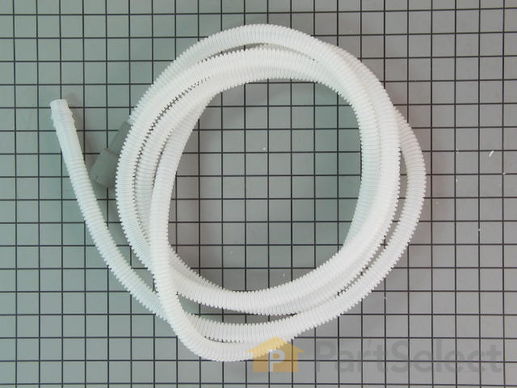
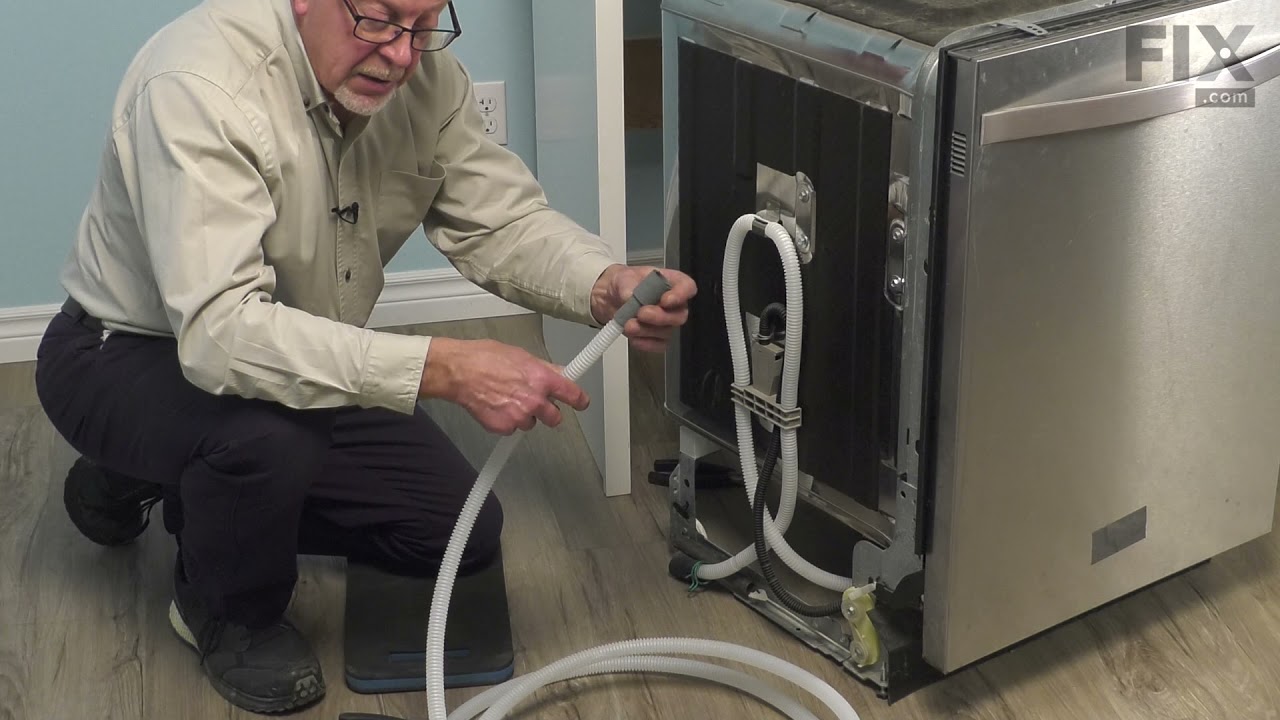
This is a flexible drain hose that is 12 feet long.
Replacing your Whirlpool Dishwasher Drain Hose
Customer Repair Stories
-
Maxie from Bridge City, TX
-
Difficulty Level:Really Easy
-
Total Repair Time:30 - 60 mins
-
Tools:Pliers, Screw drivers, Wrench set
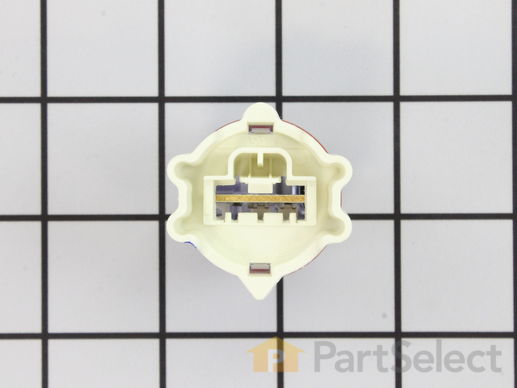
Measures level of soil in the water.
Replacing your KitchenAid Dishwasher Dishwasher Turbidity Sensor

Customer Repair Stories
-
Mark from Lancaster, NY
-
Difficulty Level:Easy
-
Total Repair Time:15 - 30 mins
-
Tools:Screw drivers
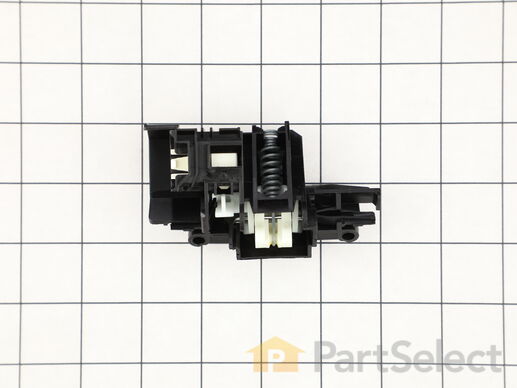
This is a door latch for various dishwashers. Door latches are designed to communicate with the control board of the dishwasher when the door is closed and latched shut. If your dishwasher is not latching shut properly, or if your dishwasher will not start when the door is shut, then this latch is likely broken or bad. To replace this door latch, you will need a screwdriver or drill, and a set of pliers. This latch is sold individually, and does not come with any securing screws or other parts.
Replacing your Whirlpool Dishwasher Door Latch - Black
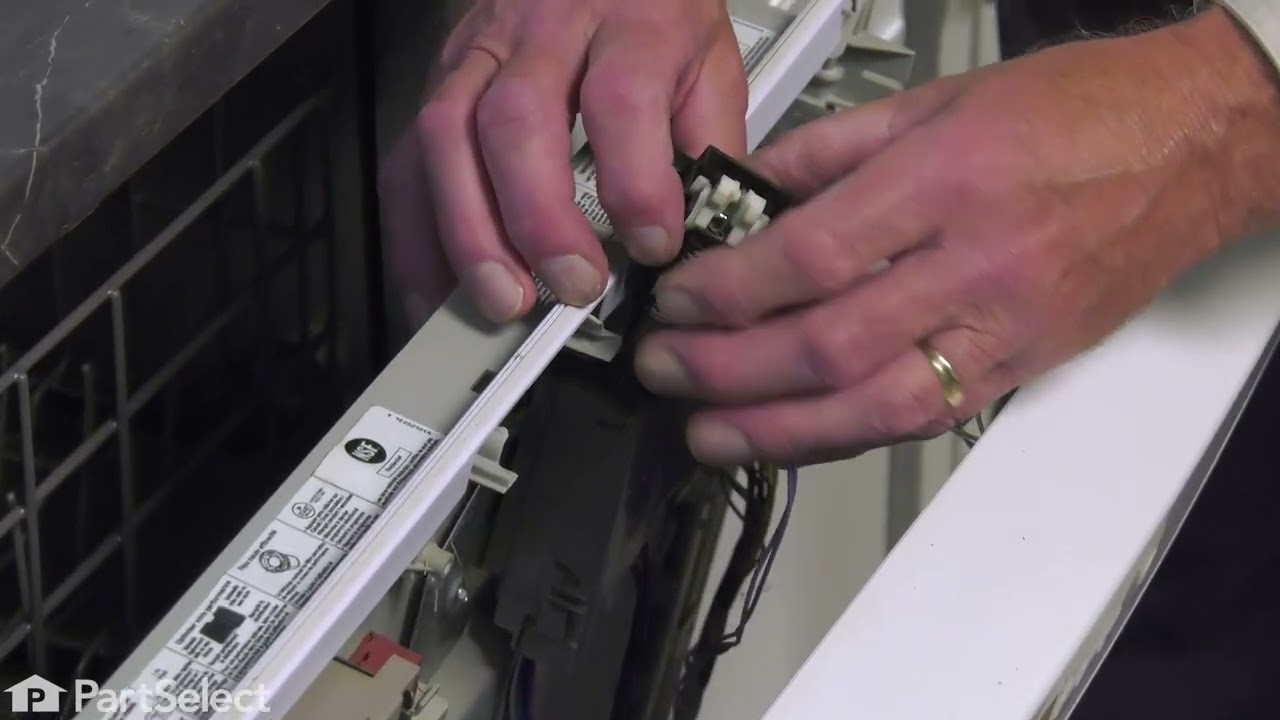
Customer Repair Stories
-
Colin from Goffstown, NH
-
Difficulty Level:Easy
-
Total Repair Time:30 - 60 mins
-
Tools:Screw drivers
-
RONALD from PRESCOTT, AZ
-
Difficulty Level:Really Easy
-
Total Repair Time:30 - 60 mins
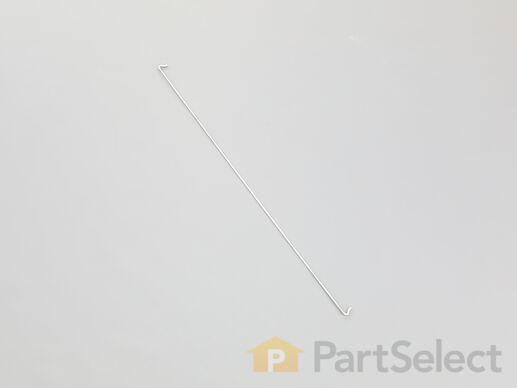
Introducing the Whirlpool Dishwasher Door Brace, a genuine Whirlpool part designed to notably enhance the performance of your dishwasher. This durable brace, specially engineered to replace the flat panel vapor barrier, has been crafted with a rod to keep the hinges straight, ensuring better alignment and longevity of your dishwasher door. This component assists in reinforcing the rear of your dishwasher tub, adding to the overall structural integrity. Designed for easy installation, you'll want to disconnect power and shut off the water supply before beginning to ensure a safe process. It's recommended to verify the correct part for your enterprise model before acquisition. Turn to Whirlpool's trusted reliability for this exceptional dishwasher door brace to keep your unit running smoothly.
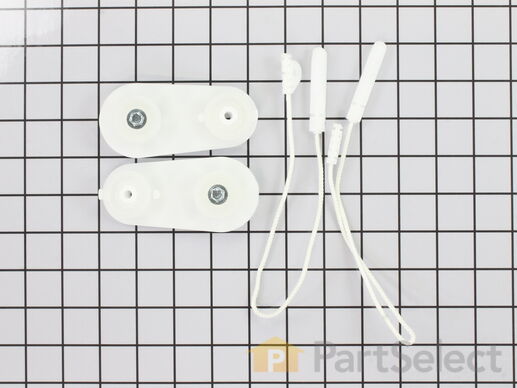
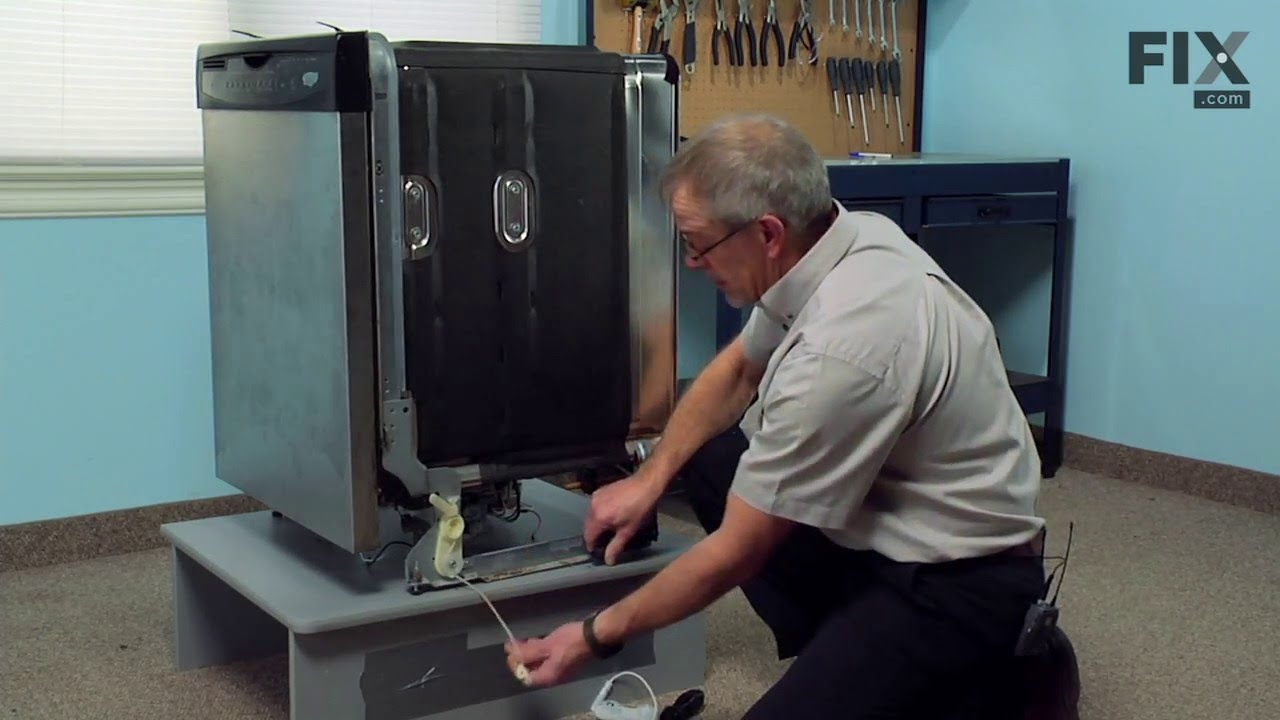
This part is a door balance link kit, also sometimes known as door cable or door spring cable kit, that helps support the door as it opens and closes by connecting to the dishwasher door hinges. The kit includes two door balance links and two door balance mounts with wheels, which will replace both the left and right sides. The only tool needed is a 5/16 nut driver. Before removing the existing kit, take note of how the door balance link kit is assembled for a smooth replacement process. It is recommended to check the door springs in case they need to be replaced as well.
Replacing your KitchenAid Dishwasher Door Balance Link Kit
Customer Repair Stories
2. Remove the kick plate under the door. May have to lower unit by turning the feet using the adjustable wrench.
3. Make sure you have enough slack in the water i ... Read more nput line and electrical wiring that you can pull the dishwasher out about 12 inches or more.
4. There is a spring and nylon rope link on both sides of the unit. Probably just one link is broken, but the replacement comes with two, so you can replace both or save one as a spare. Look at the good side and it should be pretty self explanatory how it attaches. I found it easiest to first thread the link around the lower pulley, then attach the link to the spring, then spring to the rear support, then the link to the door.
5. Reverse (2 to 1) to reinstall the dishwasher.
-
Sean from Ramona, CA
-
Difficulty Level:Easy
-
Total Repair Time:15 - 30 mins
-
Tools:Screw drivers, Wrench (Adjustable)
-
Scott from Fort Lauderdale, FL
-
Difficulty Level:Easy
-
Total Repair Time:Less than 15 mins
-
Tools:Screw drivers
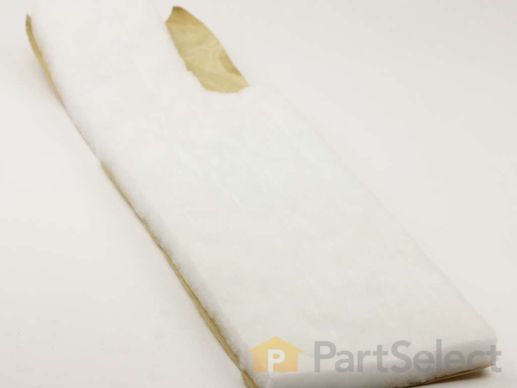
Shield
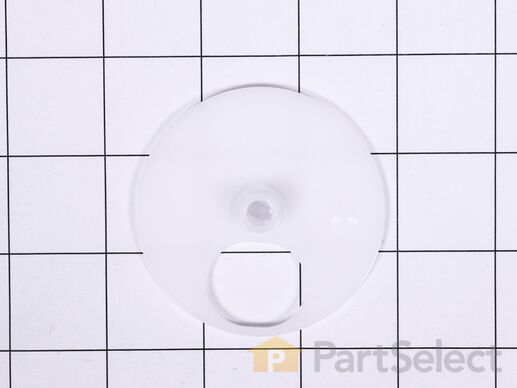
Replacing your Kenmore Dishwasher Diffuser


This sump cap cover protects the dishwasher’s pump area by keeping debris out and helping maintain proper water flow for effective cleaning. It’s a quick, reliable replacement when you’re experiencing issues like leaks or poor wash performance, and it installs easily on select models. Be sure to check your dishwasher’s model details before purchasing to ensure the right fit.
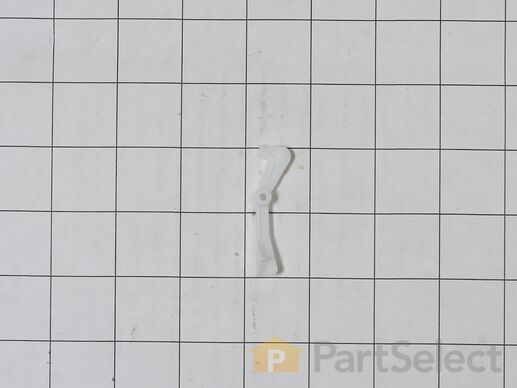
Replacing your Whirlpool Dishwasher Lever
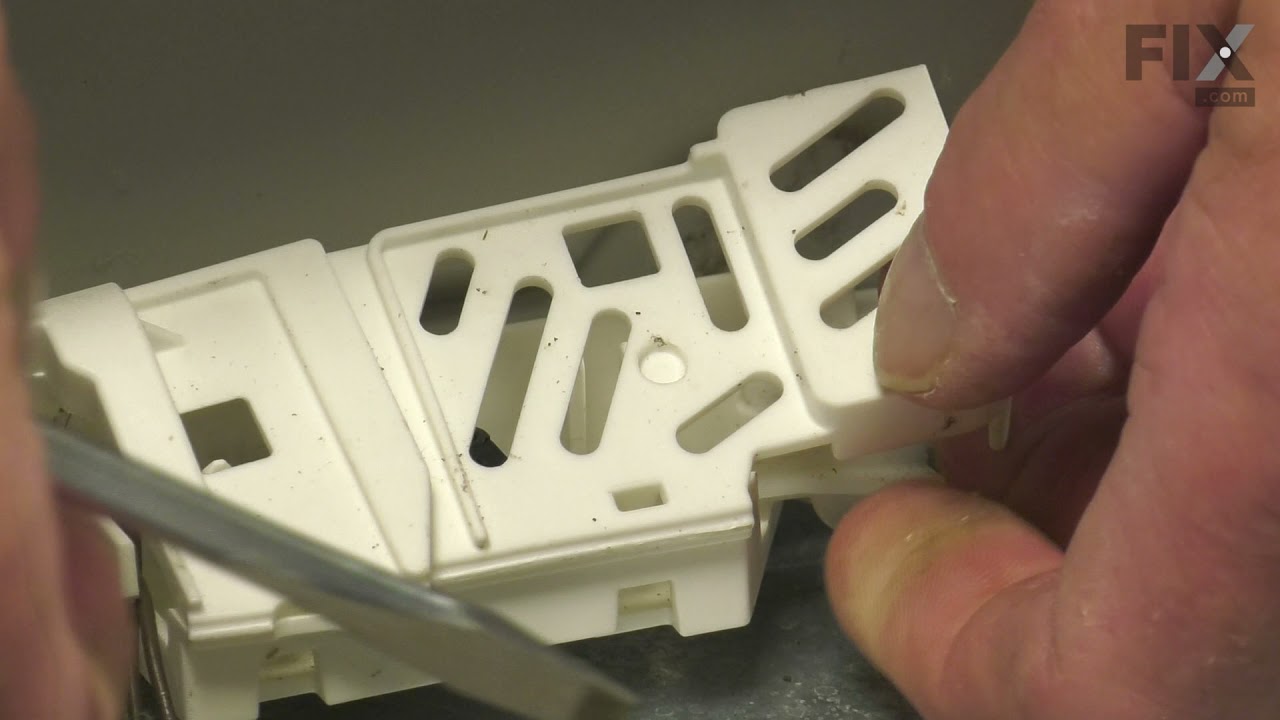
Customer Repair Stories
-
Jolene from CINCINNATI, OH
-
Difficulty Level:A Bit Difficult
-
Total Repair Time:30 - 60 mins
-
Tools:Screw drivers
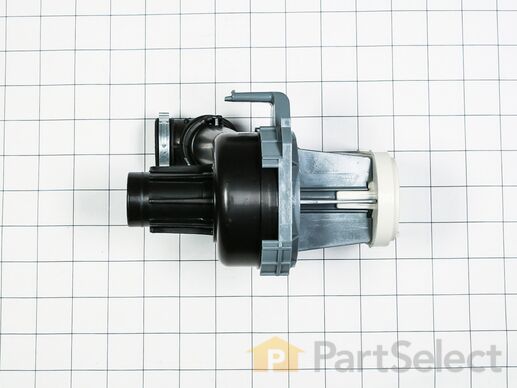
This circulation pump and motor assembly is a genuine replacement component designed to deliver high-pressure water flow through the spray arms during the wash cycle. Positioned at the heart of the dishwasher’s cleaning system, it ensures thorough rinsing and effective soil removal. Unlike the drain pump, this assembly is responsible for circulating water, not expelling it. Common symptoms of a failing pump include poor cleaning performance, unusual noises, incomplete cycles, water leakage, or failure to fill. Compatible with select Whirlpool dishwashers, this OEM part meets strict quality standards for durability and performance. Installation should be performed with the appliance unplugged, and model compatibility must be verified prior to purchase.
Replacing your Kenmore Dishwasher Motor Pump
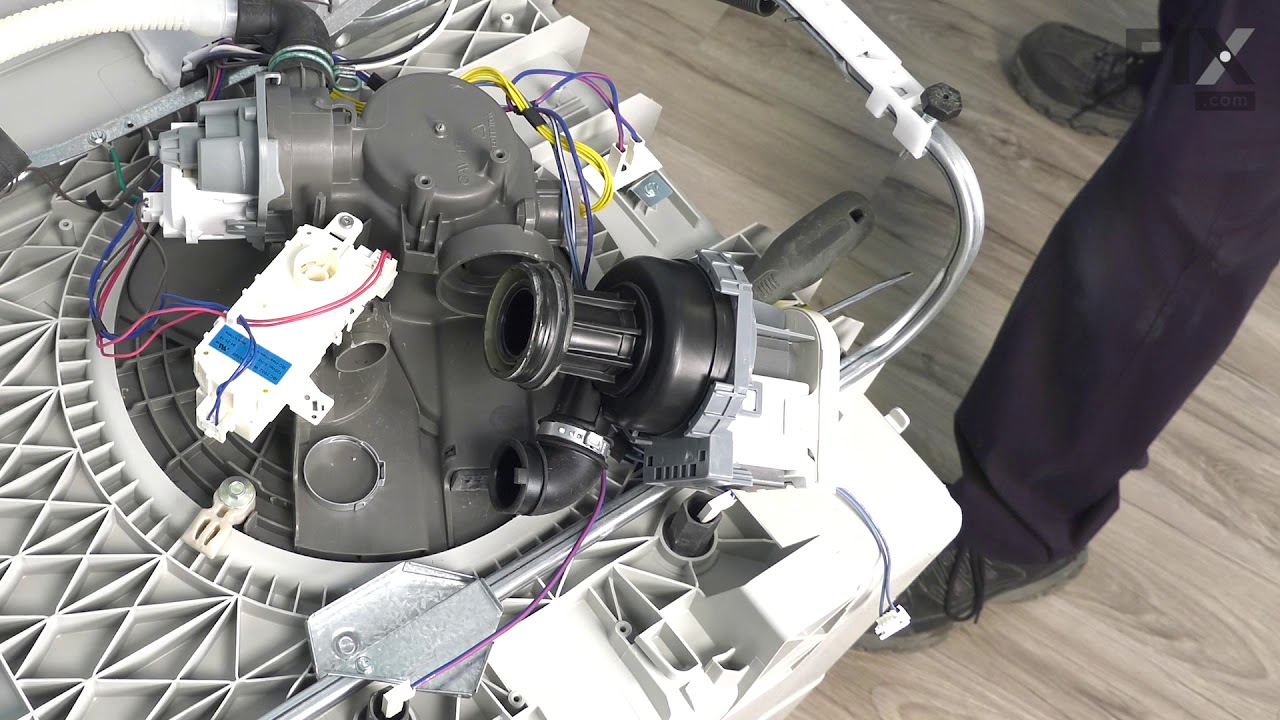
Customer Repair Stories
-
Bruce from Sultan, WA
-
Difficulty Level:A Bit Difficult
-
Total Repair Time:1- 2 hours
-
Tools:Nutdriver, Pliers, Screw drivers, Socket set
-
christopher from MOSES LAKE, WA
-
Difficulty Level:Very Easy
-
Total Repair Time:30 - 60 mins
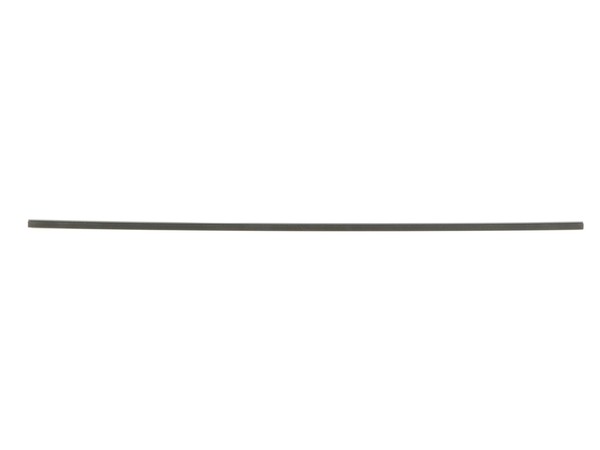
This seal helps create a tight barrier to maintain proper temperature and prevent heat loss during appliance operation. Replacing a worn or damaged seal can improve efficiency and support consistent performance by ensuring the door closes securely.
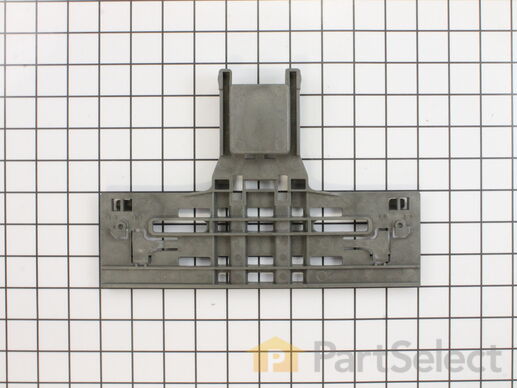
This OEM Dishwasher Upper Rack Adjuster is a grayish-black, plastic part which will require a screwdriver to install. It fits onto the dishwasher rack and connects it to the track allowing it to slide in and out. If broken then the rack will no longer slide properly, and the part must be replaced. The installation has been rated as "easy" by customers. Before beginning any repair, you should unplug the dishwasher and wear gloves to protect your hands. Check your model number and user manual to see if this part is right for you! Your dishwasher should have a left and right upper rack adjuster, and both are the same part. These parts are sold individually, so if you are looking to replace both, you will need to order two parts.
Customer Repair Stories
-
Arthur from GLENSIDE, PA
-
Difficulty Level:Easy
-
Total Repair Time:30 - 60 mins
-
Tools:Screw drivers
I watched the video that Part Select provided and it made the job so much easier than if the new part had been sent with a b ... Read more ooklet of diagrams and written instructions. The video showed exactly how to dismantle the old part and then install the new part. It was also helpful to compare the part I was working with to the same part on the other side of the rack so that I knew for sure that I had it positioned correctly.
The part and shipping cost about $70. It would have cost more than 3 times as much if I had to call a repairman.
-
Lynn from DUVALL, WA
-
Difficulty Level:Easy
-
Total Repair Time:30 - 60 mins
-
Tools:Screw drivers
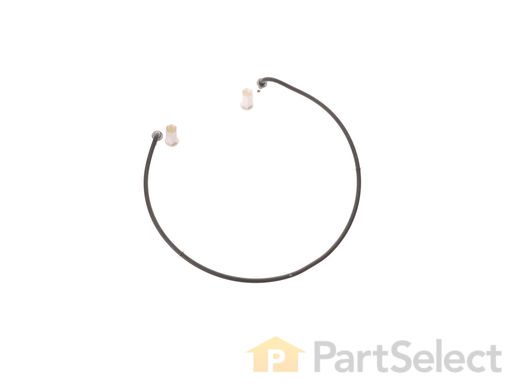
The heating element is not designed to heat the water that enters it, but is designed to maintain the heat of the water that enters the dishwasher. It is located on the bottom of the dishwasher.
Replacing your KitchenAid Dishwasher Dishwasher Heating Element
Customer Repair Stories
-
Matthew from CHATHAM, VA
-
Difficulty Level:Really Easy
-
Total Repair Time:30 - 60 mins
-
Tools:Wrench set
-
Dewey from UNIONTOWN, AL
-
Difficulty Level:Really Easy
-
Total Repair Time:30 - 60 mins
-
Tools:Pliers

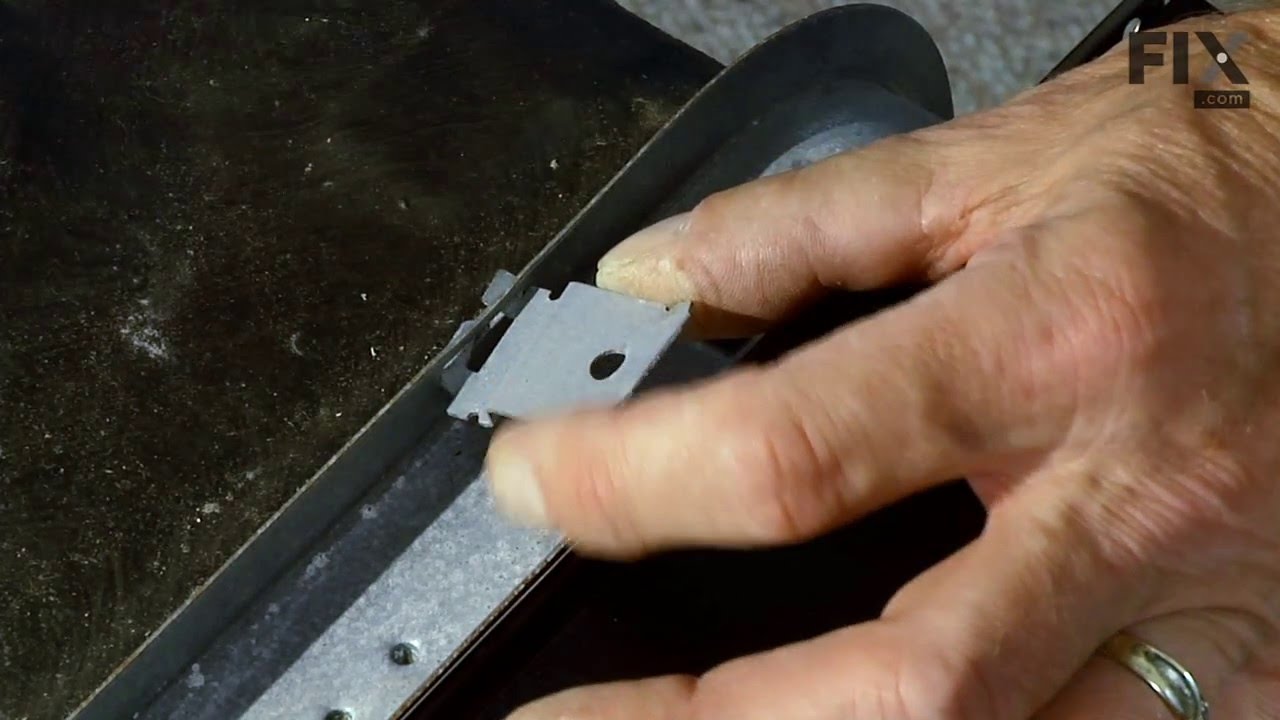
The mounting bracket is sold individually, without screws. This part secures the upper side of the dishwasher to the underside of the counter or cabinet to prevent the dishwasher from moving, shaking, or tilting forward. The bracket is made entirely of metal. It is recommended to check all brackets, if applicable, because they often wear at the same rate and both may need to be replaced. This is an OEM part that is sourced from the authentic manufacturer. Tools needed are a pair of needle nose pliers and a screwdriver.
Replacing your Whirlpool Dishwasher Dishwasher Mounting Bracket
Customer Repair Stories
-
Roy from HIGGINSVILLE, MO
-
Difficulty Level:Really Easy
-
Total Repair Time:15 - 30 mins
-
Tools:Screw drivers
-
Judith from Essex, MA
-
Difficulty Level:Easy
-
Total Repair Time:15 - 30 mins
-
Tools:Screw drivers
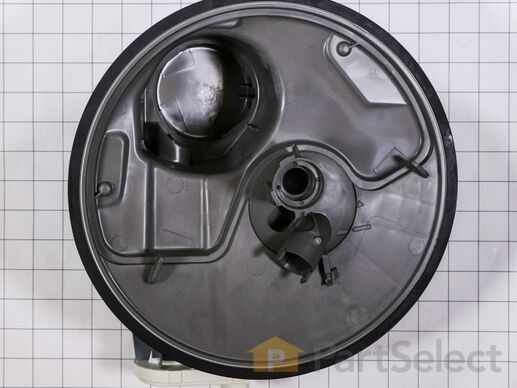
This dishwasher pump and motor assembly is a vital component that powers water circulation during wash and rinse cycles. It draws water from the sump and distributes it through the spray arms to ensure thorough cleaning. Additionally, it plays a key role in draining water at the end of each cycle. If your dishwasher is struggling to clean dishes properly, draining slowly, or making unusual noises, replacing this part may restore optimal performance. Installation typically involves accessing the lower portion of the appliance and disconnecting the old assembly before securing the new one.
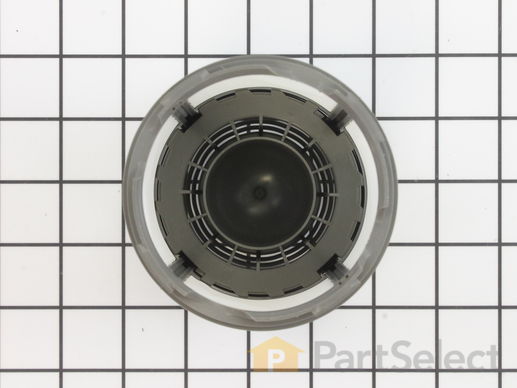
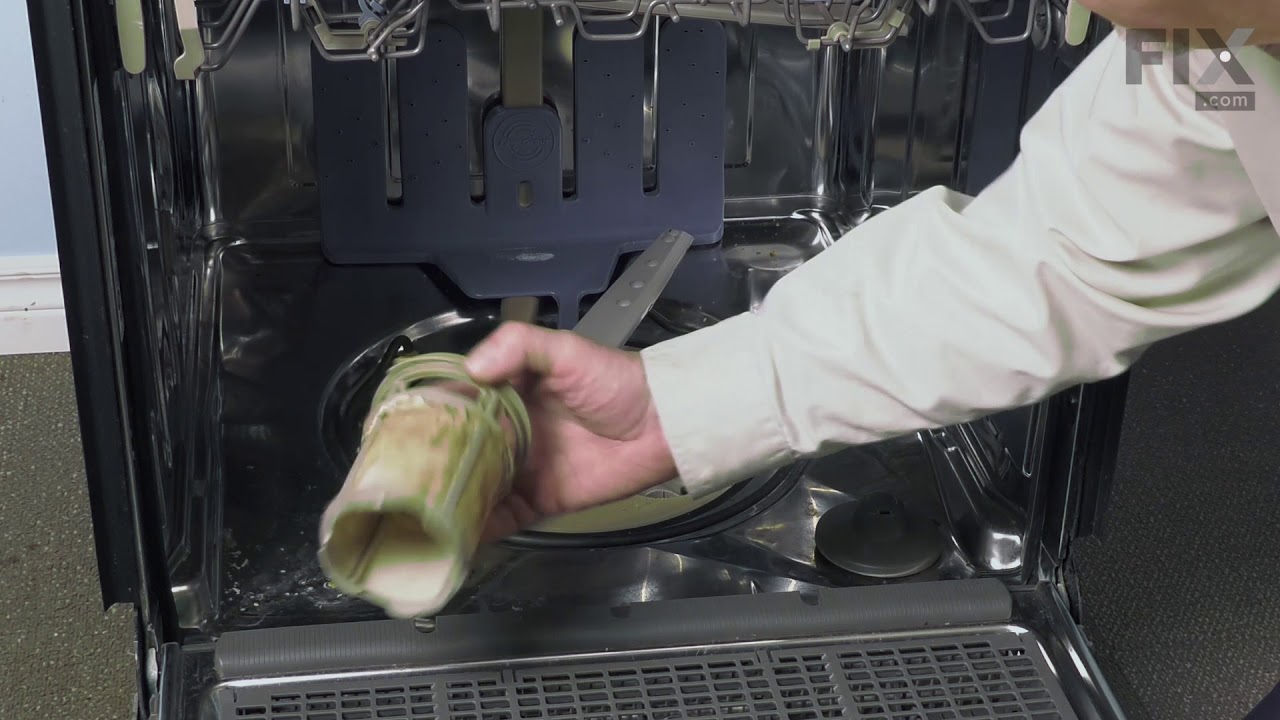
This dishwasher filter is a genuine OEM component designed to work with the water pump, preventing debris from entering and potentially damaging the pump system. Made with a gray plastic top and bottom, each approximately 5 inches in diameter, the filter plays a critical role in maintaining proper drainage and cleaning performance. Over time, the filter may become clogged or damaged, leading to poor cleaning results or drainage issues. Replacement is straightforward: turn the old filter counterclockwise to unlock and remove it, then screw in the new filter, ensuring it is securely seated. Regular inspection and replacement help maintain optimal dishwasher function.
Replacing your Whirlpool Dishwasher Dishwasher Filter
Customer Repair Stories
-
John from SAINT CHARLES, MO
-
Difficulty Level:Very Easy
-
Total Repair Time:Less than 15 mins
-
Edward F from CINCINNATI, OH
-
Difficulty Level:Really Easy
-
Total Repair Time:30 - 60 mins
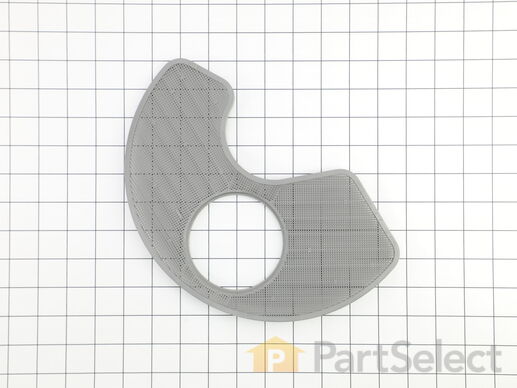
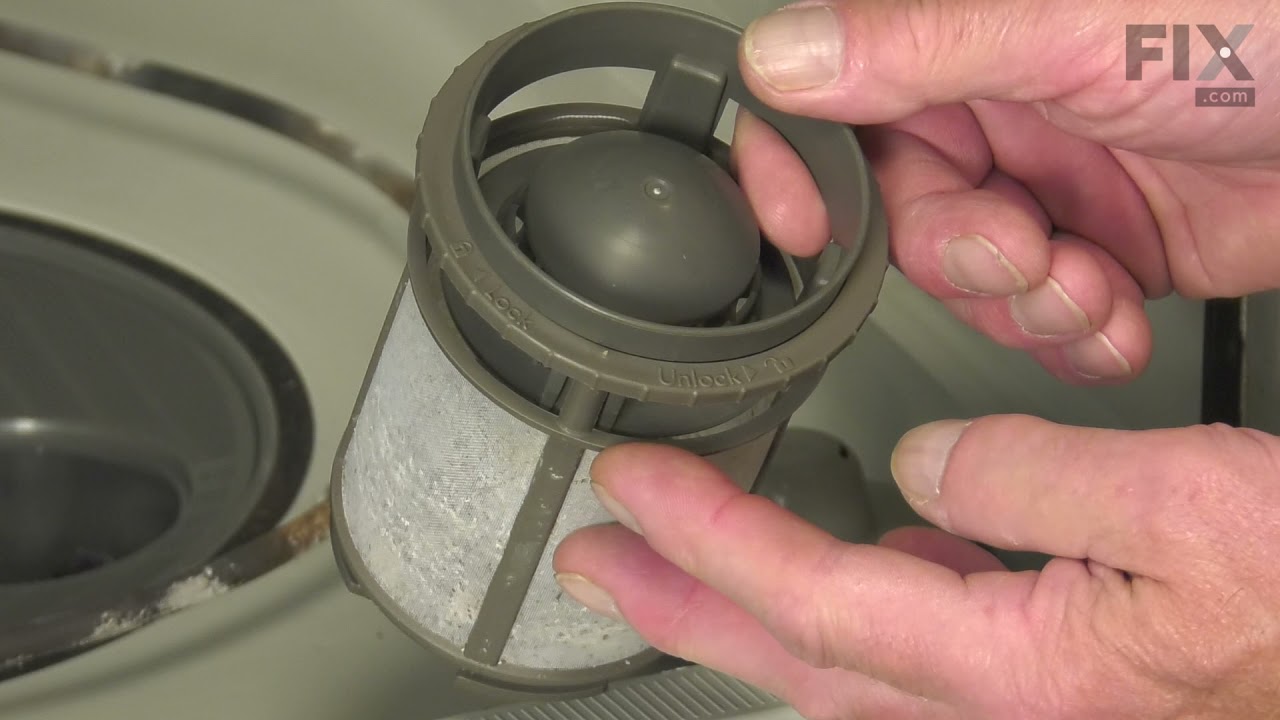
This is a screen filter, designed to keep food particles, gunk, and debris from entering the pump of your dishwasher. If this filter is missing, damaged, or simply unusable, it will need to be replaced so you can effectively clean your dishes. Replacing this filter is simple, as you only need to twist and remove the lower filter, before you can carefully lift this filter out. This filter is an OEM part and is sold individually.
Replacing your Whirlpool Dishwasher Screen
Customer Repair Stories
-
George from LYMAN, ME
-
Difficulty Level:Really Easy
-
Total Repair Time:Less than 15 mins
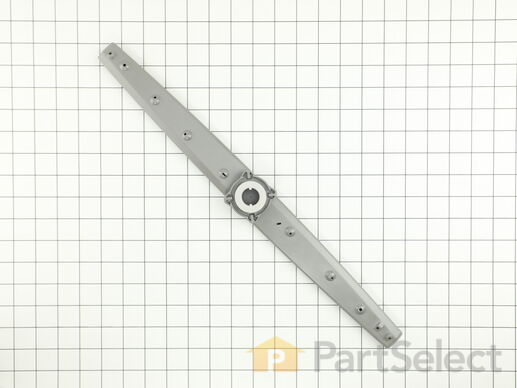
This is an upper spray arm for a dishwasher. While the appliance is in use, the spray arm rotates while water travels through it to distribute water evenly throughout the dishwasher tub. This ensures the dishes are efficiently and properly cleaned. It measures approximately 19 inches long and is grey in color.
Customer Repair Stories
And popped it back on. Spun it to make sure it would spin. Put the rack back in. Works like a charm.
-
Sherry from INDIAN TRAIL, NC
-
Difficulty Level:Very Easy
-
Total Repair Time:Less than 15 mins
Maybe the new part does not match??
-
Peter from GALENA, IL
-
Difficulty Level:Really Easy
-
Total Repair Time:15 - 30 mins
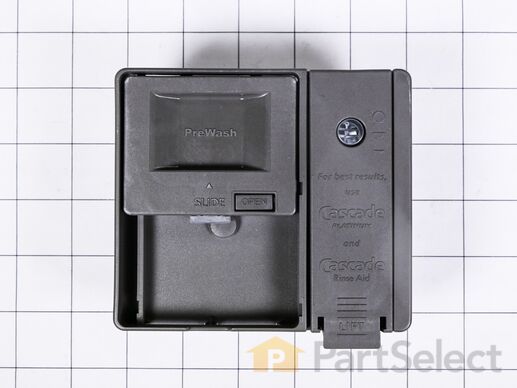
This dishwasher detergent dispenser is a genuine OEM replacement part designed for select models from Whirlpool, KitchenAid, Maytag, Amana, and other affiliated brands. Mounted on the inner door panel, it features separate, covered compartments for detergent and rinse aid, ensuring precise release during the wash cycle. The spring-loaded mechanism is engineered to dispense cleaning agents at optimal times, enhancing overall wash performance. Constructed from heat-resistant, high-grade materials, this dispenser offers long-term durability and reliability. It replaces older components such as W10620296 and W10620298. Compatibility should be verified using your dishwasher’s model number prior to installation.
Customer Repair Stories
This repair could be done in under 15 minutes but my dishwasher is so old that there was a lot of gunk built-up around the screws that hold the front cover on that I wanted to take my time cleaning up real nice.
The detergent dispenser is VITAL for getting dishes clean. Without it working properly, the detergent will be removed from the wash during the pre-wash/soak function and your dishes will not come out clean. I HIGHLY recommend doing this repair if your detergent dispenser is not working, and I had a great experience with www.PartSelect.com
-
Benjamin from KNOXVILLE, TN
-
Difficulty Level:Really Easy
-
Total Repair Time:30 - 60 mins
-
Tools:Screw drivers
Remove all screws around the stainless metal shroud inside the door. DONT remove the hinge screws.
Torx bit required.
Unplug detergent dispenser and place outer door assembly aside. Dispenser has small clips holding it in, top, bottom and sides I believe. Push these in, dispenser falls out into dishwashe ... Read more r.
Insert new unit, reverse all steps. Done.
Dont for get to reattach the wires!
-
David from Swanzey, NH
-
Difficulty Level:Really Easy
-
Total Repair Time:15 - 30 mins
-
Tools:Nutdriver, Screw drivers