Your coupon for will be reflected when you check out!
✖
Your coupon for
✖
Hello!
You're visiting the PartSelect site in U.S.
Would you like to shop on the Canadian site?
Stay on this site
Go to Canadian site
✖
Model Number Locations
1Select Category Type
Select Category Type
2Select Product Type
Select Product Type
3Select {MODEL} Type
Select {MODEL} Type
Sample Model Number Tags
Model numbers can be made up of numbers (1005400, for example) or a combination of letters and numbers (LAT1000AAE). The model number will most likely appear on either a paper sticker or a metal plate. Your appliance's model number tag may look similar to the sample model number tags shown here (model number highlighted in yellow):
JVM2052DN1BB General Electric Microwave - Overview
Save your modelModel Saved!
Save your model for later to make things easier.
Model has been saved to My Models. If you're not signed in, your lists are available on this device and will expire within 30 days.
Model has been saved to My Models.
This ceramic microwave fuse is just over an inch in length. It is white in the center, and metal on both ends. This is a 20-amp fuse, and is used to power your microwave. If the touch pad on the micro...
This is the replacement damper bracket for your microwave. It is made of plastic and is approximately 11 inches wide and 3 inches long. The damper bracket attaches to the outer cabinet and directs air...
This mounting plate, also known as a bracket, is crucial for keeping your microwave mounted to the wall, when placed above the stove. This OEM part is sold separately from the screws that are needed t...
This part is the replacement high-voltage diode for your microwave. It is approximately 3 inches long and is sold individually. The high voltage diode is an electrical current control device inside yo...
This switch monitor interlock is a critical safety component designed to ensure proper communication between the microwave door latch and the control board. When functioning correctly, it confirms tha...
This microwave vent damper assembly helps control airflow by directing exhaust out of the kitchen and preventing outside air, smoke, or odors from flowing back in when the fan is off. Made from durabl...
Turned out the issue was easily solved by replacing a single, inexpensive fuse.
First off, UNPLUG THE MICROWAVE.
The fuse is located under the plastic grill at the top of the microwave. It's held on by two screws. Once you've removed the screws and taken off the plastic grill, you go to the right side of the mic
... Read morerowave and remove another screw that holds a small metal grill in place. Removing the small metal grill is probably the toughest part of this repair. You kind of have to rock it back and forth a bit to get it to release. Once that's off, you can get to the fuse. I removed the burnt out one with a pair of needle nose pliers. I also put a small piece of cardboard under the fuse when I did this so I didn't accidentally drop it into the innards of the microwave. I did the same thing when I replaced the new fuse. I then plugged the appliance back in and made sure it worked. Once that was confirmed, I replaced both grills.
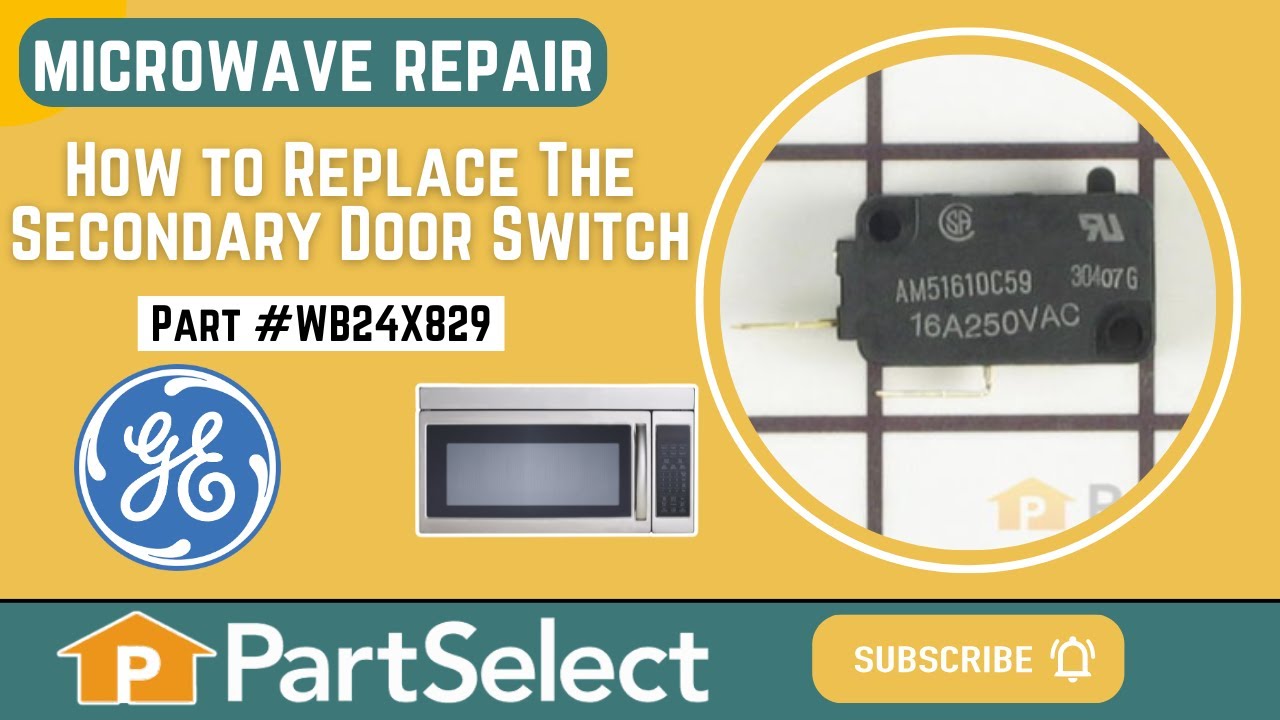
Remove microwave outer cover. Turn on side & locate the upper & lower door switches. Better to replace in pairs even if one is ok. Remove the wire harness to each switch. Then replace switch and re connect the wire harness. Re attach outer cover and test to see if that solved the problem. If so then well done!!