















JVM1790BKC - Overview
Models starting with JVM1790BKC
Click on the best match to narrow your results.
Keep searches simple, eg. "belt" or "pump".
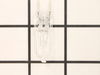
Halogen Light Bulb - 120V 20W
PartSelect #: PS2351821
Manufacturer #: WB25X10019
This light bulb is located on the inside of your microwave. The bulb is behind the top grill. It will need to be replaced when it has burnt out and no longer works. Unplug the unit before beginning th...
$25.24
In Stock

Microwave Fuse
PartSelect #: PS1481237
Manufacturer #: WB27X10928
This ceramic microwave fuse is just over an inch in length. It is white in the center, and metal on both ends. This is a 20-amp fuse, and is used to power your microwave. If the touch pad on the micro...
$21.81
In Stock
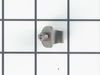
Microwave Holder
PartSelect #: PS224021
Manufacturer #: WB02X10750
Sold Individually.
$18.29
In Stock

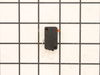
Primary Door Interlock Switch
PartSelect #: PS237015
Manufacturer #: WB24X10047
This interlock switch is located in the door latch.
$54.07
In Stock

Glass Turntable Tray
PartSelect #: PS1016243
Manufacturer #: WB49X10176
This tray rotates in your microwave ensuring more even temperatures.
$74.08
On Order
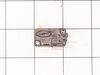
Micro Switch
PartSelect #: PS3522738
Manufacturer #: 3B73362F
This microwave door switch provides power to the various components in the microwave when the door is in a closed position, and interrupts power when the door is open. This door switch is approximatel...
$21.45
Special Order
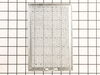
Grease Filter
PartSelect #: PS1018833
Manufacturer #: WB06X10654
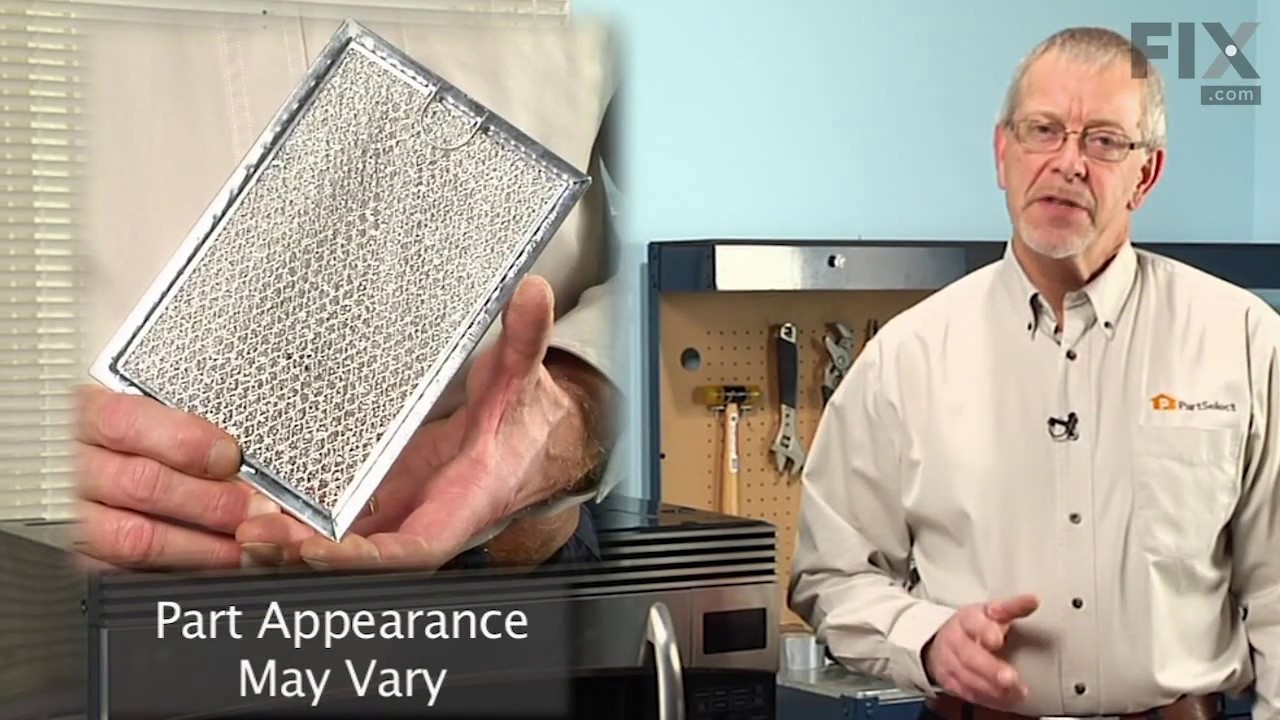
The grease filter can be found on the bottom of the microwave. If your grease filter is damaged, it will not effectively capture grease that builds up when your microwave is in use. To replace the gre...
$54.09
In Stock
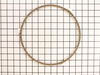
Rotating Ring
PartSelect #: PS1480805
Manufacturer #: WB06X10705
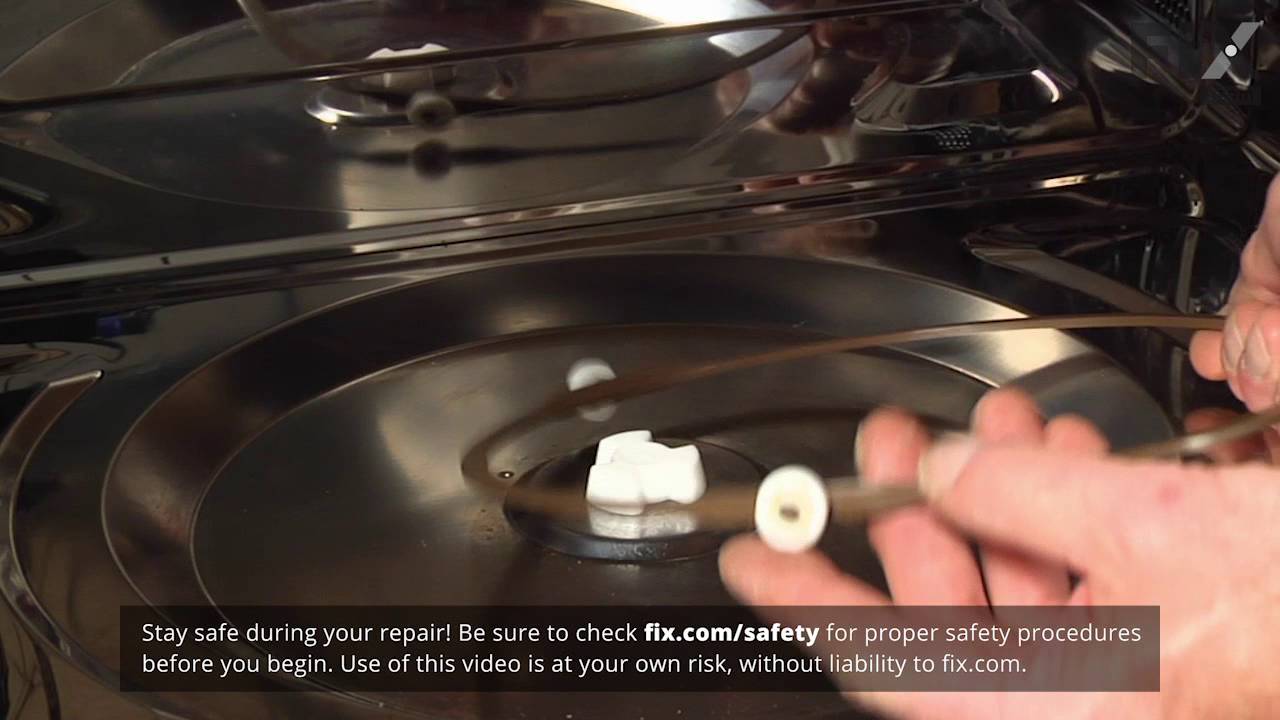
The rotating ring in your microwave rests under the microwave plate, and allows it to rotate when the microwave is running. It is a round plastic ring with 3 wheels spaced out around the perimeter. If...
$56.33
In Stock
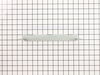
Microwave Exhaust Adapter
PartSelect #: PS12709817
Manufacturer #: WB02X32715
This is the replacement damper bracket for your microwave. It is made of plastic and is approximately 11 inches wide and 3 inches long. The damper bracket attaches to the outer cabinet and directs air...
$16.08
In Stock
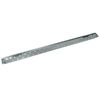
Mounting Plate Assembly
PartSelect #: PS16216996
Manufacturer #: WB56X35363
This mounting plate, also known as a bracket, is crucial for keeping your microwave mounted to the wall, when placed above the stove. This OEM part is sold separately from the screws that are needed t...
$25.24
In Stock
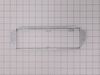
Air Duct Bracket
PartSelect #: PS3523851
Manufacturer #: 4810W1A151A
This bracket holds the metal or plastic flapper that closes off the exhaust duct when the fan is not running and opens when the fan turns on. If the exhaust fan on your microwave does not appear to be...
$17.15
In Stock
Common Symptoms of models starting with JVM1790BKC
[Viewing 7 of 7]Won’t turn on
Fixed by
these parts
these parts


Show All
No heat
Fixed by
these parts
these parts
Show All
Door not closing properly
Fixed by
these parts
these parts
Show All
Tray won’t turn
Fixed by
these parts
these parts

Show All
Touchpad does not respond
Fixed by
these parts
these parts
Show All
Doesn’t shut off
Fixed by
these parts
these parts
Show All
Noisy
Fixed by
these parts
these parts
Show All


Keep searches simple. Use keywords, e.g. "leaking", "pump", "broken" or "fit".
Microwave completely stopped working
Turned out the issue was easily solved by replacing a single, inexpensive fuse.
First off, UNPLUG THE MICROWAVE.
The fuse is located under the plastic grill at the top of the microwave. It's held on by two screws. Once you've removed the screws and taken off the plastic grill, you go to the right side of the mic ... Read more rowave and remove another screw that holds a small metal grill in place. Removing the small metal grill is probably the toughest part of this repair. You kind of have to rock it back and forth a bit to get it to release. Once that's off, you can get to the fuse. I removed the burnt out one with a pair of needle nose pliers. I also put a small piece of cardboard under the fuse when I did this so I didn't accidentally drop it into the innards of the microwave. I did the same thing when I replaced the new fuse. I then plugged the appliance back in and made sure it worked. Once that was confirmed, I replaced both grills.
First off, UNPLUG THE MICROWAVE.
The fuse is located under the plastic grill at the top of the microwave. It's held on by two screws. Once you've removed the screws and taken off the plastic grill, you go to the right side of the mic ... Read more rowave and remove another screw that holds a small metal grill in place. Removing the small metal grill is probably the toughest part of this repair. You kind of have to rock it back and forth a bit to get it to release. Once that's off, you can get to the fuse. I removed the burnt out one with a pair of needle nose pliers. I also put a small piece of cardboard under the fuse when I did this so I didn't accidentally drop it into the innards of the microwave. I did the same thing when I replaced the new fuse. I then plugged the appliance back in and made sure it worked. Once that was confirmed, I replaced both grills.
Read less
Parts Used:
-
Kim from Cliffside Park, NJ
-
Difficulty Level:Really Easy
-
Total Repair Time:15 - 30 mins
-
Tools:Screw drivers
966 of 1260 people
found this instruction helpful.
Was this instruction helpful to you?
Thank you for voting!
Under the vent light bulbs needed to be replaced
Turned of f the circuit breaker to the microwave. Unscrewed the cover (1 screw!) popped out the old bulbs and plugged in the new ones, using the bubblewrap as a handle to be sure my skin didn't touch the light bulbs so the oil from my hands didn't damage or shorten the life of the new bulbs. Turned the circuit back on. That's it!
Parts Used:
-
Robert from Naples, ME
-
Difficulty Level:Really Easy
-
Total Repair Time:Less than 15 mins
-
Tools:Screw drivers
66 of 87 people
found this instruction helpful.
Was this instruction helpful to you?
Thank you for voting!
I diagnosed the problem incorrectly: based on a previous repair.
-
Ralph from Brandon, FL
-
Difficulty Level:Easy
-
Total Repair Time:Less than 15 mins
-
Tools:Pliers, Screw drivers
66 of 139 people
found this instruction helpful.
Was this instruction helpful to you?
Thank you for voting!