Your coupon for will be reflected when you check out!
✖
Your coupon for
✖
Hello!
You're visiting the PartSelect site in U.S.
Would you like to shop on the Canadian site?
Stay on this site
Go to Canadian site
✖
Model Number Locations
1Select Category Type
Select Category Type
2Select Product Type
Select Product Type
3Select {MODEL} Type
Select {MODEL} Type
Sample Model Number Tags
Model numbers can be made up of numbers (1005400, for example) or a combination of letters and numbers (LAT1000AAE). The model number will most likely appear on either a paper sticker or a metal plate. Your appliance's model number tag may look similar to the sample model number tags shown here (model number highlighted in yellow):
JVM1540DN1BB General Electric Microwave - Overview
Save your modelModel Saved!
Save your model for later to make things easier.
Model has been saved to My Models. If you're not signed in, your lists are available on this device and will expire within 30 days.
Model has been saved to My Models.
This light bulb is a 40 watt, 130-volt clear appliance light bulb that is manufactured to fit microwaves with small-base light bulb sockets. The light bulb illuminates the inside of the microwave whil...
This ceramic microwave fuse is just over an inch in length. It is white in the center, and metal on both ends. This is a 20-amp fuse, and is used to power your microwave. If the touch pad on the micro...
This light bulb socket that is used in microwaves. The socket is meant to fit small-base light bulbs. * Please note: The light bulb is not included with this part and is sold separately. If the follow...
This is a cooking tray and it is a common component in any microwave. This piece is transparent and is made of glass. The diameter of this part measures to be roughly 12.5 inches. Although you may fin...
The secondary door switch is a simple on/off mechanism that stops the microwave from operating when the door is open (normally opened). The switch monitors the door latch position, and communicates w...
This turntable motor coupler connects the turntable motor to the turntable tray to activate the tray. If your tray does not consistently turn or does not turn at all, replace this part. This part meas...
The microwave glass light lens protects the light bulb inside the appliance. It is clear in color and measures approximately 6-1/2 inches long, and 2-1/2 inches wide. You may notice that this part is ...
Unplug your microwave before attempting this repair. You will need to remove the grill, which is held into place by two screws at the top of the grill (open your microwave door before doing this). Rem...
This part is the replacement flat cab mounting bolt for your microwave. The bolt is approximately 4 inches long. It is designed to hold the microwave in place in your cabinet. The main reason to repla...
Ask our experts a question about this model and we'll get back to you as soon as possible!
6 questions answered by our experts.
Sort by:
< Prev
1
2
Next >
Search filter:
Clear Filter
Your search term must have 3 or more characters.
Keep searches simple. Use keywords, e.g. "leaking", "pump", "broken" or "fit".
Sorry, we couldn't find any existing answers that matched.Try using some different or simpler keywords, or submit your new question by using the "Ask a Question" button above!
Simon
March 20, 2020
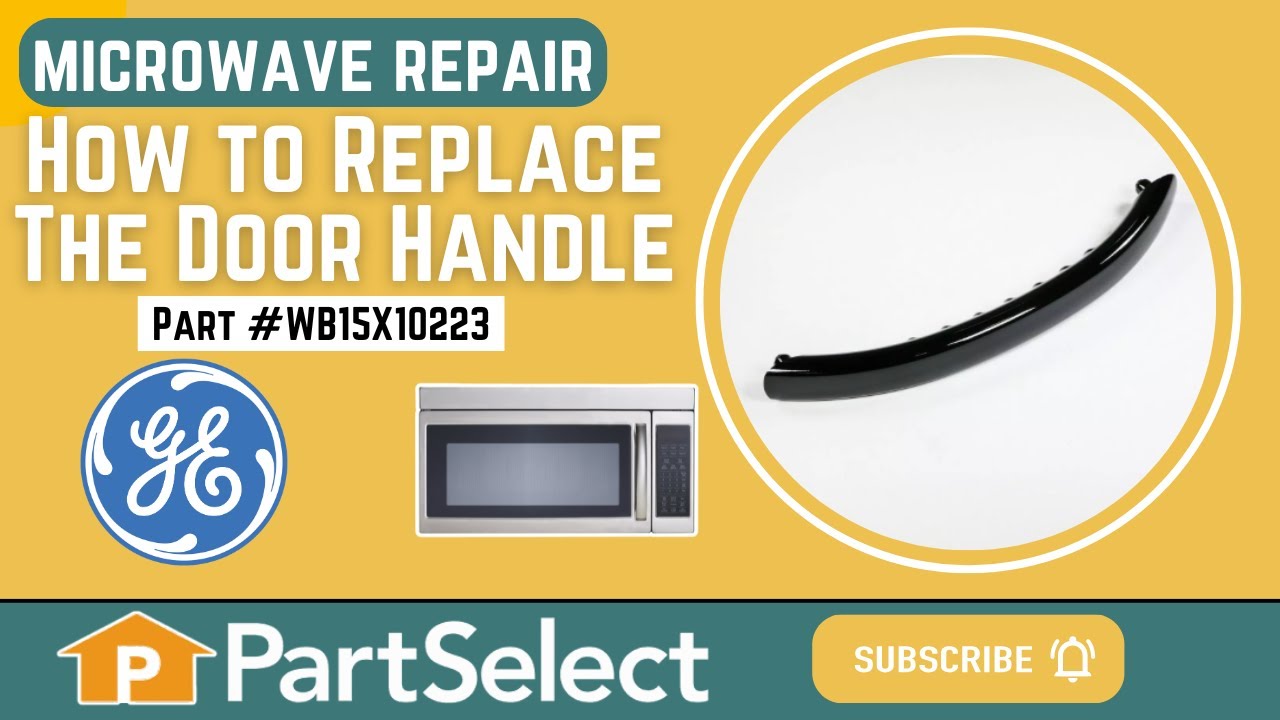
How i replace the door handle
For model number JVM1540DN1BB
Hello Simon, thank you for your question. The first step is to remove power to the unit. Then open the door and locate the seam that is on the inside of the door where the inner and outer door panels come together. Using a putty knife in that seam, pull the inner door frame away from the door to access the screws for the handle. I hope this helps.
1 person found this helpful.
Did this question help you?
Thank you for voting!
Justin
March 26, 2020
Got error message said keypad was shorted, beeped constantly then keypad stopped working
For model number JVM1540DN1BB
Hi Justin,
Thank you for your question. If the keypad is no longer working, you will need to replace it. The part number listed under your model number for the control panel is PS2322064. To place an order for the part you may order it either online, by visiting our live chat sessions, Monday to Friday from 8AM to 4PM EST, or by calling our customer service line at 1-888-738-4871 and anyone will be happy to assist you. We hope this helps. Thank you and have a great day.
Did this question help you?
Thank you for voting!
Tom
February 23, 2025
Microwave not heating
For model number JVM1540DN1BB
Hello Tom, thank you for contacting us. Based on our understanding of the issue, we would suggest checking the high-voltage diode, part number PS239740, to solve the problem. A faulty high-voltage diode can most probably cause this issue. We hope this helps!
How do i replace the interior lights in the microwave cavity
For model number JVM1540DN1BB
Hello and thank you for writing.
Unplug the microwave and examine the cooking area.
If you see a cover-plate PS247275, unscrew it to get at the bulb PS247209.
If you don’t see a cover-plate on the interior wall, turn the microwave around and look for a cover on the back.
Unscrew that cover to get at the bulb.
When you see the bulb, turn it a quarter turn to the left and pull the base straight out.
The bulb has two prongs, just like many automotive bulbs.
Push in the new bulb and turn it a quarter turn to the right.
Screw the cover plate back on.
We hope this information helps. Please contact us anytime if you require further assistance.
The top trim piece on the outside of the microwave is broken. Can we get a replacement for that?
For model number JVM1540DN1BB
Hello Judy, thank you for your question. The top Vent Grille, part number PS1480886, will fit your model number. If you have any follow-up queries, please feel free to reach out to customer service, we are available seven days a week. Glad to be of help!
Turned out the issue was easily solved by replacing a single, inexpensive fuse.
First off, UNPLUG THE MICROWAVE.
The fuse is located under the plastic grill at the top of the microwave. It's held on by two screws. Once you've removed the screws and taken off the plastic grill, you go to the right side of the mic
... Read morerowave and remove another screw that holds a small metal grill in place. Removing the small metal grill is probably the toughest part of this repair. You kind of have to rock it back and forth a bit to get it to release. Once that's off, you can get to the fuse. I removed the burnt out one with a pair of needle nose pliers. I also put a small piece of cardboard under the fuse when I did this so I didn't accidentally drop it into the innards of the microwave. I did the same thing when I replaced the new fuse. I then plugged the appliance back in and made sure it worked. Once that was confirmed, I replaced both grills.
The unbelievable happened. Our glass carousel cooking tray developed a crack. Each day the crack got longer. I ordered a new one on Tuesday and it arrived the next morning just before the cracked one completely cracked. I have never experienced such fast service. I highly recommend PartSelect and their helpful service.