Your coupon for will be reflected when you check out!
✖
Your coupon for
✖
Hello!
You're visiting the PartSelect site in U.S.
Would you like to shop on the Canadian site?
Stay on this site
Go to Canadian site
✖
Model Number Locations
1Select Category Type
Select Category Type
2Select Product Type
Select Product Type
3Select {MODEL} Type
Select {MODEL} Type
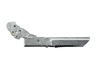
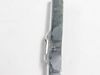
Sample Model Number Tags
Model numbers can be made up of numbers (1005400, for example) or a combination of letters and numbers (LAT1000AAE). The model number will most likely appear on either a paper sticker or a metal plate. Your appliance's model number tag may look similar to the sample model number tags shown here (model number highlighted in yellow):
Model has been saved to My Models. If you're not signed in, your lists are available on this device and will expire within 30 days.
Model has been saved to My Models.
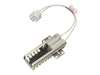
The flat style oven igniter kit comes with a mounting bracket and a wire connector with a plug. The igniter kit is used to light the oven burner. If you notice that your oven will not heat up properly...
This 40-Watt light bulb is sold individually.
It is specially designed to withstand extreme temperatures, so this bulb is compatible with a variety of appliance types including refrigerators, ranges,...
This metal oven rack provides a stable and durable surface for baking, roasting, and broiling inside your oven. Designed to fit select gas range and oven models, it promotes even heat circulation and ...
This part is the replacement light socket for your oven. The oven light socket provides power to the light, and at the same time holds the light bulb in place.
Ensure the stability of your GE range with this leveling leg. An essential accessory for your appliance, it helps maintain balance and provides support. With its adjustable design, you have the abilit...
This bottom oven and deflector assembly is a durable metal panel designed to fit beneath the oven floor, protecting the bake element from spills while promoting even heat distribution for consistent c...
$96.61
In Stock
Order now and your part arrives by Jul 2
Questions And Answers for JGBS30DEK2WW
Ask our experts a question about this model and we'll get back to you as soon as possible!
3 questions answered by our experts.
Sort by:
< Prev
1
Next >
Search filter:
Clear Filter
Your search term must have 3 or more characters.
Keep searches simple. Use keywords, e.g. "leaking", "pump", "broken" or "fit".
Sorry, we couldn't find any existing answers that matched.Try using some different or simpler keywords, or submit your new question by using the "Ask a Question" button above!
Joe
October 18, 2021
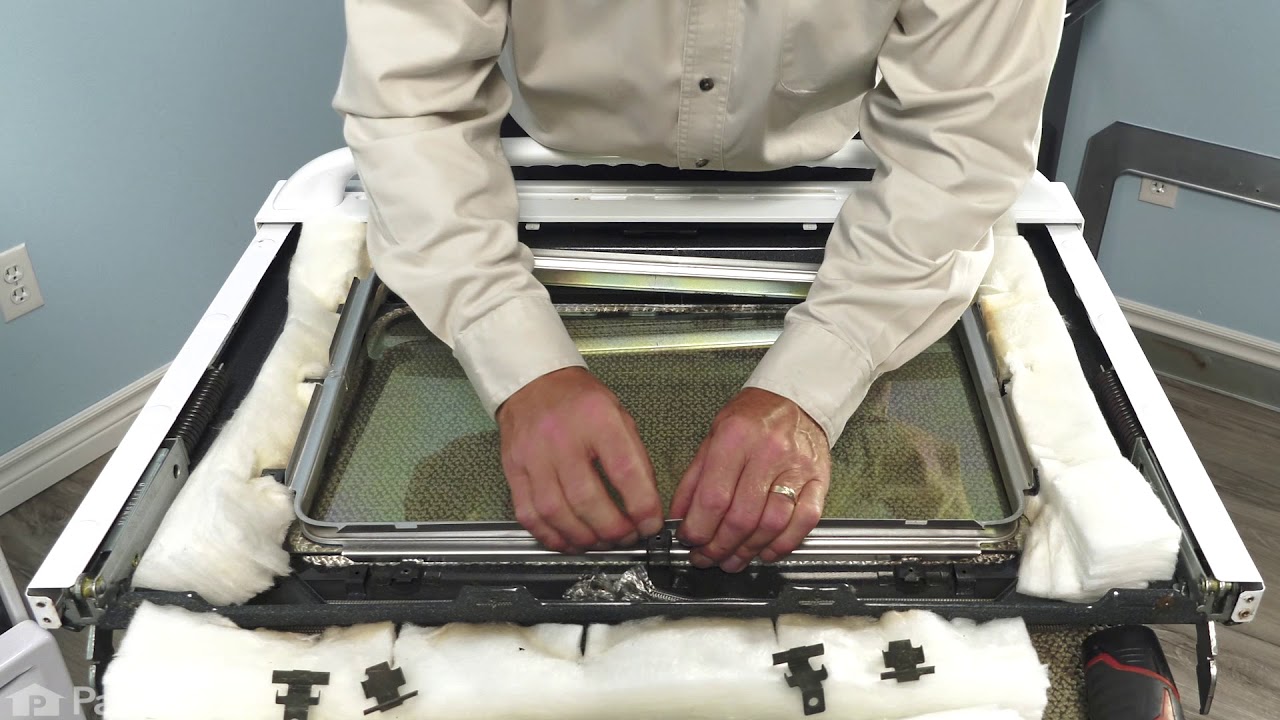
How does door come off to replace outer glass
For model number JGBS30DEK2WW
Hello Joe, Thank you for the question. Here is a Link to a How to Video that may help. Good luck with the repair!
3 people found this helpful.
Did this question help you?
Thank you for voting!
Anthony
November 29, 2023
Ignitors do not spark, burners,oven, broiler? It is plugged in and outlet is hot.
For model number JGBS30DEK2WW
Hi Anthony, thank you for reaching out. Based on our research, we would recommend checking the ignition module, part number PS11729093, to fix the issue. We hope that helps!
Getting delayed igniter. Too much gas come out before burner lights
For model number JGBS30DEK2WW
Hello Derek, thank you for the question. The problem seems to be with the Spark Module and you may need to replace it, the part number is PS11729093. If that does not help, we would recommend checking the Valve and Pressure Regulator, part number PS11736321, and Igniter, part number PS231280. If you need help placing an order for it, please feel free to give us a call. We look forward to hearing from you!
First, I removed the two screws that held the heat shield in place. Second, I removed the one screw that held a small wire covering. That covering kept the wires inside the back wall of the range. Third, I removed the two screws that held the Igniter Kit, and unplugged it from the back of the range. I then carefully put the new ignite
... Read morer in, and reassembled everything in reverse order. It only took about 30 minutes to do the repair, and 30 minutes of cleaning and wiping of the broiler area. (It is amazing what you see when you take things apart). I should have been wiping things up over the past few months. Overall, a very easy repair. I ordered the part at 12:30 in the afternoon, and FedEx delivered it the next morning at 11:30, all for the regular shipping price of $6.95. VERY HAPPY.....
first I thought it was a faulty gas valve, so I pulled it out, started researching for a replacement part, found your site and started research. I discovered thhat the igniter was the culprit, that info. saved me about a week of time and a 100 bucks, so I installed the gas safety valve back in the oven, patience is the word for the day,
... Read moreyou cross thread this and you are done! any way ordered ignighter and it shipped to my house in about 4 days, New York to Calif. had it installed in about 15 minutes fired off the oven and ...IT worked hurray...10-9-2010,
1. Pulled the 110V power plug. It was not necessary to turn off the gas; just be careful not to stretch or pinch the flexhose behind the stove. 2. Removed the oven door by opening a couple of inches then lifting upward. 3. Removed the warming drawer by pulling out to the stop, then pushing the small levers on the side of the t
... Read morerack to release. 4. Removed two flathead screws at the back of the oven to free up the oven bottom panel. 5. Removed the bottom panel by lifting up the pack until the front edge clears the overhang. 6. Removed the two screws on the side that hold the igniter to the burner tube. Be sure not to let the screws drop into the gaps in the oven floor. Note the position of the bent tab with the holes to ease aligning the new part. 7. Reached through the warming drawer to release the plug by squeezing the tabs on the end. 8. Pulled the plug up through the gap in the oven floor (where the wires went through) and connected it to the other connector. 9. Ran the new wire down through the oven floor. 10. Aligned the new igniter and tightened them. Had trouble getting the screws started so I used a toothpick to align one hole while starting the other screw. 11. Replaced the oven bottom panel. It needed a little jockeying to get the screws and holes aligned. 12. Replaced the door. 13. Replaced the oven drawer.
This turned out to be a good time to clean all those dusty places that don't get cleaned that often.