Your coupon for will be reflected when you check out!
✖
Your coupon for
✖
Hello!
You're visiting the PartSelect site in U.S.
Would you like to shop on the Canadian site?
Stay on this site
Go to Canadian site
✖
Model Number Locations
1Select Category Type
Select Category Type
2Select Product Type
Select Product Type
3Select {MODEL} Type
Select {MODEL} Type
Sample Model Number Tags
Model numbers can be made up of numbers (1005400, for example) or a combination of letters and numbers (LAT1000AAE). The model number will most likely appear on either a paper sticker or a metal plate. Your appliance's model number tag may look similar to the sample model number tags shown here (model number highlighted in yellow):
Model has been saved to My Models. If you're not signed in, your lists are available on this device and will expire within 30 days.
Model has been saved to My Models.
This an authentic OEM 40-Watt replacement light bulb, used in a number of household appliances. It is specially designed to withstand extreme temperatures, which is why these replacement bulbs are mos...
This is a heating element compatible with various makes of ranges and ovens and is sold as an individual part. Measuring 20.5-inches wide and 20.25-inches (with terminals) long, this heating element i...
This is a multi-use and multi-appliance screw. It can be used on a microwave, refrigerator, range/oven, air conditioner, dehumidifier, washer, or dryer. The measurements of this screw are 8 x 1/2 inch...
This part is for oven ranges, it connects individual wires and protects the device from electrical surges, voltages, and current. With this part, the house power is connected to the range wire harness...
This is a manufacturer-made oven temperature sensor for various models of range. This sensor is designed to accurately detect the internal temperature of your oven and communicate with the control boa...
First, we turned on broil and the upper element turned orange and obviously worked. We figured the bottom element went out. The diagram on this site showed a bottom heating element that looked nothing like ours, but after reading other reviews, and reading that part that goes through the back of the oven was in the middle, and not off to
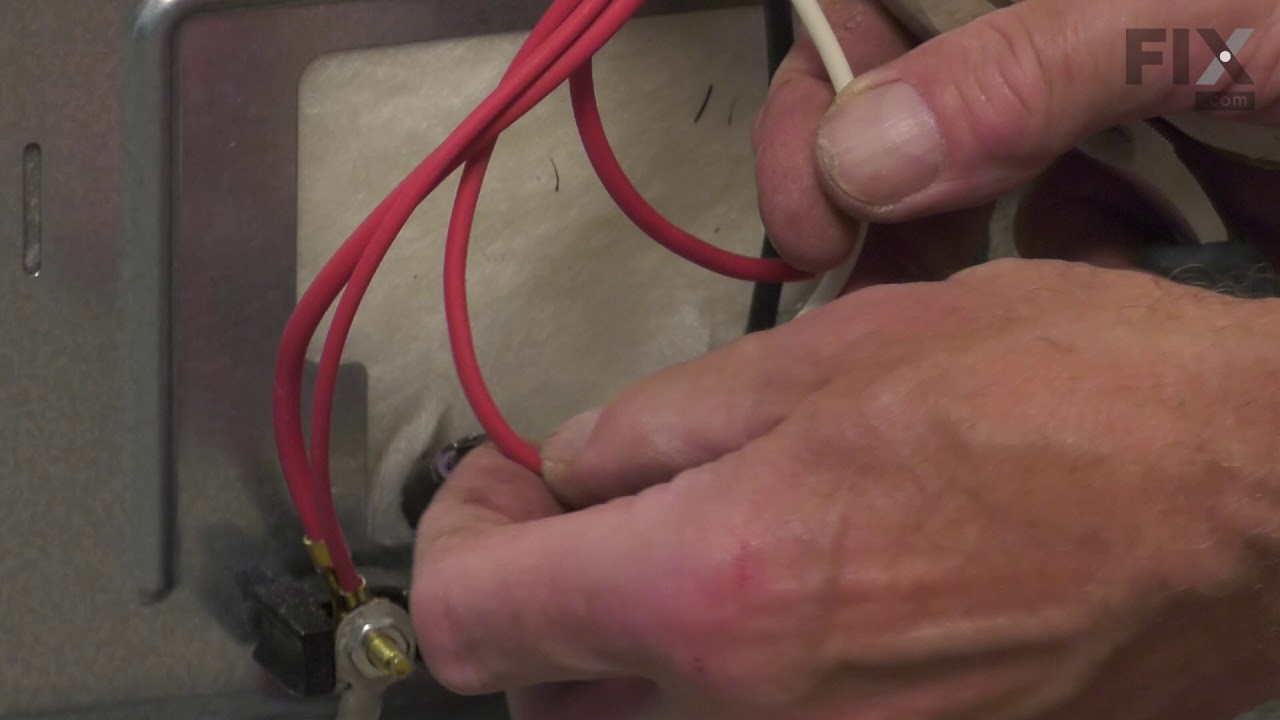
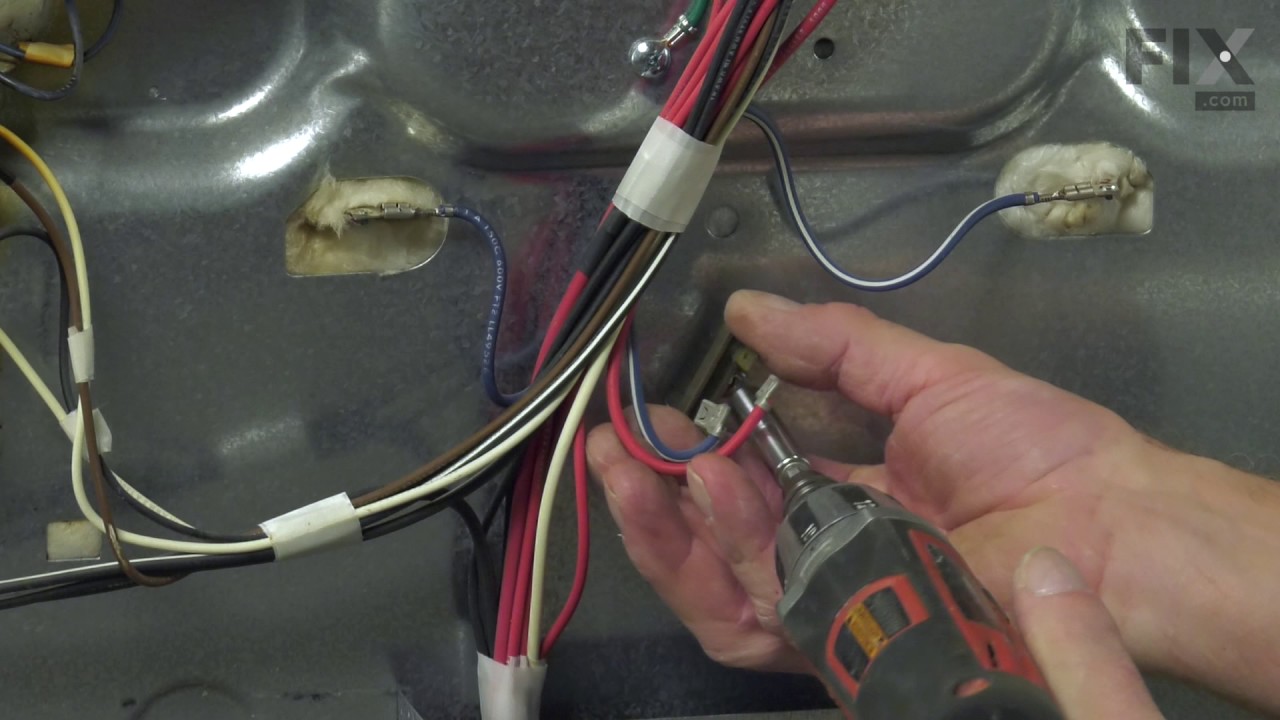
... Read morethe side, we ordered this element. It was perfect. All you have to do is unplug the oven, take out the bottom pan covering the element by removing 2 screws in the back, remove the lower small cover on the back of the oven and then unplug the old element, unscrew the old element on the inside of the stove, then install the new element and put everything back like it was. Nothing to it. It worked like a charm and my oven now heats up fast again. Easiest appliance repair job ever!
1. Unplugged stove 2. Removed two (2) screws from bottom panel in oven cavity 3. Lifted out bottom panel 4. Removed two (2) screws from bake element standoffs. 5. Removed two (2) screws from bake element (Rear of oven cavity) 6. Removed Terminal Block Cover Box by removing two (2) screws and lifting up on it.
... Read more>7. Removed lugs from the ends of the bake element. 8. Extracted bake element. 9 Inserted bake element through rear opening and attached the two lugs removed in step 7. 10 Inserted two screws removed in step 5. 11. This bake element only had a standoff bracket in the front. Used one (1) screw from step 4. for front standoff. 12 Replaced bottom panel and two screws. 13 Reinstalled Terminal Block Cover Box and two screws. 14. Plugged oven in and tested oven.