Your coupon for will be reflected when you check out!
✖
Your coupon for
✖
Hello!
You're visiting the PartSelect site in U.S.
Would you like to shop on the Canadian site?
Stay on this site
Go to Canadian site
✖
Model Number Locations
1Select Category Type
Select Category Type
2Select Product Type
Select Product Type
3Select {MODEL} Type
Select {MODEL} Type
Sample Model Number Tags
Model numbers can be made up of numbers (1005400, for example) or a combination of letters and numbers (LAT1000AAE). The model number will most likely appear on either a paper sticker or a metal plate. Your appliance's model number tag may look similar to the sample model number tags shown here (model number highlighted in yellow):
Model has been saved to My Models. If you're not signed in, your lists are available on this device and will expire within 30 days.
Model has been saved to My Models.
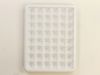
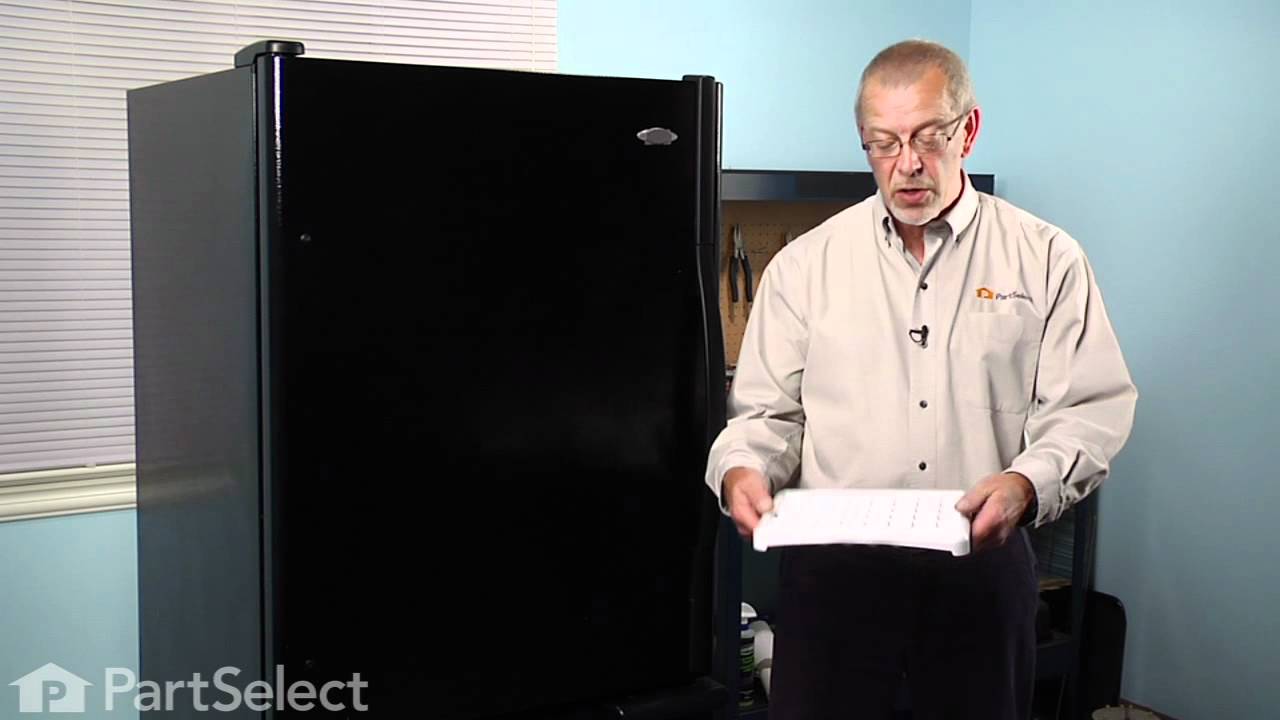
This ice cube tray is located inside your refrigerator and is eleven inches long, with 48 molds. It comes in white and is made entirely from plastic. If your tray is broken, cracked, or damaged, repla...
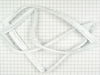
This white fresh food door gasket measures approximately 30-3/4 inches by 39 inches. It is used on many fresh food doors of top mount model refrigerators that have been manufactured since 1980.
The bushing is made of white plastic and is for a 3/8-inch pin. This bushing is part of your refrigerator assembly and is found on the top of the door. A worn-out bushing will cause your door to becom...
Due to some deformity of the gasket, it didn't seal all the way around. The instructions suggested using a heat light to warm the gasket with the door open. That didn't work too well so I closed the door and used a heat gun lightly in the areas it didn't seal. That worked great to soften the gasket so the magnet in the gasket could pull
... Read moreit gasket tight to the refrigerator. I let it cool with the door closed and it now seals perfectly.
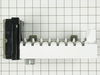
First, I read the instructions that came with the replacement ice maker, which I found confusing because they were apparently written to be installed in some other make of refrigerator. However, after removing the white plastic cover on the new unit and insuring that it was identical to the one that came with the refrigerator, I removed t
... Read morehe old unit by first, removing the bottom screw that held the unit to the side of the refrigerator. Then, I loosened the two top mounting screws. slid the unit up and pulled out and away from the side of the refrigerator. Then, holding the unit in my left hand, I pinched the two plastic tongs on either side of the wiring harness where it attached to the outlet at the back of the refrigerator, took the ice maker out of the freezer compartment and set it aside. Then I located the water regulator screw on the right side of the new ice maker and turned it one complete turn clockwise to reduce the amount of water that would fill the unit. After reinstalling the white plastic cover on the new ice maker, I saw that the wiring harness that came with it would not fit my refrigerator's outlet. So I removed the wiring harness from the old ice maker and installed it on the new one. Then I connected it to the outlet at the back of the refrigerator, slid the ice maker over the two top mounting screws and then pulled down to seat the screws. Next, I used a small torpedo level to level the ice maker both vertically and horizontally. This required placing several flat washers behind the metal mounting bracket at the bottom of the ice maker and the refrigerator wall. Once I had leveled the new ice maker, I tightened all three screws and shut replaced the ice receiver tray. Works fine.




















 – Part Number: WP70048-3")