













Parts That Fix Whirlpool Refrigerator GX5SHDXVB03 Leaking

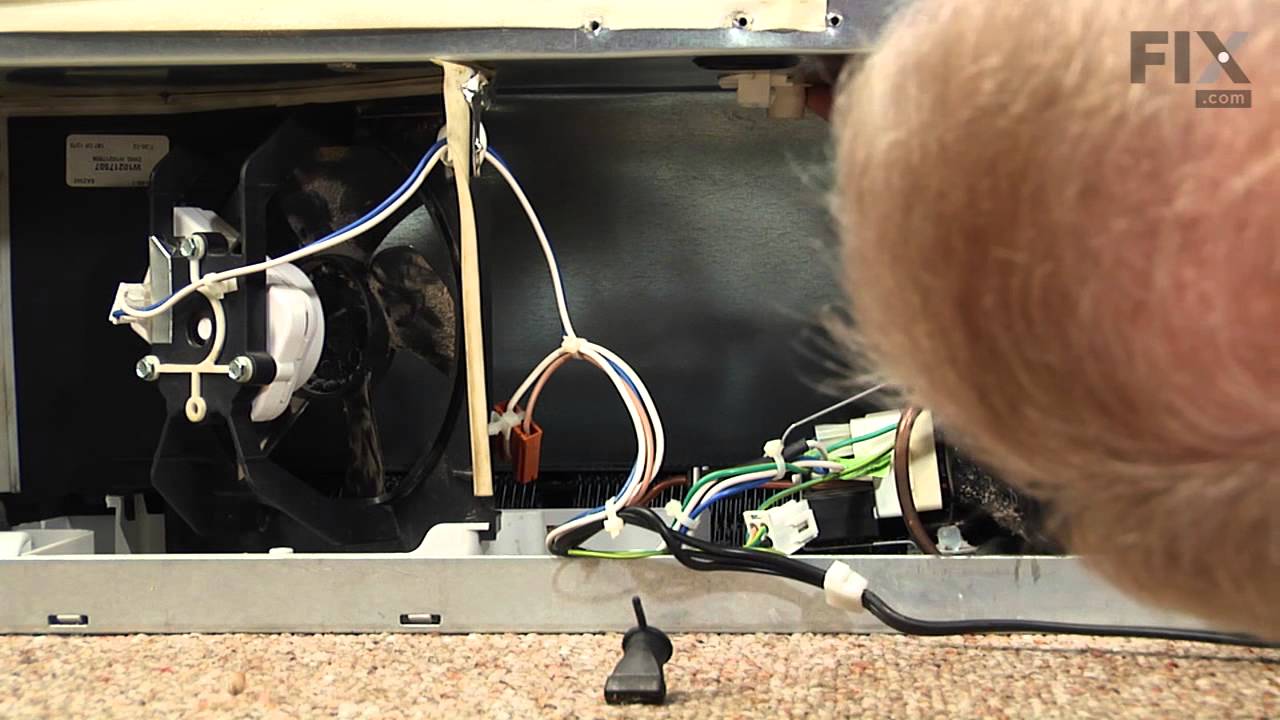
The p-trap drain tube kit may also be known as the duck bill, or the drain pipe, and it is compatible with your refrigerator. The function of the p-trap drain kit is to carry the water that has formed during the defrost cycle to the bottom of the refrigerator, where your drain pan is located. The tools you will need for this repair include a 1/4-inch nut driver and a small flat-blade screwdriver. To do this repair you will need to pull the refrigerator forward in order to reach the lower access panel at the back. This kit includes the tube extension piece and spacer.
Replacing your Whirlpool Refrigerator P-Trap Drain Tube Kit
Customer Repair Stories
-
Rich from Lansing, IL
-
Difficulty Level:Easy
-
Total Repair Time:30 - 60 mins
-
Tools:Nutdriver, Wrench (Adjustable)
-
Jack from DINUBA, CA
-
Difficulty Level:Really Easy
-
Total Repair Time:30 - 60 mins
-
Tools:Nutdriver, Screw drivers

This ice maker (Ice Maker Assembly, Refrigerator Ice Maker) produces ice cubes that are ejected into the storage bucket. It is located in the freezer section of your appliance, mounted on the freezer wall. The ice maker can break from normal wear and accidental damage. If this happens, your refrigerator may no longer make ice cubes, or may not make enough cubes, and the part should be replaced. This model measures approximately 11 inches long and 5 inches wide. It’s constructed of plastic and metal, and comes in black/white/silver. This assembly includes the ice mold and the control device.
Replacing your Amana Refrigerator Replacement Ice Maker

Customer Repair Stories
-
Harry from Grand Ledge, MI
-
Difficulty Level:A Bit Difficult
-
Total Repair Time:30 - 60 mins
-
Tools:Pliers, Screw drivers
Unplug appliance.
Remove timer cover by hand pressure @ edge.
Remove single attachment screw & bracket at lower front of icemaker.
Disconnect wiring harness from socket @ rear of compartment.
Tricky part was determin ... Read more ing what type of connection held the other two attachment points along the long edge of the icemaker. I did not have repair manual or useful drawing but looked @ PartsDirect pic of side brackets & used a small mirror to confirm that mine were also some sort of "snap in" attachment.
Remove icemaker unit by pushing upward and outward on the unit. I takes a good bit of pressure and will pop loose, but be careful not to break attachment bracket from freezer wall.
Scavenge shut off bar and wiring harness from old icemaker once you have it out & attach to new one before installing it back in freezer.
Again, you might find a mirror useful to align those pesky snap-in brackets with the new unit.
Since you probably kept your freezer running while waiting for the part, the plastic snap-ins will be cold and brittle. I warmed them up first by applying a dampened cloth heated in the microwave to make them a little more pliable.
A good push of the new unit towards the snap-ins along with some upward force will get it stable.
Reattach the metal screw in bracket & connect the wiring harness to rear plug... and don't forget to plug the whole thing back in.
It will take awhile for the first batch of cubes dump as the timer may need to cycle completely around to get to the fill cycle... be patient.
Dump the first couple of batches of cubes just to make sure you're free of any residue.
-
Bernie from Diamond Bar, CA
-
Difficulty Level:Easy
-
Total Repair Time:30 - 60 mins
-
Tools:Nutdriver

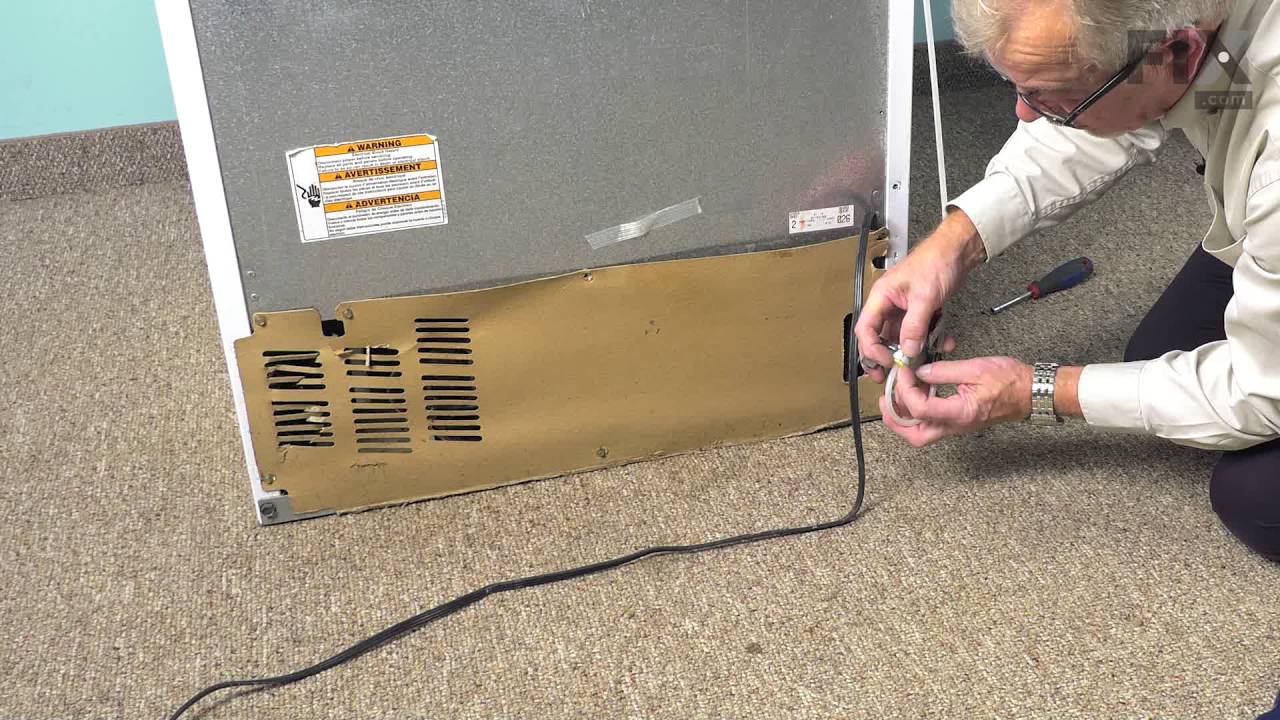
The single water inlet valve, also known as a water solenoid valve, is used for refrigerators. This part is a solenoid-operated switch that releases water from the supply line to the water valve and into the icemaker mold when activated. If your icemaker is making small cubes, does not dispense ice or water, or leaks, this replacement could solve the issue. The tools needed for this repair are a 1/4 inch nut driver and a utility knife. Refer to the diagram provided by the manufacturer for further instructions. As a safety precaution, remember to unplug your dryer from the power source.
Replacing your Kenmore Refrigerator Refrigerator Single Water Inlet Valve
Customer Repair Stories
-
Robert from Pittsboro, NC
-
Difficulty Level:Easy
-
Total Repair Time:15 - 30 mins
-
Tools:Nutdriver, Wrench (Adjustable)
-
Robert from Abingdon, MD
-
Difficulty Level:Easy
-
Total Repair Time:15 - 30 mins
-
Tools:Nutdriver, Wrench set

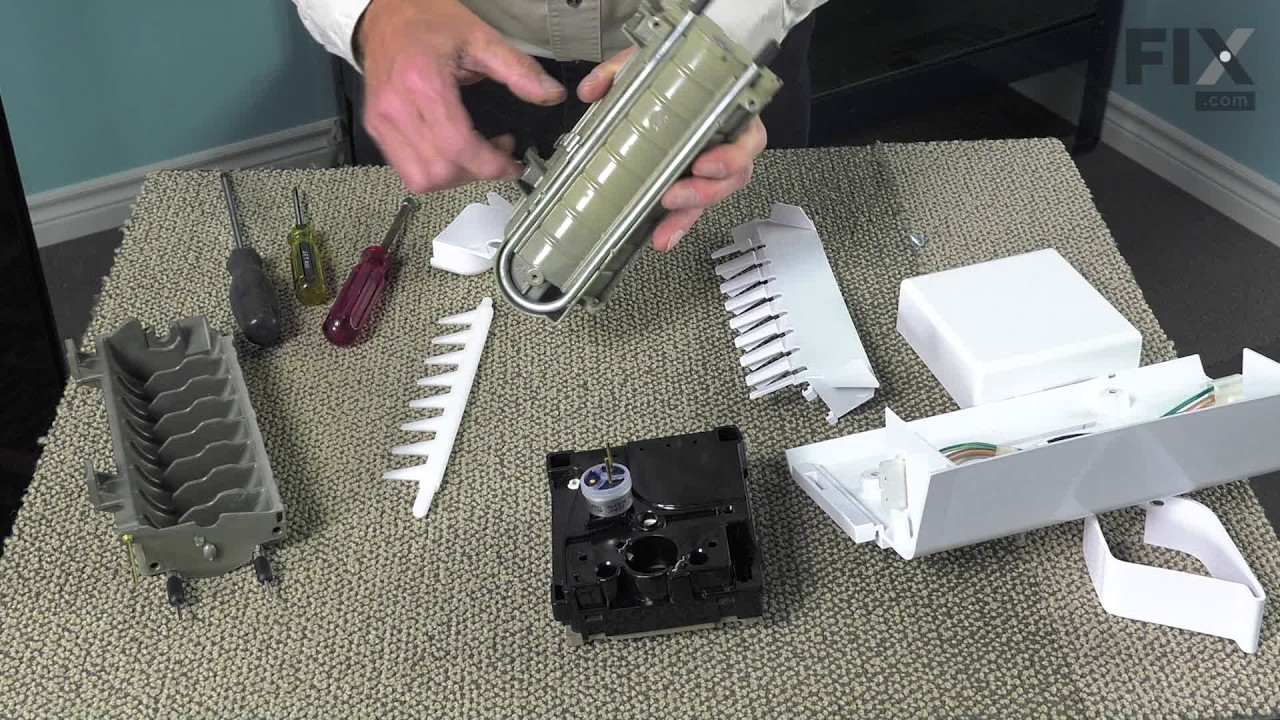
This is an ice maker mold and heater assembly for a refrigerator ice maker. It is used with modular style icemakers and is located in the freezer section of the refrigerator. This ice mold is flake resistant which prevents the coating on the mold from flaking into the ice cubes when the ice mold begins to wear. The ice mold forms the ice cubes and the heater allows the ice cubes to fall from the ice mold to drop them into the ice bucket. You will need to remove the ice maker from the refrigerator to access the mold and heater assembly. This is a genuine replacement part.
Replacing your Kenmore Refrigerator Refrigerator Ice Mold
Customer Repair Stories
-
Roger from Sunnyvale, CA
-
Difficulty Level:Easy
-
Total Repair Time:30 - 60 mins
-
Tools:Nutdriver, Screw drivers
-
George from Cottage Grove, MN
-
Difficulty Level:Really Easy
-
Total Repair Time:Less than 15 mins
-
Tools:Nutdriver, Screw drivers

This is a speed lamp clip, and may also be known as the water line spring clamp. It is used in conjunction with your refrigerator. If you have a leak at your fill tub, this part may be the reason. The function of this clip is to keep the fill tube and the water line connected. This will allow water to flow freely without leakage into your water/ice dispensers. This part is quite small, with less than a half-inch in outer diameter. The clip is an off-black, almost olive color, and is rounded.

This refrigerator ice maker fill tube is designed to channel water cleanly and accurately from the water inlet valve to the ice maker tray, supporting reliable ice production and preventing leaks inside the freezer compartment. Made from durable white plastic and formed with an elbow shape to ensure proper alignment, it helps prevent common issues such as frozen, cracked, or misdirected water flow. Replacement is recommended if the ice maker is not producing ice, water is leaking, or the tube shows signs of damage or blockage. Installing a properly functioning fill tube helps restore consistent ice output while protecting the refrigerator from moisture-related damage.
Customer Repair Stories
-
David from VESTAL, NY
-
Difficulty Level:Very Easy
-
Total Repair Time:15 - 30 mins
-
Tools:Pliers
2. Use pliers to remove tubing clamp.
3. Remove old water fill tube.
4. I used a putty knife to gently pry out the old fill tube from the back of the refrigerator. Once the fill tube pulls out about 1/4 to 1/2", then you ca ... Read more n gently pull the remainder of the tube out by hand. Once I removed my "old" fill tube, that is when I saw the "ice plug" that was causing pressure in the water supply line and caused my water line to pop off.
5. Install new fill tube. The end that goes in first needs to go through a small "ring" inside the freezer (this "ring" is not encountered until the fill tube only has about one more inch to be inserted into the back of the refigerator. I could barely see this "ring" if I opened the freezer drawer and stuck my head in as far as I could. I had to gently rotate the new fill tube until it cleared the "ring". You will feel some resistance until it lines up properly.
6. Snugly push in the part that stays on the outside of the refrigerator until it looks like it is sealed.
7. Gently push up the water fill tube where it belongs in the new part and replace the tubing clamp.
8. Turn your water on and make sure there are no leaks (I left my refrigerator out for about an hour).
9. Push your refrigerator back in place.
-
Michael from TAKOMA PARK, MD
-
Difficulty Level:Easy
-
Total Repair Time:30 - 60 mins
-
Tools:Nutdriver, Pliers

This refrigerator drip pan is a genuine replacement part designed to collect condensation from the evaporator coils during the defrost cycle. Positioned beneath the coils, it channels excess moisture away from the interior of the appliance, helping prevent leaks and water damage. The pan also promotes evaporation, aided by the warmth from nearby components like the compressor. If you're noticing water pooling inside or behind your refrigerator, replacing a damaged or missing drip pan can restore proper moisture control and protect your appliance.
Customer Repair Stories
Remove drip thing from top to tray in the back
Remove fan motor assembly. This is squirrely. Top bends towards you, bottom pushes in to the unit. Not fun.
CAREFULLY remove copper tube that rests on drip tray
Remove tray - there are clips in the front that get released by screwdriver
Clean up
... Read more />Replace new tray
Replace copper tube
Play with fan motor assembly till it fits. It doesn't look like it's gonna work until it does. See youtube videos on this.
Replace drip thing from top to tray - I forgot this one the first time.
Replace cover.
This is a simple, but squirrely, repair. Right on the border of easy (because so few tools and steps) and A Bit Difficult because of the patience required.
-
Thomas from MELBOURNE, FL
-
Difficulty Level:Easy
-
Total Repair Time:15 - 30 mins
-
Tools:Nutdriver, Screw drivers
-
David from Traverse City, MI
-
Difficulty Level:A Bit Difficult
-
Total Repair Time:15 - 30 mins
-
Tools:Nutdriver

Sold individually.
Customer Repair Stories
-
Daniel from SAINT ALBANS, VT
-
Difficulty Level:Really Easy
-
Total Repair Time:Less than 15 mins
-
Tools:Pliers, Socket set

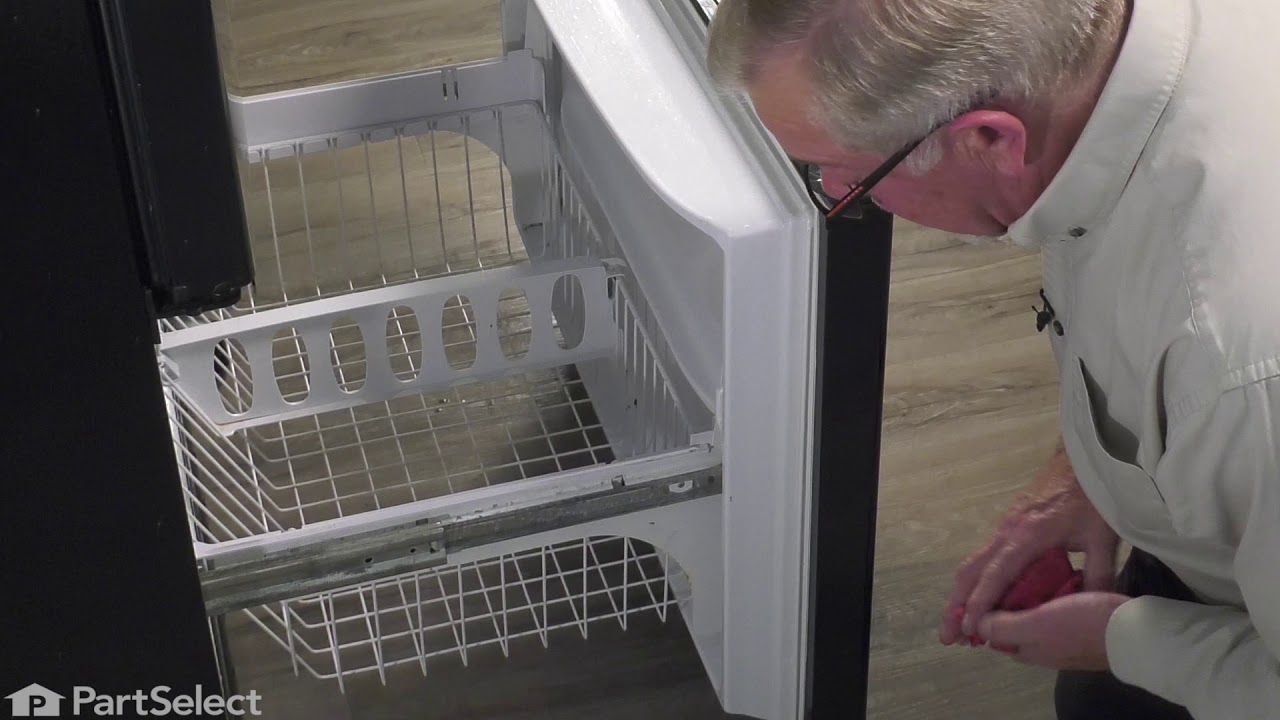
This black freezer door gasket is a high-quality replacement component designed to restore the seal integrity of select refrigerator models. Made from durable, flexible rubber, it forms a tight seal around the freezer door to prevent cold air from escaping and warm air from entering. This helps maintain consistent internal temperatures, reduces frost buildup, and prevents water leaks. Compatible with various models from Whirlpool, KitchenAid, Maytag, Jenn-Air, Amana, and other brands, it is an ideal solution for issues such as poor door closure, air leaks, or excessive frost. Installation may require careful alignment to ensure a proper seal; checking model compatibility before purchase is recommended.
Replacing your Whirlpool Refrigerator Freezer Door Gasket - Black
Customer Repair Stories
-
Joseph from OCEAN SPRINGS, MS
-
Difficulty Level:Easy
-
Total Repair Time:30 - 60 mins
I hope this was helpful...
-
Robert from EVERETT, WA
-
Difficulty Level:Really Easy
-
Total Repair Time:30 - 60 mins
-
Tools:Screw drivers