Your coupon for will be reflected when you check out!
✖
Your coupon for
✖
Hello!
You're visiting the PartSelect site in U.S.
Would you like to shop on the Canadian site?
Stay on this site
Go to Canadian site
✖
Model Number Locations
1Select Category Type
Select Category Type
2Select Product Type
Select Product Type
3Select {MODEL} Type
Select {MODEL} Type
Sample Model Number Tags
Model numbers can be made up of numbers (1005400, for example) or a combination of letters and numbers (LAT1000AAE). The model number will most likely appear on either a paper sticker or a metal plate. Your appliance's model number tag may look similar to the sample model number tags shown here (model number highlighted in yellow):
GSR23YBTASS General Electric Refrigerator - Overview
Save your modelModel Saved!
Save your model for later to make things easier.
Model has been saved to My Models. If you're not signed in, your lists are available on this device and will expire within 30 days.
Model has been saved to My Models.
This sensor (Temperature Sensor, Thermistor, Refrigerator Temperature Sensor) sends the temperature reading of the compartment to the control board. If you notice your refrigerator is too warm, too co...
The Module Shelf Insert is a complete assembly for the module shelf. This repair is rated as "Easy" by users. Simply remove the old shelf insert and snap the new one into place using the locking tabs....
If you notice that your refrigerator or freezer is noisy or too warm, you may need to replace the evaporator fan grommet. This part is red in color, and is about 1 inch in diameter. The evaporator fan...
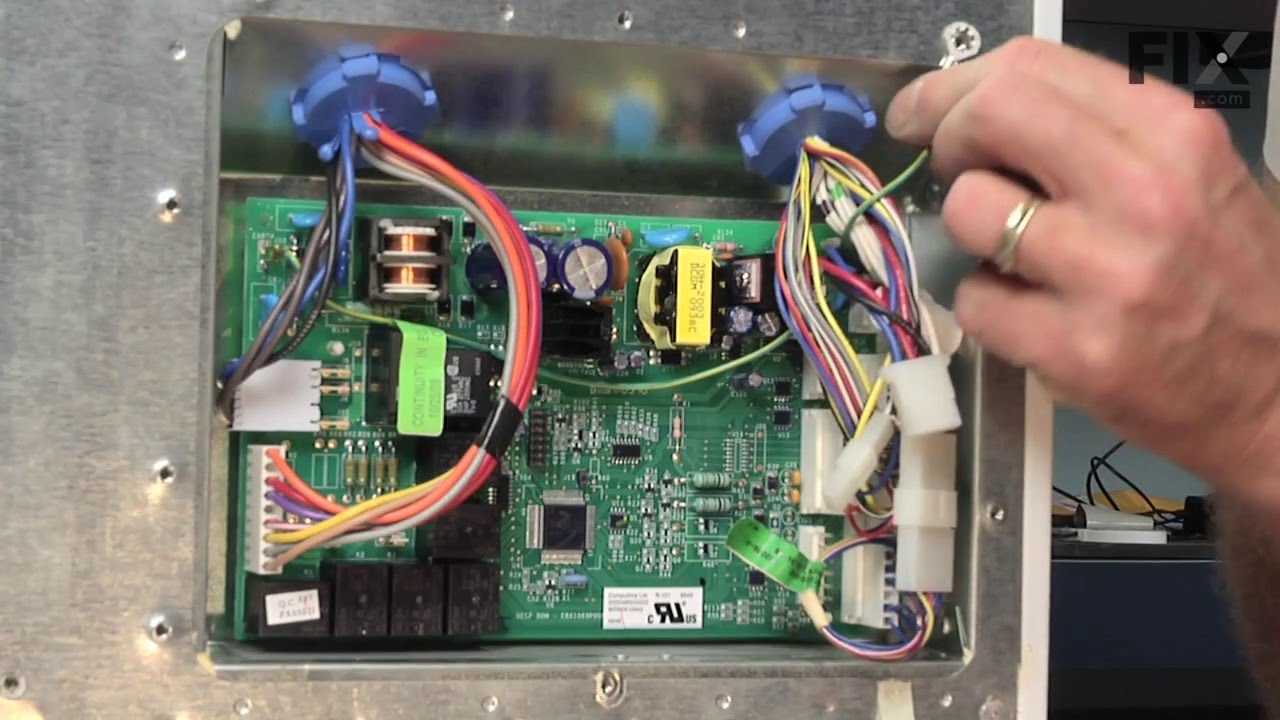
This electronic board (Main Control Board Assembly, Control Board, Motherboard) controls the temperature and defrost functions of the unit. This control board is located on the back of the refrigerato...
This 40-Watt light bulb is sold individually.
It is specially designed to withstand extreme temperatures, so this bulb is compatible with a variety of appliance types including refrigerators, ranges,...
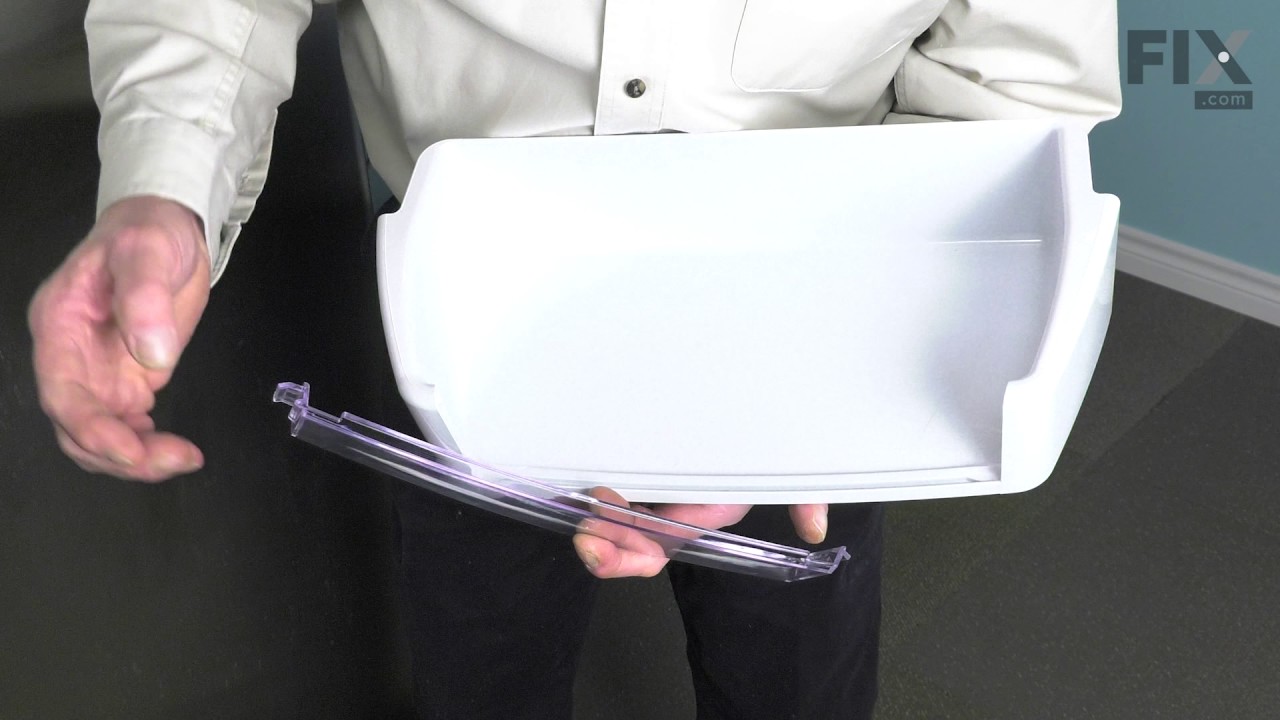
Sold individually. This door bin is for refrigerators.
Door bin attaches to the inside of the refrigerator door and typically holds jars and bottles.
Follow the instructions in the owner's manu...
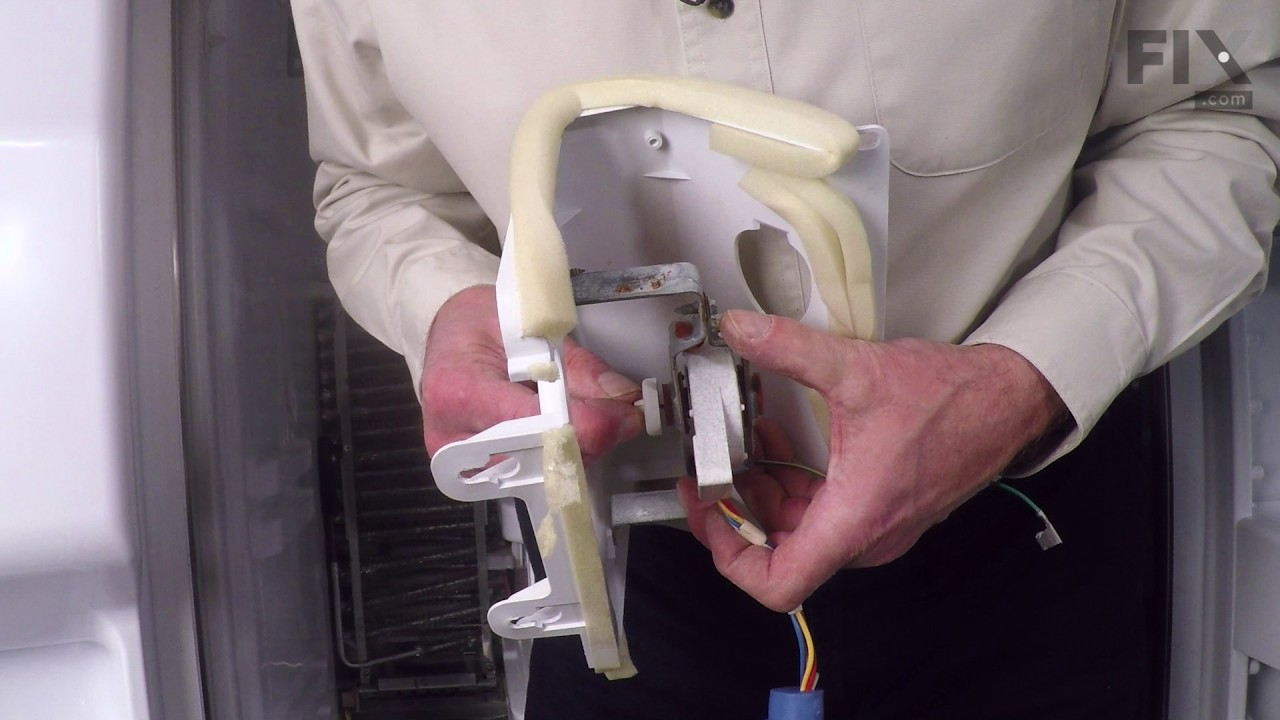
This kit includes damper, fan assembly, nozzle and gasket for nozzle. The damper and fan has been updated by the manufacturer to avoid freezing in the refrigerator. Also known as a damper assembly.
This fan motor circulates the air through the refrigerator grille and cools the compressor and condenser coils. It also helps to evaporate extra water in the drain pan.
This is the replacement door stop, also known as a door stop bracket, for your refrigerator. It is made of black plastic, and is approximately 3 inches long and 1 inch wide. The door stop bracket stop...
This refrigerator or freezer drawer handle is a genuine replacement part designed to restore functionality and appearance to your appliance. Engineered for a secure fit, it provides a reliable grip fo...
$52.13
In Stock
Order now and your part arrives by Jun 4
Questions And Answers for GSR23YBTASS
Be the first to ask our experts a question about this model!
✖
Ask a Question
Ask our experts a question on this model and we'll respond as soon as we can.
After checking the stories, the consensus of opinion was to change the mother board. I had a tremendous help from Tom Paone at quality@applianceeducator.com. He also told me to change the motherboard but to make sure that the coils were totally defrosted before starting up the refrigerator after changing the board.
Took off thr
... Read moreee nuts around the board at the back of the unit. Removed the input wires and you have to push in the plastic tabs holding the board in. Then just put the new board in place and push till the tabs click. Re-install the wires and put the cover back on.
Really simple task,
It is now a week since doing this and the unit is working perfectly. No soulds and good nights sleep. The ghost has moved on.
I went to a GE repair center to explain my problem, the service center reccomended that I have a techinician come out o look at it. $75.00 for the visit and what ever labor and materials wuld cost.
I went on line to see if there were others having this same problem and found that there were many with the same problem.
... Read more />After reading some of the ways that people found out what was wrong ...it became a matter of three components, the timer, heater or thermostat.
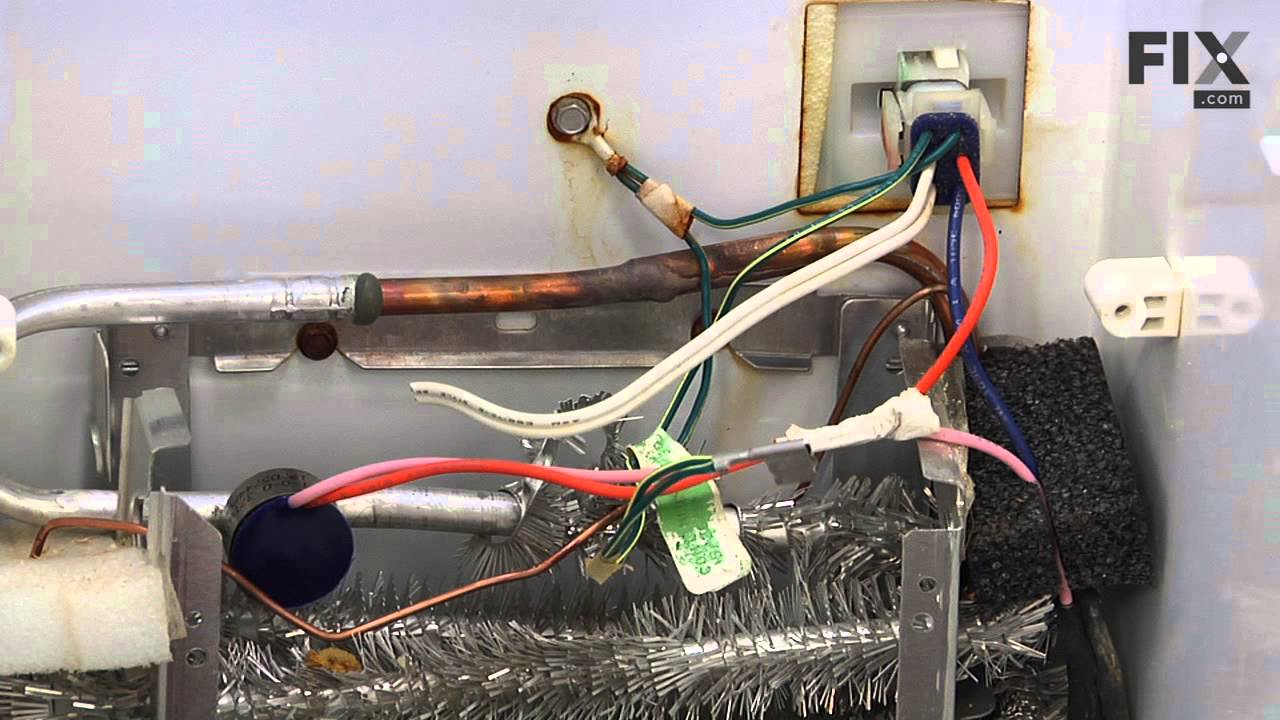
I tried the most common component and the less expensive one first , the thermostat switch I installed it very easily snipping two wires and attaching the news using wire nuts I used the diagram on this website to pinpoint the component and there has not been a problem since.
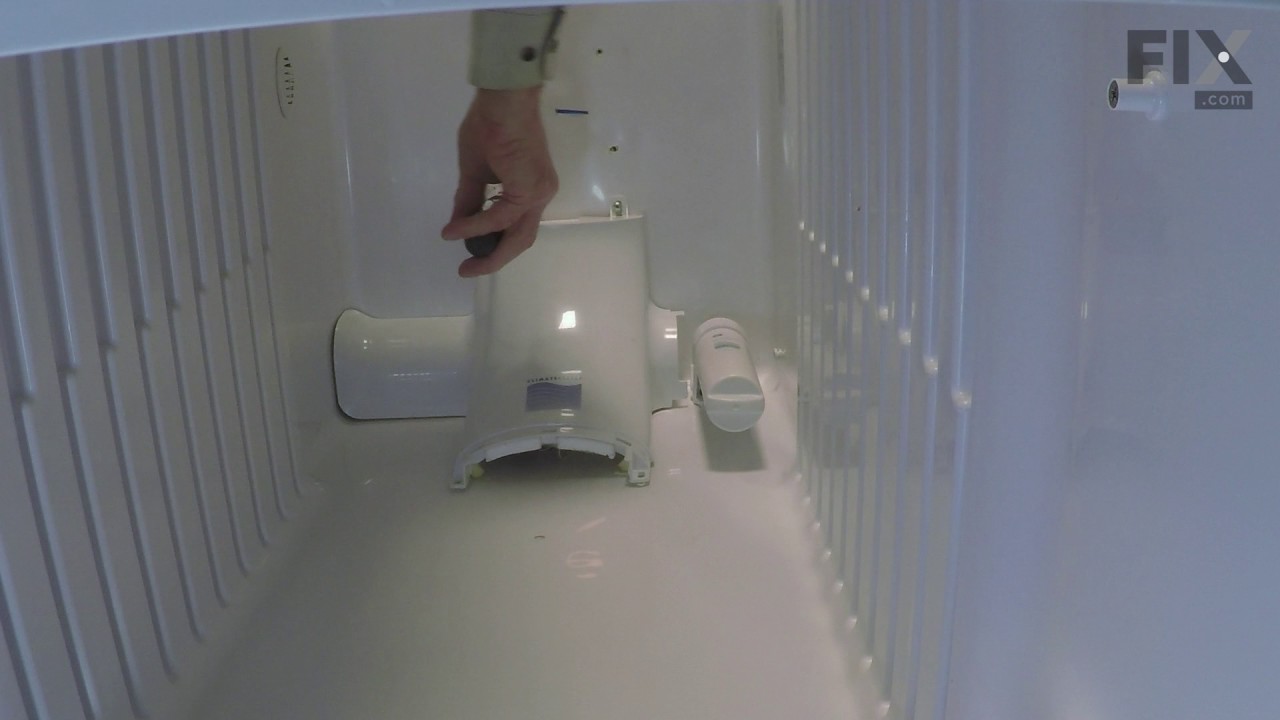
My repair experience was a little more complicated than previous posts, but nothing major. And most importantly replacing the Fresh Food Air Inlet Cover did fix my problem. Here are the steps I followed: 1. You will need to remove a minimum of the top two shelves to get access to the Air Inlet Cover. It runs along the back of the
... Read more fridge and connects to a hole to the freezer side. It has a little fan inside that sucks the cold air from the freezer and diverts to the top and bottom of the fridge. 2. As mentioned in other posts, there are four screws holding the Inlet Cover in place, 2 lower and 2 upper. To get access to the lower two screws,you simply pop off the lower duct assembly (squeeze the sides). Be careful when removing and installing these screws. If you drop one into the lower duct, you will add a few more steps to the installation to remove more shelves and take out the lower duct to get to where the screw fell. Obviously this happened to me. Not difficult to do, just adds more time. 3. To access the upper two screws I had to remove the top light cover (one screw) and then slide out the top duct/diffuser assy (my name, not GE's). 4. Finally to get clearance to pull out the Inlet Cover, I had to remove the water filter and cover. When you pull away the Inlet Cover, you will see the electrical connection that is simple to disconnect. 5. After I removed my Inlet Cover, it was obvious that it was broken because it rattled and I could peek inside to see that the plastic air diverter/flapper thingy was broken. 6. One final surprise was that the replacement Air Inlet Cover did not exactly match the one I removed. The replacement only had one upper air outlet, while my old one had three upper outlets, left, right and center. I noticed there was a plastic cover over one of the side outlets on the replacement, so I just popped that off and hoped for the best. 7. The replacement Air Inlet Cover Kit came with sticky back insulation that you attach to where the Inlet Cover meet the freezer access hole to make sure snug fit to limit extra cold air leaking into the fridge side. 8. Installation of the replacement Air Inlet Cover was fairly easy, just follow the above steps in reverse and make sure you don't drop any screws. It's been a couple of weeks since I performed this installation and my fridge has been maintaining temperature perfectly. No more frozen milk or lettuce. The wife is very happy.