Your coupon for will be reflected when you check out!
✖
Your coupon for
✖
Hello!
You're visiting the PartSelect site in U.S.
Would you like to shop on the Canadian site?
Stay on this site
Go to Canadian site
✖
Model Number Locations
1Select Category Type
Select Category Type
2Select Product Type
Select Product Type
3Select {MODEL} Type
Select {MODEL} Type
Sample Model Number Tags
Model numbers can be made up of numbers (1005400, for example) or a combination of letters and numbers (LAT1000AAE). The model number will most likely appear on either a paper sticker or a metal plate. Your appliance's model number tag may look similar to the sample model number tags shown here (model number highlighted in yellow):
Model has been saved to My Models. If you're not signed in, your lists are available on this device and will expire within 30 days.
Model has been saved to My Models.
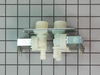
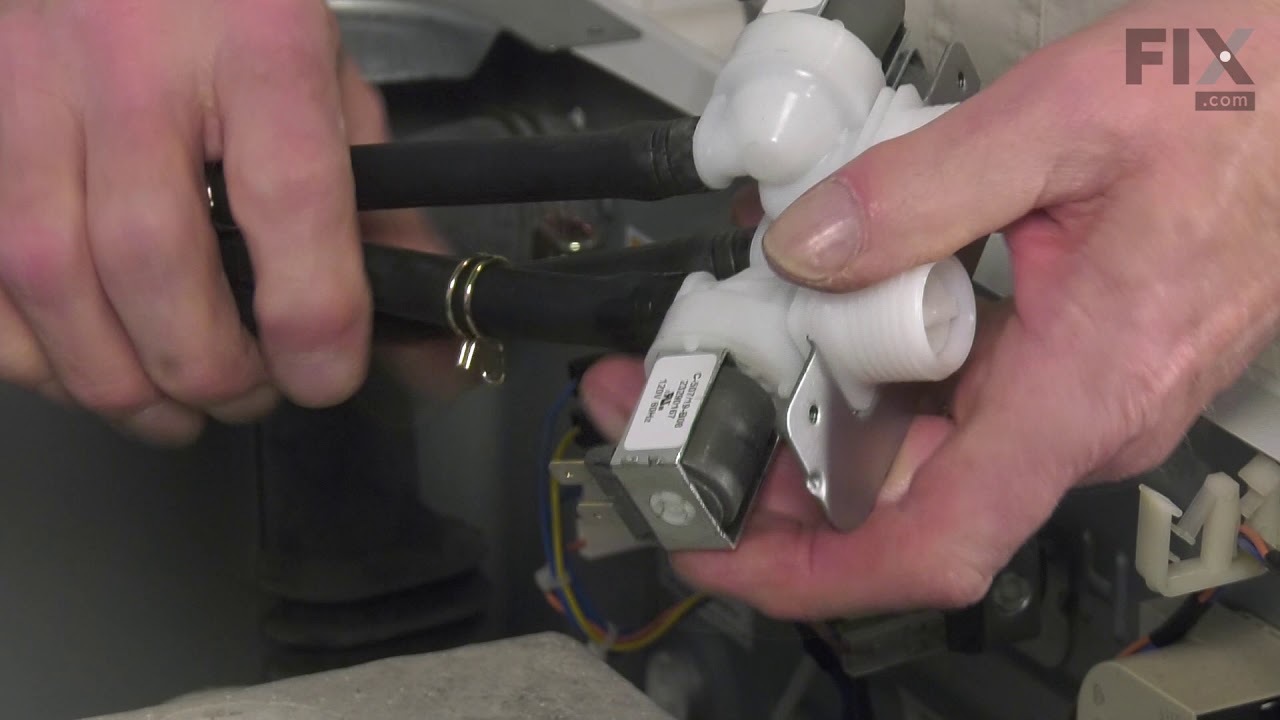
This is the replacement water valve for your washer. It has 2 inlets and 3 outlets. The water valve connects to the water source and solenoid wires, and ensures the tub has the right amount of water e...
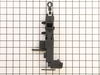
Ensure safe and reliable operation of your front-load washer with this door lock assembly. This genuine OEM component secures the door during wash and spin cycles, preventing it from opening until the...
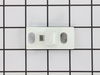
This part is the replacement door plunger or door strike for your washer. It is made of white plastic and is approximately 2 inches by 1.5 inches. The door strike attaches to the washer door and activ...
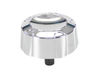
Enhance the functionality and ease of your GE dryer with this GE Control Knob. This key component allows you to accurately adjust your dryer's cycle settings, providing you a streamlined laundry exper...
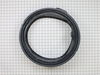
This washer drive belt connects the motor to the drive system, enabling the drum to spin during wash and spin cycles. Designed with a 7-ribbed, 6-grooved structure, it ensures efficient power transfer...
Enhance the functionality of your GE appliance with this high-quality inside drain hose. This integral component plays a vital role in facilitating the efficient draining of your appliance. Expertly d...
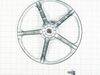
This drive pulley kit is a critical component that transfers power from the motor to the washer drum via the drive belt, enabling smooth agitation and spin cycles. Designed for durability and a precis...
Imagine the ease of cooking with a perfectly functioning cooktop, courtesy of our genuine Whirlpool Infinite Burner Switch. This authentic OEM part will seamlessly fit your Whirlpool model, promising ...
I called a repair person to check my 15 months old GE front loader washer that stopped in rinse mode. After his inspection he said it was a deffected computer board and it would be very expensive to replace the 3 computers boards inside and it would be cheaper to buy a new top loader washer. The next day I lifted the top cover and foun
... Read mored a taped plastic envelope with instructions titled “For service Technicians Only." On page 2, instruction on to how to enter the washer in to service mode and to test the washer: Press : Signal, Delay, Signal, Delay (within 30 seconds of plug in washer) Then rotate main knob to #102 and press Start:(the washer did a test for finding the problem) , and for me was : E22 , it means : replace solenoid valve assembly. So I order the part from Partselect.com for $58.00 and my Washer runs beautiful, thanks to the instructions inside.
Remove bottom kick plate of washer. Remove 4 screws behind door that hold the latch/lock assembly. Reach up inside the washer from underneath to unplug 3 wire connectors. (This is a very tight spot). Once wires are off, part comes right out. Connect wires to the new part - this is by far the most difficult part of the job because it
... Read moreis way up inside the washer. Replace all bolts. Overall, pretty easy to do - just reconnecting the wires is a pain, but if you are patient it is not a big deal.
Removed three 7mm sheet metal screws from the bottom front panel. The drain pump is in the front right. Removed the manual drain screen to drain residual water from the system. A bucket was necessary to collect all the water. Disconnected the inlet and outlet hose. Disconnected the electric supply. Removed two Phi
... Read morellips screws holding the pump to the bottom of the machine. Slid the pump towards the rear to clear the support pegs and removed it from the front opening. Installation is the reverse of those steps.