Your coupon for will be reflected when you check out!
✖
Your coupon for
✖
Hello!
You're visiting the PartSelect site in U.S.
Would you like to shop on the Canadian site?
Stay on this site
Go to Canadian site
✖
Model Number Locations
1Select Category Type
Select Category Type
2Select Product Type
Select Product Type
3Select {MODEL} Type
Select {MODEL} Type
Sample Model Number Tags
Model numbers can be made up of numbers (1005400, for example) or a combination of letters and numbers (LAT1000AAE). The model number will most likely appear on either a paper sticker or a metal plate. Your appliance's model number tag may look similar to the sample model number tags shown here (model number highlighted in yellow):
Model has been saved to My Models. If you're not signed in, your lists are available on this device and will expire within 30 days.
Model has been saved to My Models.
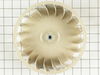
If your dryer is noisy, will not tumble, or is not producing enough heat, you may need to replace the blower wheel. This part is white in color, and is made of plastic. This part is approximately 8 in...
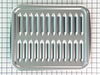
This broiler pan and roasting rack set is designed to help reduce mess while cooking by allowing grease to drain away from food. Its durable porcelain-coated construction stands up to high temperature...
This black oven thermostat knob is just over two inches in diameter. It has a chrome trim around the perimeter of the knob and white lettering denoting the various temperature within the oven.
This part is found in your gas range, also known as spark electrode. This part helps your burner ignite and produce flame. This will need to be replaced if it is no longer providing spark to start the...
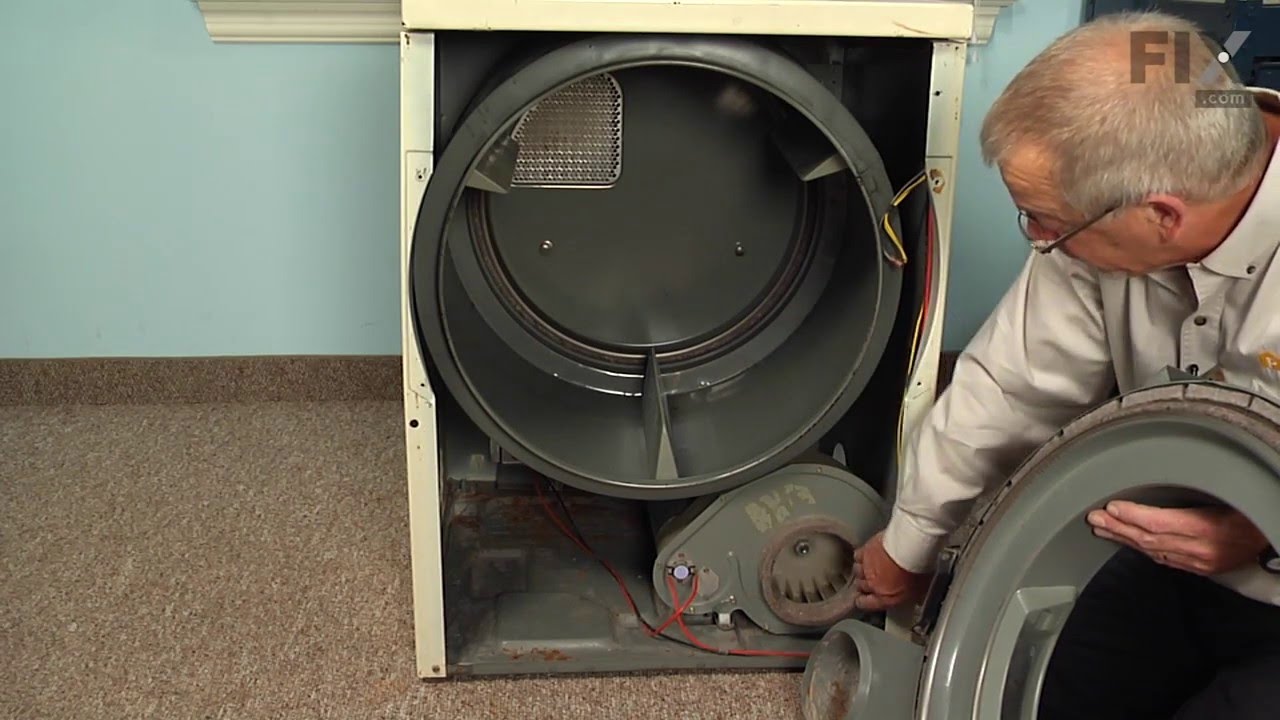
Unplug the power cord from the unit. Remove the lower front panel; then the upper front panel including the door (unplug wire to door switch). Then remove the cover on the fan housing. Need to block the motor from turning; I used a stick to jamb the front of the motor; then unscrew the old blower fan and screw on the new one. Then repla
... Read morece the cover and put front panels back on.
Because the wheel had stopped and the shaft kept turning (junk from child's pocket got in there), the nut stripped itself away from the wheel causing low RPM and low air movement (lazy flame, vibration and clothes not drying)
I had to use a screwdriver to break the wheel away from the center nut and remove the fan. I then remo
... Read moreved the air fan housing (3 bolt behind the fan wheel). I used a small pair of vise grips to hold the motor shaft staionary while I used a pair of channel lock pliers to remove the nut that was molded into the fan from the motor shaft. It was harder to get the nut started then I would have thought.
Once complete, I put the fan housing back on and threaded the new wheel on easily. The motor has external fins on it which turn with the shaft-I held one lightly while I threaded the fan on to keep the shaft from turning. Tighten just slightly more than hand tight-don't go crazy-it's threaded to stay tight with rotation. Works great and very quiet now.