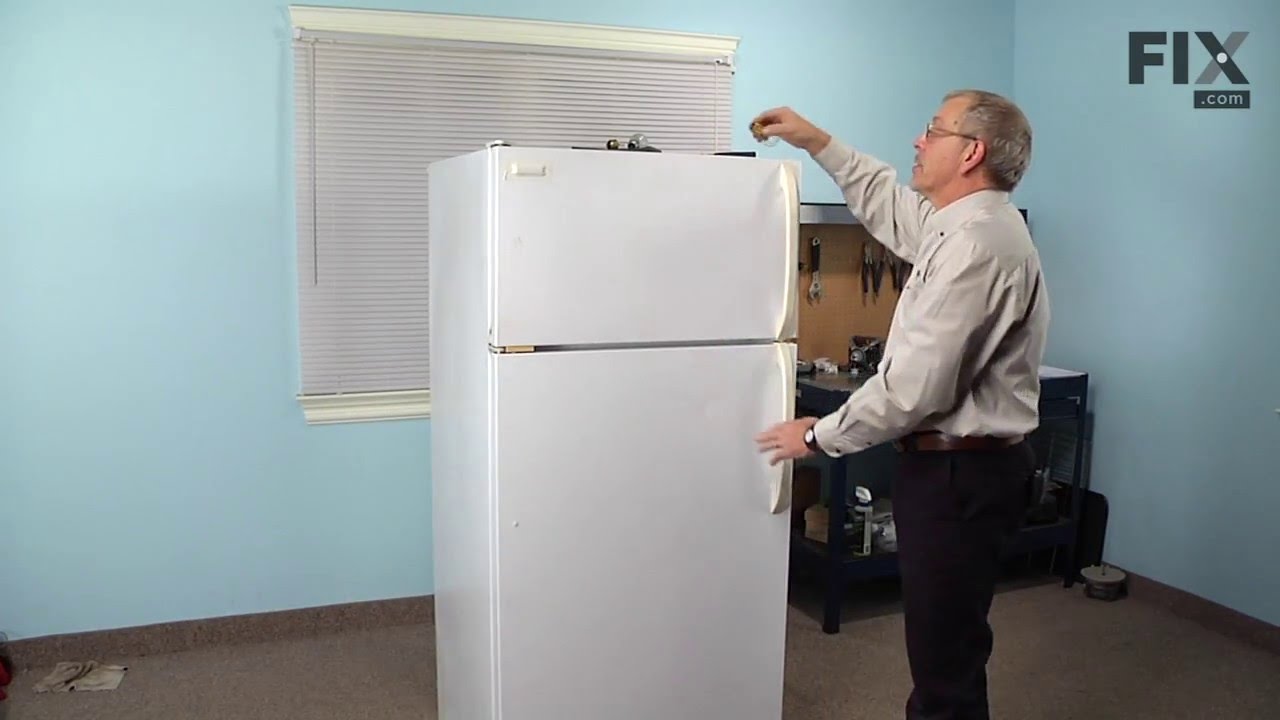
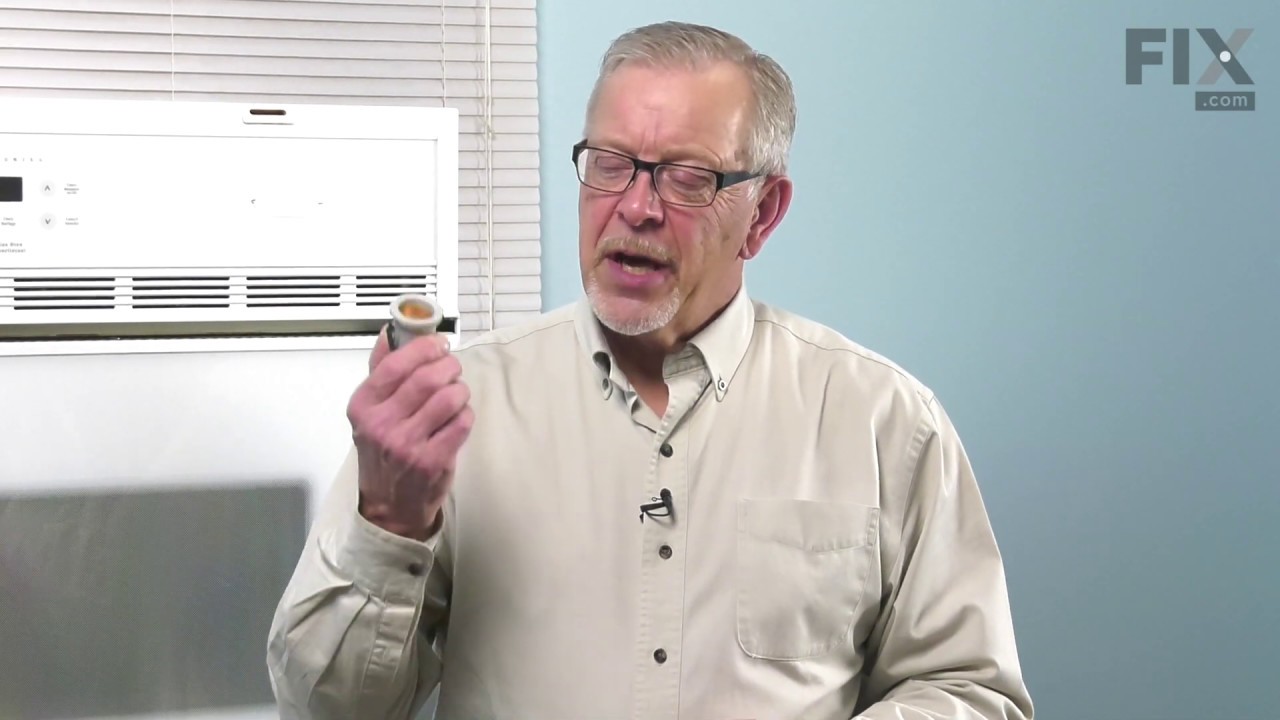
This OEM 40 watt appliance light bulb is used for some ranges, refrigerators, freezers, and microwaves. Simply locate the existing bulb, unscrew it from its socket, and replace with new light bulb. If the existing bulb is broken in the socket, disconnect the power to the refrigerator and use a pair of needle nose pliers to grip the intern...Read moreal fragments of the bulb to unscrew. Replace with the new bulb and reconnect the power to the refrigerator. These bulbs are sold individually and are a commonly replaced part; consider ordering a spare.
Terminal block kits are also known as terminal boards, or terminal strips, and they are found in a wide variety of household appliances. Most often in ranges, wall ovens, and dryers. This kit attaches the power cord to the inner wiring of your appliance. If the terminal block is faulty, your appliance will not get the power it needs to op...Read moreerate properly. When removing the old block pay close attention to the wire placement, this will make installing your new part much easier. If you notice any of the wires or wire terminals are corroded or damaged they will also need to be replaced.
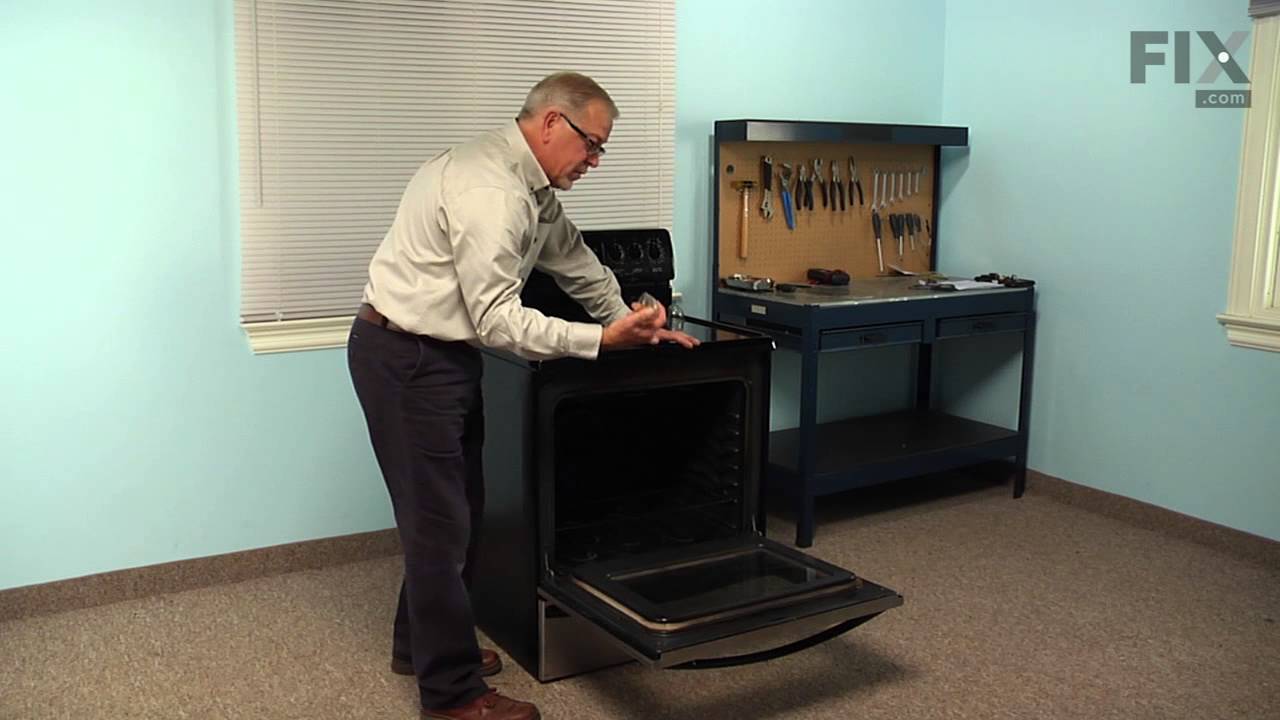
The Frigidaire light bulb lens covers the interior light bulb in an oven. No tools are necessary to replace this item. After unplugging the appliance, slide off the wire bracket to remove the existing light bulb lens. Be sure to remove all broken glass, if applicable, before installing the new lens. It is recommended to check the state of...Read more the light bulb while the lens is off. This part is made of glass. The lens is a genuine Frigidaire part, sourced directly from the manufacturer, and is sold individually.
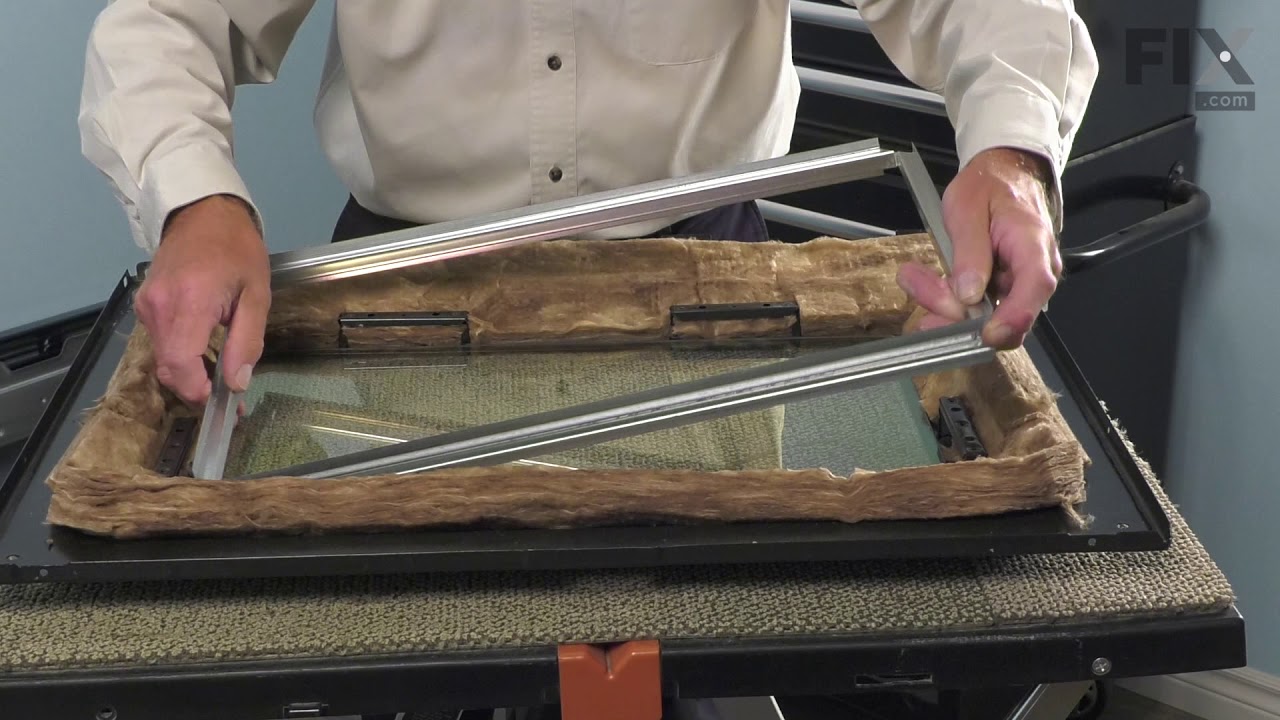
This tempered glass is supplied by the original manufacturer and measures 20 inches by 13 inches. It is an inner door glass, designed for use in ranges/ovens and has several purposes which include providing heat insulation, acting as protective barrier, and providing an opening to monitor the cooking/heating process. Over time the glass c...Read morean break or break from impact, thermal shock, or improper installation. If the glass is defective, it needs to be replaced promptly to avoid leaking, loss of insulation and potential harm to the user. Remove any fasteners or clips that secure the glass and carefully dispose of it. Position the new glass in the same position and secure it appropriately.
The temperature sensor, also known as an oven probe, helps measure the temperature within the oven cavity. If your oven is too hot, not heating evenly, has little to no heat when baking, or flashing F3/F4 error messages on your control board, you may need to replace this part. This part measures 6" long and is made of metal. Please make s...Read moreure to disconnect the power to your oven range before starting this repair. This temperature sensor is a genuine OEM part.
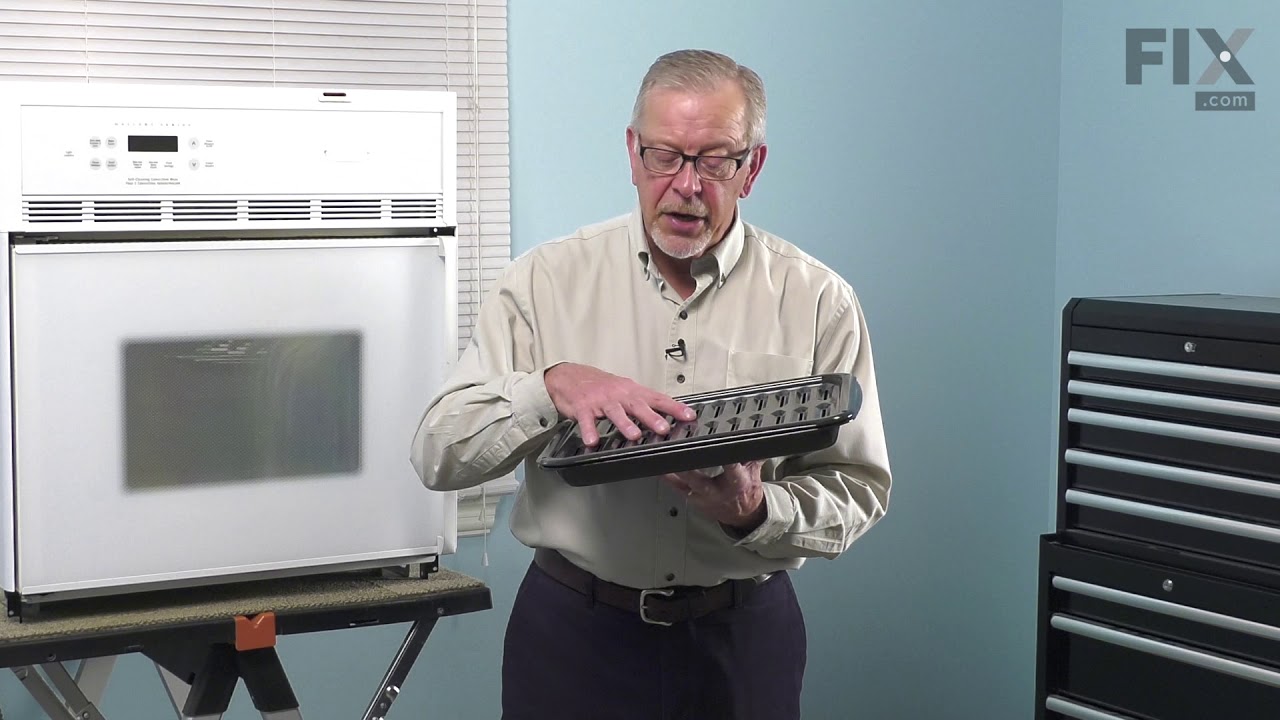
This OEM broiler pan and grate insert are cooking accessories used in your oven to broil food. The pan catches drippings and prevents them from falling into the appliance, while the grate insert ensures the food is cooked evenly. You can usually find them at the bottom of your appliance. If your broiler pan and grate insert are broken, yo...Read moreur food may not cook evenly and the drippings may fall into your appliance. Additionally, it can be difficult to clean a damaged pan or grate. These authentic accessories come together when you purchase them, ensuring that you can enjoy evenly-cooked food without any mess.
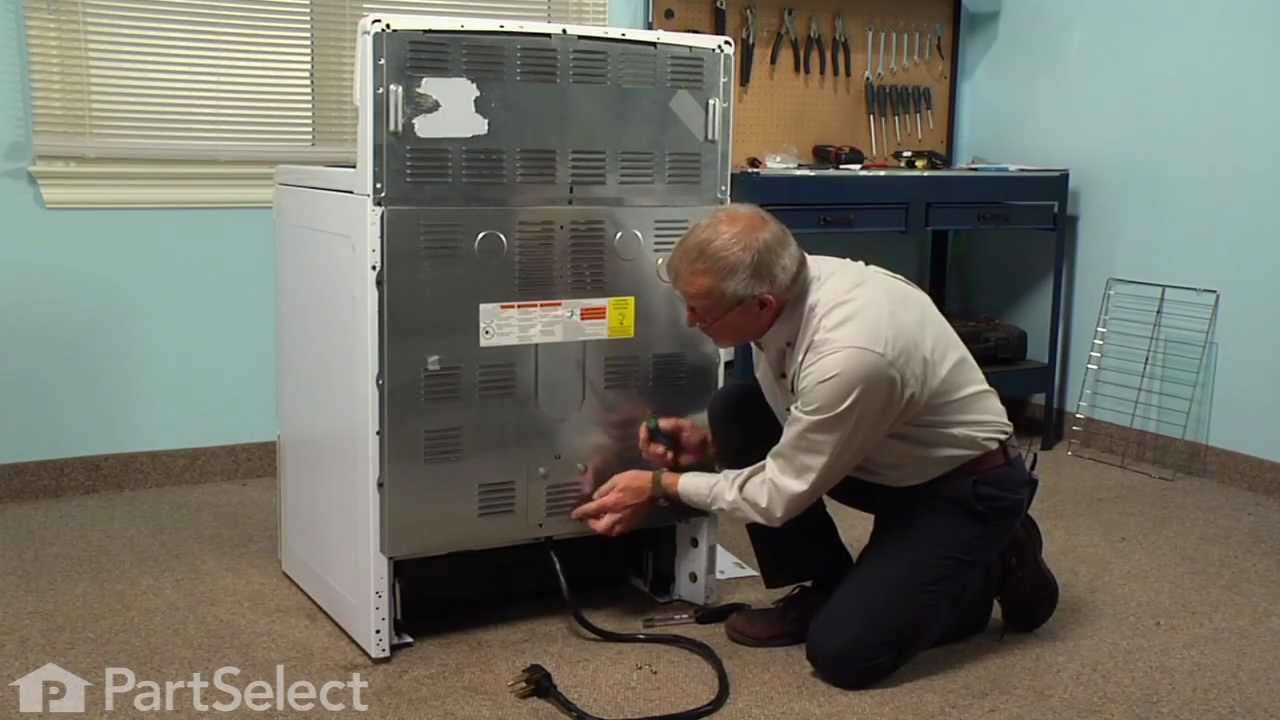
The oven light socket allows you to screw in a light bulb so that you can see the inside of your oven. The light socket is located in the back of your oven, so you will need to remove the back panel to access the socket for the repair. You will also need to remove the current light bulb and the light lens cover so that the old socket can ...Read morebe removed. As you will be working around electrical circuits for this repair, be sure to disconnect the power source from the oven before you begin work on the oven.
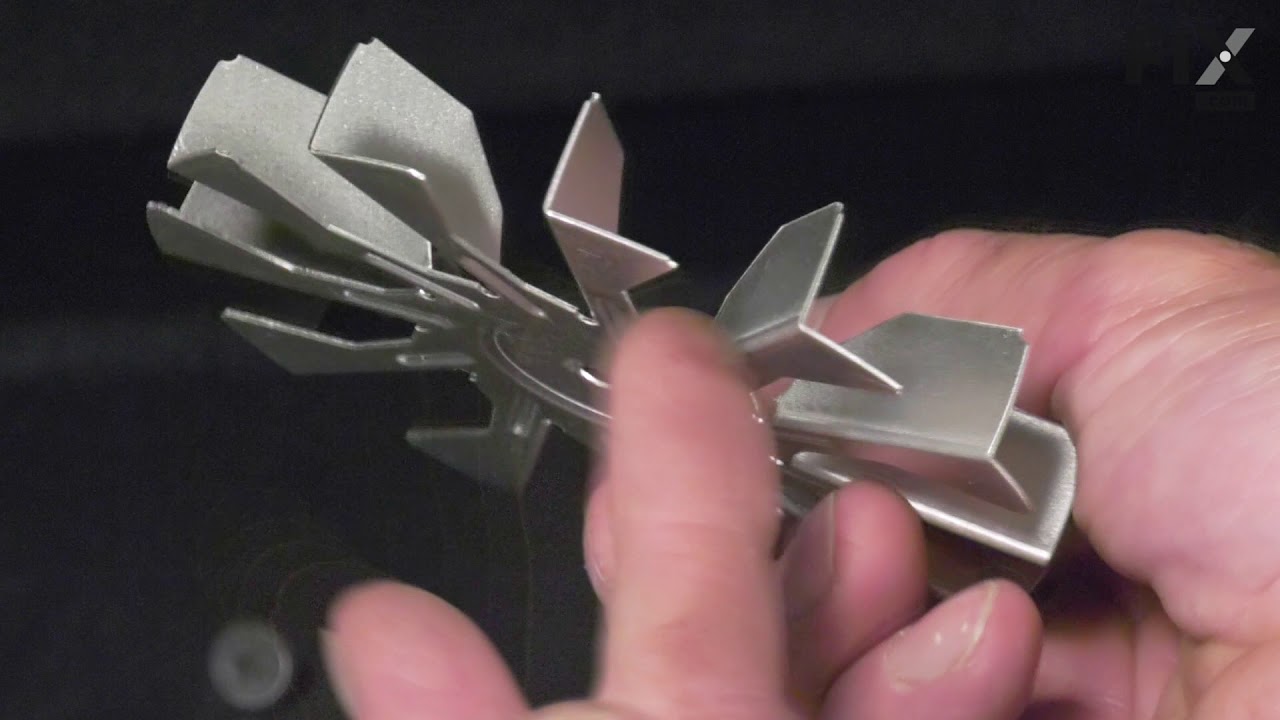
This authentic OEM high-limit thermostat, also known as a limit switch or cooling fan thermostat, serves as a safety feature to prevent the oven from overheating. It monitors the temperature inside the oven and activates the cooling fan when the temperature exceeds a certain limit. The cooling fan helps dissipate heat and maintain a safe ...Read moretemperature. The high-limit thermostat is usually situated inside the top panel. If the high-limit thermostat is broken or faulty, the cooling fan may fail to turn on, leading to excessive heat buildup inside the oven. You might also notice that your food cooks unevenly since the oven struggles to maintain the desired temperature. In some cases, if the high-limit thermostat is completely non-functional, the oven may not heat up at all. You can test the sensor at room temperature by measuring the resistance between the two prongs at the end of the sensor connector. The resistance should read approximately 1080 - 1090 ohms at room temperature. To access the thermostat, refer to your user guide for detailed instructions. Generally, you need to ensure the power is disconnected at the breaker, lift the top panel on its hinges, remove the screws on the plate under the burners, take out the burners and plate, disconnect the wires from the old thermostat, and remove the mounting screws to release it. Please note that the replacement part is sold separately from the cooling fan.
As per the factory, the original part was 19 3/4 inches and the new substituted part is 16 1/4 inches. According to the factory, this part will still work with your appliance.
Ask our experts a question about this model and we'll get back to you as soon as possible!
We may have answered a similar question already! Search questions and answers left by others using simple keywords like "fit", "broken", "easy", or "quality" to find questions that match.
Search filter:
Clear Filter
Your search term must have 3 or more characters.
Sort by:
Prev
1
Next
Sorry, we couldn't find any existing answers that matched.Try using some different or simpler keywords, or submit your new question by using the "Ask a Question" button above!
Helene - For model number CPES3085KF6
January 2, 2020
Why did the oven racks shrink? They no longer fit in to the rails but falls to the bottom of the oven.
Hello Helene, Thank you for the question. The racks didn't actually shrink. Over time the heat can case the Oven Interior to warp.I have researched the model you have provided and have found the part you are looking for is Manufacturer Part Number 318261452. I looked up the part and it is listed as No Longer Available/Discontinued sorry. There are no part substitutions listed. My suggestion here would be to call the manufacturer and see if they can provide you with a substitution for these part numbers. We hope this helps!
Hello My problem is the oven temperature climb too fast and doesn't cook the food.
Hi Tony,
Thank you for your question. If the oven is not heating correctly, the issue may be with the oven sensor. The oven temperature sensor is the part that monitors the oven temperature and signals the electronic control board to turn the elements on and off. Before removing this part from the oven and testing it with a multimeter for continuity, unplug the oven from the electrical outlet. To test the sensor, you will need to reference your owner’s manual to determine what the correct reading should be for your model, as this varies from model to model. To test it for continuity, use a multimeter on the Rx1 setting and touch the terminals with the probes. This test needs to be done with the sensor at room temperature to produce accurate results. If your test results do not meet the manufacturer’s guidelines, you need a replacement temperature sensor. If the sensor is fine, you will need to check the elements, the electronic control board and the wiring between the parts to see which one is causing the issue. If you have any questions, please let us know. We are open 7 days a week. We look forward to hearing from you!
Oven doesn’t
Work,
Won’t reach the temp selected,
Stays warm that’s it
Hi Joyce, thank you for getting in touch. Based on our understanding, the issue could be with the oven temperature sensor, part number PS11758156. It monitors the internal temperature of the oven cavity to ensure accurate and consistent heating. You may need to replace it to fix the issue. We hope this sorts out your problem!
How do i replace a broken glass top on this range?
Hi Bernie, thank you for your question. Unfortunately we do not have a video for installation on your appliance specifically. However, we do have many videos that show how to replace the elements underneath of glass cooktops. You can view them here: https://www.youtube.com/user/partselect/search?query=glass+top. That should help you with your installation. Good luck with your repair.
Was this helpful?
Thank you for voting!
Prev
1
Next
✖
Ask a Question
Ask our experts a question on this model and we'll respond as soon as we can.
See how others fixed this model. Time, tools, difficulty, and steps that lead to victory!View More
Search repair tips from other customers using simple keywords like "replace", "fit", "remove", "inspect". DIY doesn't mean you have to do it alone!
Search filter:
Clear Filter
Your search term must have 3 or more characters.
Cord was not tightened enough by delivery crew.
109 of 174 peoplefound this instruction helpful.
Timothy from Spring Valley, AL
Really Easy
15 - 30 mins
Screw drivers, Socket set
PF alarm appeared on display. Noticed clicking when cord was moved. Had arced for some time and melted original block. New part slightly different. Only has 3 lugs, old one had six. Stack using washers provided. Take note of colors before disassembly. Use caution while working through access opening. The edges are sharp. Only tools neede
... Read mored are phillips screwdriver, deep socket for lug nuts. Nut driver optional. Hope this is helpful.
Read less
Was this helpful?
Thank you for voting!
Cracked oven door inner glass
76 of 135 peoplefound this instruction helpful.
Mitch from Fernandina Beach, FL
Easy
15 - 30 mins
Screw drivers
Repair was quite easy, as long as you have the instructions for removing the door. The screws that hold the bottom of the door to the fixed hinge are placed into the side of the hinge assembly after removal; this holds the door at a 45 degree angle for easy removal. After that, just place the door on a flat surface and dismantle the door
... Read morefrom the inside. The inner glass is contained in a metal frame with another piece of glass; this frame comes apart easily using the clips in each side. The door assembles easily after the glass is replaced; just take your time and give yourself enough room to lay out the parts as you go. Good luck!
Read less
Was this helpful?
Thank you for voting!
Oven light receptacle broken - bulb base broke off
69 of 118 peoplefound this instruction helpful.
Paul from Spokane Valley, WA
Easy
30 - 60 mins
Screw drivers
Turned power off at electrical panel. Pulled oven away from wall. Removed back cover (6 screws), then unplugged wires from old receptacle. I had to pull the squeeze clips backwards & break them to remove the old receptacle - couldn't squeeze them enough to remove them otherwise. The old receptacle came out through the inside of the oven,
... Read moreand the new one snapped in easily from inside the oven as well. Replaced wiring, installed new bulb, restored power & tested. Replaced back cover. Good time to vacuum under/behind where the oven usually lives before sliding it back to the wall.


 My Orders