













CED7011LW1 Whirlpool Dryer - Overview
Sections of the CED7011LW1
[Viewing 1 of 1]
Keep searches simple, eg. "belt" or "pump".

Maintenance Kit
PartSelect #: PS373087
Manufacturer #: 4392065
The drum support roller kit (Dryer Repair Kit) allows the dryer to tumble properly by supporting the drum cylinder. The idler pulley provides the tension required for a multi-ribbed belt. The belt att...
$35.80
In Stock

Dryer Repair Kit
PartSelect #: PS373088
Manufacturer #: 4392067
This Whirlpool Dryer Repair Kit is a convenient solution for fixing noise and drum movement problems in 27-inch dryers. Compatible with models from Whirlpool, Kenmore, Maytag, and more, the kit includ...
$38.96
In Stock

Dryer Door Handle - White
PartSelect #: PS11731583
Manufacturer #: W10861225
This white OEM dryer door handle is used to open and close the dryer's door. Comprised of plastic and 6-by-2-inches in dimension, the handle is sold individually and attaches to the dryer door. Your d...
$45.29
In Stock

Heating Element Connection Wire Kit
PartSelect #: PS334206
Manufacturer #: 279457
This kit is used for electric clothes dryers, and it comes with a yellow wire nut.
$9.62
In Stock

Touch-Up Paint - White
PartSelect #: PS385132
Manufacturer #: 72017
This touch-up paint can be used on a wide variety of household appliances. It is most often used on washers, dryer, refrigerators, dishwashers, ranges, freezers, trash compactors, or microwaves. It is...
$24.15
In Stock

Spray Paint - 12 oz. - White
PartSelect #: PS347819
Manufacturer #: 350930
Appliance spray paint is a great way to cover up any chips and scratches that have appeared on your appliances. Instead of replacing the part entirely, this is an easy fix. This is also a great way to...
$36.85
In Stock

Stacking Kit
PartSelect #: PS888067
Manufacturer #: 8541503
This kit comes with 2 adhesive pads, 2 brackets and 4 screws. This is for stacking the appliances vertically - dryer over washer.
$46.34
In Stock

Drying Rack
PartSelect #: PS346849
Manufacturer #: 3406839
Need to dry shoes or sweaters without the tumble? This handy drying rack makes it easy. It fits right into the back of your dryer—no tools needed—and stays still while the drum spins, so your items ge...
$56.33
In Stock

Terminal and Wire Kit
PartSelect #: PS334181
Manufacturer #: 279318
This dryer terminal and wire kit is designed to replace damaged or worn wiring that connects to the terminal block, helping restore proper electrical function and heat performance. The kit includes re...
$58.42
In Stock

Side and Bottom Vent Kit
PartSelect #: PS3633049
Manufacturer #: W10470674
This kit is used for the bottom and side exhaust. The kit includes both the straight and elbow vent.
$72.00
In Stock

RACK-DRY
PartSelect #: PS1487158
Manufacturer #: 8212450A
Maximize the efficiency of your Whirlpool 27 inch dryer with this genuine OEM drying rack. It's specifically designed for dryers with lint screens located inside the front door opening. What makes thi...
$72.00
In Stock

Stack Kit
PartSelect #: PS12069913
Manufacturer #: W10869845
Explore the convenience of saving space in your laundry room with the Whirlpool long vent dryer stack kit. Specifically designed to fit a selection of Whirlpool, KitchenAid, Maytag, Jenn-Air, Amana, I...
$67.82
In Stock
Common Symptoms of the CED7011LW1
[Viewing 8 of 8]Noisy
Fixed by
these parts
these parts


Show All
Drum Not Spinning
Fixed by
these parts
these parts
Show All
Door won’t close
Fixed by
these parts
these parts

Show All
Not Heating
Fixed by
these parts
these parts


Show All
Won’t Start
Fixed by
these parts
these parts
Show All
Marks left on clothes
Fixed by
these parts
these parts
Show All
Heat stays on after drum has stopped
Fixed by
these parts
these parts
Show All
Too hot
Fixed by
these parts
these parts
Show All
Keep searches simple. Use keywords, e.g. "leaking", "pump", "broken" or "fit".
Broken drive belt
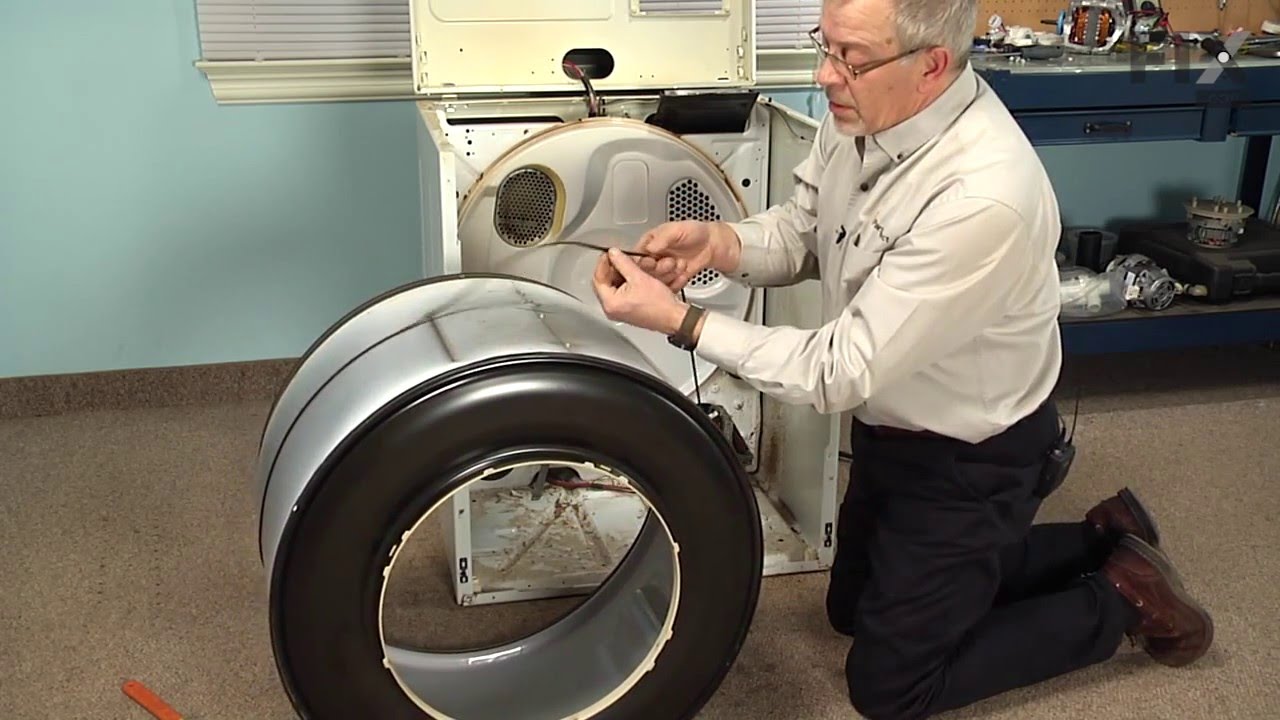
Grow a second set of hands. Always unplug any appliance. Remove lint screen. remove two screws (philips Head). I took a wooden shim lightly tapped w/hammer to pop front of dryer top free. Mine worked on hinges and just flipped back til it rested against the wall. Removed two 5/16 screws inside holding face on carefully raise face section
... Read more
off the support clips at either side on the bottom. Pull drum out (I have the large style drum commercial size [approx.). Clean the inside free of all lint (known to be fire hazard). Sling new belt around drum. Get newly grown set of hands to hold drum in place. Pinch belt to fit between tensioner, lift tensioner and place belt around motor pulley. Spin drum couple times to make certain belt isn't twisted. Reverse dismantle proccess to put back together. Replace all parts that come with kit, you'll feel better knowing you got a new dryer, almost.
Read less
Parts Used:
-
DENNIS from ALTOONA, FL
-
Difficulty Level:A Bit Difficult
-
Total Repair Time:1- 2 hours
-
Tools:Nutdriver, Screw drivers
287 of 316 people
found this instruction helpful.
Was this instruction helpful to you?
Thank you for voting!
very loud squeeling sound
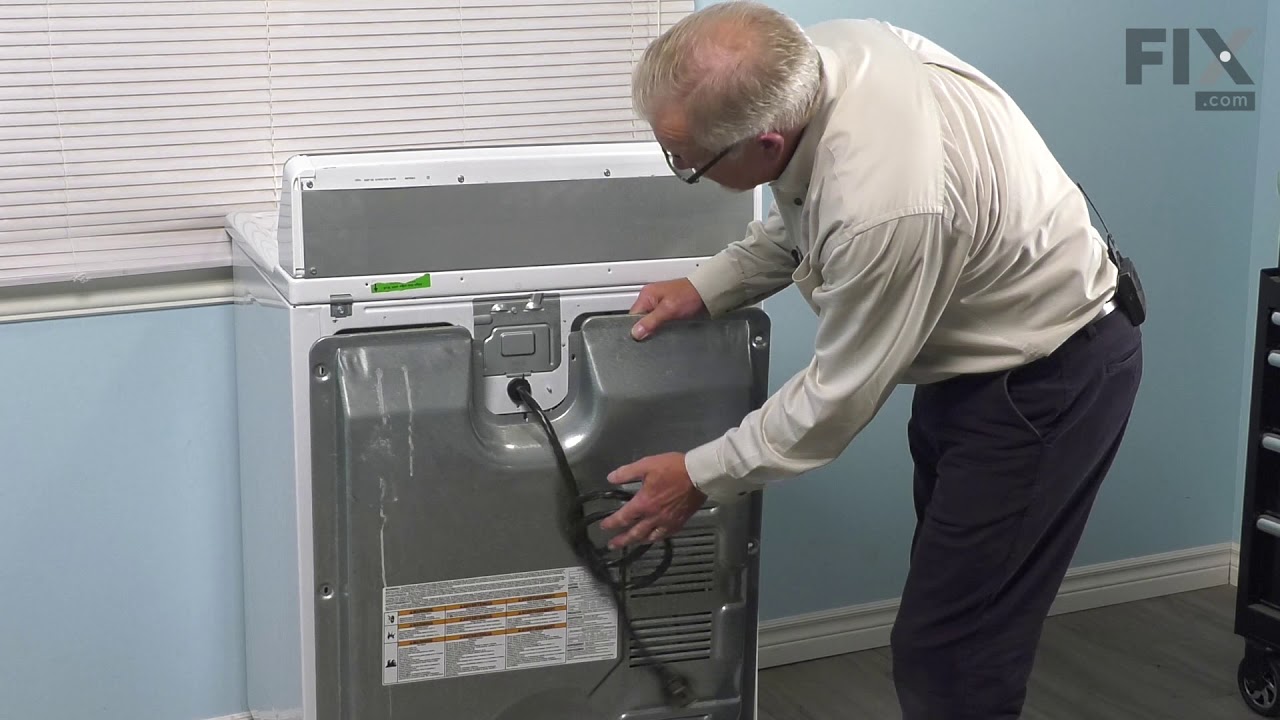
The issue was the idler pulley. First I began opening up the front panel based on a youtube video but soon realized the model was slightly different and required a lot more items to remove. I saw the pulley in the back with nothing in the way so I put the front panel crap back on and removed the rear panel. There it was, very simple to re
... Read more
move and replace. I'm not looking forward to drum rollers though. Hopefully they're aren't as difficult as they appear.
Read less
Parts Used:
-
jason from HOLDEN, MA
-
Difficulty Level:Really Easy
-
Total Repair Time:30 - 60 mins
-
Tools:Socket set
110 of 120 people
found this instruction helpful.
Was this instruction helpful to you?
Thank you for voting!
Squeaky Dryer Noise
I purchased the dryer repair kit with the drum belt, wheels and idler pulley. I watched the instructional videos online and it seemed fairly straight forward. Breaking down the dryer and replacing the pulleys was easy enough. My problem began when I tried to feed the drum belt around the idler pulley. After finishing the job, the dryer wo
... Read more
uld not turn and the sensor light stayed on. I thought something else was broken with the dryer and spent hours trouble shooting other problems that I was having. Finally I figured out that the drum belt was not installed correctly around the idler pulley. However, I could not get it properly installed from the front of the machine so I tried from the rear still with no avail. I finally had to fish the old belt out of the garbage can that I had thrown away earlier. I lined up the old belt with the new one in the kit and discovered that the new belt was much smaller, so I put the old one back on the drum. Here's the lesson I learned...make sure the belts are the same size before attempting to install. The old idler was responsible for the squeaking and that stopped but I am still using the same old drum belt. Hope it lasts.
Read less
Parts Used:
-
Eddie from PELZER, SC
-
Difficulty Level:A Bit Difficult
-
Total Repair Time:More than 2 hours
-
Tools:Nutdriver, Screw drivers
91 of 103 people
found this instruction helpful.
Was this instruction helpful to you?
Thank you for voting!