













CE8407W2-PCE8407W2 Whirlpool Dryer - Overview
Sections of the CE8407W2-PCE8407W2
[Viewing 1 of 1]
Keep searches simple, eg. "belt" or "pump".

Drum Support Roller
PartSelect #: PS11741913
Manufacturer #: WP37001042
This drum support roller is used for square-ported model clothes dryers. This part is sold individually; however, rollers tend to wear at the same rate, so it is suggested that both should be replaced...
$22.52
In Stock

Multi Rib Belt
PartSelect #: PS11742271
Manufacturer #: WP40111201
This dryer drum drive belt attaches to the motor pully and works the drum as the motor rotates. The belt has a length of 93- 3/6 inches, and wraps all the way around the dryer drum, around a tension p...
$13.92
In Stock

High Limit Thermal Fuse
PartSelect #: PS11742274
Manufacturer #: WP40113801
Meant as a backup to a high limit thermostat, this fuse is typically set to trip at a higher temperature than that of a high limit thermostat. This is a one-time use fuse, so when it does trip, you do...
$10.70
In Stock

Dryer Door Catch Kit
PartSelect #: PS2162263
Manufacturer #: LA-1003
This door catch kit is designed for use in dryers. This is an authentic OEM replacement part. This catch assembly ensures the door of your appliance will close, and remain closed. It allows your appli...
$25.75
In Stock

Retaining Ring
PartSelect #: PS11740487
Manufacturer #: WP23748
The metal retaining ring, which is under an inch long, holds the rear wheels on the axels of the dryer. The main reason why it would need to replaced is if the retaining ring has sprung out of place o...
$12.85
On Order

Cylinder Felt Seal
PartSelect #: PS11741917
Manufacturer #: WP37001132
This cylinder felt seal is used in dryers and is located between the back of the drum and the rear dryer panel. If your dryer is experiencing any of these symptoms, replacing the felt seal could solve...
$45.29
In Stock


Single Drum Glide Felt Pad
PartSelect #: PS11742773
Manufacturer #: WP500121
This dryer drum glide pad is an inch long. It is made of a felt material and is used for gas and electric clothes dryers. The dryer drum glide provides a soft surface for the front of the drum glide a...
No Longer Available

Limit Thermostat
PartSelect #: PS11748479
Manufacturer #: WPW10116735
This hi-limit thermostat acts as a safety mechanism that keeps the dryer from overheating. With this thermostat, a dryer's heating element will cut out if the internal temperature reaches 225 degrees...
$56.33
In Stock

Heating Element Kit - Red Dot
PartSelect #: PS2061575
Manufacturer #: 61927
This 240 volt heating element is used for electric clothes dryers. Included with this element is a fuse kit consisting of a thermal fuse, a high limit thermostat, two wire leads, and four mounting screws.
$95.83
In Stock

Dryer Clampmotor
PartSelect #: PS11743369
Manufacturer #: WP660658
This clamp is used to secure the drive motor.
$9.62
In Stock

Glide Bracket Kit
PartSelect #: PS2003560
Manufacturer #: 12002090
This kit contains two glide brackets and four screws.
$79.10
Special Order
Common Symptoms of the CE8407W2-PCE8407W2
[Viewing 11 of 11]Noisy
Fixed by
these parts
these parts


Show All
Door won’t close
Fixed by
these parts
these parts

Show All
Drum Not Spinning
Fixed by
these parts
these parts
Show All
Too hot
Fixed by
these parts
these parts


Show All
Marks left on clothes
Fixed by
these parts
these parts


Show All
Not Heating
Fixed by
these parts
these parts

Show All
Will not agitate
Fixed by
these parts
these parts

Show All
Burning smell
Fixed by
these parts
these parts
Show All
Won’t Start
Fixed by
these parts
these parts
Show All
Door Pops Open
Fixed by
these parts
these parts
Show All
Spins slowly
Fixed by
these parts
these parts
Show All
Keep searches simple. Use keywords, e.g. "leaking", "pump", "broken" or "fit".
Drum not centered , clothes getting stuck in dryer
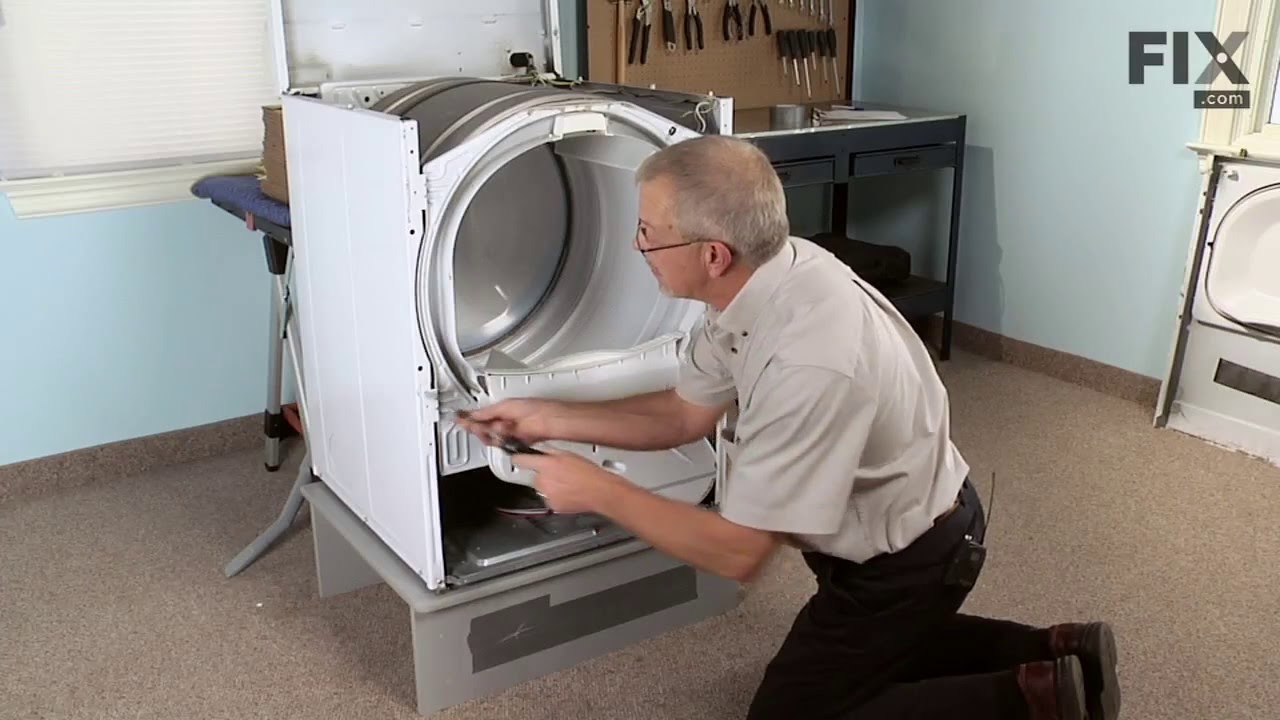
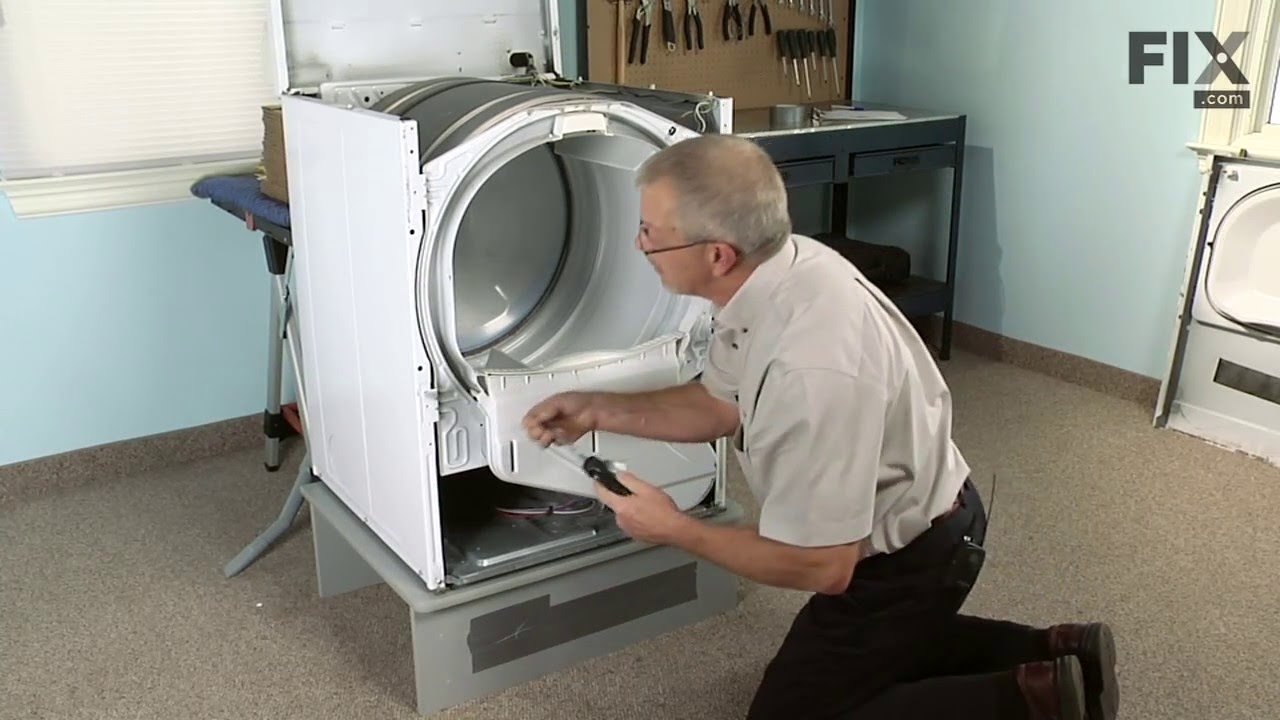
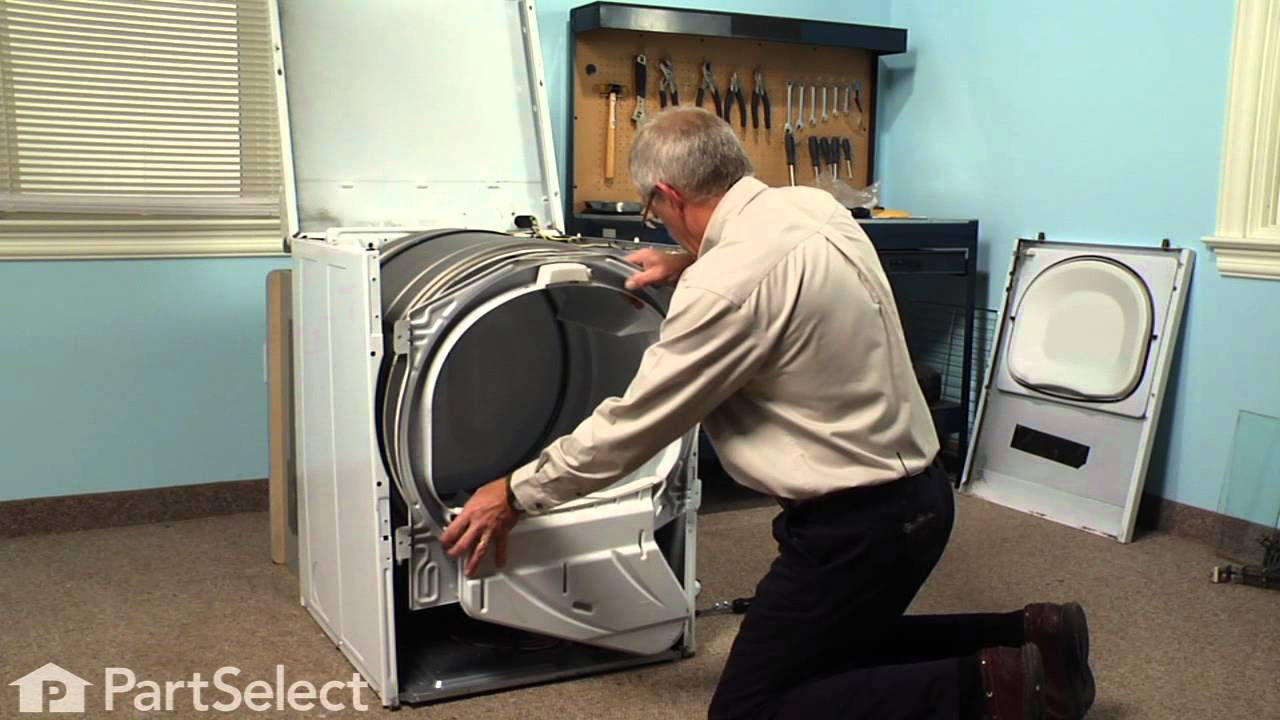
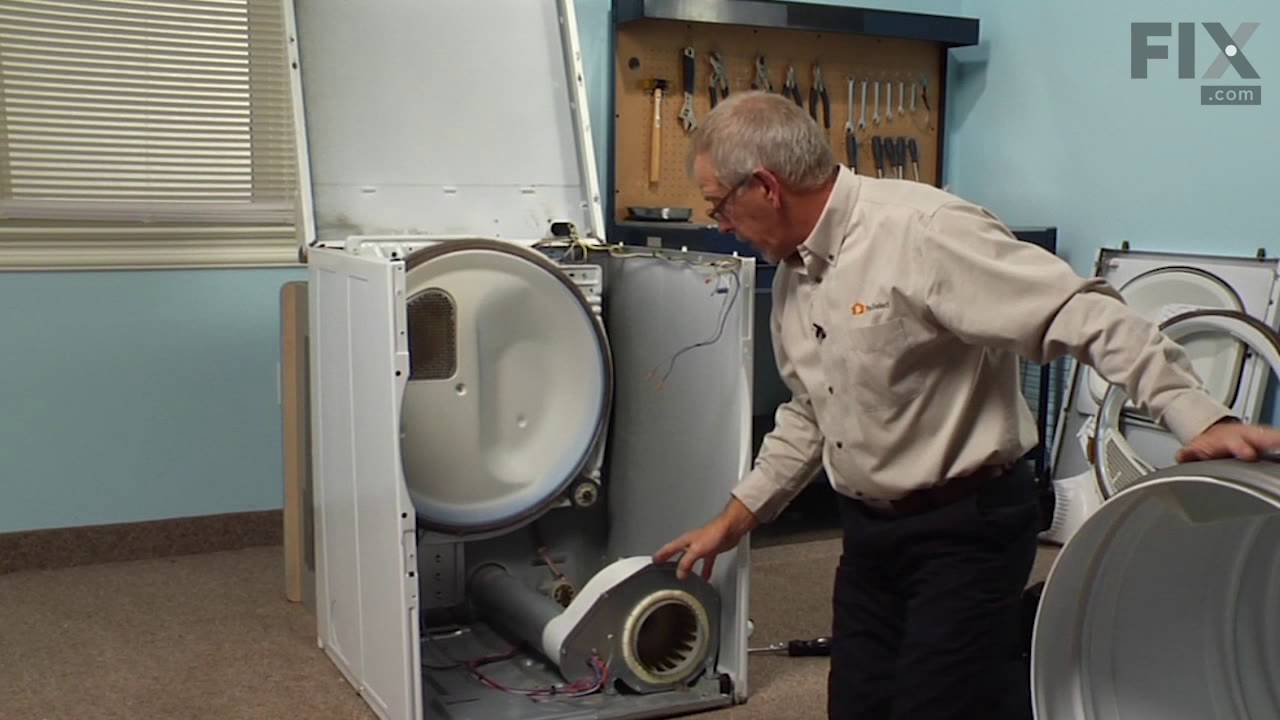
The first thing I did was to unplug the dryer from the wall. Then I removed the bottom two screws and slid the bottom cover off so i could see all the way to the back, I tipped the dryer back against the wall and searched for the problem with a flashlight. I noticed that one of the guide wheels that held the drum in place was sheared of
... Read more
f. I took the new drum support roller out and carefully slid it over the shaft, I had to jiggle it around for a bit, but then it finally was seated correctly. I replaced the washer and then the clip using a pair of needle nose pliers and a regular screw driver and then turned the dryer by hand to see if the wheel came off. After confirming that it worked, I put the cover back on, and plugged it in and tested it.
Read less
Parts Used:
-
Chris from Hopedale, MA
-
Difficulty Level:Easy
-
Total Repair Time:15 - 30 mins
-
Tools:Pliers, Screw drivers
532 of 557 people
found this instruction helpful.
Was this instruction helpful to you?
Thank you for voting!
Replace drive belt
Remove front panel, lint basket, motor mounts,exhaust hood, front drum brackets. Then slip serpentine belt around drum, pressure w/ tension idler pulley and slip around drive motor spindle. Replace all parts in reverse order (a two person job).
Vacuumed inside of dryer (full of lint.)
Vacuumed inside of dryer (full of lint.)
Parts Used:
-
Robert from Skokie, IL
-
Difficulty Level:Difficult
-
Total Repair Time:1- 2 hours
-
Tools:Nutdriver
306 of 356 people
found this instruction helpful.
Was this instruction helpful to you?
Thank you for voting!
Support Roller removal and Installation
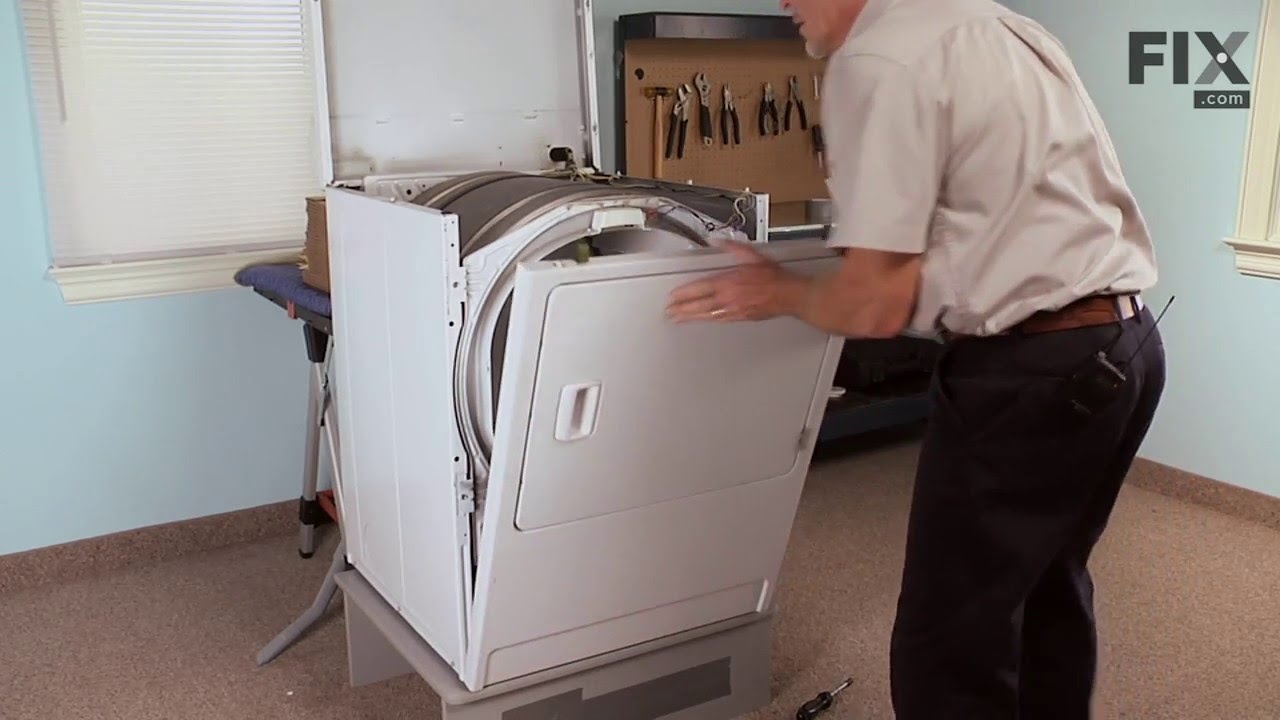
First I turned off the gas supply line. Then unplug the dryer. Remove bottom front cover by removing the 2 screws (1 at each side) at the bottom. Next remove the 2 screws (1 at each side) located at bottom of front door panel. Pull front panel away from dryer and pull down slightly. This will disconnect the entire front panel(with door) f
... Read more
rom dryer. Carefull because there is a switch located at the top right corner of the panel on the inside. This will not allow you to remove the door yet. On some scratch paper, sketch the switch and correct color wire positions. Remove wires at connections. Pull the drum toward front dryer carefully. This dislodges it from the back of the dryer. No need to remove it from dryer. This way the belt still remains in place. From inside drum, use a pair of snap ring pliers to remove the snap ring from the support roller shaft located on left side of drum, below where the drum was sitting prior to pulling it forward to dislodge it from inside rear of dryer.
Remove old wheel , place some grease on inside of new support roller and some on the shaft. Install new roller and replace snap ring. Slide drum back in place inside the dryer at the rear. Hand rotate the drum to ensure it is properly installed. Reconnect the switch wires to the front panel. Slide panel up into place so that the clips (at top of panel) lock into place(square holes in top cover plate of dryer). Have the door open when doing this because you have to seat the front of the drum into the front cover. Reinstall the 2 screws. Test spin the drum again by hand. If it feels right, it's correctly seated.
Reinstall bottom front cover. While everything is apart, you may want to use a vacuum cleaner to clean the inside of your dryer. Perfect time to do this. Plug dryer back in and open gas supply line. Test the dryer. Should be nice and quiet again.
This fix is for the left side support roller only. There is a support roller on the right side also. In my case I only needed to fix the left side support roller. The inner diameter of the roller was badly worn and needed to be replaced. You may want to purchase the support roller shaft at the same time. I didn't and will need to do this repair again. I only purchased the support roller and when I removed it, I noticed the shaft is badly worn also. In my case, temporary fix until the shaft is ordered and then I'll do this again.
Remove old wheel , place some grease on inside of new support roller and some on the shaft. Install new roller and replace snap ring. Slide drum back in place inside the dryer at the rear. Hand rotate the drum to ensure it is properly installed. Reconnect the switch wires to the front panel. Slide panel up into place so that the clips (at top of panel) lock into place(square holes in top cover plate of dryer). Have the door open when doing this because you have to seat the front of the drum into the front cover. Reinstall the 2 screws. Test spin the drum again by hand. If it feels right, it's correctly seated.
Reinstall bottom front cover. While everything is apart, you may want to use a vacuum cleaner to clean the inside of your dryer. Perfect time to do this. Plug dryer back in and open gas supply line. Test the dryer. Should be nice and quiet again.
This fix is for the left side support roller only. There is a support roller on the right side also. In my case I only needed to fix the left side support roller. The inner diameter of the roller was badly worn and needed to be replaced. You may want to purchase the support roller shaft at the same time. I didn't and will need to do this repair again. I only purchased the support roller and when I removed it, I noticed the shaft is badly worn also. In my case, temporary fix until the shaft is ordered and then I'll do this again.
Read less
Parts Used:
-
Fred from Chicago, IL
-
Difficulty Level:A Bit Difficult
-
Total Repair Time:30 - 60 mins
-
Tools:Socket set
142 of 206 people
found this instruction helpful.
Was this instruction helpful to you?
Thank you for voting!