


 My Orders




326T Shindaiwa Chainsaw - Overview
Diagrams for 326T
See every part. Know exactly what you need.


Enter a part description. DIY Heroes keep it simple, eg. "belt" or "pump".
Search filter:
Clear Filter
Your search term must have 3 or more characters.

$6.40
In Stock
Trimmer Spark Plug
Part #15901019830
This Spark Plug Bpm-8y is a silver and white OEM part. Made of steel and ceramic it is individually sold, and is an electrical part. It is installed with a spark plug socket and is rated as Easy to install. It is attached inside of the cylinder head, and is used to ignite the air fuel mixture inside the combustion chamber.
You can clean...Read more the spark plug with a fine sandpaper of 180 or more, then spray it with carburator cleaner and wipe dry. However, even after regular maintenance, spark plugs need to be changed as part of good engine fine-tuning. Regap to manufacturer specifications. Refer to your owners manual or model number to ensure you are choosing the correct product.
Note: If your engine has more than one cylinder and sounds like it has a miss, you can remove each spark plug wire one at a time to find the miss. If the engine drops in rpm when you remove the wire, then that cylinder is fine, if it does not drop then you have found your miss!
Read less

$7.73
In Stock
Fuel Filter
Part #A369000480
This OEM Fuel Filter is a silver and white, steel/felt, part measuring about 1.25 inches in length and 3/4 inch wide. It can be installed with pliers and is rated as Easy to install by customers.
This part attaches inside the fuel tank to clean the fuel of debris, and should be replaced during regular maintenance, check your manual for ...Read morerecommended replacement time. If the filter is leaking or it has a blockage preventing fuel flow, then it should be replaced. If the engine sounds like it is not getting enough fuel, then remove the filter and check it for blockage.
Read less

$10.97
In Stock
Leaf Blower Fuel Tank Vent
Part #A356000031
This a a genuine OEM replacement check valve for your small engine. It is also known as a fuel tank vent. You may need to replace this part if you are noticing debris or dirty oil in the reservoir. Make sure the engine is cool before you begin this repair, and remove the wire and boot from the spark plug to prevent the engine from starting up.

$6.40
In Stock
Chainsaw Stud
Part #V224000031
This part is the replacement stud for your chainsaw. It is approximately 1 ¼ inches long and is black in color. The stud secures the chain bar to the chainsaw. It the stud is damaged or missing, it can become a safety hazard, and will need to be replaced. This part is sold individually and is an OEM part sourced directly from the manufacturer.

$6.06
In Stock
Trimmer Clip
Part #13201309820
This genuine fuel clip is a silver, metal, individually sold part. It can be installed with pliers and is rated as Easy to install by customers.
This part attaches to the fuel filter to secure the fuel line ot the fuel filter. If broken, likely due to fatigue, there may be a fuel leak. If damaged or missing, the part should be replaced. ...Read moreRefer to your owners manual or model number to ensure you are choosing the correct part.
Read less

$6.40
In Stock
Trimmer Flange Nut
Part #43301903933
This is a genuine OEM replacement part, it is sold individually. It is used in various places on the models shown below.. It is mainly use to secure parts such as Guide Bar Covers, Sprocket Guards etc.

$11.11
In Stock
Bevel Gear
Part #V651000011
Genuine OEM replacement part, this part is sold individually. The Bevel Gear is part of the chain tensioning assembly of the chainsaws listed below. This part aid in loosening and tightening the chain on the chain bar.

$11.11
In Stock
Bevel Gear
Part #V651000001
This is a genuine manufacturer approved replacement part designed for use with chainsaws. This part is an essential part of chain tensioner mechanism. When replacing this part you will need a screwdriver. It is made out of metal and it is sold individually.

$6.40
In Stock
Chainsaw Chain Tensioner
Part #C309000030
This is an Authentic Part sourced from Original Manufacturer. This part is made out of Metal and it is Sold Individually. If the chainsaw bar doesn't adjust when you turn the tension screw usually the tension gear/pin or the adjustment bolt is worn or damaged.

$6.06
In Stock
Fuel Line Clip
Part #V490001230
Used in over 150 models of outdoor power equipment, this clip is commonly used to clip fuel lines or other hoses/tubes in place. It is sold individually, not as part of a kit or assembly, made of metal, and is silver in color.
When this clip becomes damaged or worn, it can no longer support the fuel line, which may cause a fuel leak and...Read more/or smell. This wear will occur as part of regular use of your equipment. To complete this repair, you will need a wrench, screwdriver, and pliers. It is found in a variety of locations depending on your model; please refer to your owners manual for the exact location.
Customers rated this repair as Easy.
Read less

$6.06
In Stock
Trimmer Nut
Part #90050000005
This OEM nut is a 5mm, gold, metal nut, which is sold individually. It can be installed with a Wrench or Socket and Torque Wrench by torquing to the manufacturer specifications. This nut is used to secure another part in place, and should be replaced if damaged due to fatigue (such as damaged threads or rounded ends).
This nut can have v...Read morearious uses on various equipment, and as such the difficulty of the installation can vary, but generally this is an easy repair.
Read less

$6.40
In Stock
Chainsaw Screw
Part #90025305020
This screw is supplied directly from original equipment manufacturer for use with Shindaiwa and Echo power equipment/tools. This screw is a standard hardware that has multiple uses depending on your model. Please make sure to check appropriate diagrams for correct location and application for this screw. It is made out of metal and it is sold individually. To secure/loosen this screw you would need a screwdriver.
Watch our pros, then fix it yourself.
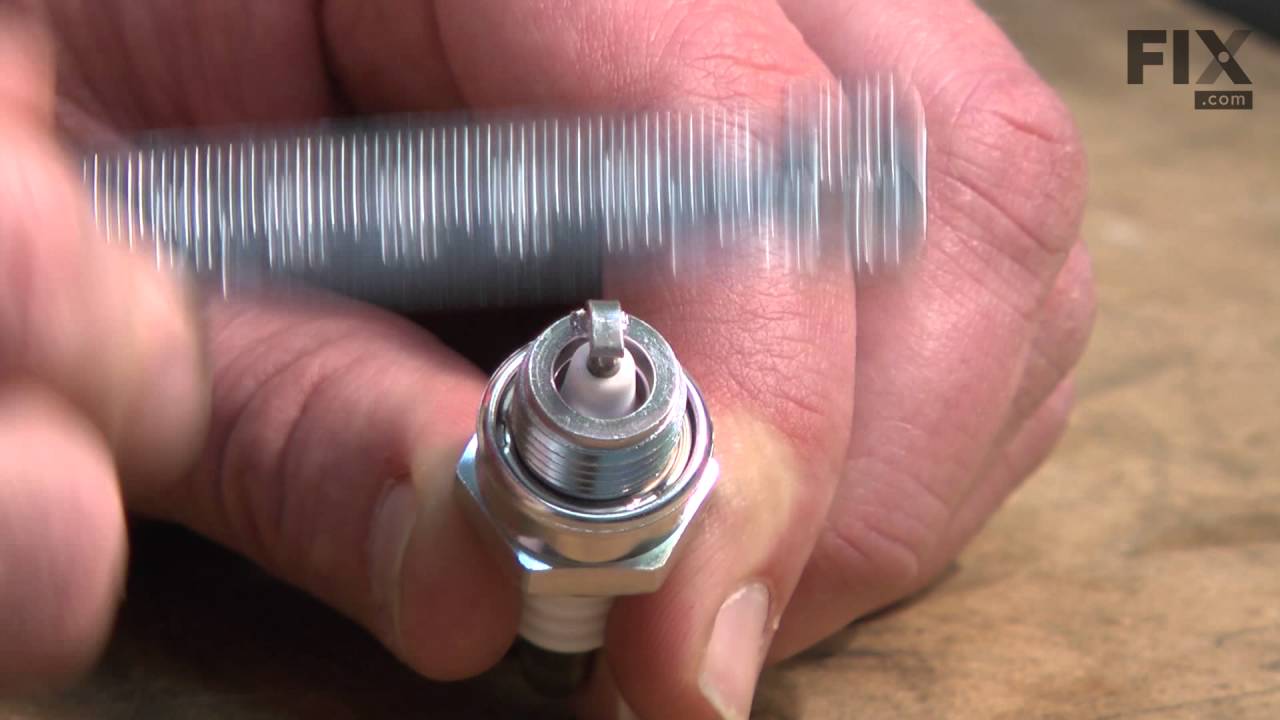
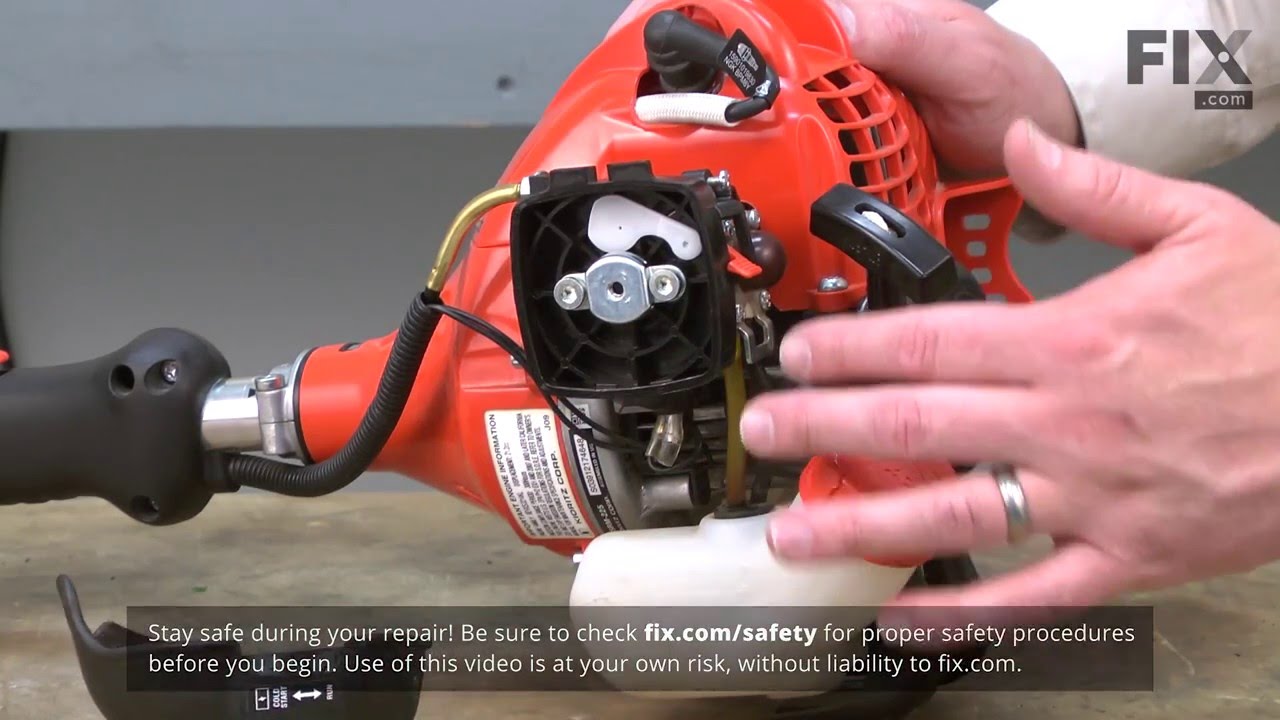
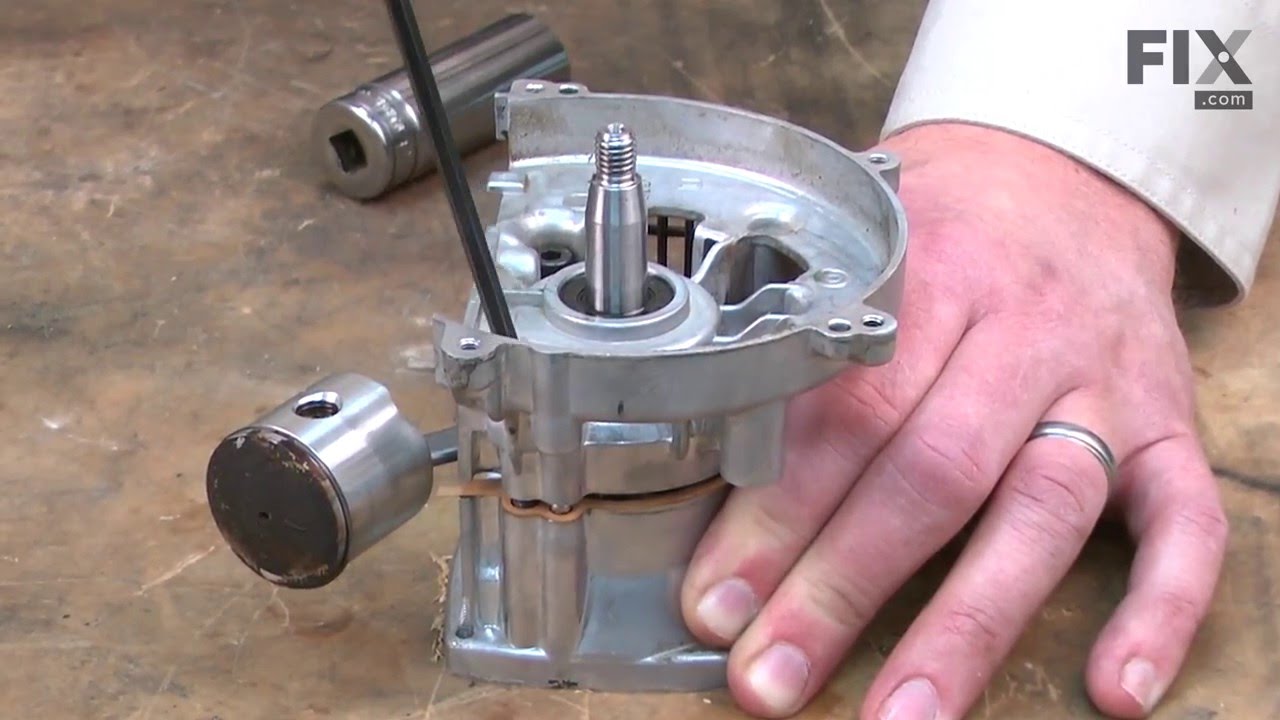
See how others fixed this model. Time, tools, difficulty, and steps that lead to victory!
View More
Search repair tips from other customers using simple keywords like "replace", "fit", "remove", "inspect". DIY doesn't mean you have to do it alone!
Search filter:
Clear Filter
Your search term must have 3 or more characters.
worn out paddles and scrapper blade
2 of 7 people
found this instruction helpful.
I followed the instructions on Youtube, but I used an Impact drill and ratchet set. The hardest part is assembling the screw on the lower part of the paddle. It helps if you have your snow blower against a wall or something else so that it can not move b/c you will need some strength to push the screw threw the pre-drilled hole to the 10
... Read more
mm nut. I used a vise grip to hold the nut do to the lack of space and with my impact driver started to thread the screw to the nut. This part took about 1 min on one side and 10 minutes on the other side. I guess I got lucky the first time. Changing the scraper blade took about 4 minutes start to finish. It will help if you have needle nose pliers to remove and reattach the spring on each side. The instruction on you tube were very helpful. Hope you find this information helpful.
Read less
Other Parts Used:


Was this helpful?
Thank you for voting!