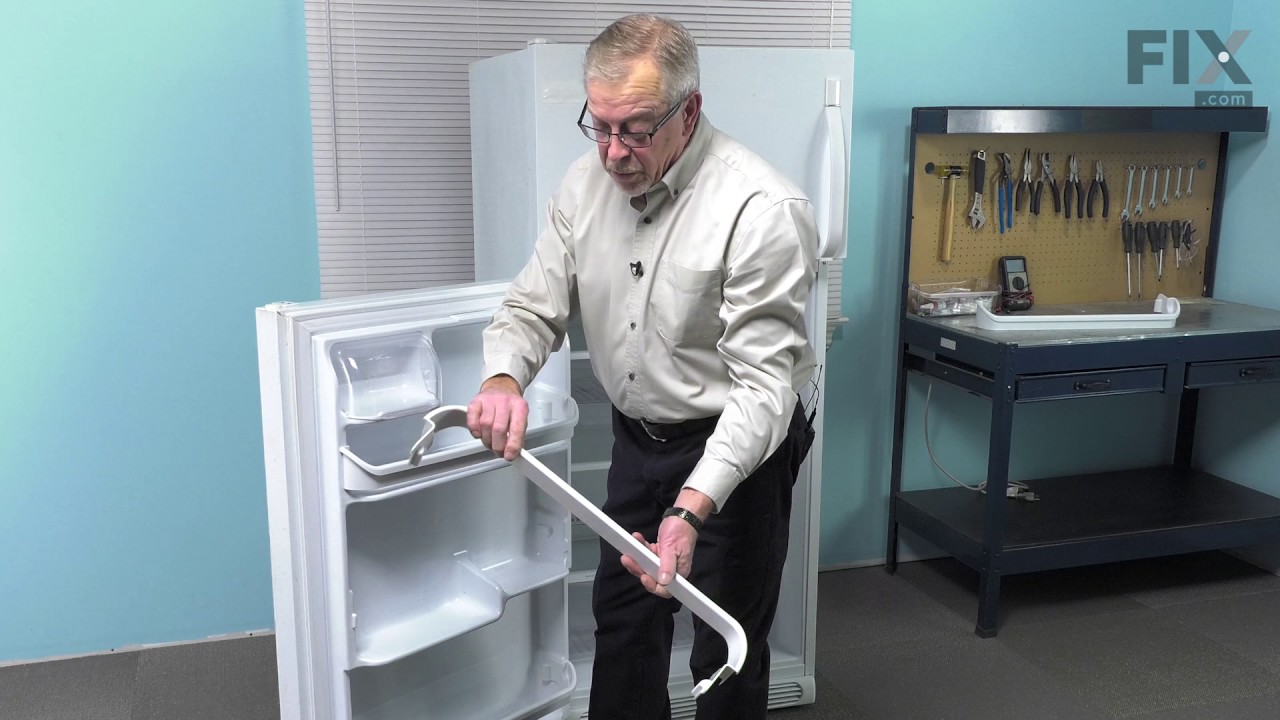
Bottles, jars, and condiments stay contained behind this white plastic refrigerator door shelf retainer bar. The rail attaches to the inner fresh food door and forms a barrier along the shelf edge, helping prevent items from falling out as the door opens and closes. Cracks, broken ends, or damaged locking tabs can leave the bar loose or u...Read morenable to secure stored containers. Replacing a damaged retainer restores usable door shelf storage. Its snap-in design allows attachment to the door supports without complex assembly. This is an OEM part sourced directly from the manufacturer.
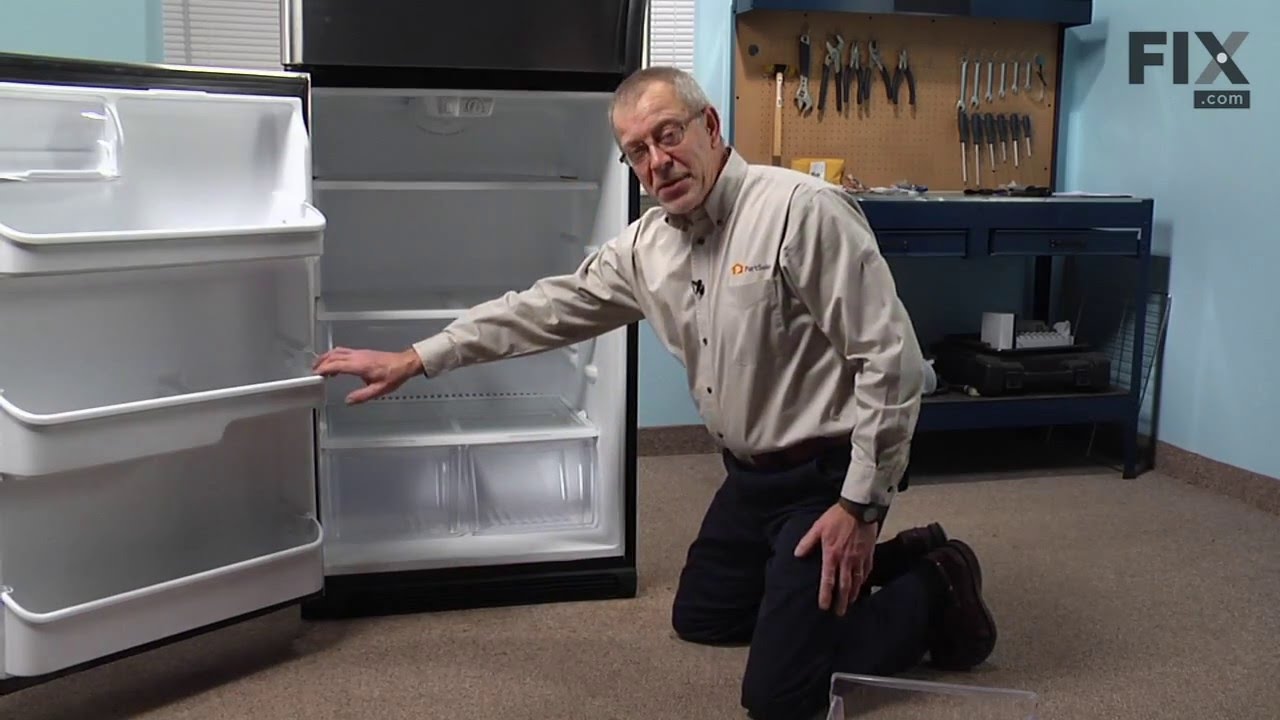
This clear plastic crisper pan provides a separate storage space for fruits and vegetables in the refrigerator fresh food compartment. The transparent sides make the contents easy to see. Cracks, broken edges, or damaged sliding surfaces may keep the drawer from holding food securely or moving smoothly. Inspect the shelf frame and drawer ...Read moresupports as well if the pan catches or will not close fully, since those parts can cause similar problems. Match the drawer shape and compartment position to the appliance parts diagram before selecting a replacement. This is an OEM part sourced directly from the manufacturer.
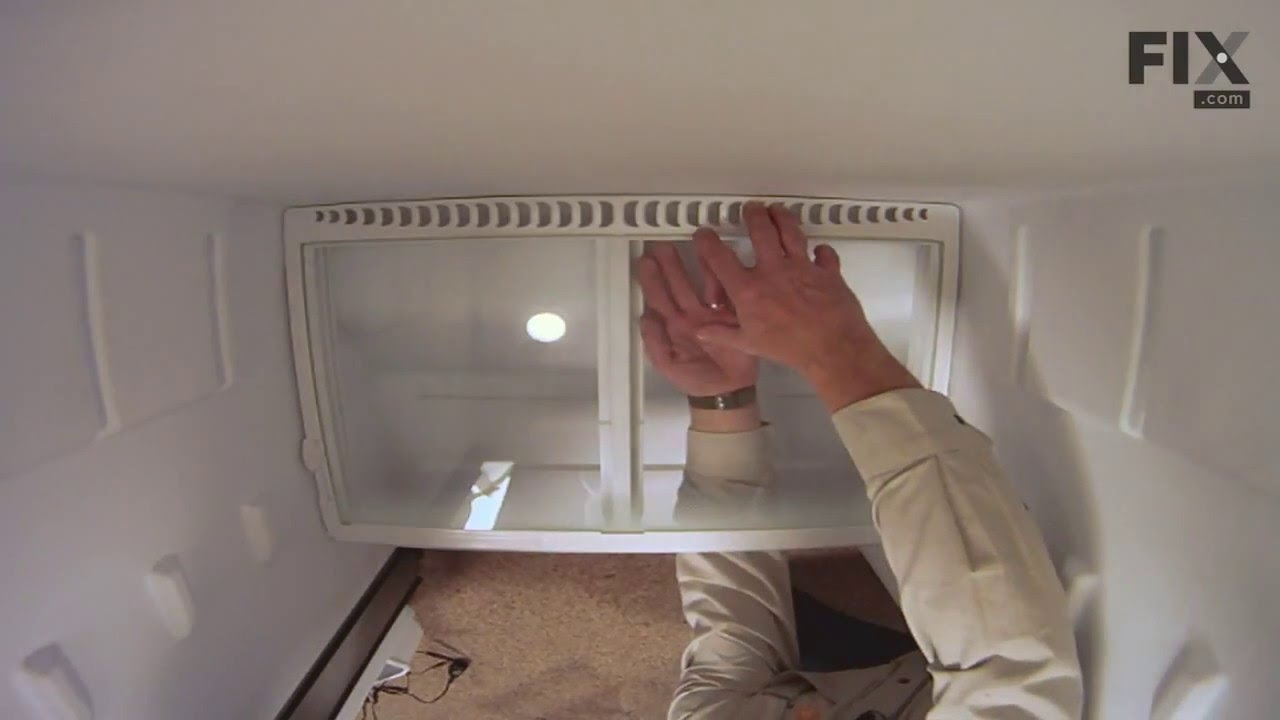
This clear glass shelf insert rests in the supporting frame above the refrigerator crisper drawers. It provides a surface for storing food and measures approximately 23.82 inches wide by 15.5 inches deep. This item includes the glass only; the frame and mounting hardware are not included. Cracks, chips, or broken glass are reasons to repl...Read moreace the insert. No tools are needed for installation. Remove the old glass carefully, inspect the supporting frame for damage, and position the replacement so it sits evenly within the shelf lip. This is an OEM part sourced directly from the manufacturer.
This white refrigerator door gasket seals the fresh food compartment to help keep cold air inside and warm, moist air out. Its flexible vinyl edge fits around the inner door panel and makes contact with the cabinet when closed. Tears, cracks, or distorted sections may allow air leaks that contribute to condensation, warmer temperatures, o...Read morer longer running times. Replacing a damaged gasket restores the sealing surface around the door, helping maintain steady cooling and reducing moisture entering the compartment between door openings. This is an OEM part sourced directly from the manufacturer.
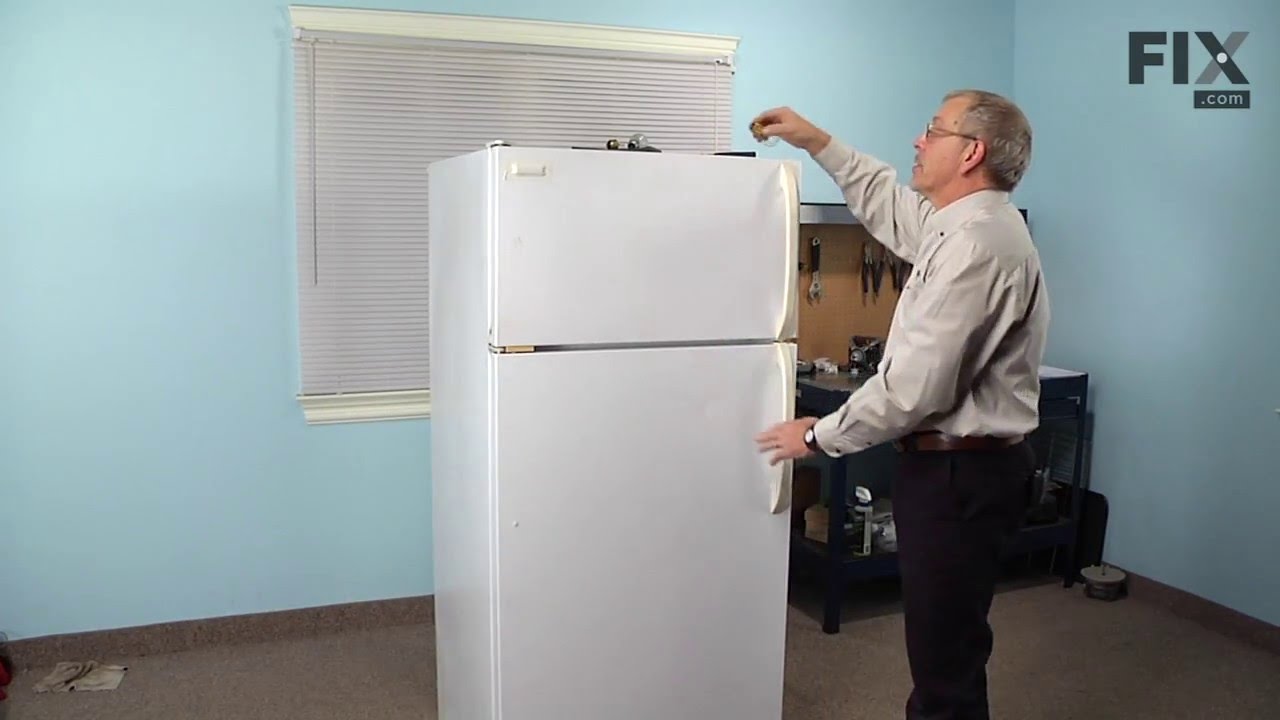
This OEM 40 watt appliance light bulb is used for some ranges, refrigerators, freezers, and microwaves. Simply locate the existing bulb, unscrew it from its socket, and replace with new light bulb. If the existing bulb is broken in the socket, disconnect the power to the refrigerator and use a pair of needle nose pliers to grip the intern...Read moreal fragments of the bulb to unscrew. Replace with the new bulb and reconnect the power to the refrigerator. These bulbs are sold individually and are a commonly replaced part; consider ordering a spare.
Steady compressor operation relies on the electrical support provided by this refrigerator run capacitor. It creates a phase shift in the motor circuit to help the compressor run as designed while circulating refrigerant through the cooling system. A failed capacitor may contribute to unusual humming, difficulty starting, or reduced cooli...Read moreng performance. Replacing a faulty capacitor helps restore proper electrical conditions for compressor operation. The component stores electrical energy and can retain a charge after power is disconnected, requiring care during handling and replacement. This is an OEM part sourced directly from the manufacturer.
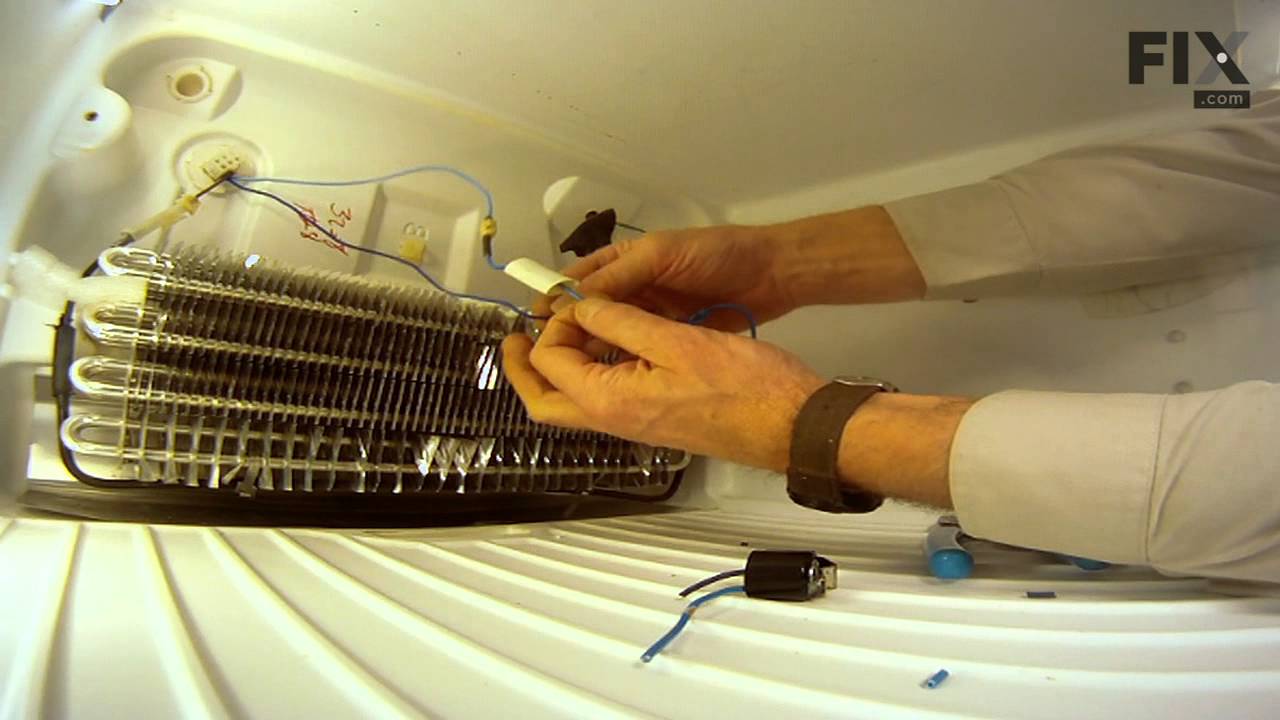
Cooling problems or a failure to defrost can point to an issue in the refrigerator defrost system, but they do not confirm this thermostat is the cause. During defrost, the thermostat helps protect the evaporator from overheating. This is an OEM kit. Unplug the refrigerator before installation.
To secure a refrigerator or freezer door handle to the door, this OEM kit includes four #10-16 screws. Each is 0.500 in. long and has a Phillips or square drive. Confirm compatibility with your appliance before buying.
This clear plastic dairy door covers the dedicated storage compartment inside the refrigerator door. The hinged lid lifts to provide access to butter, cheese, and other stored items while allowing the contents to remain visible. Cracks, broken hinge points, or a missing cover are reasons to inspect it for replacement. No tools are needed ...Read moreto fit the door into its matching hinge holes. Check those mounting points for damage before installation, and confirm that the replacement opens and closes freely without binding against the surrounding compartment. This is an OEM part sourced directly from the manufacturer.
A refrigerator or freezer door handle is held in place by this screw. The OEM part has a #10-16 thread, a 1/2-inch length, and a Phillips/Square drive. Confirm it matches your appliance before ordering.
This part supports the crisper drawers and holds the glass shelf insert above them, providing a stable frame for refrigerator produce storage. The white plastic crisper cover frame helps keep the drawers level as they slide open and closed. Cracks, broken supports, or damaged edges may cause sagging or interfere with drawer movement. Repl...Read moreacing a damaged frame restores shelf support and easier access to stored produce. The glass insert and drawers are not included, allowing intact existing pieces to be reused with the replacement frame. This is an OEM part sourced directly from the manufacturer.
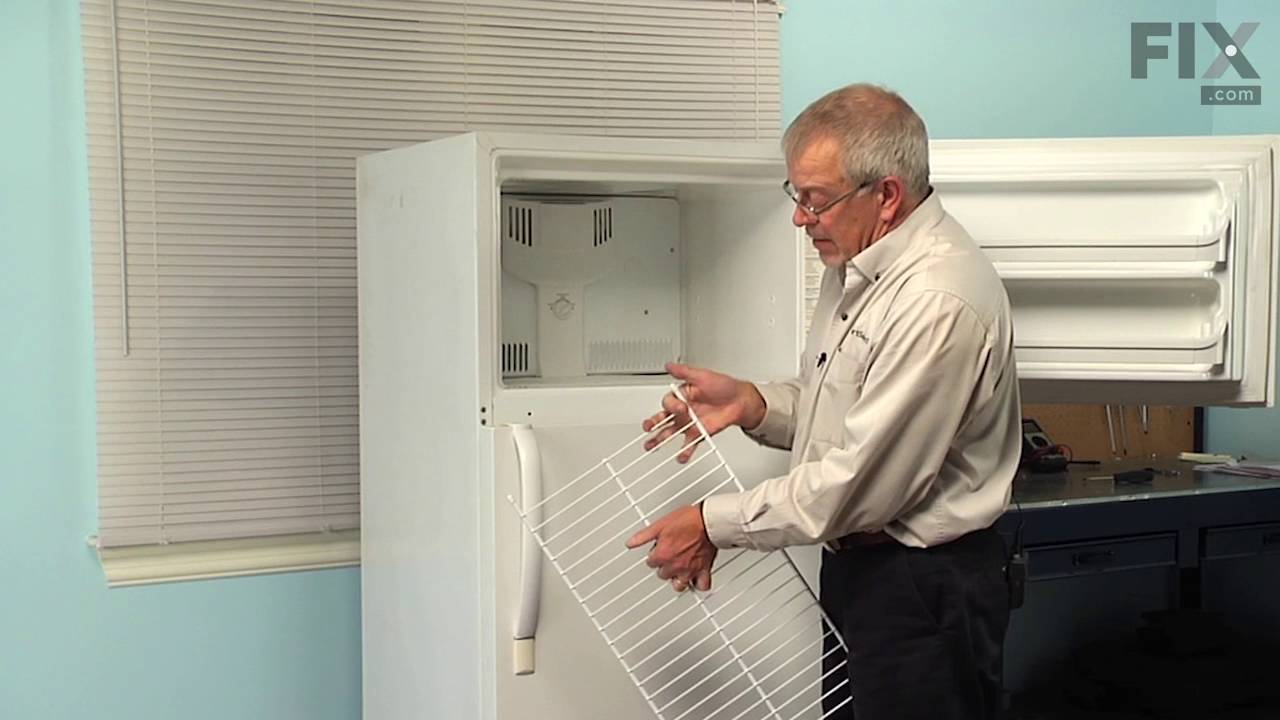
Organize frozen meals, containers, and bags with this freezer wire shelf. Its full-width design adds a raised storage surface, making items easier to separate and reach. The open wire spacing lets cold air circulate around stored food to support even cooling. Bent wires, broken supports, or a sagging shelf may leave items unstable and red...Read moreuce useful storage space. Replacing a damaged shelf restores firm support and a tidy layout. Spread heavier packages evenly across the shelf to help prevent bending. This is an OEM part sourced directly from the manufacturer.
Ask our experts a question about this model and we'll get back to you as soon as possible!
We may have answered a similar question already! Search questions and answers left by others using simple keywords like "fit", "broken", "easy", or "quality" to find questions that match.
Search filter:
Clear Filter
Your search term must have 3 or more characters.
Sort by:
Prev
1
Next
Sorry, we couldn't find any existing answers that matched.Try using some different or simpler keywords, or submit your new question by using the "Ask a Question" button above!
Susan - For model number 25368802015
February 3, 2020
I need to order the top door shelf retainer bar.
Hello Susan, Thank you for contacting us. I have researched the model you have provided and have found the part you are looking for is PartSelect Number PS734935. We hope this helps.
Hi David, thank you for your inquiry. According to our research, the ice maker kit, part number PS10057479, is compatible with your model number. Glad to be of help!
I do not see the cubic feet anywhere listed. Could you please provide??
Hi Leonardine, thank you for the question. Based on our research, the capacity of your model is 18 cubic ft. Let us know if you have further questions!
Was this helpful?
Thank you for voting!
Tinesha - For model number 25368802015
June 12, 2023
I am looking for the shelf that fit in the door. They measure 26 inches long. Are they still being made
Hi Tinesha, thank you for the question. According to our research, your model contains three different door shelves. The shelf, part number PS734937, fits in the freezer door. This shelf is approximately 24 inches long and 5 inches wide. The shelf, part number PS734935, fits on the top and bottom shelves of the refrigerator door. This shelf measures roughly 25 inches wide, 3 inches high, and 5 inches deep. The shelf, part number PS734936, fits on the middle shelf of the refrigerator door. This shelf measures roughly 25 inches wide, 3 inches high, and 5 inches deep. We hope this helps!
See how others fixed this model. Time, tools, difficulty, and steps that lead to victory!View More
Search repair tips from other customers using simple keywords like "replace", "fit", "remove", "inspect". DIY doesn't mean you have to do it alone!
Search filter:
Clear Filter
Your search term must have 3 or more characters.
Refrigerator door gasket torn
317 of 336 peoplefound this instruction helpful.
Matthew from Washington, DC
Easy
Less than 15 mins
No instructions included, so it took a little bit of staring at the new part to figure out how it works. The barbed ridge on the gasket fits into a slot on the door. The flat face of the gasket has an internal magnetic strip that helps keep the seal tight against the steel face of the refrigerator. Installation requires no tools. This is
... Read morethe basic process: 1) Unbox the new gasket and get it ready to install so you don't have to leave the fridge open too long. 2) Open the door and grab the old gasket at one of the corners and pull away. This will unseat the barbed ridge I mentioned above. Work your way around the door until the whole gasket is free. 3) Set aside the old gasket 4) Grab a moistened paper towel and wipe down the (now exposed) sealing surface of the fridge and door. 5) Align the new gasket in the door and start pushing the barb into place. I found that the new gasket seemed slightly oversize compared to the original, so it took a little tweaking. What worked for me was to get all the corners seated, then work my way around the door making sure the gasket is fully seated. 6) Once you have the new gasket installed, close the door to make sure everything fits OK. 7) Open the door again and run your finger along the inside edge of the gasket seal. What you want to do is fold the edge of the gasket down so it lays flat against the outer wall of the door. 8) Shut the door and look from the sides and top to try to spot any gaps. You should be able to poke the gasket from the side and get the magnet strips to click into place. It seems like after a day or so the gasket 'relaxed' and I didn't have to worry about this anymore. 9) Dispose of the old gasket. I was able to pull the gasket into four pieces (separating at the corners) so it would fit in my city trash can...
This was the second part I tried. The defrost timer was first, but that did not fix it. To do this I had to remove the ice maker and the back plate of the freezer. Then I defrosted the coil and cut the wires. stripped them back and installed the new thermostat. re-assembled and tested. has been working great ever since.
Was this helpful?
Thank you for voting!
Refrigerator would not run but interior light was on.
184 of 248 peoplefound this instruction helpful.
Bruce from Alton, IL
Really Easy
Less than 15 mins
Pliers, Screw drivers
I unplugged the refrigerator, then opened the door and removed four screws holding the plastic electrical panel to the interior top of the main refrigerator compartment and noticed the cold control was corroded badly, apparently from moisture in the panel. I ordered a new one from partselect.com. When it arrived the next day, I then pul
... Read moreled off the control knob, unclipped the cold control, unplugged the three wires to the control, then removed the styrofoam insulation blocks holding the thermocouple wire and then removed the thermocouple wire to complete the removal. I then reversed the process to install the new thermostat and control. That is repositioned the thermocouple wire, put the insulation blocks back to hold the wire, then replugged the three electrical wires, clipped the control back and pushed the control knob back on and finally screwed the panel back to the top of the main compartment and plugged the refrigerator electrical cord back in to provide current to the refrigerator. It immediately started up and ran fine. Total time - about 8 minutes.


 My Orders