













22311 (1988) Kenmore Cooktop - Overview
Sections of the 22311
[Viewing 1 of 1]
Keep searches simple, eg. "belt" or "pump".

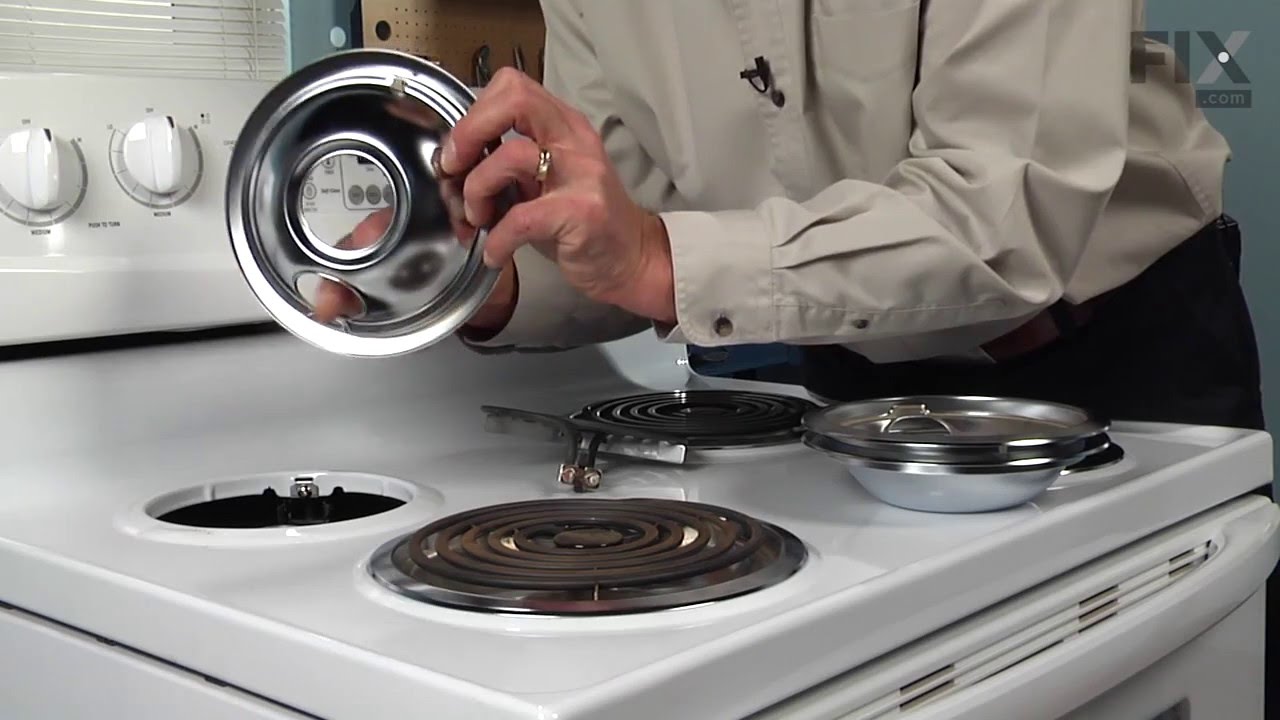
Chrome Drip Bowl - 8 inch
PartSelect #: PS11750107
Manufacturer #: WPW10196405
This manufacturer-certified drip bowl is also known as a drip pan, and it is designed for use with cooktops and ranges. It sits below 8-inch burner elements and catches drips and spills from the cookw...
$10.95
In Stock

Drip Bowl - 6 Inch
PartSelect #: PS2366565
Manufacturer #: W10196406RW
If your element will not heat, there could be an issue with your drip bowl. This chrome drip bowl is 8 inches in diameter, and fits most electric ranges. Before you replace the drip bowl, make sure th...
$15.00
In Stock

Range Surface Burner Plug-In Block Kit
PartSelect #: PS340571
Manufacturer #: 330031
The surface burner plug-in block kit features a newer-style terminal block. This kit is designed for use with ranges and cooktops. This terminal block is how the coil element on your stove connects to...
$16.07
In Stock

Standard Y-Frame Range Surface Burner
PartSelect #: PS11743366
Manufacturer #: WP660532
The standard y-frame surface burner provides heat to your range. If you notice that your element will not heat, you may need to replace your surface burner. This product is 6 inches in diameter, and 1...
$28.42
In Stock

Surface Burner Element - 8 Inch
PartSelect #: PS11740903
Manufacturer #: WP3191454
This surface burner element is a genuine OEM replacement part for your kitchen appliances. It measures 8inches in diameter with a wattage of 2100W. You will need to replace the element if you notice t...
$95.15
In Stock

Range Frame Screw
PartSelect #: PS11743908
Manufacturer #: WP7101P126-60
Sold Individually.
$7.47
In Stock

Nut
PartSelect #: PS1722352
Manufacturer #: M0282009
This part is sold individually. This nut can be found in various appliances including a dishwasher, air conditioner, washer, dryer, range/cooktop, oven, freezer, range hood, and refrigerator. There is...
$21.45
Special Order


Exact Part matches for your search term
[Viewing 2 of 2]
Set Plate Nbo
This part number matches the current model number 22311
PartSelect #: PS18276232
Manufacturer #: 22311
No Longer Available
MANIFOLD ASSEMBLY, HOT WATER
This part number matches the current model number 22311
PartSelect #: PS19031688
Manufacturer #: 22311
$83.70
Special Order
Common Symptoms of the 22311
[Viewing 2 of 2]


Keep searches simple. Use keywords, e.g. "leaking", "pump", "broken" or "fit".
Replaced drip bowls in stove
Took out the old drip bowls and replaced with new bowls.
Parts Used:
-
Liza from College Point, NY
-
Difficulty Level:Really Easy
-
Total Repair Time:Less than 15 mins
71 of 134 people
found this instruction helpful.
Was this instruction helpful to you?
Thank you for voting!
Rented appartment in which none of the drain pans were the proper size making it very difficult to cook
I removed the element and then the drain pan and replaced with the new correct pans. I replaced the element and all was well.
Parts Used:
-
Grace Mary from Canton, OH
-
Difficulty Level:Really Easy
-
Total Repair Time:Less than 15 mins
67 of 131 people
found this instruction helpful.
Was this instruction helpful to you?
Thank you for voting!
One burner didn't work all the time the other would go red hot
I unplugged the stove from the outlet, then removed the two burners I was going to be working on and the drip pans. Then I raised the top part of the stove and removed the screws holding the plug-in blocks to the stove. Then I cut the two wires going to the old plug-in block and stripped the wires back to match the new wire parts. Then I
... Read more
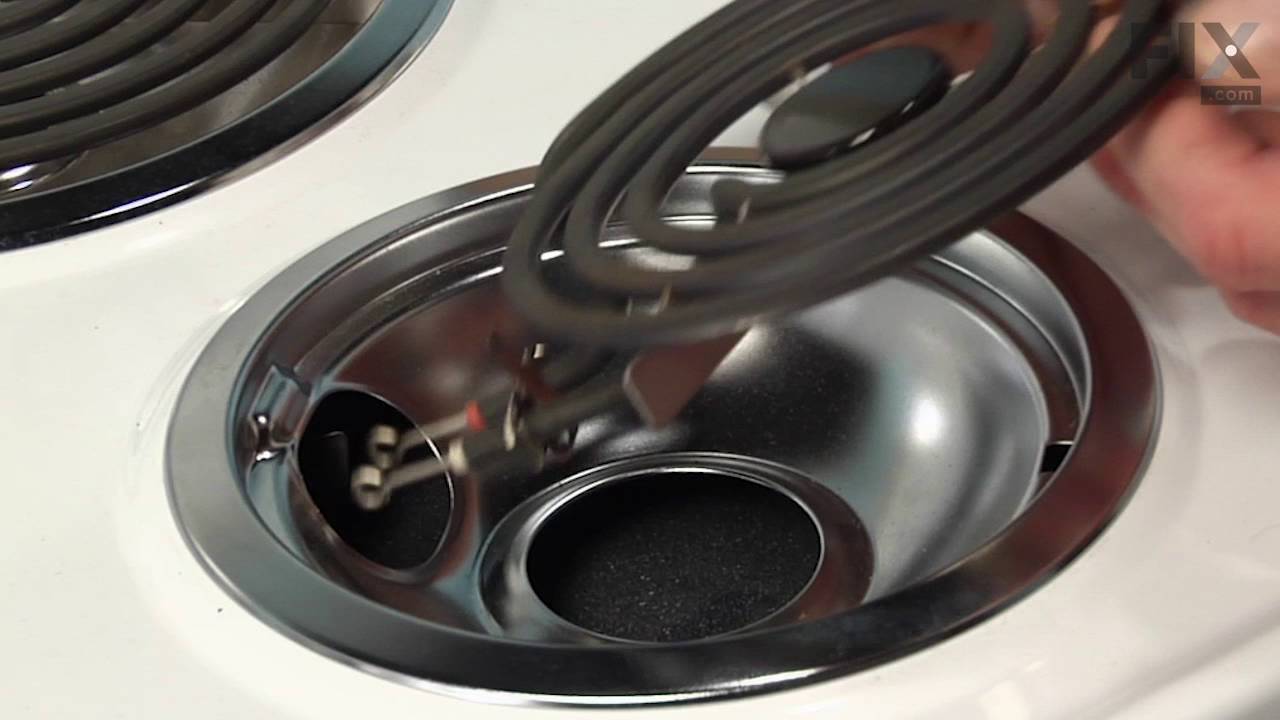
placed the sleeves over the new wires, then I placed the new wire beside the wire I stripped on the stove and screw on the wire cap making sure it was tight. I repeated this three more times, once I had all four wires connected I then placed the sleeves over the connections and heated them up until they were formed around the connection. Once I had all the connections done I placed one wire at a time into the plug-in block until it locked into place ( I looked at my old plug-in blocks first to make sure I placed the new wires in the correct way ).I then used the metal mounting bracket that matched my old ones and snapped the correct one onto each plug-in block. Before mounting them onto the stove I compared them to my old ones to make sure they were correct. Then I used the new screws to mount them to the stove. I took a second look at everything I had done before closing the top cover of my stove. After lowering the cover back into place I put both the drip covers in place and then installed the burners.I then plugged the stove back into the outlet and tried the burners. This was very simple and the video on the web site shows this very well which made my job very simple.
Read less
Parts Used:
-
Phillip from Pekin, IL
-
Difficulty Level:Really Easy
-
Total Repair Time:15 - 30 mins
-
Tools:Screw drivers
15 of 16 people
found this instruction helpful.
Was this instruction helpful to you?
Thank you for voting!