













11061652020 Kenmore Dryer - Overview
Sections of the 11061652020
[Viewing 1 of 1]
Keep searches simple, eg. "belt" or "pump".

Dryer Heating Element
PartSelect #: PS11741416
Manufacturer #: WP3387747
When connected to electricity the dryer heating element glows red hot and generates heat. When air is blown over it, it heats the air which is used to dry the clothes. The heating element fits inside ...
$59.47
In Stock


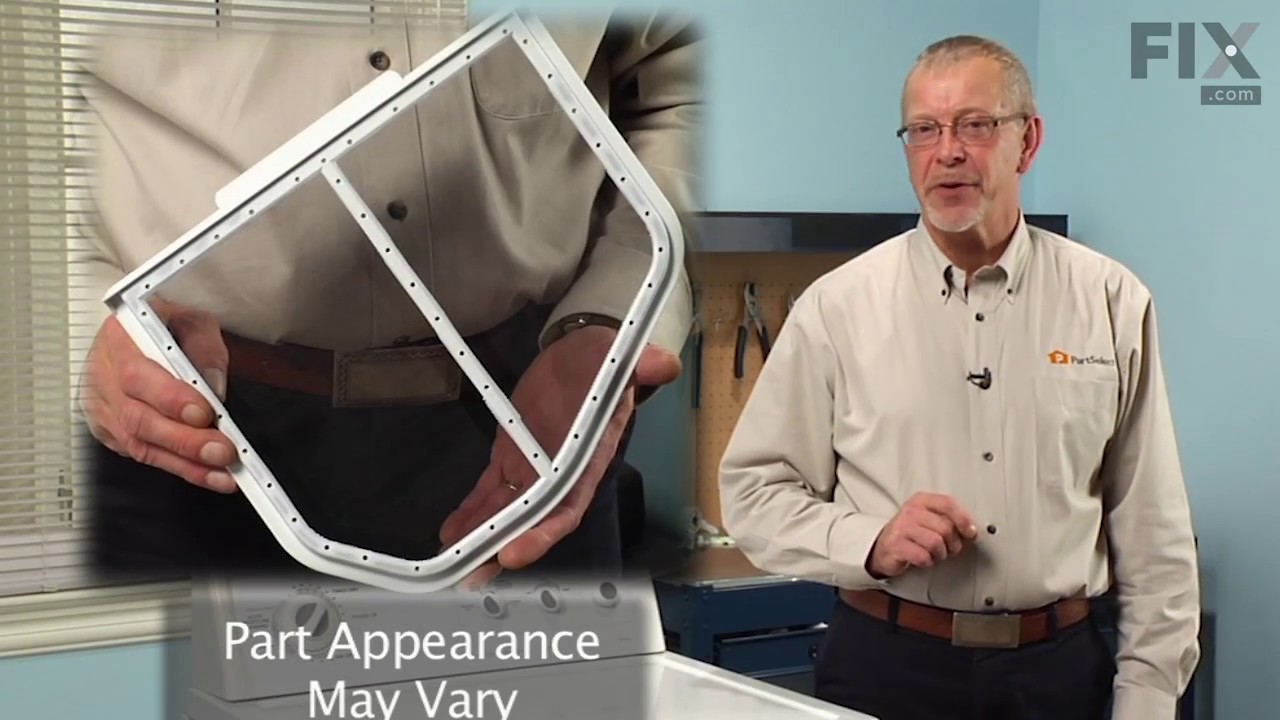
Lint Filter
PartSelect #: PS1491676
Manufacturer #: W10120998
The filter collects lint during the drying cycle. This filter is 12 1/2 inches wide and 10 1/2 inches deep. Replacing the lint filter is an easy repair which requires no tools. When replacing the lint...
$44.23
In Stock

Dryer Thermostat Internal bias
PartSelect #: PS11746740
Manufacturer #: WP8577274
This dryer thermistor is a genuine replacement component designed to monitor and regulate internal temperature in Whirlpool dryers. Mounted on the blower housing, it plays a critical role in controlli...
$32.63
In Stock

Roller Support Tri-Ring
PartSelect #: PS11755850
Manufacturer #: WPW10512946
If you notice that your dryer is noisy or will not tumble, you may need to replace the tri ring. This part is triangular, and is less than an inch in size. Tri rings can be found both on the idler pul...
$11.77
In Stock

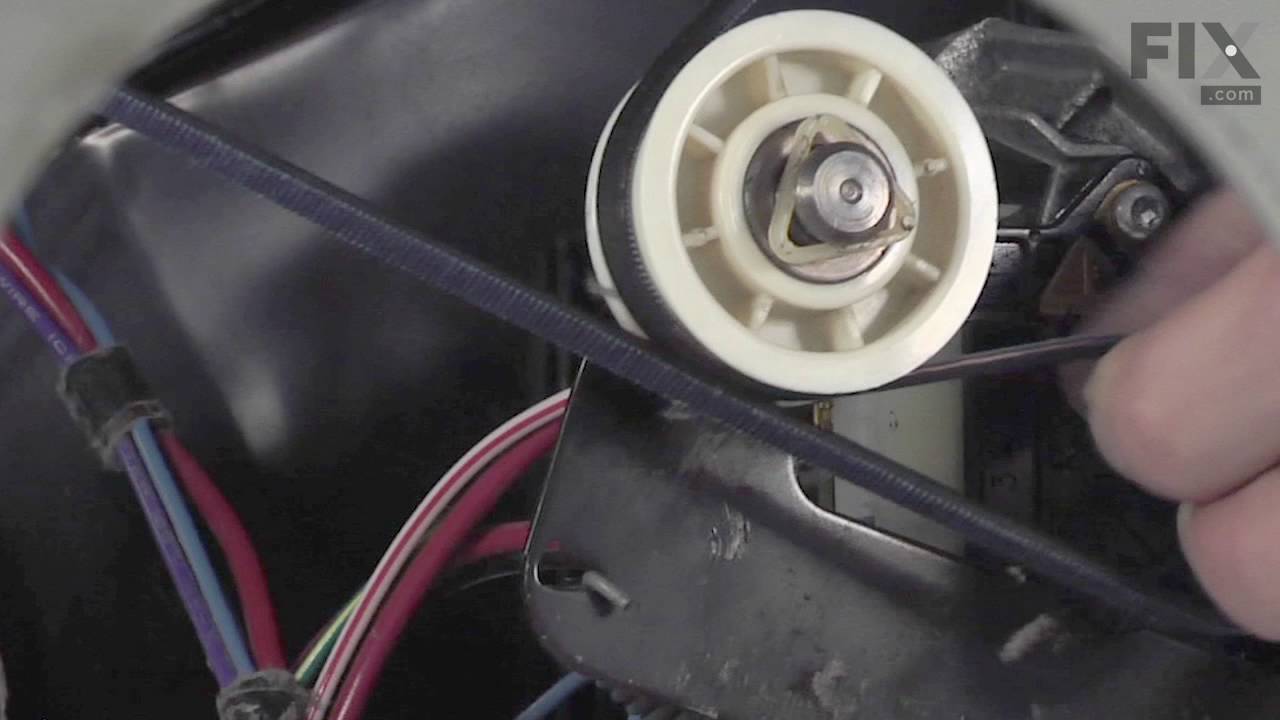
Idler Pulley with Bracket
PartSelect #: PS11726337
Manufacturer #: W10837240
The idler pulley with bracket ensures proper tension on the dryer’s drive belt, allowing the drum to spin effectively. This assembly includes the pulley and arm, making it ideal for replacing a worn o...
$27.36
In Stock

Moisture Sensor
PartSelect #: PS11741408
Manufacturer #: WP3387223
This is the moisture sensor for your dryer. It helps detect the amount of moisture in your clothes during the dryer cycle. If you notice your clothes are still wet after an automatic dryer cycle is do...
$9.62
In Stock

Refrigerator Light Bulb 10w
PartSelect #: PS11739347
Manufacturer #: WP22002263
This 10-watt clear incandescent light bulb is designed to provide reliable interior illumination for household appliances such as dryers and refrigerators. Measuring approximately 2 inches in length, ...
$19.30
In Stock

Dryer Screw
PartSelect #: PS11746840
Manufacturer #: WP90767
This screw is sold individually.
$7.47
In Stock

Dryer Drum Seal with Adhesive
PartSelect #: PS970088
Manufacturer #: 280114
This drum seal with a silicone rubber adhesive is used in dryers. This part seals the drum to make sure air does not escape from the dryer. If your dryer is making loud noises, is not producing enough...
$45.29
In Stock

Outlet Screen Door Grille
PartSelect #: PS12070617
Manufacturer #: W11086603
This screen door grille serves as the top cover for the lint filter in select dryers, helping to protect clothing from snagging and ensuring efficient lint collection. Made from durable plastic, it is...
$28.42
In Stock

Screw - 10-16 x 1
PartSelect #: PS11741409
Manufacturer #: WP3387230
This screw is sold individually.
$7.47
In Stock
Common Symptoms of the 11061652020
[Viewing 8 of 8]Noisy
Fixed by
these parts
these parts


Show All
Not Heating
Fixed by
these parts
these parts


Show All
Too hot
Fixed by
these parts
these parts

Show All
Marks left on clothes
Fixed by
these parts
these parts


Show All
Won’t Start
Fixed by
these parts
these parts

Show All
Drum Not Spinning
Fixed by
these parts
these parts


Show All
Touchpad does not respond
Fixed by
these parts
these parts
Show All
Door won’t close
Fixed by
these parts
these parts

Show All
Keep searches simple. Use keywords, e.g. "leaking", "pump", "broken" or "fit".
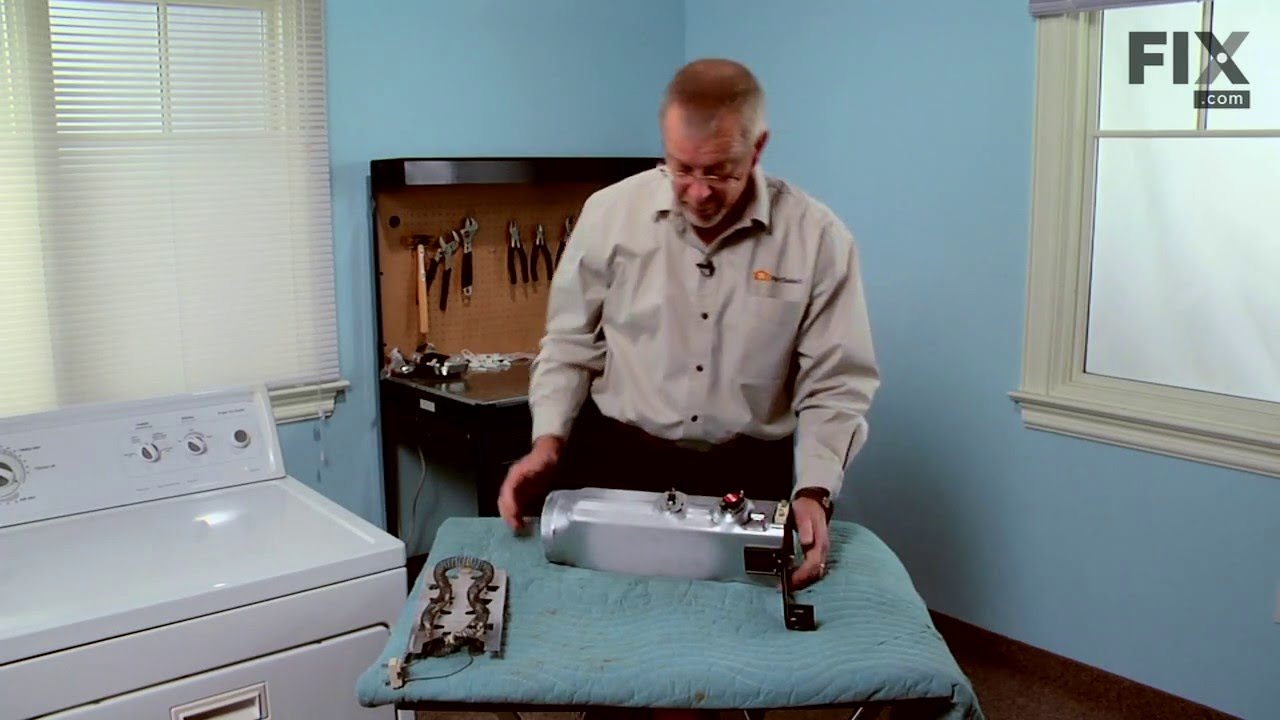
Burned out heater element
Remove the kick plate from the bottom of the dryer by sliding a putty knife along the top edge to release the plastic clamps, one on each side about 4" in from the edges. The kick plate folds out and down. You will see the heat shield on the right, held in by one hex head screw. Remove screw and heat shield. The element is positioned in a
... Read more
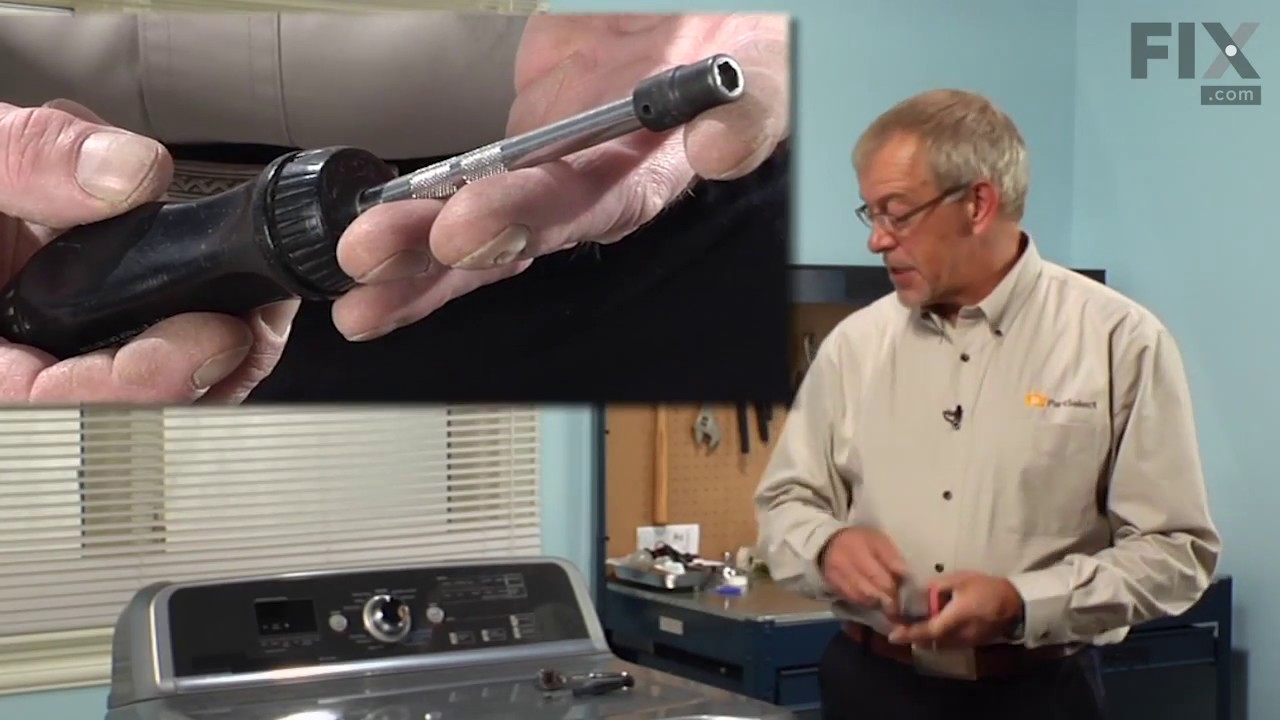
n open-front housing and is fastened to the left side of the housing by two hex head screws, located on the "rail" of the element and right near the two wires. Remove the hex-head screws that hold the element in place and disconnected the two wires by pulling them out by hand or with needle nose pliers. The only difficulty here is the cramped working area...I recommend a stubby socket driver for these two screws. Most of this I had to do by feel because I could not see the screw heads. Once the screws are out and the wires have been disconnected, slide the old element straight out toward you. You may need to disconnect a small plastic hose located to the left front of the element, but this hose just pulls right off. Vacume the dust & lint build-up out of the whole area, wipe out the element housing and clean up the whole underside of the dryer prior to installing the new element. Installation is reverse of removal. It also might be a good opportunity to clean out your exhaust duct and the vent to the outside. (Never use the aluminum foil-accordian-type duct.) If the exterior dryer vent has any kind of screen over it, remove it and get rid of it. Screens collect lint, lint builds up and burns out elements.
Read less
Parts Used:
-
Alan from Brooksville, FL
-
Difficulty Level:Easy
-
Total Repair Time:30 - 60 mins
-
Tools:Socket set
526 of 624 people
found this instruction helpful.
Was this instruction helpful to you?
Thank you for voting!
felt strip came off lint screen
-
JEFFREY from FALL RIVER, MA
-
Difficulty Level:Really Easy
-
Total Repair Time:Less than 15 mins
223 of 279 people
found this instruction helpful.
Was this instruction helpful to you?
Thank you for voting!
Felt gasket on lint filter loose...
Found this site by googling, and it works! I searched lint filters and just ordered based on how it looked...LOL! Husband wasn't home, it looked pretty much like the one I had in my hand, so.... I ordered it. It is the perfect fit and seems to have a tighter gasket glued in all around the screen. Let's hope this one lasts longer than 6 mo
... Read more
nths! Thank you Parts Select for being so fast!! Filter got here in less than 48 hrs.!
Read less
Parts Used:
-
Catherine from Atascadero, CA
-
Difficulty Level:Really Easy
-
Total Repair Time:Less than 15 mins
61 of 71 people
found this instruction helpful.
Was this instruction helpful to you?
Thank you for voting!