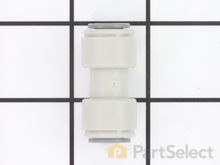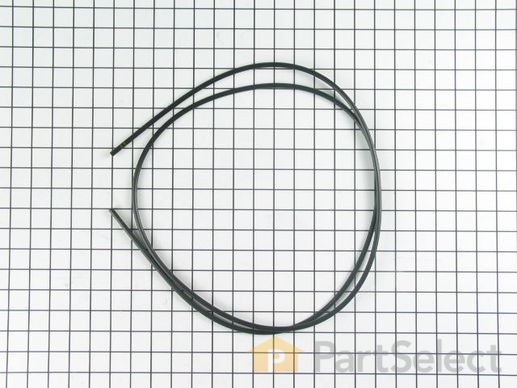
Plastic Tube - 1/4 Inch WR17X11349
Rated by 3 customers
Easy
30 - 60 mins
Ratings submitted by customers like you who bought this part.
Get this part fast! Average delivery time for in-stock parts via standard shipping: 1.8 days.
-
5 Stars 1
-
4 Stars 0
-
3 Stars 0
-
2 Stars 0
-
1 Star 0
- < Prev
- 1
- Next >
- < Prev
- 1
- Next >
- < Prev
- 1
- Next >
-
david from meridian, ID
-
Difficulty Level:A Bit Difficult
-
Total Repair Time:30 - 60 mins
-
Tools:Wrench (Adjustable)
-
john from norwalk, CT
-
Difficulty Level:Really Easy
-
Total Repair Time:30 - 60 mins
-
Tools:Nutdriver, Screw drivers
1. Turn off water supply.
2. Unplug power cord.
3. Remove bottom Panel to access the Solenoid valve.
4. Remove the water lines from the Valve.
5. Remove the Valve from the refrigerator.
6. Remove the electrical connectors from the valve.
(make sure the new valve has the connector adap ... Read more tors included) you will need them during installation.
7.Bend the new valve bracket inward about 45 degrees to clear the compressor coolant line.
8.Use a pair of pliers to braek away the plastic on the new valve for clearance.
9.If needed remove the compression fitings from the old water line installation as the new valve comes with the push and lock feature.
10.Install the bottom 2 water lines they are different sizes
11.Mount the new valve to refrigerator and tighten.
12.Install the ice maker water line to the top fitting on the valve.
13.Plug the power cord in & turn on the water supply,check for leaks and proper operation on the valve.
-
Louis from Kingwood, TX
-
Difficulty Level:Easy
-
Total Repair Time:30 - 60 mins
-
Tools:Nutdriver, Pliers, Screw drivers, Wrench (Adjustable)
- < Prev
- 1
- Next >
Ask our experts a question about this part and we'll get back to you as soon as possible!
- < Prev
- 1
- Next >


- < Prev
- 1
- Next >


Manufacturer Part Number: WR17X11349

Item is in stock and will ship today if your order is placed before 4:00 PM Eastern Standard Time.
If your order is placed after 4:00 PM EST, the in stock items will ship on the next business day.
Item is not in stock and usually ships 3-5 business days from the time you place your order.
Item is not in stock and usually ships 10-15 business days from the time you place your order.
This item is no longer being made by the manufacturer, and cannot be added to your shopping cart.


