This 10 by 5 inch ice maker (Electromechanical Icemaker Kit, Ice Maker Assembly) produces ice. This particular model will produce seven crescent shaped cubes every cycle. It is constructed of plastic and metal, and comes in black/white. This kit includes a set of installation instructions, a 4-pin round plug-in connector, 6 post plug-in c...Read moreonnectors, tube and fill cup. The ideal temperature of a freezer is zero degrees Fahrenheit. If the temperature in your freezer is at an appropriate level yet ice is still not being made, it could be an issue with the water inlet valve or your ice maker assembly. If you determine it is the ice maker, this is the replacement you need. The ice maker can break from normal wear and accidental damage. Ice makers will need to be replaced every 3-10 years depending on the frequency of usage and water quality. This model is mounted on the freezer wall.
This “Dispenser Door Assembly” (Door Recess Assembly, Ice Door Assembly, Dispenser Door, Refrigerator Dispenser Ice Chute Door Kit, Dispenser Door Flap, Ice Chute Door, Flapper) keeps the room air from infiltrating the freezer. Once the lever is pressed, the door flap opens and allows the ice to dispense into your container. If your door...Read more flapper is broken, it could allow outside air to enter the freezer and alter the inside temperature. You may notice frost buildup surrounding the dispenser area. The door flap can disconnect from the dispenser lever, or the tabs that hold it in place may break. Frequent use may distort the sealing face and cause air leaks and frost buildup. This part mounts in the ice dispenser, and measures approximately 3.25 inches in diameter. It is constructed of plastic and rubber, and comes in white/black. This part is sold individually.
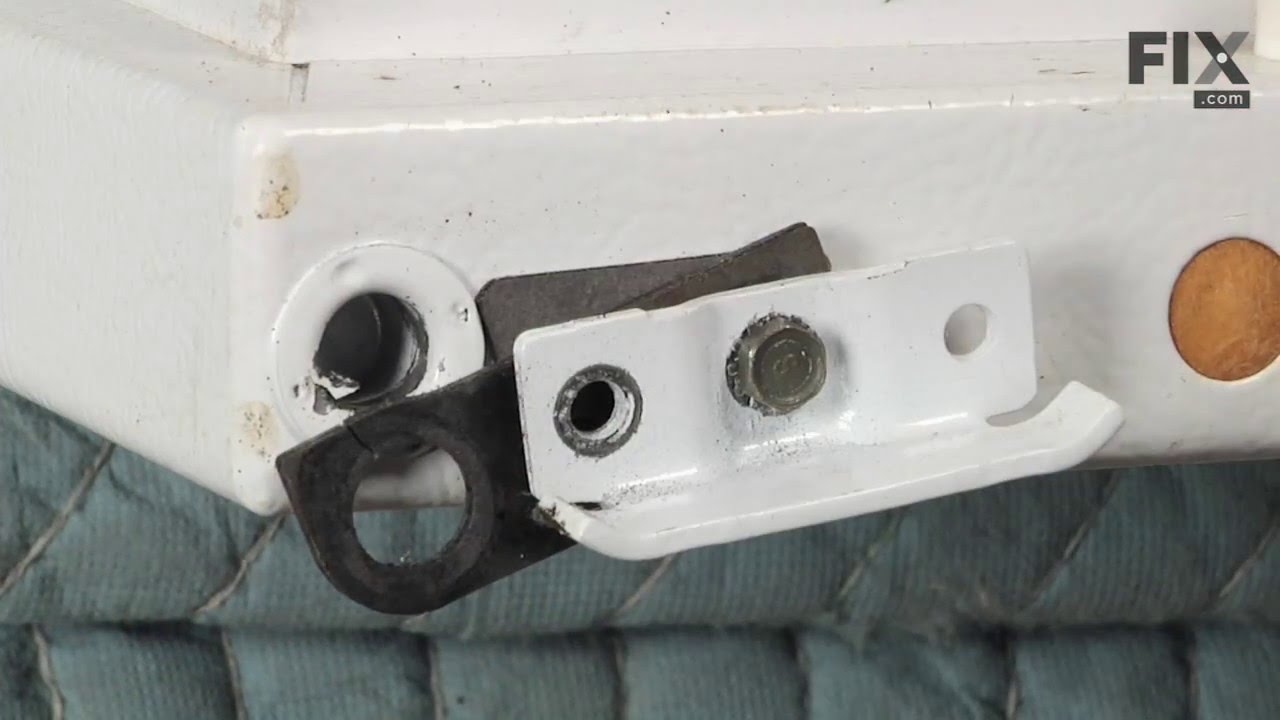
This refrigerator door hinge cam riser is designed to ensure smooth and consistent door movement. Installed directly on the door, it helps the appliance open and close properly by guiding the door to rise and fall gently, which also supports a secure seal. Made from durable plastic, this part is ideal for resolving issues such as doors that stick, fail to seal correctly, or make unusual noises during operation.
This evaporator fan motor grommet, or condenser fan grommet is built for refrigerators. It provides a cushion between the fan motor and the motor mounting bracket. It is made or round, black plastic and is approximately one inch in diameter. If your grommet is torn or damaged and you are getting noise from the fan motor, you may need to replace it. This is an OEM part sourced directly from the manufacturer.
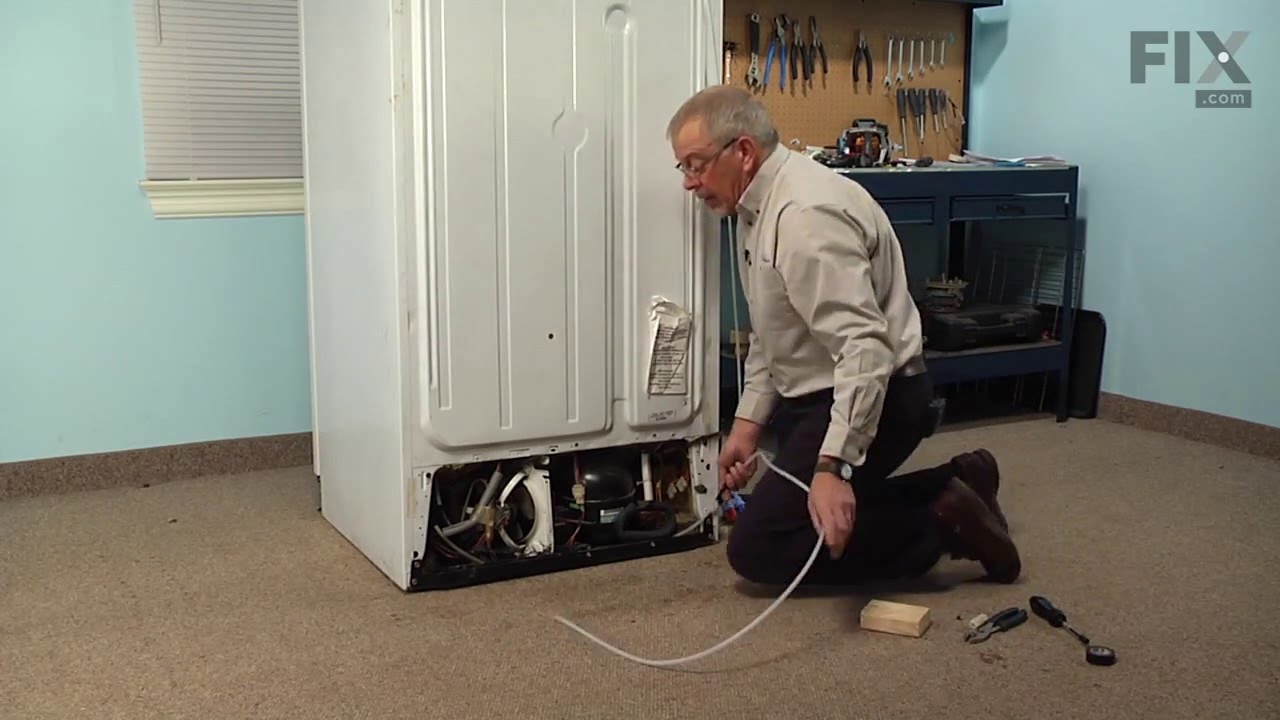
This part is the replacement water line for your refrigerator. It is a long plastic tube, which is 5/16 of an inch in diameter. If your refrigerator is leaking, or will not dispense water or ice, you may have a damaged water line. When you replace the water line, you may want to pick up a new water tube union as well. You can use a utilit...Read morey knife to cut the old water line where it is damaged, and use the union to attach the new water line to the old one. This tubing is sold individually and is an OEM part.
This part is the replacement drawer slide rail for your refrigerator. It is made of white plastic and is approximately 16 inches long and 1.5 inches wide. The crisper draw will slide in and out along this rail. If the rail is damaged or missing, the crisper will either hang from one side, or it will not stay in place at all. The drawer sl...Read moreide rail is for the left side of the drawer only, so be sure to check that you are replacing the correct drawer rail. This part is sold individually and is an OEM part sourced directly from the manufacturer.
Ask our experts a question about this model and we'll get back to you as soon as possible!
We may have answered a similar question already! Search questions and answers left by others using simple keywords like "fit", "broken", "easy", or "quality" to find questions that match.
Search filter:
Clear Filter
Your search term must have 3 or more characters.
Sort by:
Prev
1
Next
Sorry, we couldn't find any existing answers that matched.Try using some different or simpler keywords, or submit your new question by using the "Ask a Question" button above!
Edward - For model number 36358062891
May 23, 2025
Looking for for defrost thermostat Part # WR50x122 and defrost heat Part # B07N3LGZ9
Hi Edward, thank you for reaching out. The defrost heater and defrost thermostat comes in an assembly for your model, the part number is PS303933. We hope this information is useful!
See how others fixed this model. Time, tools, difficulty, and steps that lead to victory!View More
Search repair tips from other customers using simple keywords like "replace", "fit", "remove", "inspect". DIY doesn't mean you have to do it alone!
Search filter:
Clear Filter
Your search term must have 3 or more characters.
Door would not automatically close.
180 of 194 peoplefound this instruction helpful.
Gary from North eastham, AL
Really Easy
15 - 30 mins
Screw drivers, Socket set
Symptom: Door did not close automatically. Also had found small chunks of black plastic on the floor. Refrigerator door was slightly lower than the freezer door.
One false start because I did not realize both of the door-closing cams had disintegrated and I had only ordered the cam without the hinge.
Purchased part
... Read more290199 Hinge Assembly. It came with matching door-closing cam. (Had not known so I also purchased the cam 297995 separately). Next time I will know to only purchase the Hinge Assembly.
Replacement procedure took about 20 minutes including removing and replacing door shelves and their contents. Two people involved.
1. Remove all door shelves with contents and other contents on door.
2. Remove the top Phillips head screw holding the decorative plastic on the top.
3. Remove the two top hinge screws on top of refrigerator using metric #8 socket wrench. Second person made sure door did not fall off.
4. Lift the door off the bottom hinge pin. Second person holds door on it’s side.
5. Take off the bottom refrigerator cover
6. Remove the bottom hinge assembly screws using metric #8 socket wrench.
7. Mount the replacement bottom hinge assembly and tighten the two screws.
8. On the door bottom, remove the outer screw and loosen the inner screw using metric #8 socket wrench.
9. Replace the door-closing cam (or what is left of it) with the cam in line with the door and cam bumps away from the door.
10. Place the door back on the hinge pin (one person holds while the other person maneuvers the door bottom).
11. Replace the top hinge and reinsert the screws on top of the refrigerator. Dress the door so that it does not press hard on the rubber door gaskets (or the door will fail to shut automatically). Tighten the screws.
12. Replace the decorative plastic over the top hinge.
13. Open the door and replace the bottom refrigerator cover.
14. Replace the door shelves and all contents.
15 Close the door.
Read less
Was this helpful?
Thank you for voting!
ice stalactites were drooling out of the icemaker and gumming up the cubes in the receiving tray.
91 of 132 peoplefound this instruction helpful.
Gerald from Benicia, CA
Easy
15 - 30 mins
Nutdriver, Screw drivers
I first shut off water flow to the fridge. Examination of the package (which was not exact in appearance to the original) demonstrated that the electrical connectors were well-insulated so I arrogantly and successfully proceded without disconnecting the power. My fridge is old enough that the model doesn't appear exactly on anyone's list
... Read more so I wasn't alarmed that it took an extra 10 minutes or so to noodle out how to adapt the slightly different inlet cowling and electrical cord with extension, but the device is pretty simple. Soon I loosened the two mounting screws with a nut driver, used a screwdriver to pry away the plastic snap-in housing over the electrical socket on the fridge inner wall and pulled away the electrical plug. The original water fill tube remained in its cavity, ready for re-use. The new unit's mounting points matched the original screw locations perfectly, as did the fill cowling - which on the replacement icemaker has two possible attachment points. The new unit's electrical connector required an extension pigtail to adapt to my socket, but it was included in the package. The extra cable posed a minor cosmetic issue because it hangs in the collection basket a bit, but that will soon be remedied with a tie wrap. After the water was restored and an anxious wait of a few hours, we had well-formed ice cubes that weren't all stuck together and the stalactites haven't reappeared.
Read less
Was this helpful?
Thank you for voting!
Ice maker stopped working
84 of 117 peoplefound this instruction helpful.
Dan from West Bloomfield, MI
Really Easy
Less than 15 mins
Nutdriver
I unplugged the electrical connection. Then I removed the 2 screws holding the icemaker in place. I lifted out the old icemaker unit and put the new one in place. Then put the 2 screws back in and plugged in the new unit.
The icemaker started making ice very soon after turning the unit on.




 My Orders