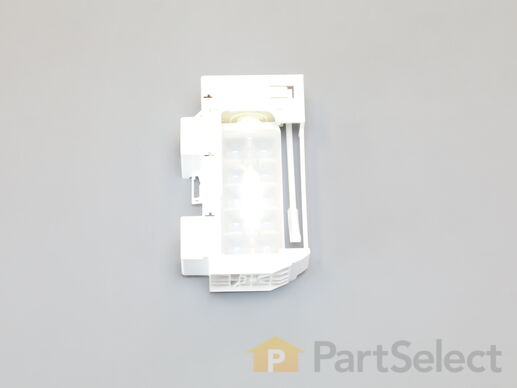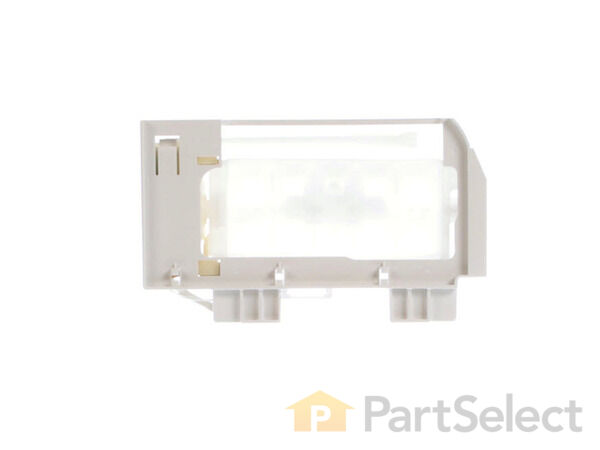
Refrigerator Ice Maker W10873791
Rated by 12 customers
Really Easy
15 - 30 mins
Ratings submitted by customers like you who bought this part.
Get this part fast! Average delivery time for in-stock parts via standard shipping: 1.8 days.
Refrigerator Ice Maker Specifications

How Buying OEM Parts Can Save You Time and Money
-
5 Stars 32
-
4 Stars 3
-
3 Stars 1
-
2 Stars 1
-
1 Star 4
- < Prev
- 1
- 2
- 3
- Next >
- < Prev
- 1
- 2
- 3
- Next >
- < Prev
- 1
- 2
- Next >
-
Karl from NEW BLOOMFLD, PA
-
Difficulty Level:Really Easy
-
Total Repair Time:15 - 30 mins
-
Tools:Nutdriver, Screw drivers
-
Jay from WOODWAY, TX
-
Difficulty Level:Really Easy
-
Total Repair Time:15 - 30 mins
-
Tools:Screw drivers, Socket set
2 removed the cover panel be removing 4 Phillips head screws
3 unplugged the on off switch attached to the cover panel
4 removed the two 1/4 in nut head screws holding the ice maker
5 removed the ice maker and disconnected the power at the join
6 performed the above steps in reverse
7 t ... Read more he unit has since been producing ice
Repair appears to be a success
-
Ray from KILL DEVIL HL, NC
-
Difficulty Level:Really Easy
-
Total Repair Time:30 - 60 mins
-
Tools:Nutdriver, Screw drivers
Issue solved.
-
Carl from WILMINGTON, NC
-
Difficulty Level:Easy
-
Total Repair Time:30 - 60 mins
-
Tools:Screw drivers
-
Tim from PARKER, CO
-
Difficulty Level:Easy
-
Total Repair Time:Less than 15 mins
-
Tools:Nutdriver, Screw drivers
-
Robert from STRONGSVILLE, OH
-
Difficulty Level:Easy
-
Total Repair Time:30 - 60 mins
-
Tools:Nutdriver, Screw drivers
Results was smooth process, no noice from ice dispenser. Pleased with results. Saved on repairs. Thanks Tom
-
Thomas from HARPER, TX
-
Difficulty Level:Easy
-
Total Repair Time:15 - 30 mins
-
Tools:Socket set
-
Elizabeth from EDENTON, NC
-
Difficulty Level:A Bit Difficult
-
Total Repair Time:30 - 60 mins
(not sure if this is necessary but is safer)
Remove the ice bucket.
Cover the Ice auger with a hand towel to catch any screws which my get dropped.
Remove four Philips screws holding plastic cover to inside of the door. there are no clip/snaps to worry about ... Read more but on/off switch needs to be un plugged. Remove cover.
Remove two nut head screws holding old ice maker.
Remove wiring harness from ice maker and lift ice maker up and out. There are two tabs on the door.
Unplug the wiring harness from the ice maker..
Installation: Press the wiring harness into clips on the new ice maker. Install ice maker onto door insuring it is over the tabs on door and the holes for nut screws line up. Plugging the wiring harness in and install two screws.
Plug on/off wiring onto switch and press plastic cover onto inside of door. Take care that it fits inside of rubber door seal. Install four philips screws.
Remove hand towel and install ice bucket making sure the ice maker is switched on. Close door.
Turn on water and electricity.
This took me 25 min. and I am sure would go faster if I had had instructions.
My refrigerator took awhile before it started to make cubes but has been working like new ever since.
This task is easy go for it.
-
James from NEW LONDON, NH
-
Difficulty Level:Easy
-
Total Repair Time:15 - 30 mins
-
Tools:Nutdriver, Screw drivers
2 turn off ice maker
3 Remove 4 screws
holding on the
cover over the ice
maker
4 remove the two hex
screws holding in
the ice maker.
Remove ice maker.
5 Reverse this procedure for installation.
-
Janet from DOVER, DE
-
Difficulty Level:Very Easy
-
Total Repair Time:15 - 30 mins
-
Tools:Nutdriver, Screw drivers
- < Prev
- 1
- 2
- Next >
Ask our experts a question about this part and we'll get back to you as soon as possible!
- < Prev
- 1
- 2
- 3
- Next >

16 people found this helpful.

10 people found this helpful.

7 people found this helpful.

4 people found this helpful.

4 people found this helpful.

2 people found this helpful.

2 people found this helpful.

2 people found this helpful.

1 person found this helpful.

1 person found this helpful.
- < Prev
- 1
- 2
- 3
- Next >
Manufacturer Part Number: W10873791

Item is in stock and will ship today if your order is placed before 4:00 PM Eastern Standard Time.
If your order is placed after 4:00 PM EST, the in stock items will ship on the next business day.
Item is not in stock and usually ships 3-5 business days from the time you place your order.
Item is not in stock and usually ships 10-15 business days from the time you place your order.
This item is no longer being made by the manufacturer, and cannot be added to your shopping cart.


