The EDR1RXD1 water filter provides clean, fresh-tasting water by reducing contaminants such as lead, chlorine, and particulates. Designed for easy installation, this filter ensures your refrigerator water and ice are safe and refreshing with every use
This Refrigerator Air Filter is a white 1.8x3.2" plastic filter which neutralizes odor and bacteria in the air. It should be replaced every six months at a minimum. Refer to your user manual and model number to see if this filter is right for your fridge. Location for storage of the air filter may vary from model to model, but generally, ...Read moreyou will find a small cover on the back-middle-top of your fridge, which can be popped off to reveal the air filter, which can be easily changed out from there. This part does not come sold with the indicator; it is the filter only. Sold individually.
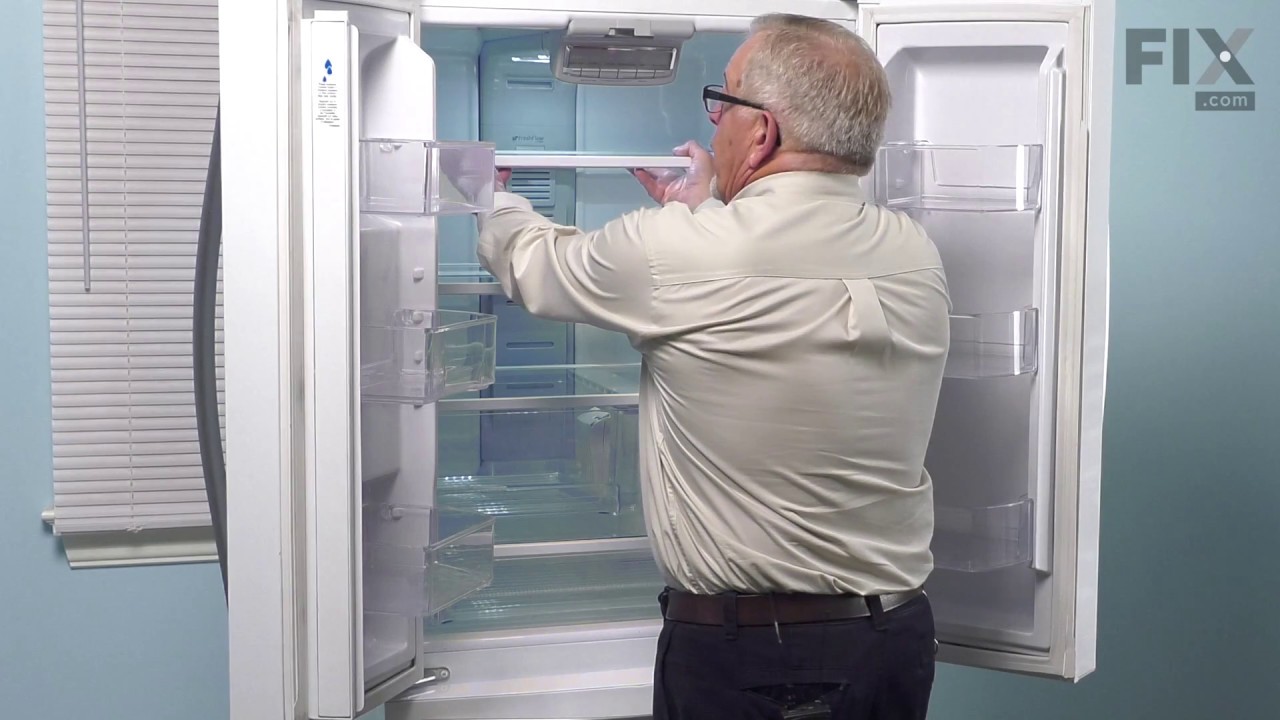
This clear refrigerator door shelf bin is a genuine OEM replacement part designed for select Whirlpool, Kenmore, and Maytag models. Made from high-quality, food-grade PS plastic, it securely holds jars, bottles, and other items on the right-hand side of the upper refrigerator door. The bin features reinforced edges for added durability an...Read mored wear resistance, and some versions include a built-in soda can organizer for enhanced storage. Installation is tool-free, with the bin snapping directly into the designated slot. Compatibility should be verified using your refrigerator’s model number prior to installation.
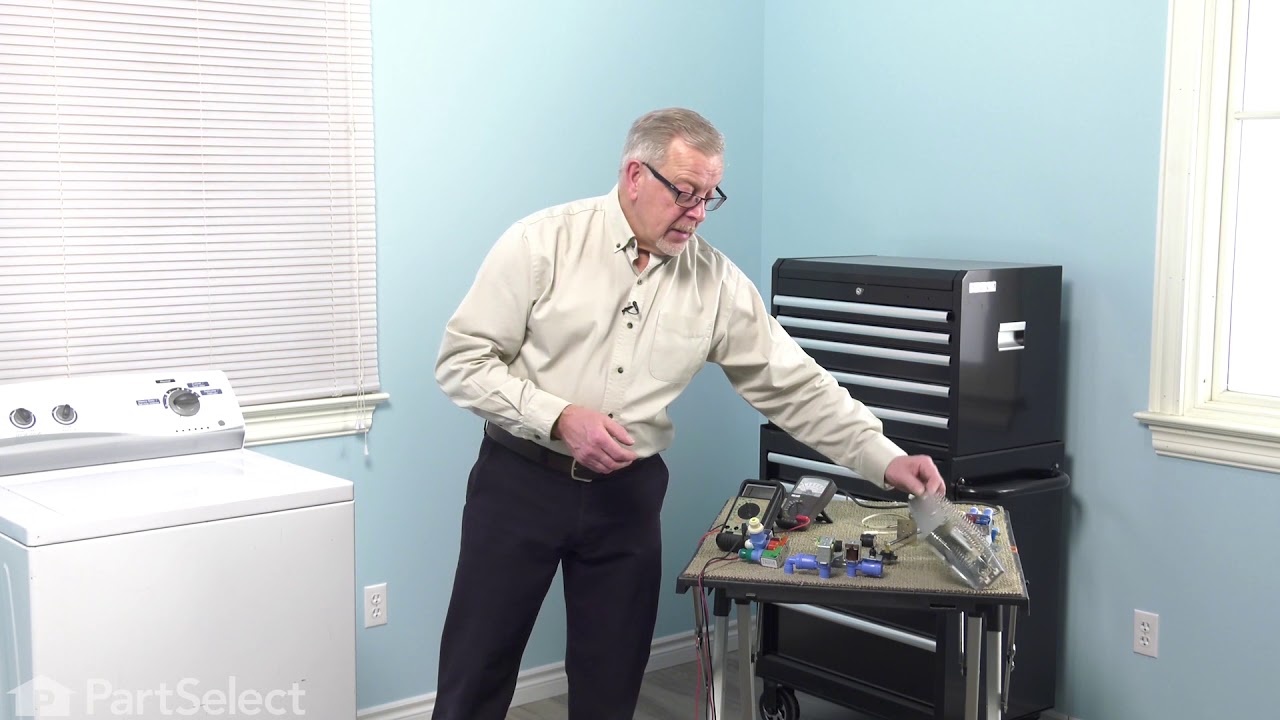
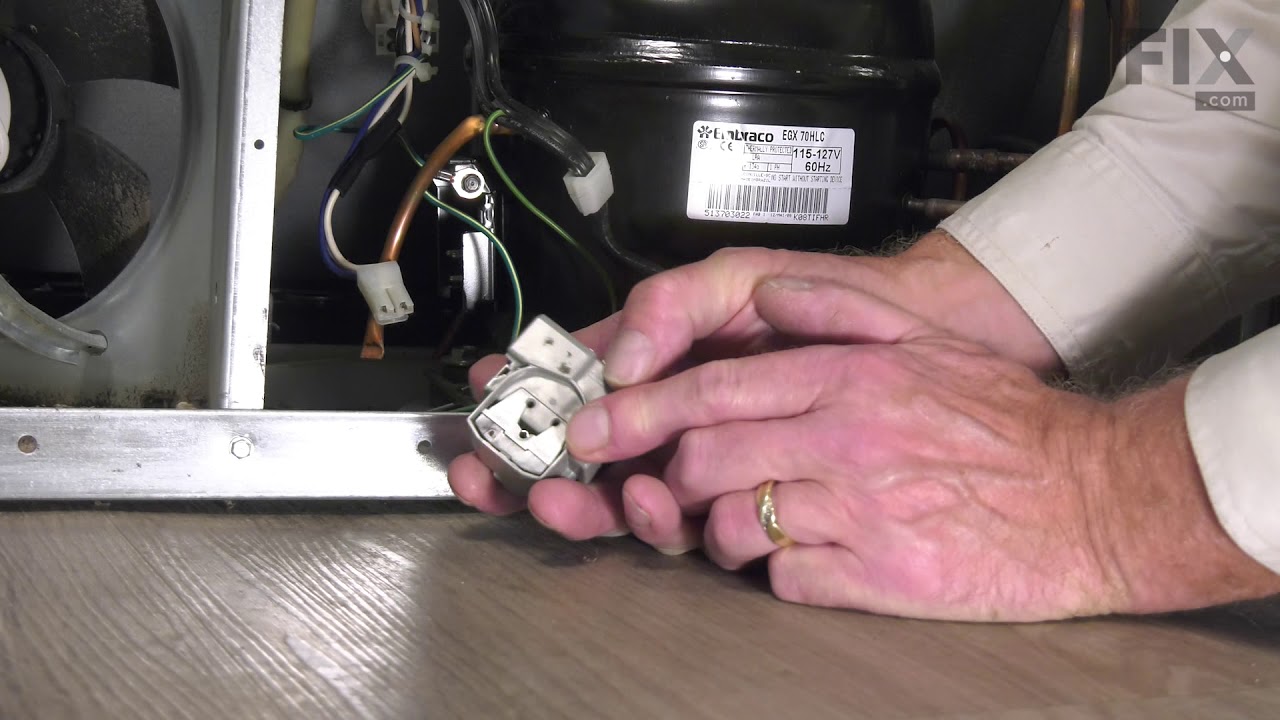
If you have ice building up in your freezer, or if your freezer is getting too warm during the defrost cycle you may need to replace the bi-metal defrost thermostat. The function of the defrost bi-metal thermostat is to clip onto the evaporator and protect your evaporator from overheating during the defrost cycle. If your refrigerator doe...Read mores not defrost properly you can test both the thermostat and the heater to figure out which part is at fault. For this repair, you will need a Phillips screwdriver, a 1/4 inch nut driver, a flat blade screwdriver, a pair of wire strippers, a roll of electrical tape, and a few butt splice connectors.
This light switch may also be known as a refrigerator door switch or a light switch kit, and is compatible with your refrigerator. The function of the refrigerator door switch is to turn on the light when your fridge door is open, and to make sure it is off when your refrigerator door is closed. The reason you would need to replace this p...Read moreart is if your light is not turning on when your door is open. For this repair, you will need a putty knife, and a small flat-blade screwdriver.
Tired of your fridge not making ice? This replacement ice maker can fix that. It automatically fills with water, freezes it, and drops ice into the bin—so you always have ice ready for drinks or cooking. It’s made to fit several Whirlpool, Maytag, and KitchenAid models and is great if your current ice maker is leaking, noisy, or just not working. Easy to install and ready to get your ice supply back on track.
This mounting screw is a genuine OEM replacement part for the door handle in your refrigerator. If you are having trouble shutting the refrigerator door, or opening it, replacing this screw can help solve the issue. Replacing this part is easy and requires minimal disassembly of the refrigerator end cap handle. Your will need a screwdriver to complete this repair.
This touch-up paint can be used on a wide variety of household appliances. It is most often used on washers, dryer, refrigerators, dishwashers, ranges, freezers, trash compactors, or microwaves. It is an 18 ml, or.6 fluid ounces, bottle of touch-up paint. It also features a brush for easy application. This quick-drying, long-lasting paint...Read more is perfect for fixing any nicks, scratches, or chips on the exterior of your appliance. This paint is white in color, and provides a durable finish.
If your refrigerator or freezer is too warm, or making noises, you may need to replace the fan blade. The fan blade attaches to the evaporator motor, which is in the freezer section, to help circulate the cold air into the refrigerator and freezer sections. The fan blade is white in color and made from plastic. This is a genuine OEM part...Read more. Please be sure to disconnect the power to your refrigerator before starting your repair.
This part is a replacement refrigerator drive shaft seal for your refrigerator. The drive shaft seal protects the auger motor from water and condensation that may leak down the drive shaft from the ice bucket. If the seal is broken, water and condensation can get in, causing the ice maker to fail. To replace the seal, first remove the ice...Read more bucket from your freezer. Then remove the two screws on the drive shaft holder, and use a pair of pliers to remove the drive shaft. At this point you can remove the seal from the drive shaft. Be sure to clean the area that the seal sits in before you reinstall the drive shaft. This part is white in color and is about an inch in diameter. The seal is sold individually.
Ask our experts a question about this model and we'll get back to you as soon as possible!
We may have answered a similar question already! Search questions and answers left by others using simple keywords like "fit", "broken", "easy", or "quality" to find questions that match.
Search filter:
Clear Filter
Your search term must have 3 or more characters.
Sort by:
Prev
1
Next
Sorry, we couldn't find any existing answers that matched.Try using some different or simpler keywords, or submit your new question by using the "Ask a Question" button above!
Beth - For model number 10651132213
February 5, 2020
There is water getting to my door but not to the icemaker, what could be the problem. Is there more than one water filter in the refrigerator?
Hi Beth,
Thank you for your question. There would be one water filter inside your refrigerator. If your ice maker isn't producing ice at all or is producing crescents or cubes that are smaller than usual, it's typically indicative of a clog somewhere along the supply line. A common cause for a clog is frozen water in the line. To repair a frozen line, slide the refrigerator and unplug it. Locate the shut-off valve, typically underneath the sink or behind the refrigerator. Turn the valve to the closed or off position. Fill a turkey baster with warm water and pour the water over the water line. Alternatively, you can defrost the water line with a hair dryer or by letting the refrigerator sit unplugged for upward of two hours. Restore power to the refrigerator and listen for the water supply to fill the ice mold. If the clog is anything but translucent, consult with a professional for help removing the clog. There is also a possibility that the water filter for the ice maker is clogged. Locate and replace the water filter. Filters for ice makers are typically located inside the refrigerator (to keep them from freezing). We hope this helps. Thank you and have a great day.
2 peoplefound this instruction helpful.
Was this helpful?
Thank you for voting!
Jenn - For model number 10651132213
February 24, 2020
We can get water through dispenser and regular ice cubes are being produced but we can not get ice to dispense through the door. I have reset it and emptied the ice cube bin and verified there are no clogs but still will not dispense ice.
Hi Jenn,
Thank you for your question. If the dispenser is not dispensing ice, there are some parts that you will need to check to see which one is causing the issue. You will need to check the ice door, the electronic control board, the actuator pad, the refrigerator auger motor, the seal and the coupling. You will need to test the parts with a multi-meter. Here is a link to one of our videos on YouTube that you may use as a general reference on how to use one, https://www.youtube.com/watch?v=bWC44fHn0As. For the electronic control board, you will need to check it for signs of damage, wear and burn marks. If it shows any of these signs, it will need to be replaced. We hope this helps. Thank you and have a great day.
1 personfound this instruction helpful.
Was this helpful?
Thank you for voting!
Lee - For model number 10651132213
May 7, 2023
i need to fix the light. they are verry dim
Hello Lee, thank you for contacting us. According to our research, if you want to fix the light in the freezer section, you may need to replace the LED light, part number PS11755866. If you want to fix the light in the refrigerator section, you may need to replace the LED light control board, part number PS11755867. We hope this solves your problem!
The lights in the fridge are liking, too dark, can’t see. Please recommend what part i should replace.Thanks,
truc
Hello Truc, thank you for your question. If the lights in the fridge are the only lights that are dim we would recommend replacing PartSelect Number PS11755867 for the lights on the ceiling of the fridge section, and PartSelect Number PS11755866 for the light module that is toward the bottom back of the fridge section. I hope this helps.
Was this helpful?
Thank you for voting!
Stephanie - For model number 10651132213
May 30, 2022
Refrigerator and freezer lights flickering.
Hi Stephanie,
Thank you for your question. If both lights are still strobing inside the refrigerator, you should check both LED lights in the refrigerator to see which one is causing the issue and if it is not one of them you will need to check the LED electronic control board. You will need to test the parts with a multimeter. We have included a link to one of our videos on YouTube that you may use as a general reference on how to use one. Once you have determined the part you need, please feel free to call customer service. We are open 7 days a week and anyone will be happy to assist you. We look forward to hearing from you!
See how others fixed this model. Time, tools, difficulty, and steps that lead to victory!View More
Search repair tips from other customers using simple keywords like "replace", "fit", "remove", "inspect". DIY doesn't mean you have to do it alone!
Search filter:
Clear Filter
Your search term must have 3 or more characters.
Fridge was getting too warm, ice buildup on coils.
159 of 188 peoplefound this instruction helpful.
Cathy from Winter Park, FL
A Bit Difficult
15 - 30 mins
Nutdriver
WARNING: REPLACING THIS PART REQUIRES CUTTING AND SPLICING ELECTRICAL WIRES. RISK OF ELECTRICAL SHOCK OR FIRE. DO NOT ATTEMPT THIS REPAIR IF YOU ARE NOT EXPERIENCED WITH ELECTRICAL WIRING.
Part Info: The bi-metal strip is clipped onto the evaporator coils and is designed to regulate the defrost coil temperature. If it is n
... Read moreot functioning properly you may notice ice buildup preventing air flow (and preventing proper refrigeration), or more rarely the freezer side may get too warm during the defrost cycle.
1: UNPLUG THE FRIDGE! If there is ice buildup, wait until the ice has melted. A box fan blowing at the ice will help melt it more quickly.
2: Remove the panel covering the evaporator coils. It's located inside the fridge, on the freezer side.
3: Un-clip the bi-metal strip from the evaporator coils.
4: Unplug the wires from the evaporator fan, defrost coil and bi-metal strip, then disconnect the main connector that is plugged into the rear wall.
5: Clip both wires to the old ( bad ) bi-metal strip. Cut close to the casing of the bi-metal strip so there are long wires to splice onto.
6: Strip 1/4 to 1/2 inches of insulation off of the ends of the wires ( depending on the size of the wire-nuts you use). Twist the bare wires slightly to prevent fraying.
7: Do the same for the ends of the wires on the (new) bi-metal strip.
8: Take the ends of the wires belonging to the (new) bi-metal strip and the wires coming from the main plug. Take the like-colored wires, and twist the bare metal ends together.
9: Twist on wire nuts, for both sets of wires. Make sure they are snug, with no bare wire showing.
10: Tape over the wire nuts with electrical tape. Tape over the wires nuts in a spiral fashion, completely covering the nut and both wires that are now spliced together. This will prevent accidental shorting.
11: Plug the main plug back into the rear wall of the fridge. Also re-connect the connectors to the evaporator fan and defrost coil. Make sure the clips on the connectors are snug to ensure a good connection.
12: Clip the new bi-metal strip onto the coils, in the same spot as before. ( Usually just after the small incoming copper tubing that connects to the coils, known as the expansion valve. That is usually the coldest spot on the coils during operation).
13: Replace the panel that covers the coils.
14: Plug the fridge back in... Now you fridge should defrost correctly. If it does not, your defrost coil could be burned out, or the control board could be faulty.
Read less
Was this helpful?
Thank you for voting!
Lights inside refrigerator not working
136 of 255 peoplefound this instruction helpful.
Clint from Rayville, MO
Really Easy
Less than 15 mins
Screw drivers
I used a flat-head screwdriver to pop out the old light rocker switch. Then, I unplugged the wires, plugged them into the new light rocker switch, and then popped the new switch into the hole. That's it! Lights began working again.
Was this helpful?
Thank you for voting!
while closing the door, the light switch fouled, resulting in the switch breaking
66 of 118 peoplefound this instruction helpful.
Kevin from Beckley, WV
Really Easy
Less than 15 mins
Screw drivers
I used a flat screwdriver and released the lock tab on the bottom of the light switch, and pried the switch out, being careful to not damage the plastic around the mounting place of the switch, unplugged wiring from old switch, plugged in the new one and pushed the new switch into place. Job finished light switch now working.



 My Orders